Since ancient times, people have thought that strengthening and painting the nails with henna is a nice idea. Every woman knows about how henna is used for hair treatment. This natural dye can make the hair color brighter strengthening the hair and making it shine. But henna nail art is not so popular. This is a tradition of Eastern countries. The exact origin of this art is difficult to detect but it is known that Indian girls painted pictures on their nails and skin with vegetable pigment to charm their grooms at weddings.
Contents
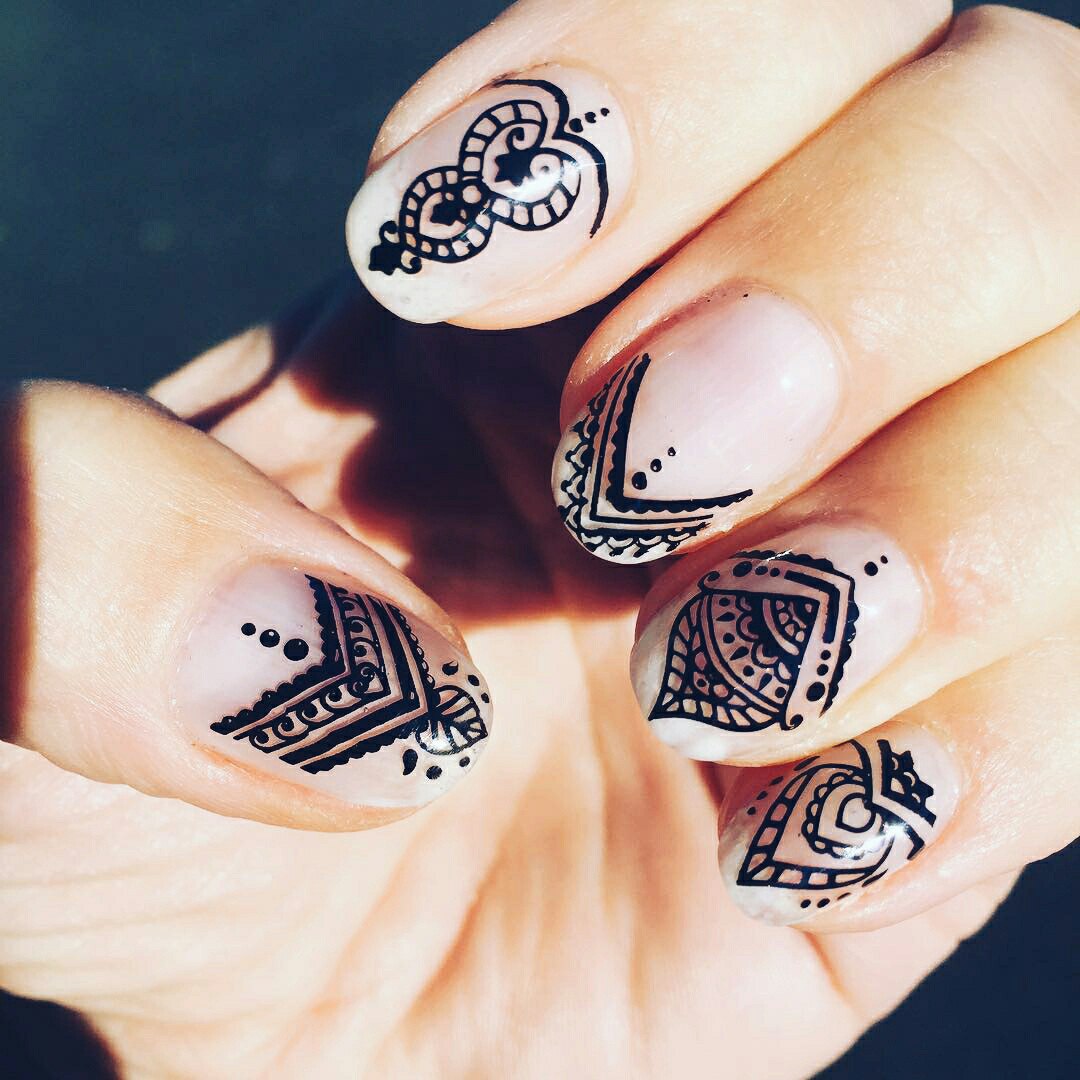
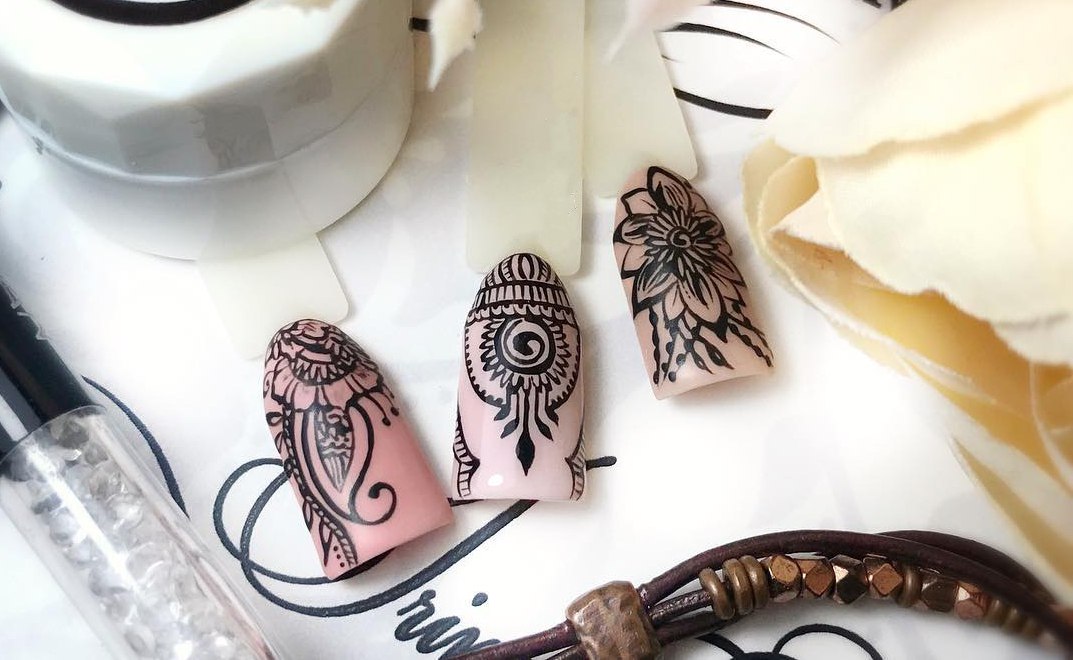
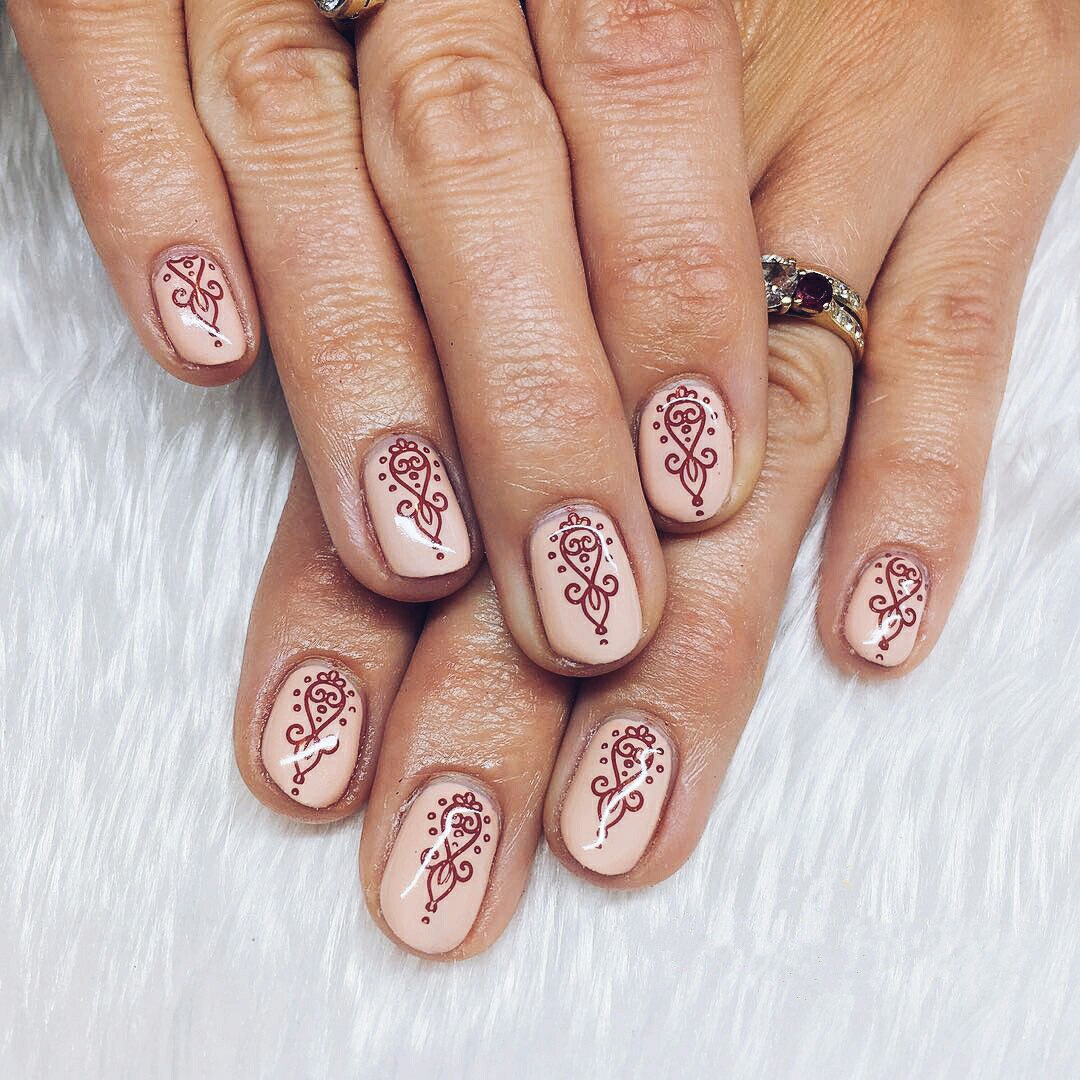
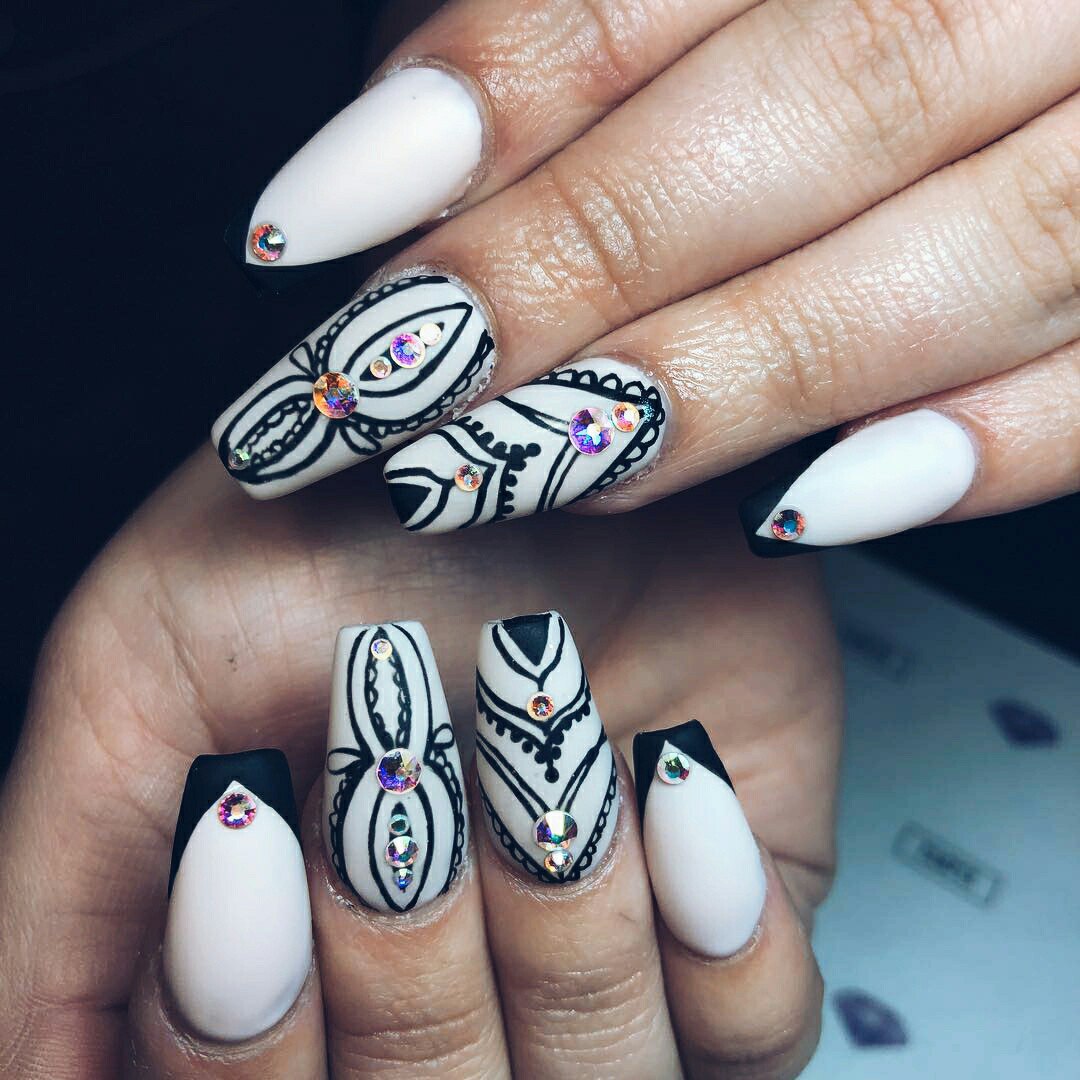
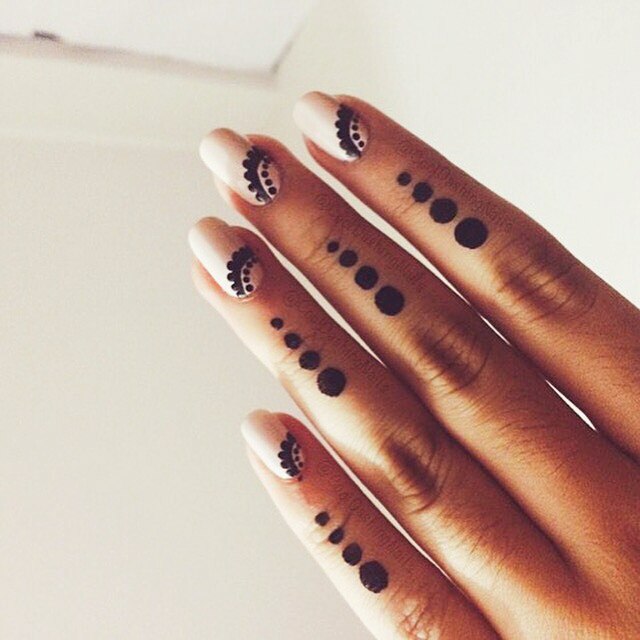
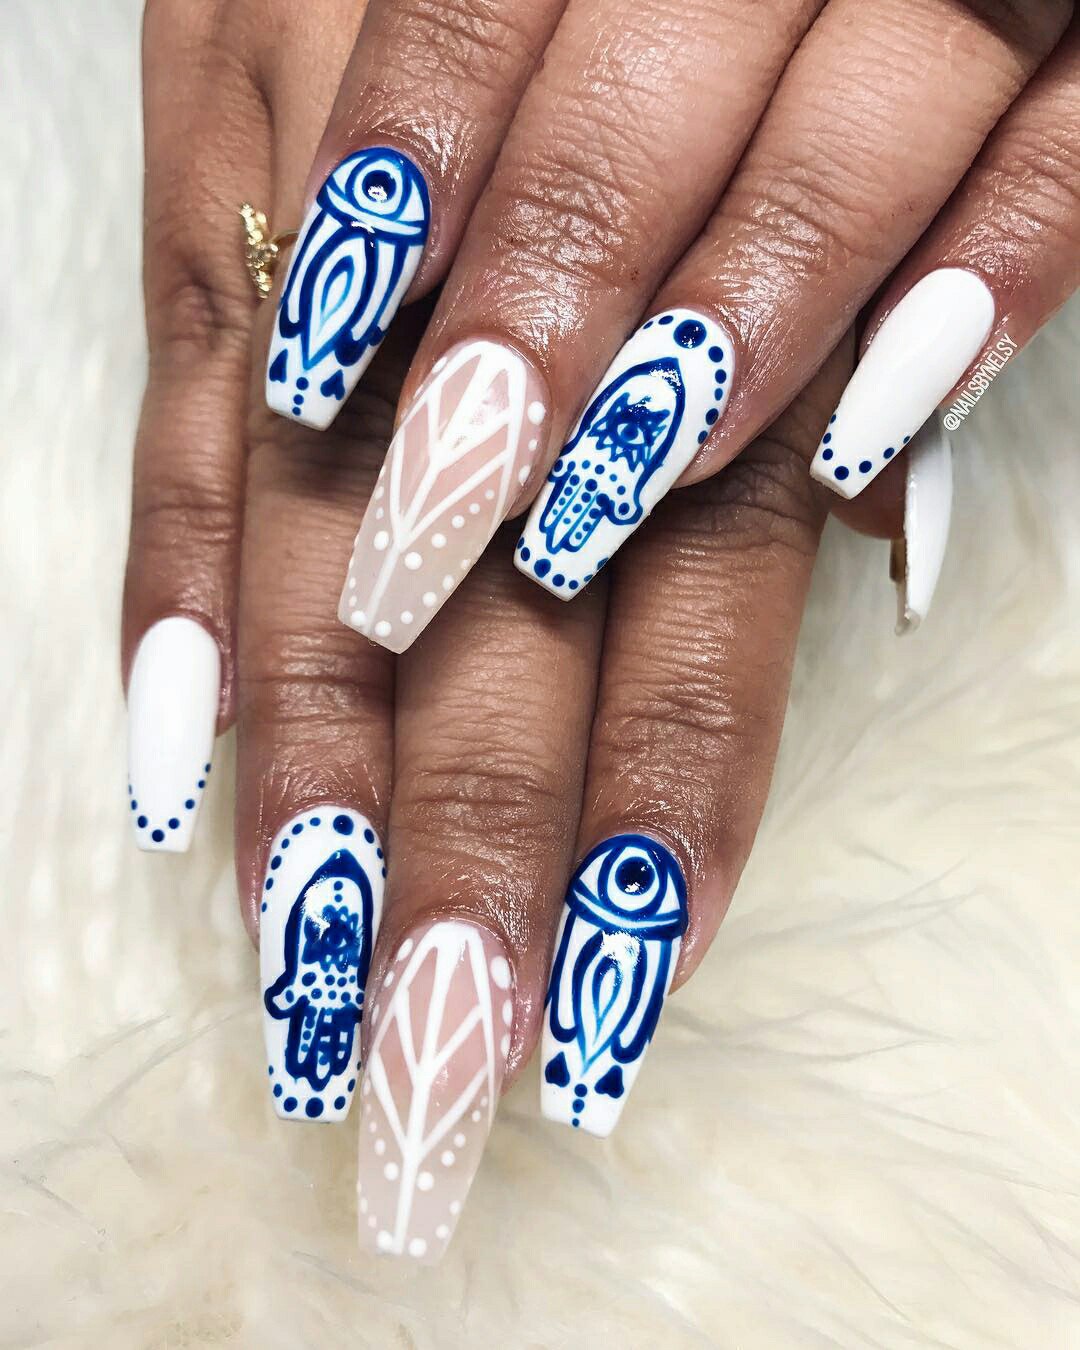
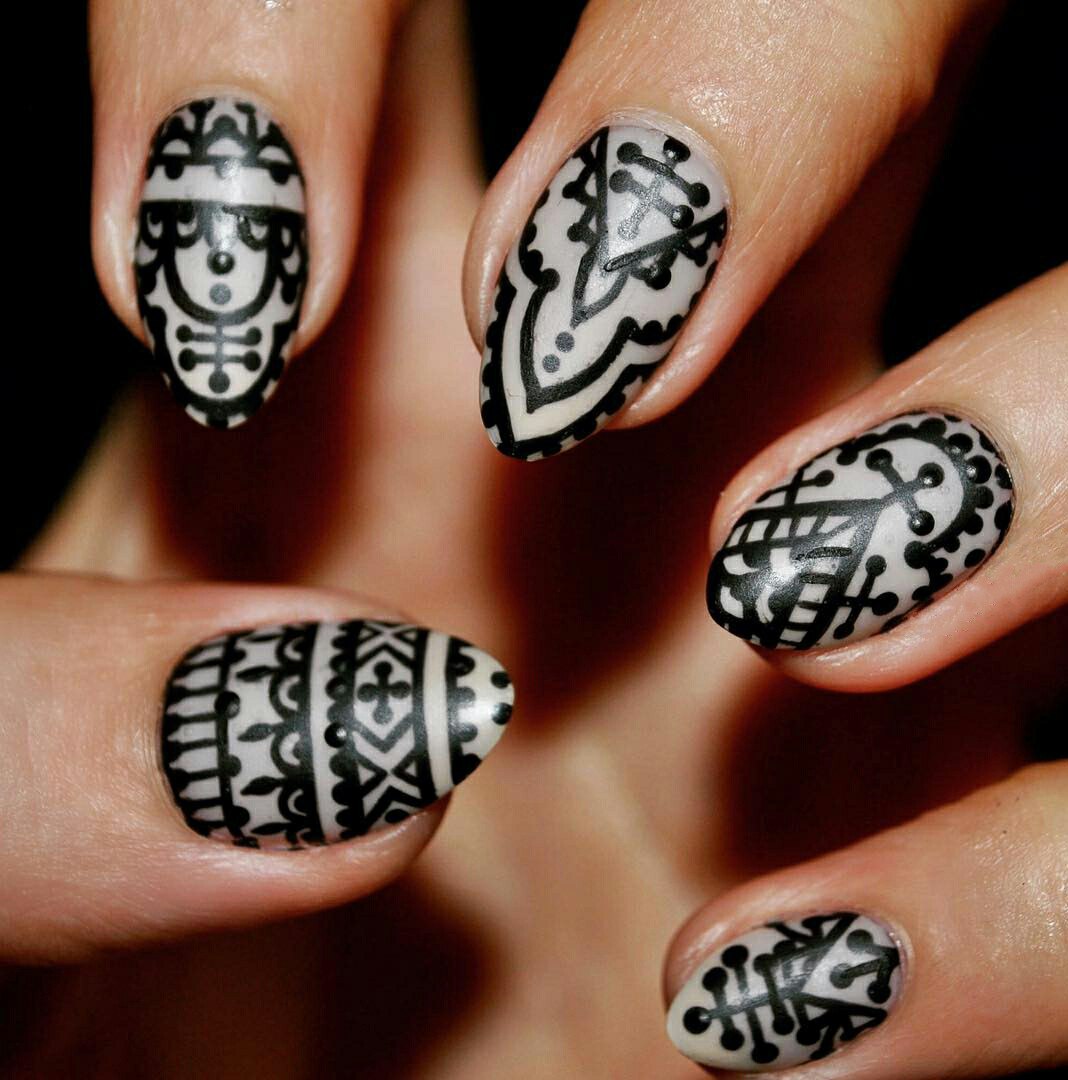
Henna for Nails: Design Techniques
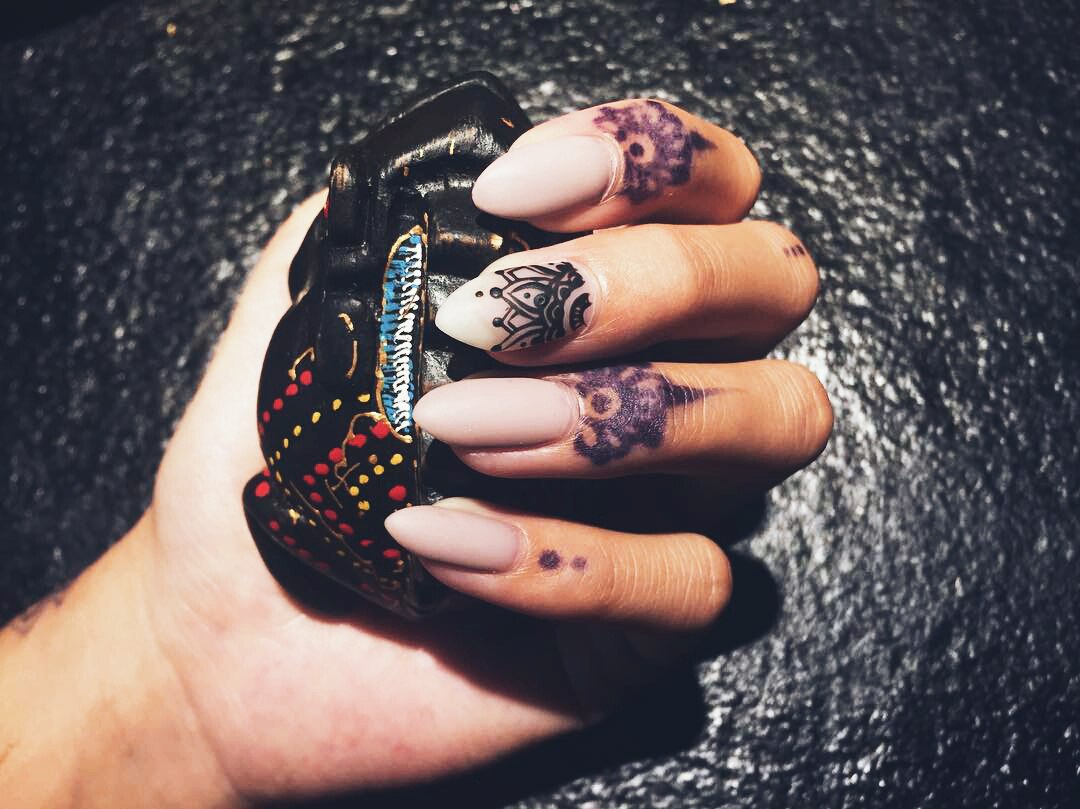
Such technique is often used for decorative purposes but not for ritual ones. It is called Mehendi (or mehndi).
A pattern on the bride’s hands was delicate and charming in the past but nowadays there are floral and abstract prints that are not associated with ambiguous things.
By the way, painting the nails with henna wasn’t primarily a female prerogative. Despite this, great pictures on men’s hands are never painted.
Mehendi or bio-tattoo as it is called in today’s world stays for almost 2 weeks. It lets experiment with decorating your body without a risk of damaging health. The only one disadvantage is that at the end lines of the picture are blurred a little and makes the skin yellow.
As for the nail plates, strengthening and painting them with henna came from ancient Egypt. There it was possible to define to what social category the person belongs just looking at bright and colorful nail design.
In South Africa and Pakistan painting the nails with henna is still popular, even with representatives of the sterner sex.
Of course, henna doesn’t create a thick gloss coating that is so loved by modern fashionistas. Despite this, pigment “soak” into the nail structure creating a durable particular coating that doesn’t peel off and wear off.
The Process of Covering Mehendi on Nails
It should be noted that it is quite uncomfortable to cover the nails with vegetable pigment on your own. So it’s better to combine this cosmetic procedure with getting together with friends.
- The first step is preparing the nails for being painted. Wash them thoroughly, create a needed shape and cut off the cuticles.

Don’t apply any cosmetic oils, creams and lotions to the hands, otherwise henna won’t lie evenly.
- Then make a special mixture. Natural henna is powder or pressed briquettes that can be only (!) green or mossy yellow. Green is better as it means that the product is fresh.
To paint the nails, 1 tablespoon of henna is enough. This henna should be diluted with water until the mixture is homogenous like thick cream not draining from the nail plate.

- Before applying the mixture to the nails, you should protect the skin from durable pigment. If you skip this step, dye will ingrain into the cuticle and the manicure will look careless. You will have to paint the pattern on the entire hand or to wait until the color peels off itself (it can take a week).
To protect cuticles and nail walls, it is enough to apply oil rich cream or petrolatum to them. But don’t blot the nail itself.
- It is convenient to apply this mixture to the nail plate with a small applicator. Not to let the mixture peel off and blot something when you paint the nails, it’s recommended to cover it with food film. Only then you can proceed with painting other nails.
If you paint the nails on your own, work with 2-3 nails at the same time.
- Painting the nails with henna is much faster than painting the hair. Keep the warm mixture on the nails for 3-5 minutes.
- Wash off pigment from the hands with usual warm water with no soap.
- To complement the manicure, after painting them and letting them dry you should rough the nail surface with a polishing buff a little. Don’t press it, several movements from each side of the nail file are enough.
The longer you will keep henna nail polish, the brighter and more intense the color will be. Don’t overdo it. First of all, try soft transparent shade. It will vary depending on the thickness of nail plates and quality of the mixture so it’s impossible to predict the result.
Using Natural Materials for Henna Nail Art
Henna perfectly strengthens the nail structure, makes it thicker, more flexible and prevents the nails from layering.
If you try, you can find transparent henna in shops that’s used only for health purposes and doesn’t paint the nails at all. It’s applied to the nails in accordance with the same technique.
The most difficult task in the modern world is to find high-quality henna. This is really useful for hair and nails. There’re some peculiarities that allow to say precisely that you’ve found a product of natural origin.
- Color
Henna nail polish colors is ground leaves. They are green. If pigment isn’t fresh enough, the shade can turn swampy and brown but not red or yellow.
- Smell
Natural henna doesn’t smell chemically. Only fragrances that are added to natural henna are natural spices, primarily cloves.
- Consistency
Ground herb never turns into homogenous thick cream even if it’s soaked. It is rough to the touch as the painting mixture is formed by tiny vegetable fibers that don’t solve in water.
- Compatibility
Quality henna never paints dishes in which you prepare it. Moreover, if the mixture has been kept in the bath or sink for even half an hour, it is easy to wash it off with usual warm water.
- Color of liquid
When you pour water over powder (or pieces of briquettes), it gets red, almost orange. Not green or burgundy but natural warm brown and red.
Henna is an excellent natural product letting change hair and nail color without damaging health.
All beauties should get to know its wonderful features for once in their life.
Henna Nail Designs: Video Tutorial
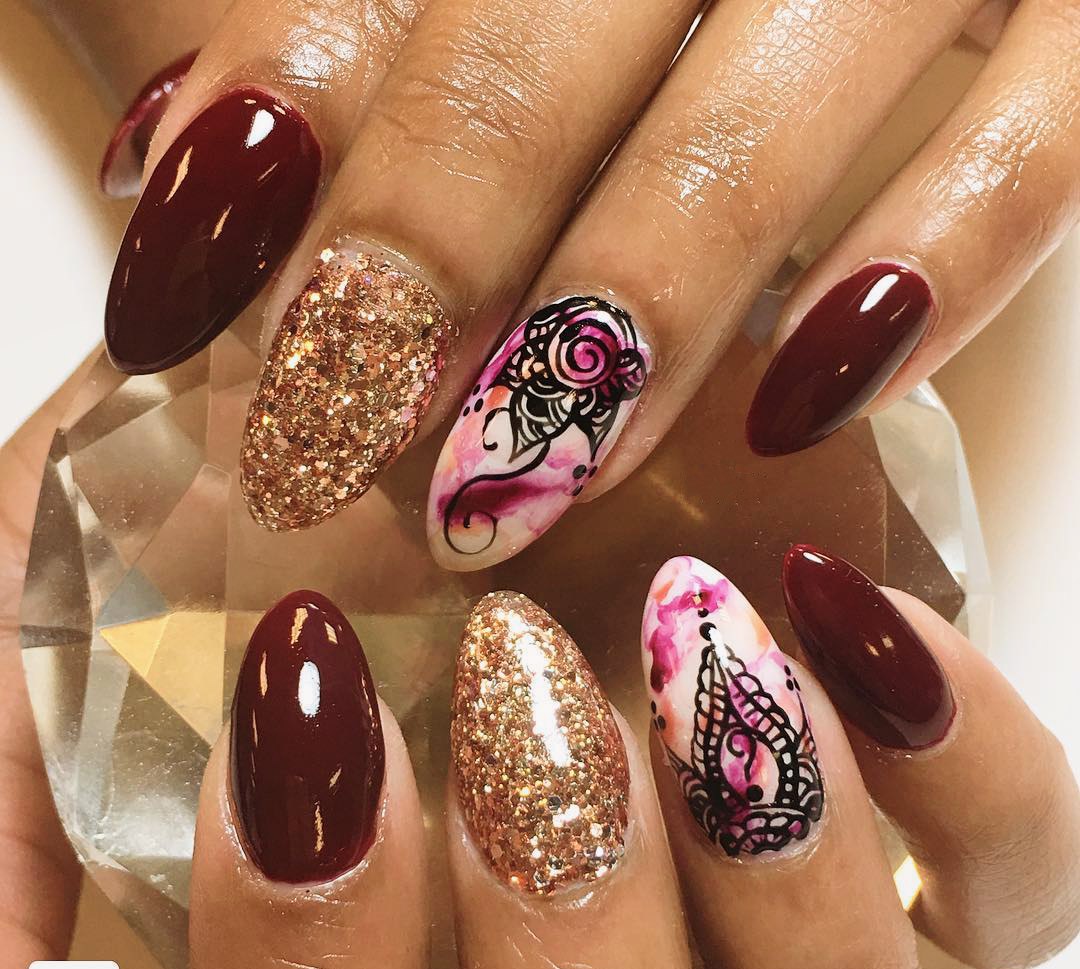
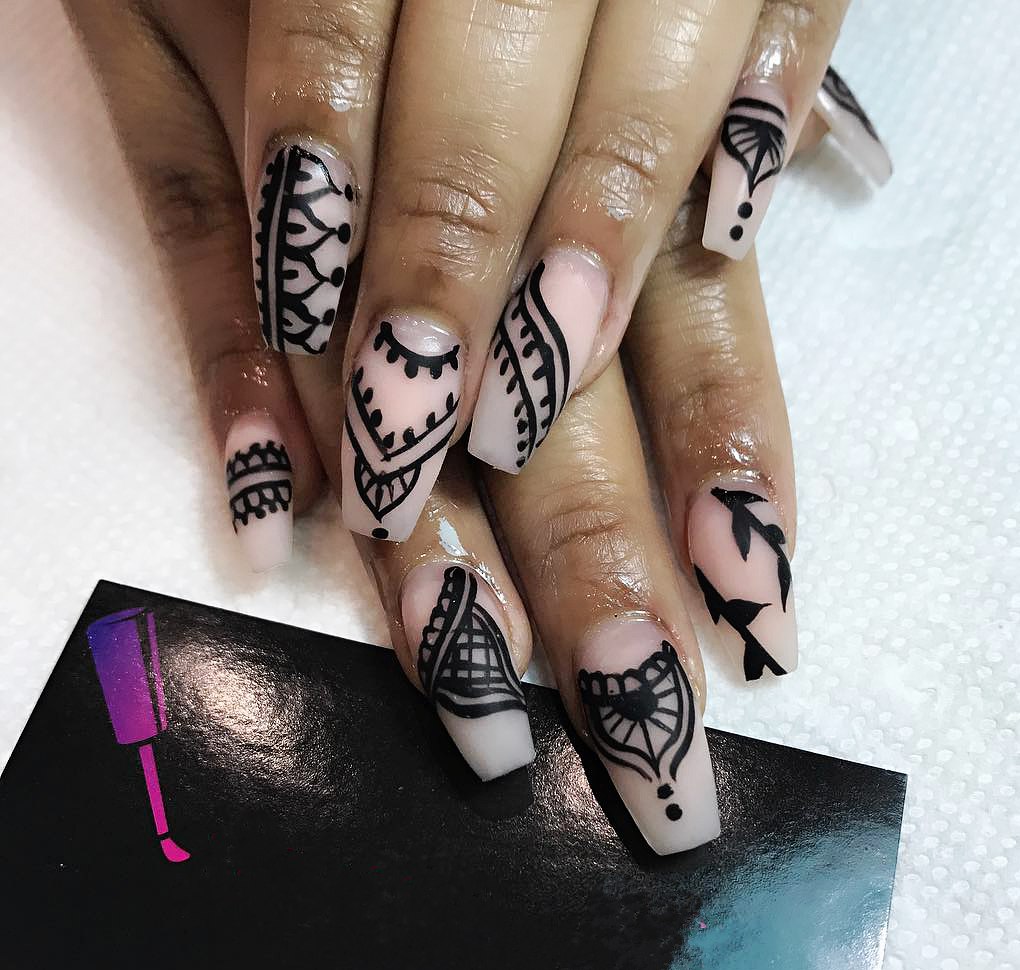
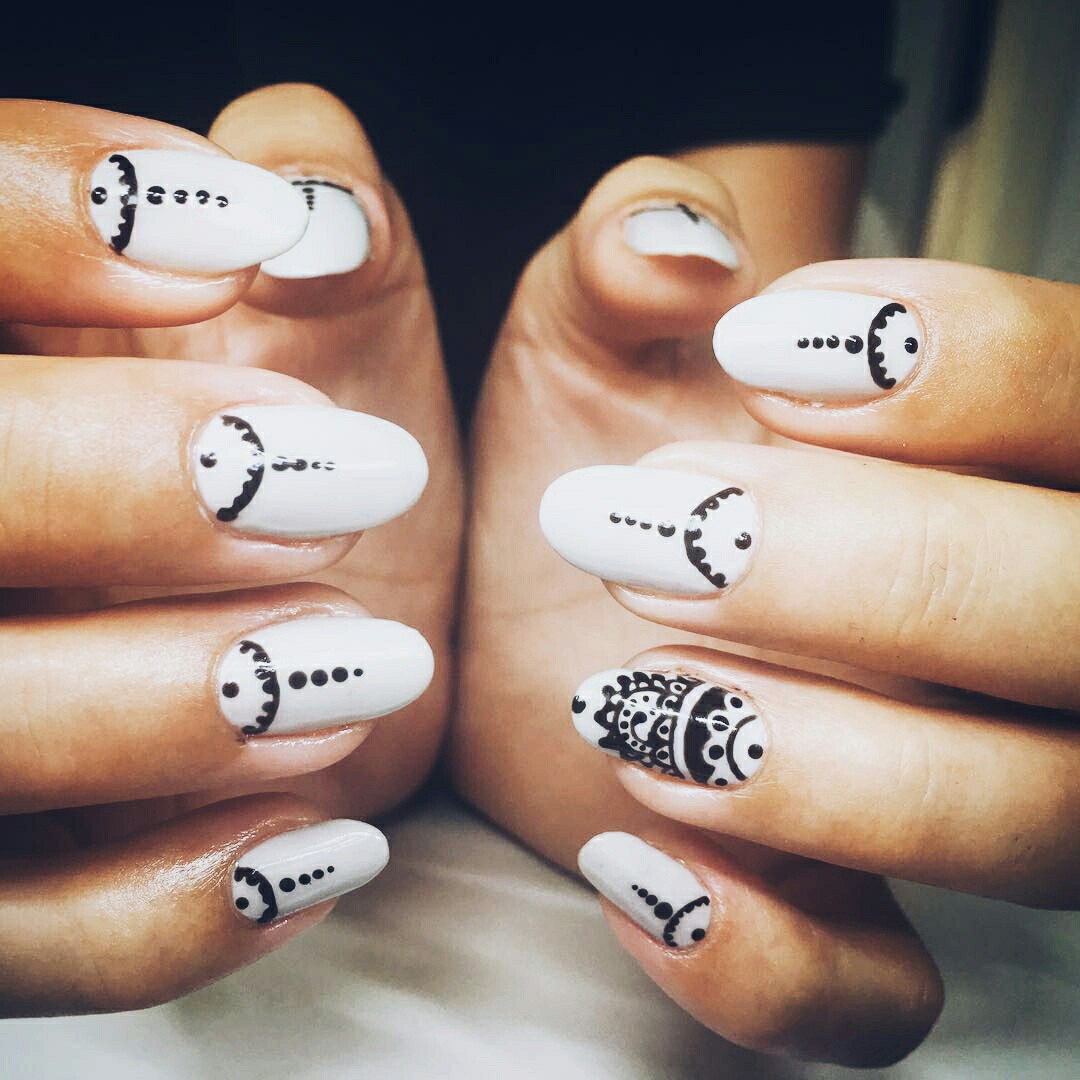
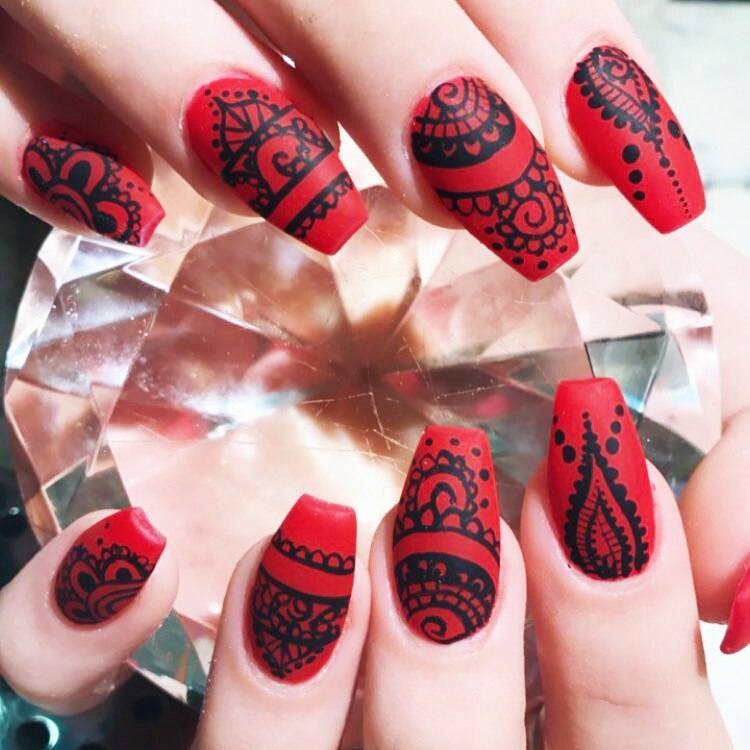
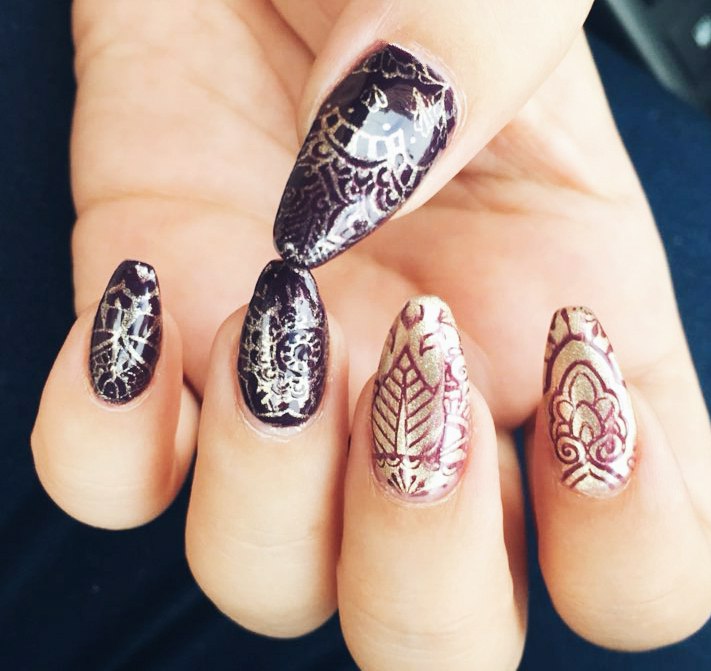
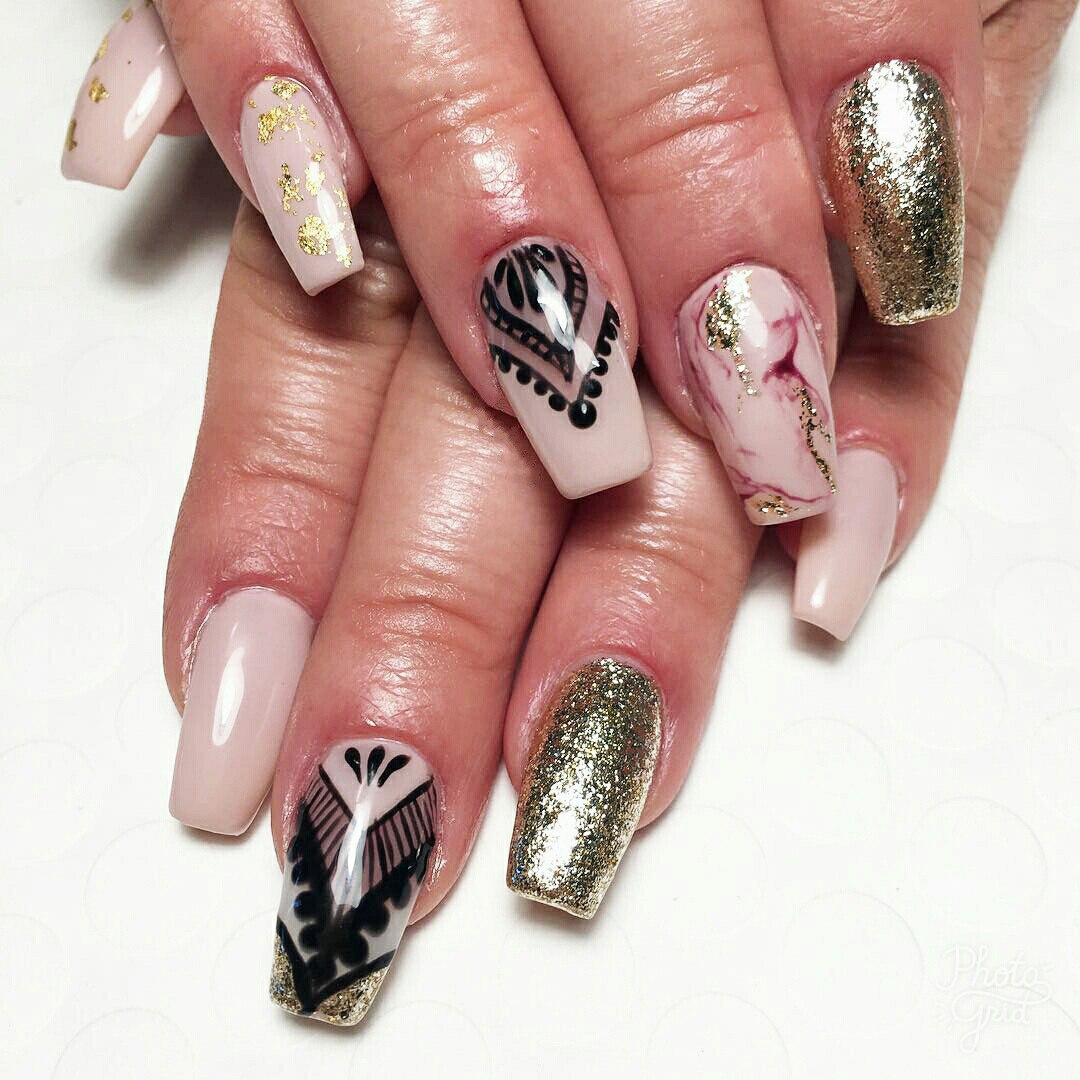
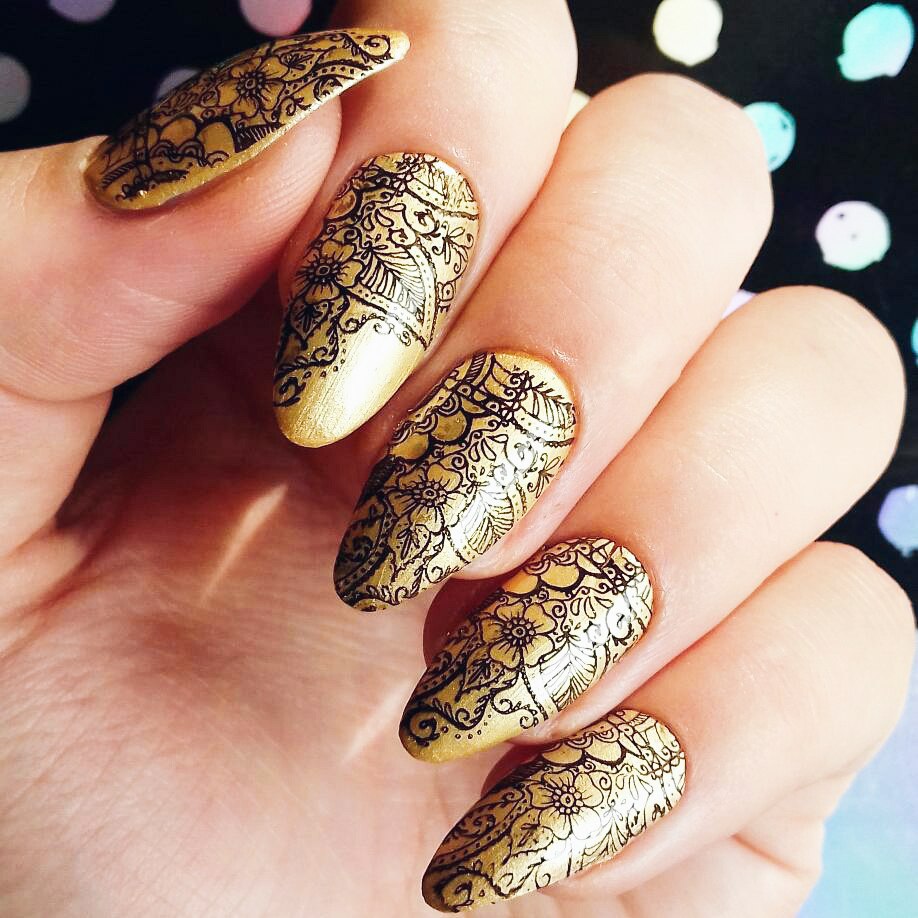
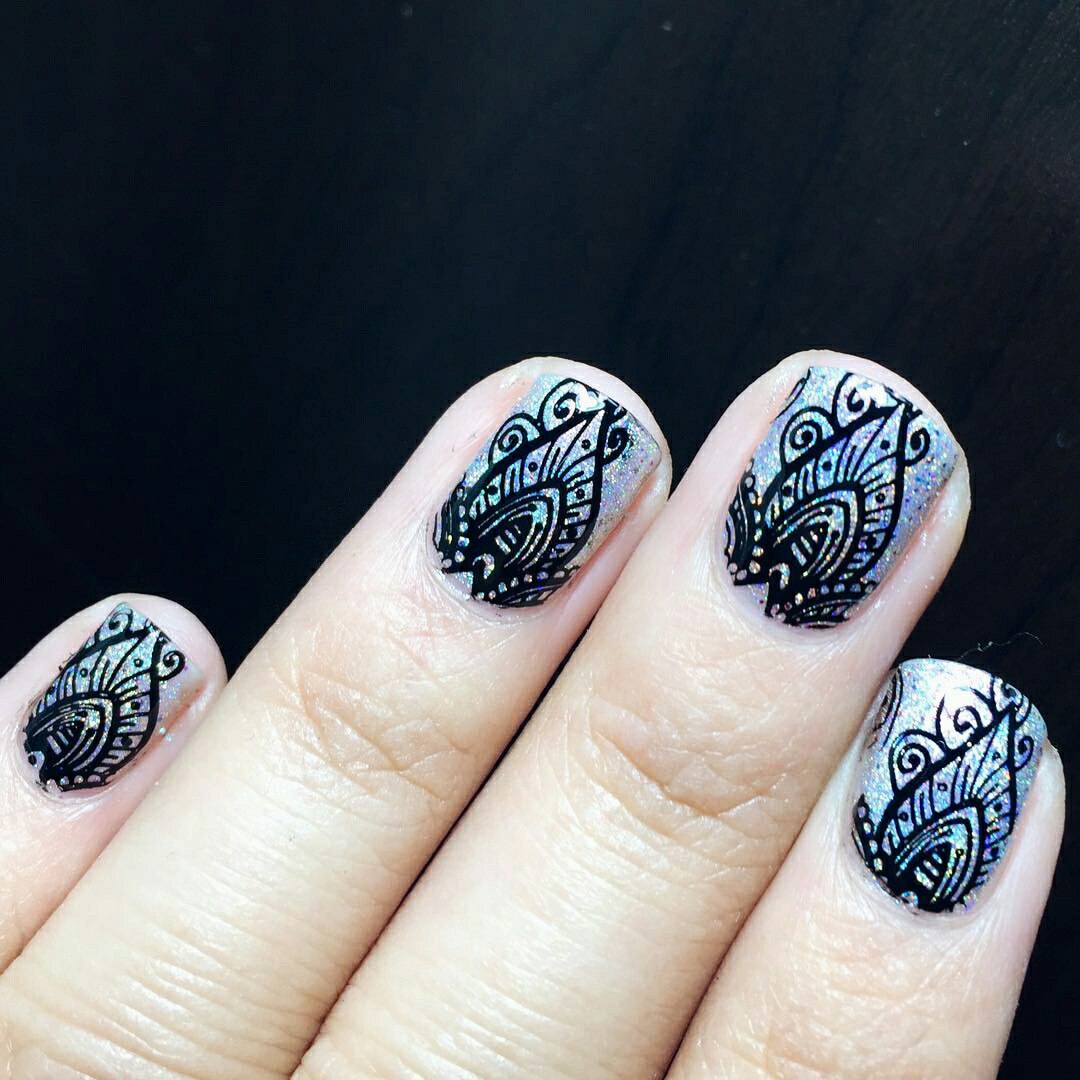
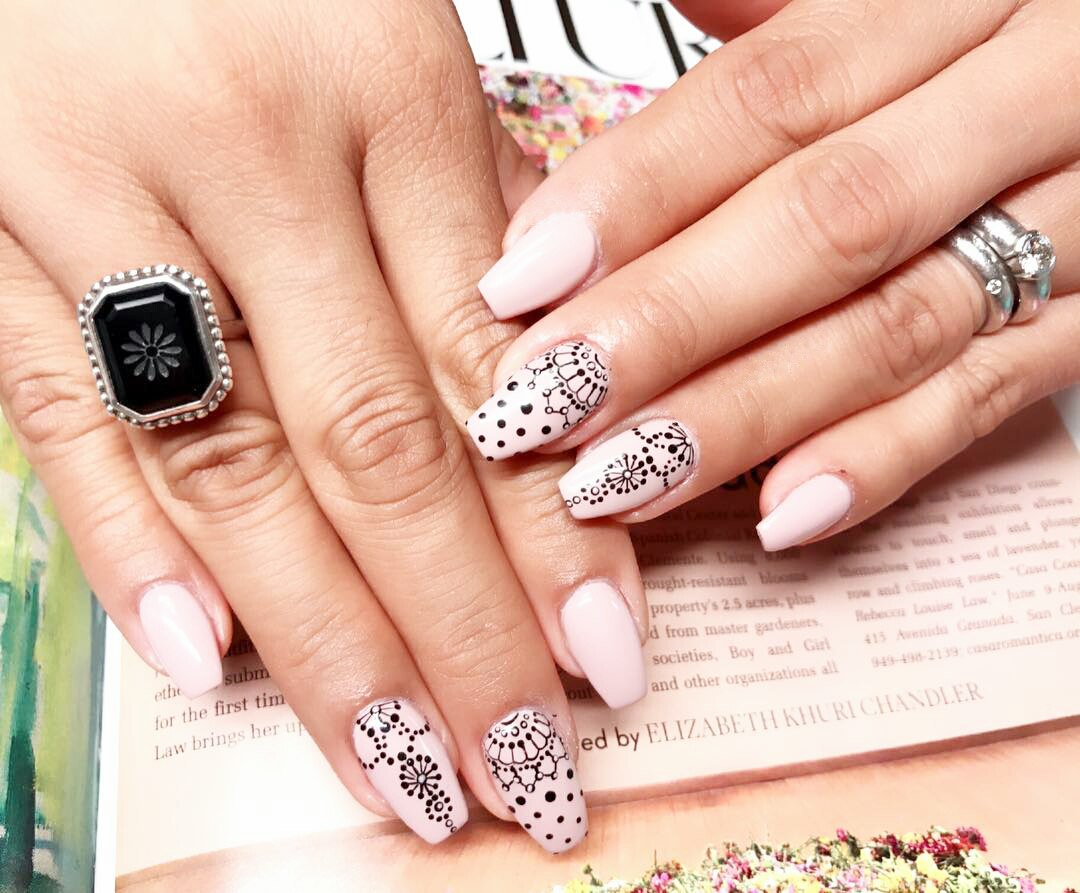
Photos from Instagram.com