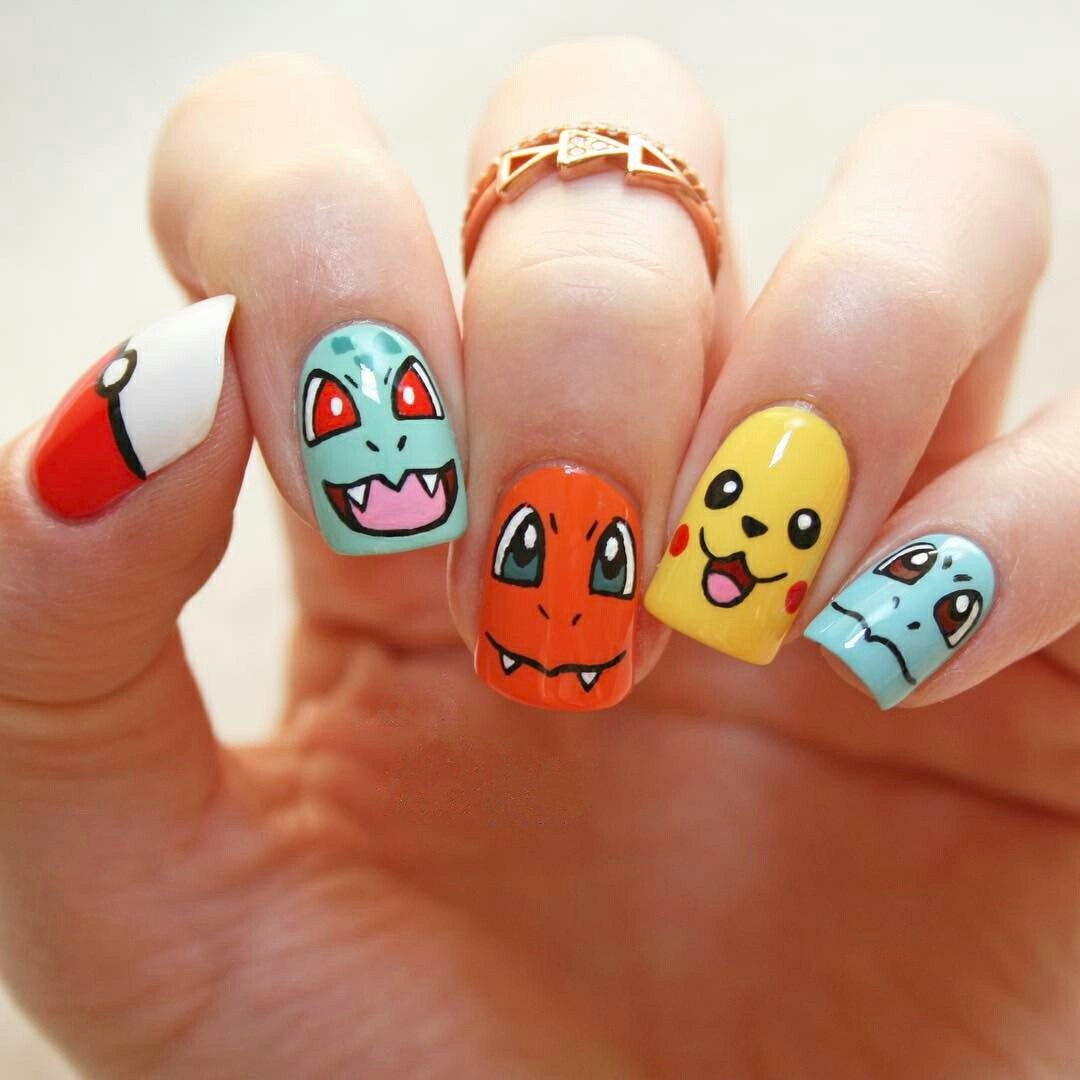
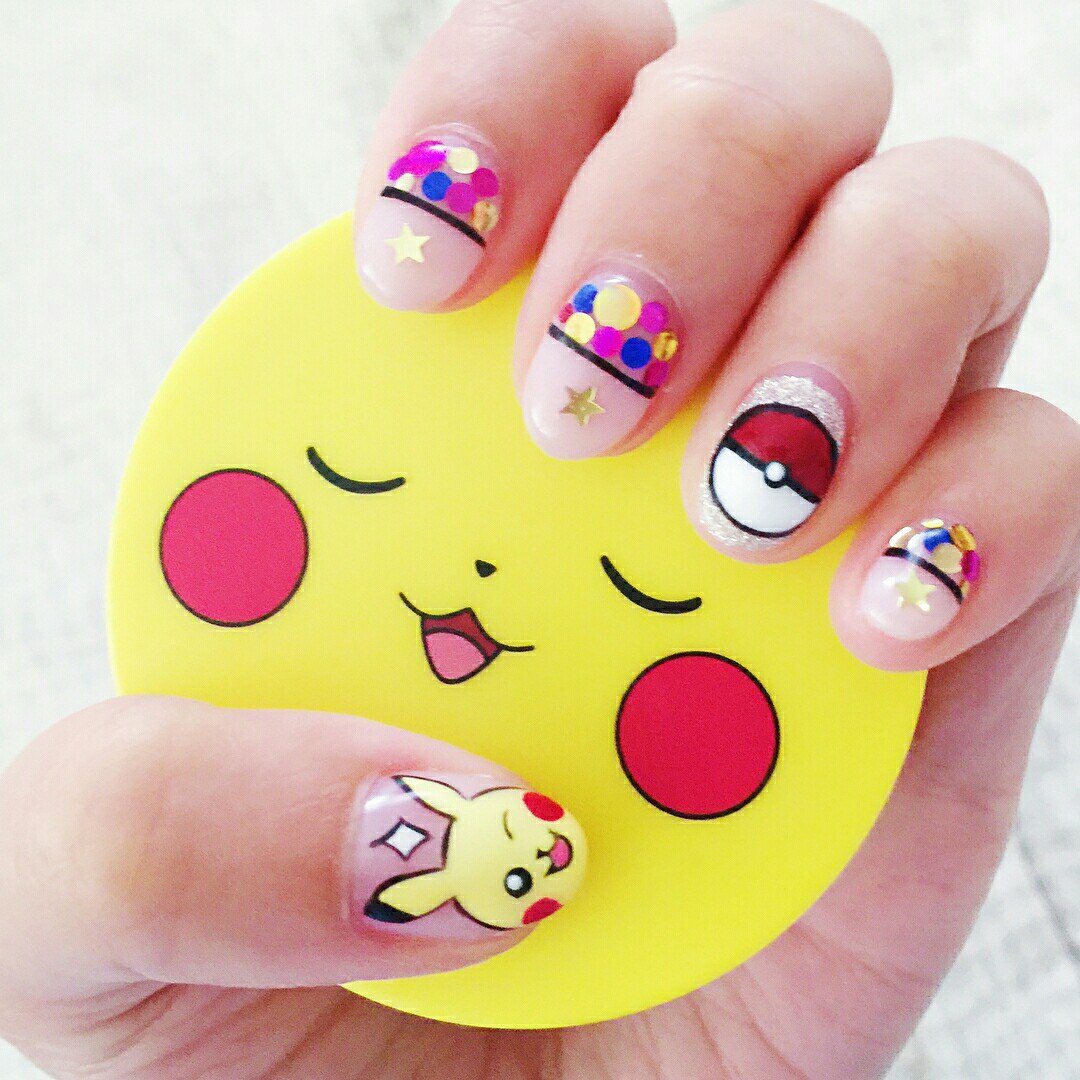
This trend has already captured the attention of admirers of net game “Pokemon Go” for smartphones and become the main reason for mass entertainment fever. As a result, there is a new direction not only in clothes, but also in nail art. Pokemon Go is a pocket game with an exciting plot and thoughtful level that don’t let you relax. So, loyal fans of such entertainment decided to print their favorite characters on their nails. The charming group of pokemons has taken its place on the nails of modern fashionistas and harmoniously complements the look of its fans. It should be noted this pokemon nails design is performed with a dotting tool and acrylic paint. To make the manicure look presentable, the pattern is framed with tiny sequins.
Contents
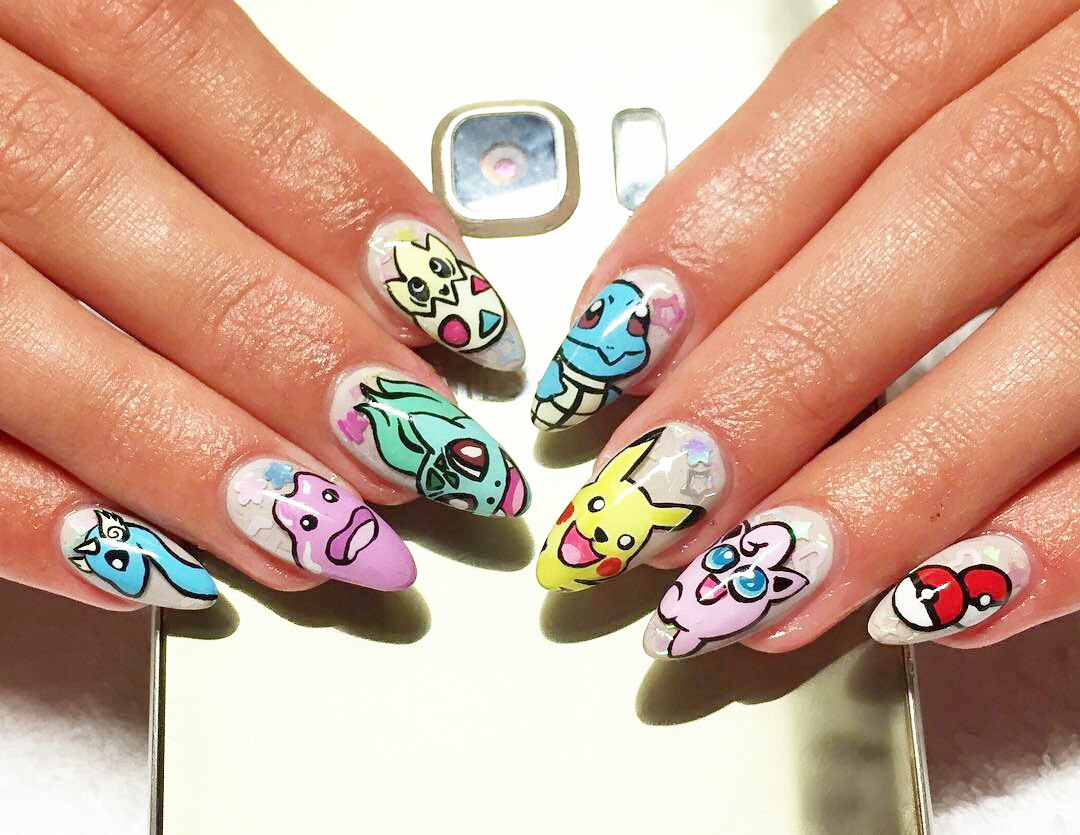
Design with Pokemon Nail Stickers
This nail design is one of the most complex processes in nail art so you won’t cope with it without a professional nail artist. It’s not so difficult to stick a special sticker with pokemons on the nails, but it’s not so easy to paint such symbol of the game, as pokeball, in several colors. If you’re amazed with the new trend, you can boldly choose such nail design with pocket monsters.
If you want to decorate your nails with game symbols, you need to buy some transfer stickers with thin film. Standard sets for decorating the nails are already sold and include 12 samples for each nail (plus spare samples).
The entire process of creating such design starts with preparing the nails, Remove the old coating from the nail plates, polish and degrease the surface and treat them with antiseptic.

Cover the nails with the basic level of polish. It’s better to take white or light shade as the picture will look brighter in this background.
If you need to match the stickers with the nails, cut them around. Dip the transfer sticker into warm water with a forceps and rub them with a dry sponge carefully.
Pokemon Nail Art at Home
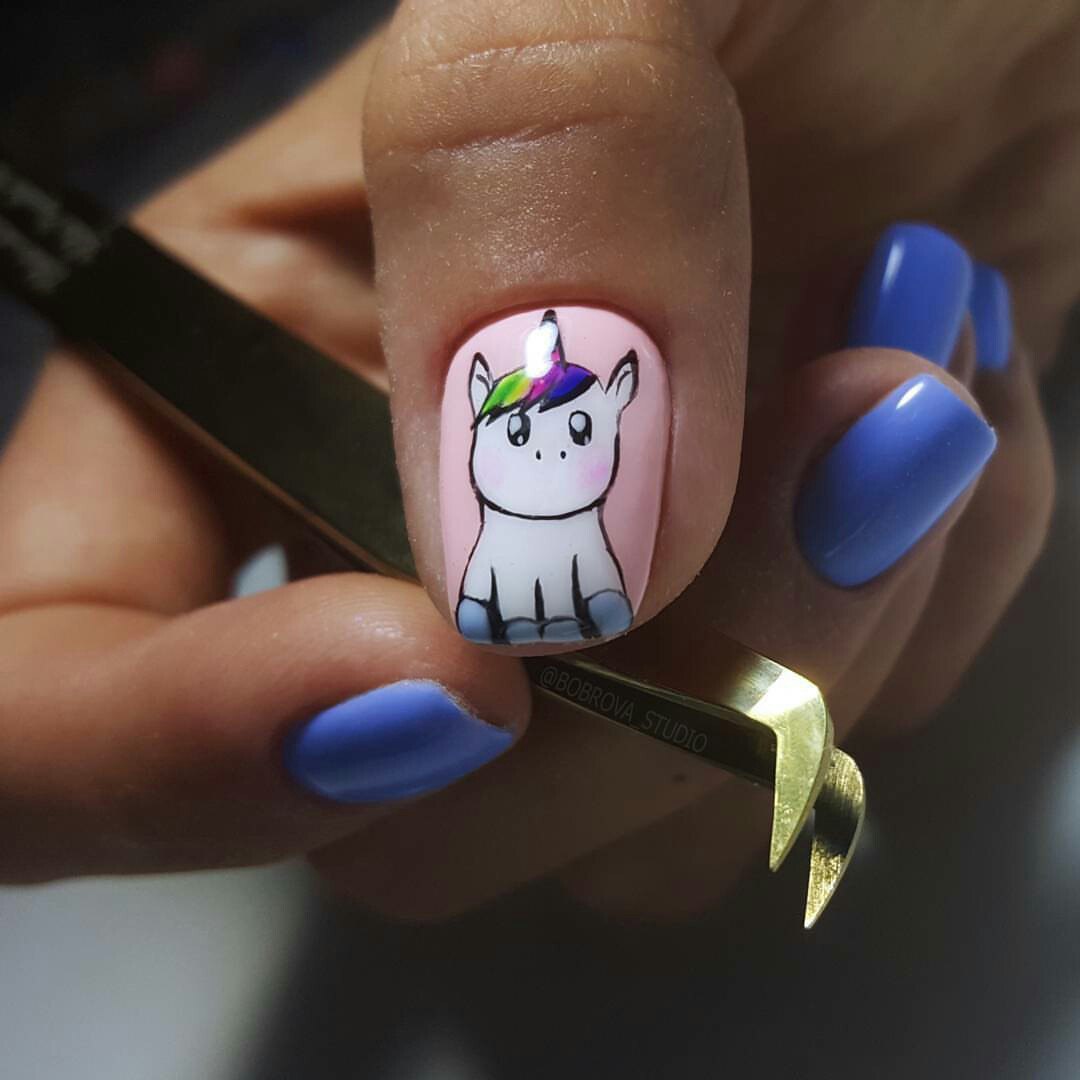
The perfect quality of pictures gives an opportunity to have funny pokemons on your nails. If you don’t like ready stickers, you can create a new character.
There are two different ways of creating pokemon nails design. The first one requires patience and special skills to cut the picture on the sticker around. This way isn’t time-consuming and suits even beginners in nail art but it’s recommended to visit a beauty salon and ask a professional nail artist for help.
Photofilm with a sticky layer requires careful handling. The only one disadvantage is that when you dip it into water it loses its bright colors and contours.
Process of Creting Pokemon Nail Designs
- When you match the picture with the nail shape, you can print the picture on any surface. You can use acryl, gel or polish as a base. If you want to wear this design longer, use shellac with a transparent layer of polish as a basic coating.
- Remove protecting film from the picture with a forceps. To place the picture on the nails evenly, make several cuts carefully from the opposite sides.
- Indent the cuticle (by 2 mm) and place the sticker on the nail plate. Smooth the picture with a wooden stick.
- Turn the edges of the sticker to the tip nails and match their shape with the nail plate. Remove the remains of the picture.
Finally, apply a finishing layer of polish to the nails with pictures not to let liquid enter the sticker.
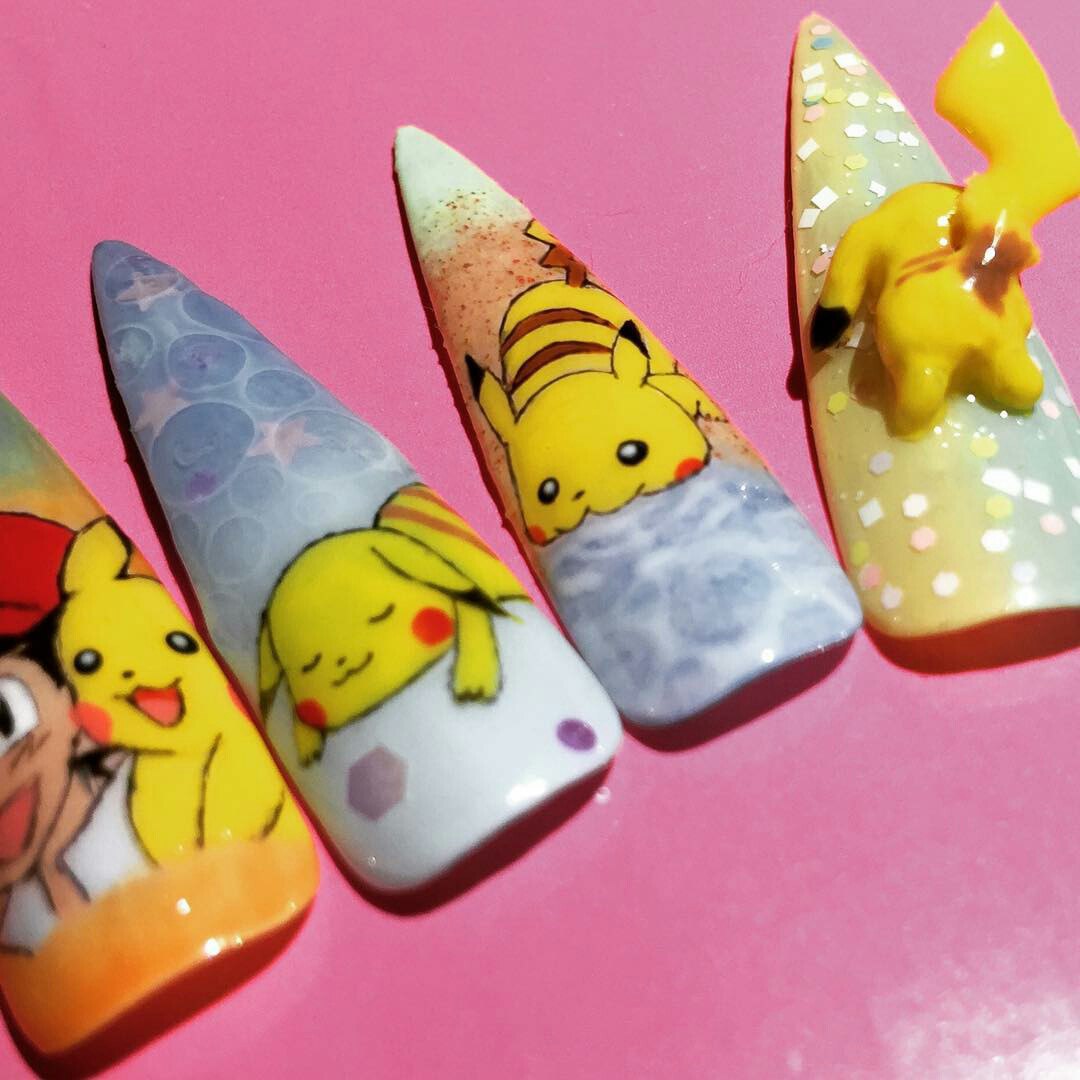
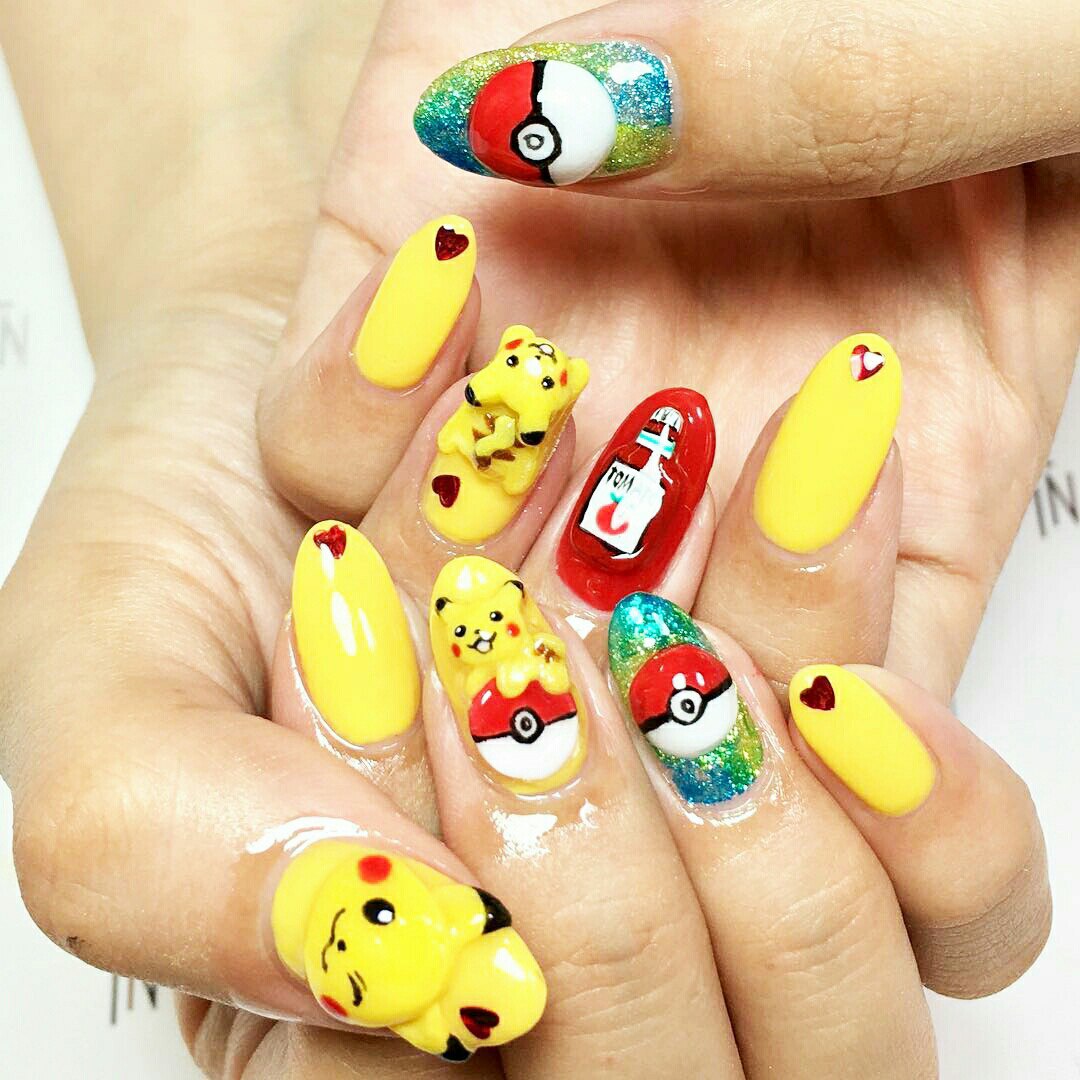
Stickers with 3D effect look amazing! Their main advantage is that they can create a “vivid” effect and make the nails visually more voluminous. You can achieve the same result by using polymer clay.
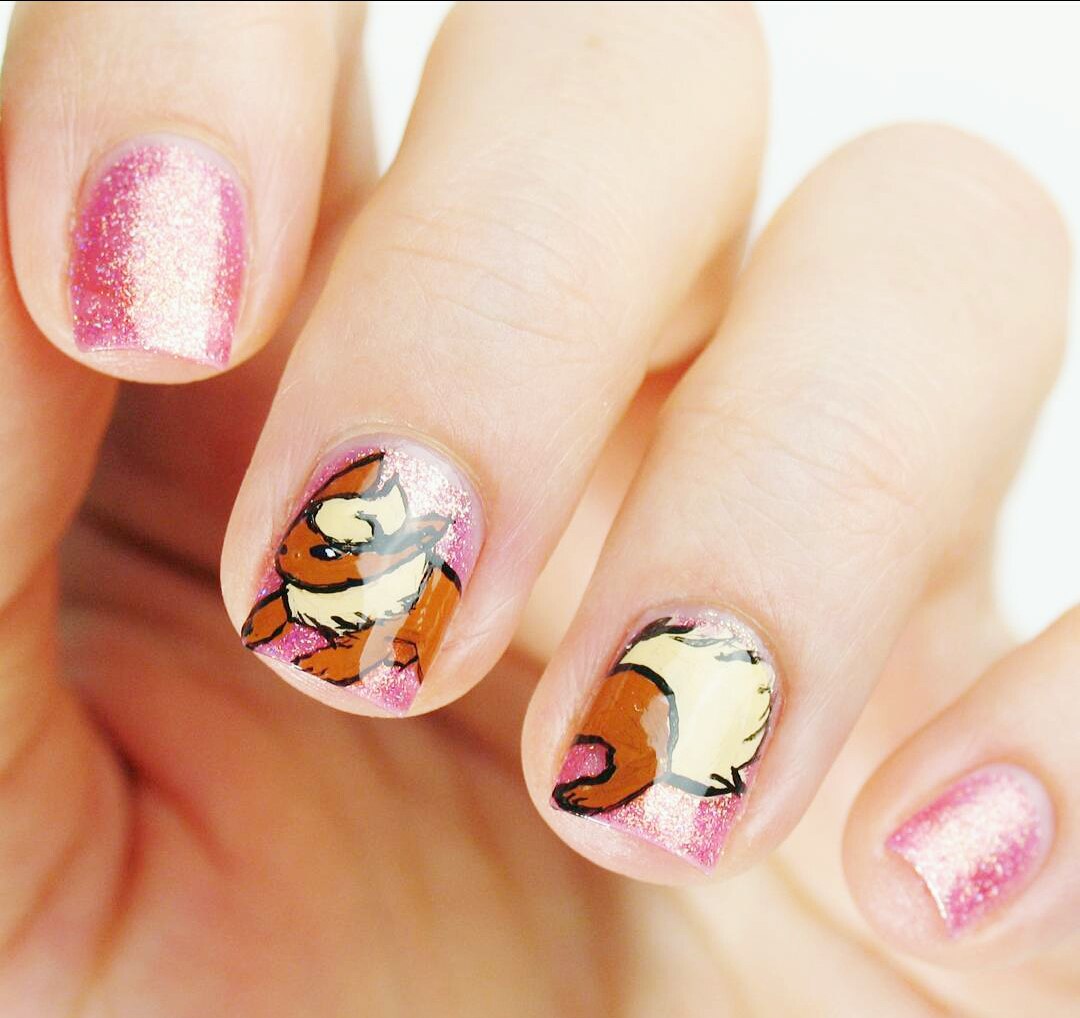
Pikachu Nails Art: Special Design Technique
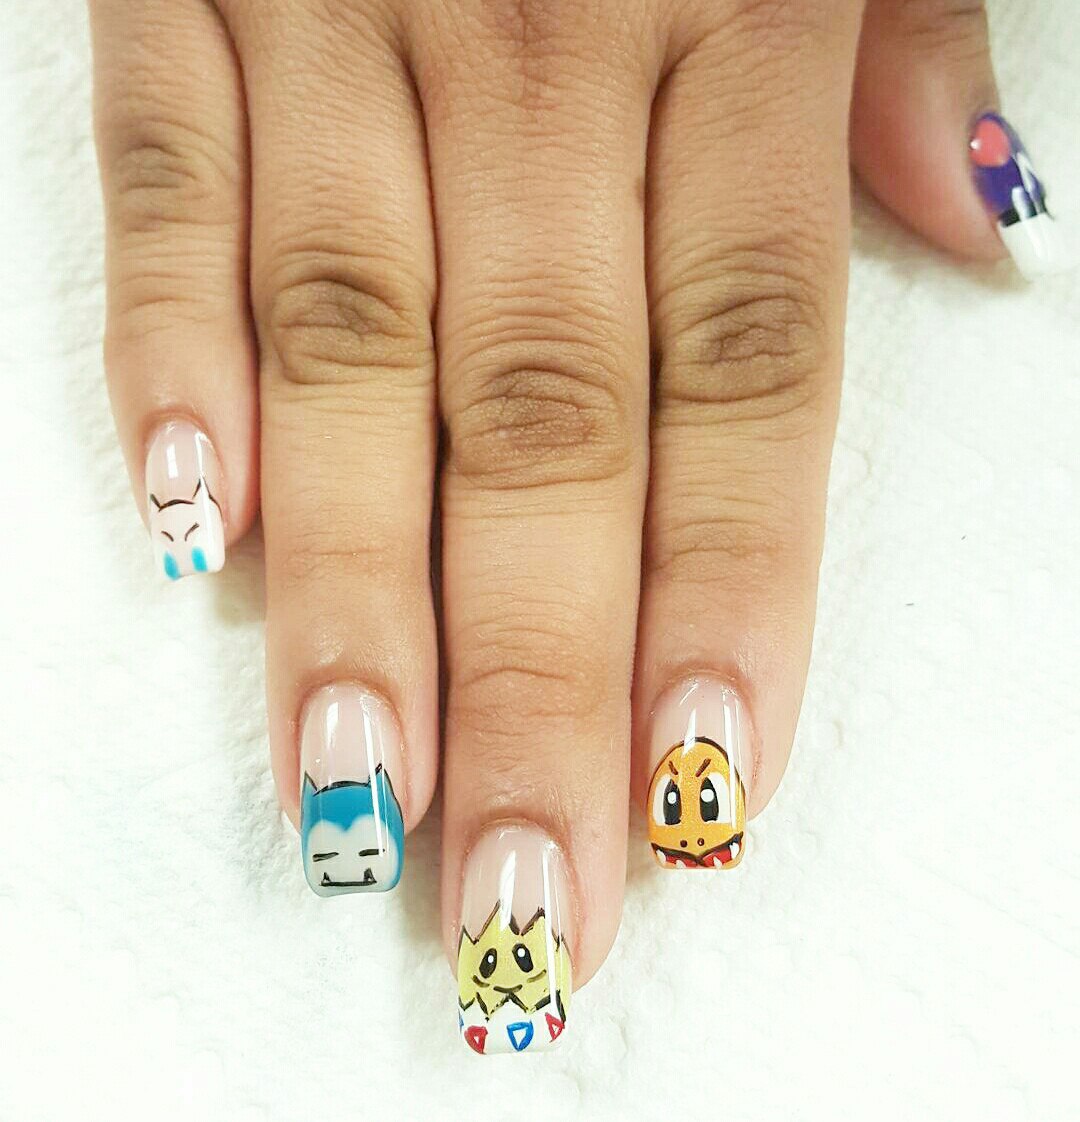
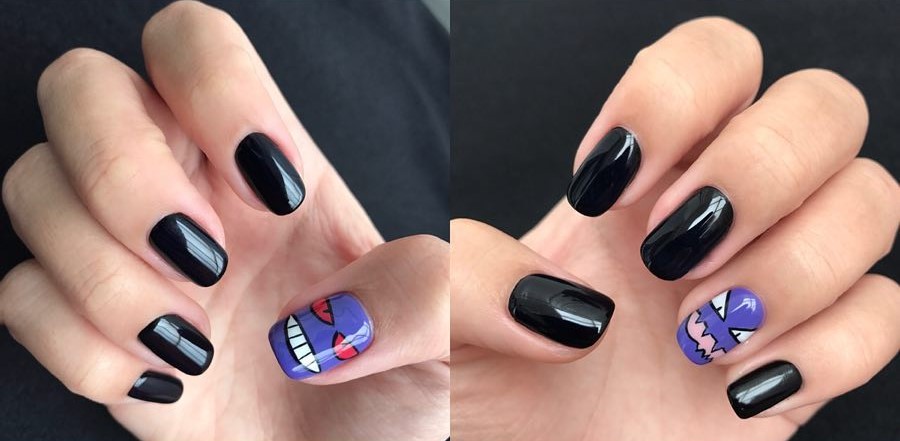
If you have artistic skills, you can easily paint decorations of this funny game on your nails. Bulbasaur, Meowth, Pikachu nail designs and other characters will appear on your nails and will strike other people with their bright colors.
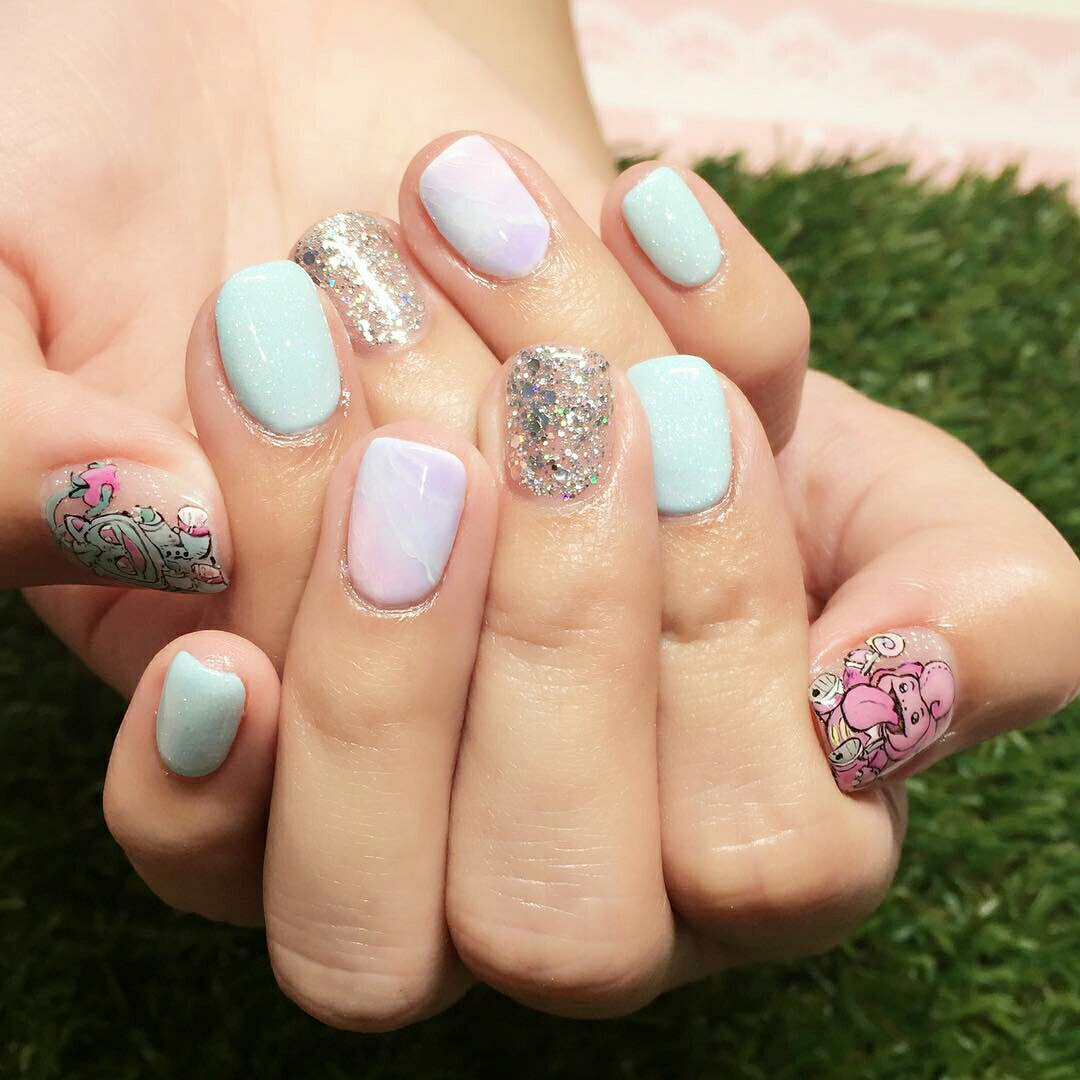
If you can’t paint cartoon characters yourself, use services of the nail artist or try to paint a pokemon ball nails on one nail. Your imagination will help you create any nail design.
To create the nail design with pokemons, you need:
- top coating or basic layer;
- brushes for manicure;
- container to mix paints;
- piece of foam;
- wet cloth;
- toothpick, needle or pin;
- container with water.
Instruction of Printing Picture
- The preparation for doing pokemon nails art includes all well-known steps: removing cuticles, creating the proper shape and polishing the surface.
- If you have extended nails, the preparation is quite different. Smooth the texture with a nail file and cover the nails with a transparent polish.
- Squeeze out the mixture from the tube. If the density is high, add a few drops of water to dilute it. Paint properly diluted will create an effect of water surface on the nails. But if you like more saturated colors, the texture should be thick.
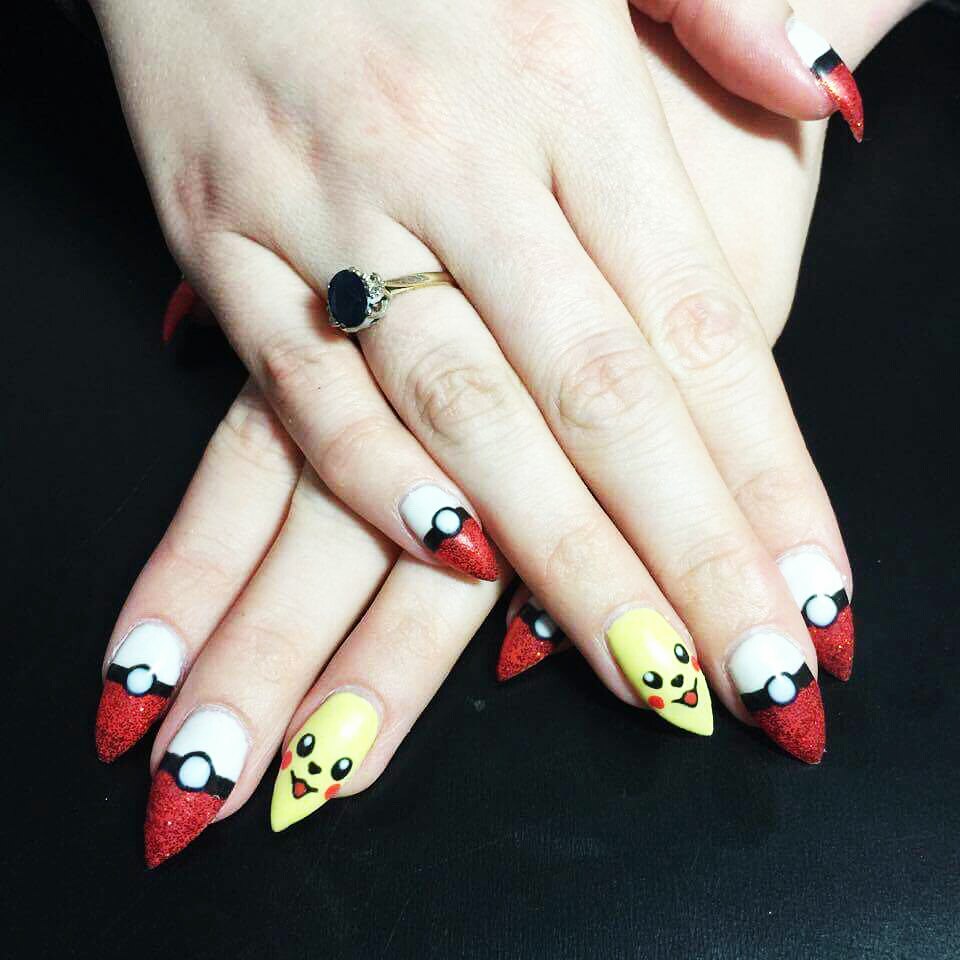
- Draw a contour with a thin brush and cover the center area of the nail plate with polish of another color.
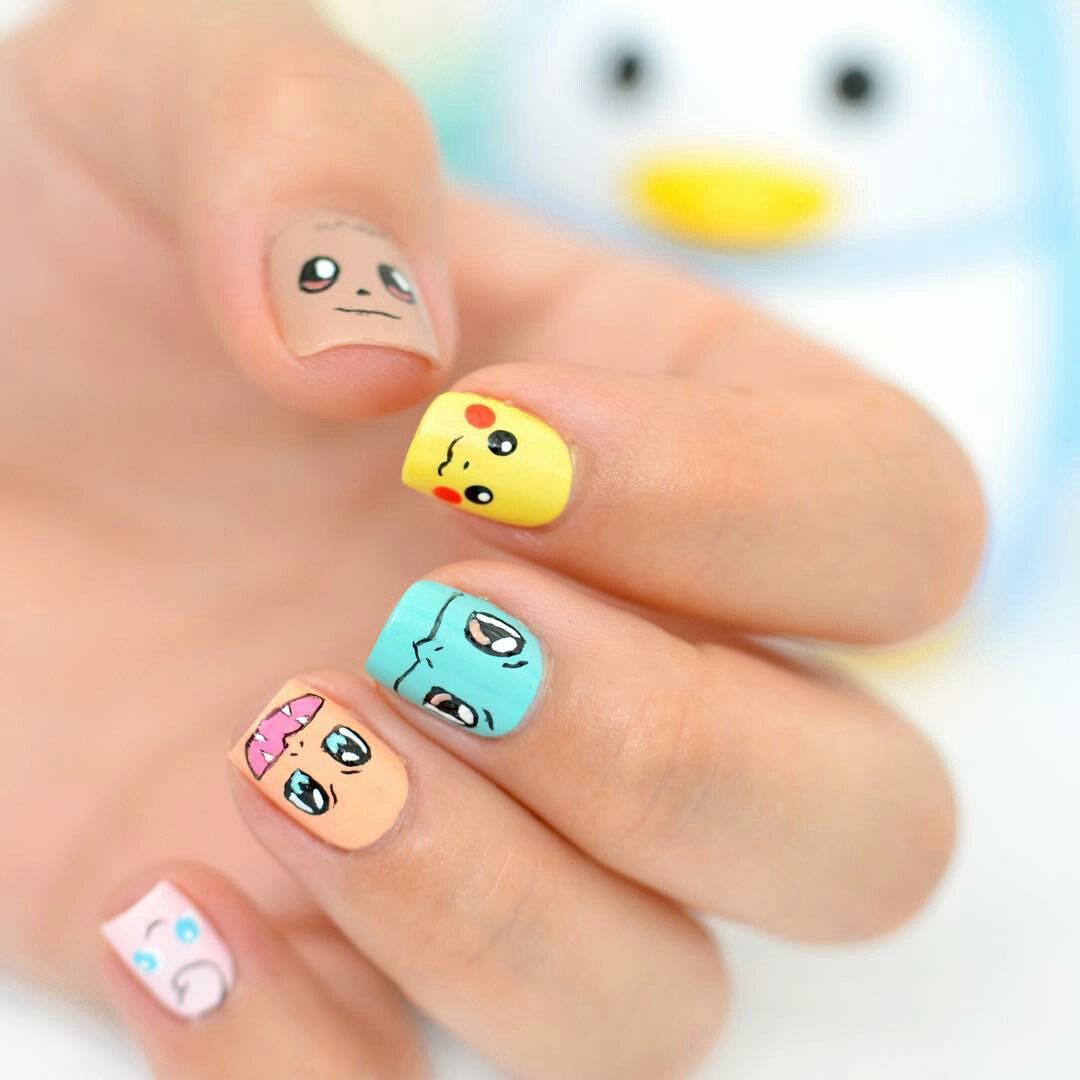
- To paint pokemons, draw two different trapezes. It will be the body of a funny character, and the other trapeze will be its head.
- Paint eyes with a toothpick or a sharp pin. Put a black spot as a pupil at the center of the “eyes” and paint it black.
- Draw the lines crossing the nose, cheeks and mouth. You will get a funny face.
- Paint the ears with a thin brush in black polish. Draw black arms, legs and a tail. Cover the “body” with bright yellow polish.
If you cover the picture with several layers of polish, wait until each layer dries. Finally, cover the pokemon nail polish.
Pokemon nails is a new direction in nail art. And while the entire country runs a fever from pokemons, you can be the most stylish and biggest fan with funny characters on your nails. Surprise everybody with your look!


Pokemon Nails Art: Video Tutorial
Photos from Instagram.com