Beauty and women are interlinked the way sunlight and the sun do. To beautify themselves, the women have tried new and novel approaches over time, nothing but to add more beauty (polygel nails one of the first things).
Interestingly, hairs, eyebrows, eyes, nose, and lips, etc each of them are given exclusive attention and treatment. In this regard, several terminologies have been introduced to identify the beautification of each of these elements.
Contents
What Is Manicure? 10 Main Types
Let’s talk about manicure first because even you wear full makeup, stylize your hairs, yet your dry cuticle may mar your overall beauty.
Manicure is the process of cleaning your hand-nails, cutting the extra cuticle, and making your nails shiny and stylish. It’s well known that hands tell your real age. So, will you focus more on your face, which can be beautified or even can get face-lift, or treat your hands? Of course, Hands.
Doing manicure frequently will keep your nails tidy, clean, and prevent them from chipping or cracking. There are various types of manicures available. Let’s take a brief overview of each of them.
1. Simple Manicure
Whether it’s your first menicure or you are used to it, you should keep it simple. First, apply some soothing cream to your cuticles and soak them in a bowl of warm water for about 5-7 minutes.
Then dry your hands and start trimming your nails followed by cleaning the cuticles. You’re almost done here. Then apply the base coat to your nails and, finally apply your favorite nail polish.
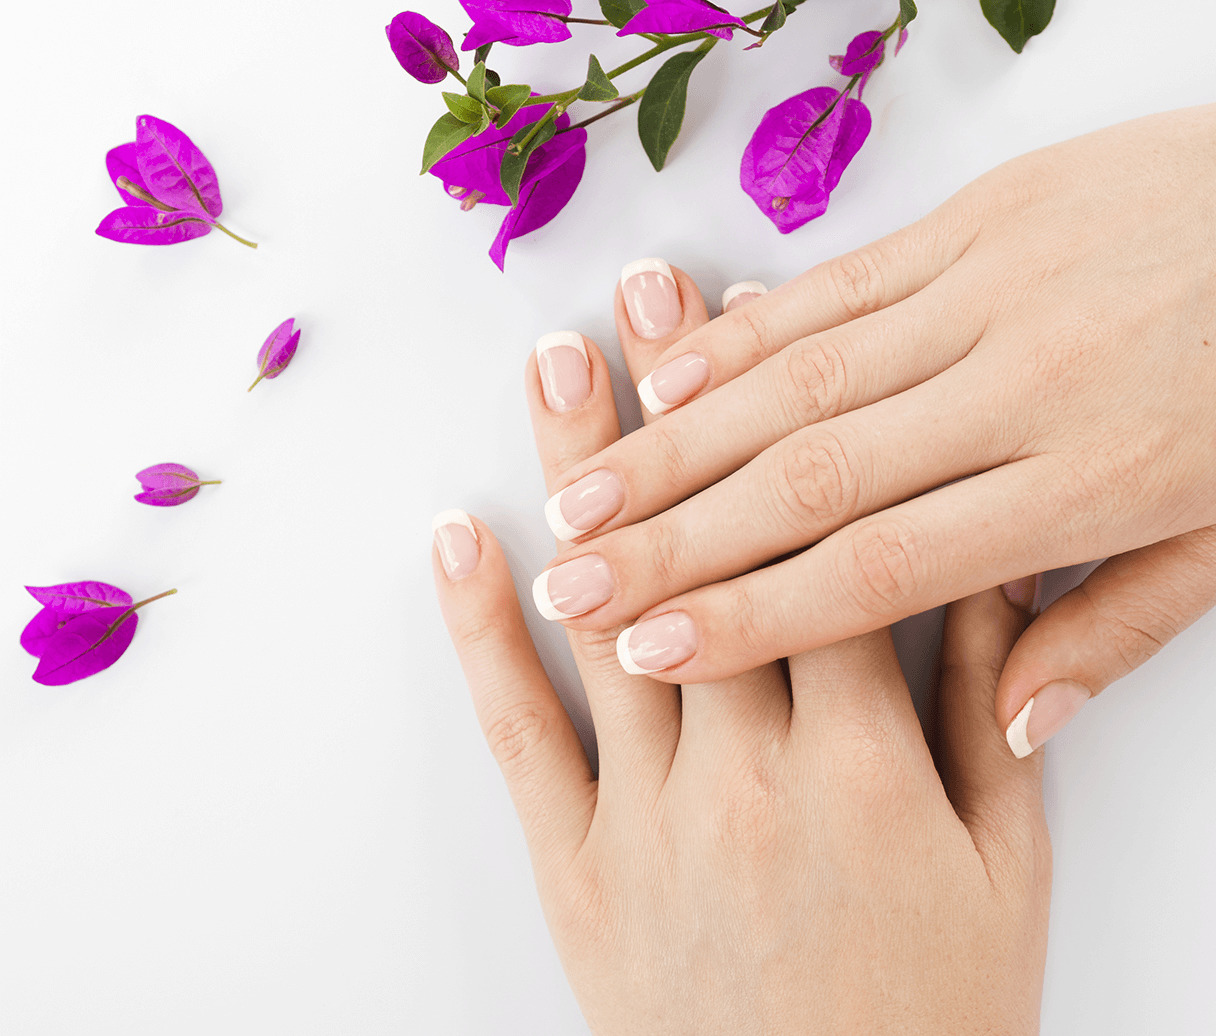
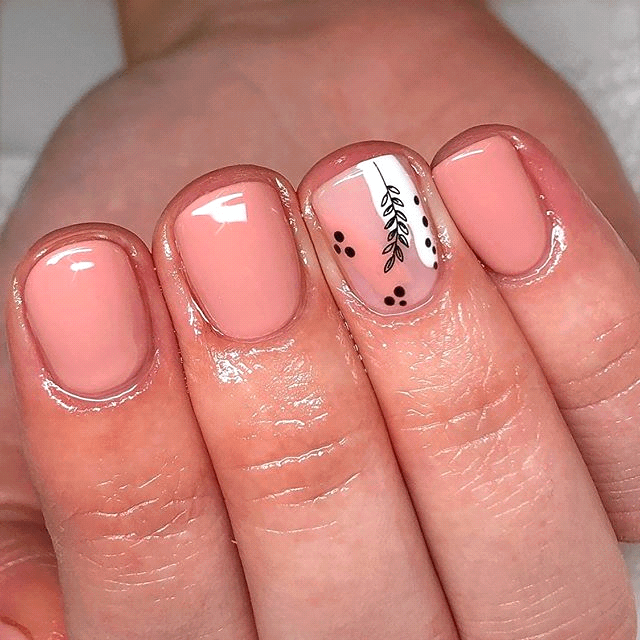
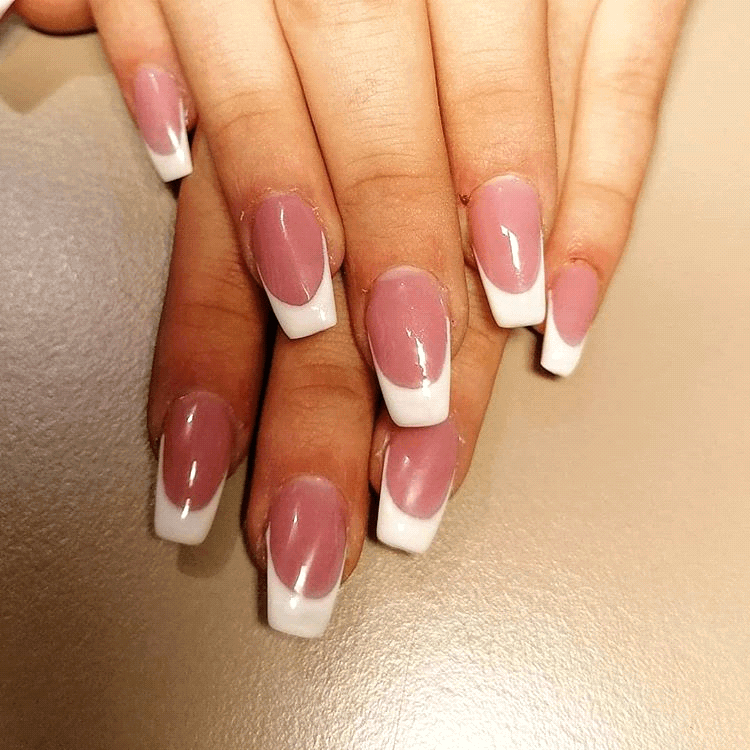
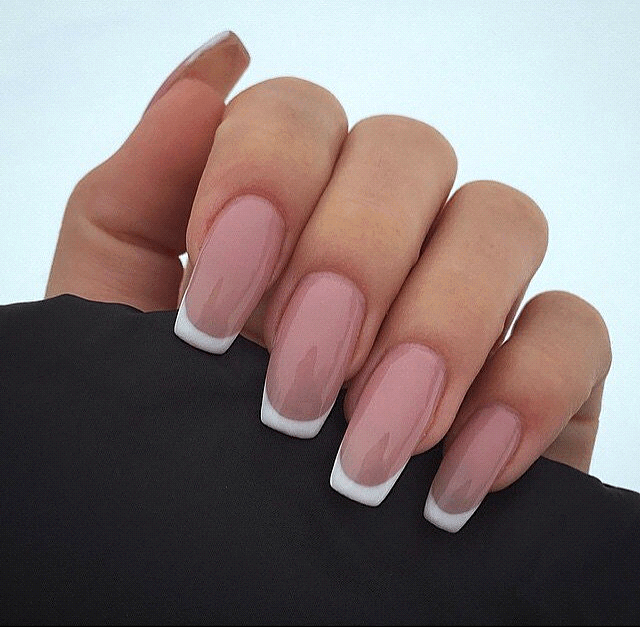
2. French Manicure
It’s one of the trending manicures among all. Fashion geeks love it because its unique style keeps the natural form of your nails, that is, a white border at the end.
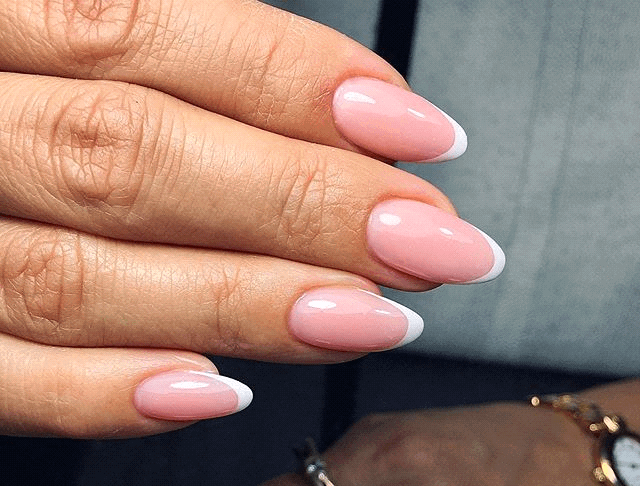
The funny thing is that it’s not difficult as the French language is.The process starts with a single coat of either a transparent or pink polish. Once it dries, the white border is added to the tip.
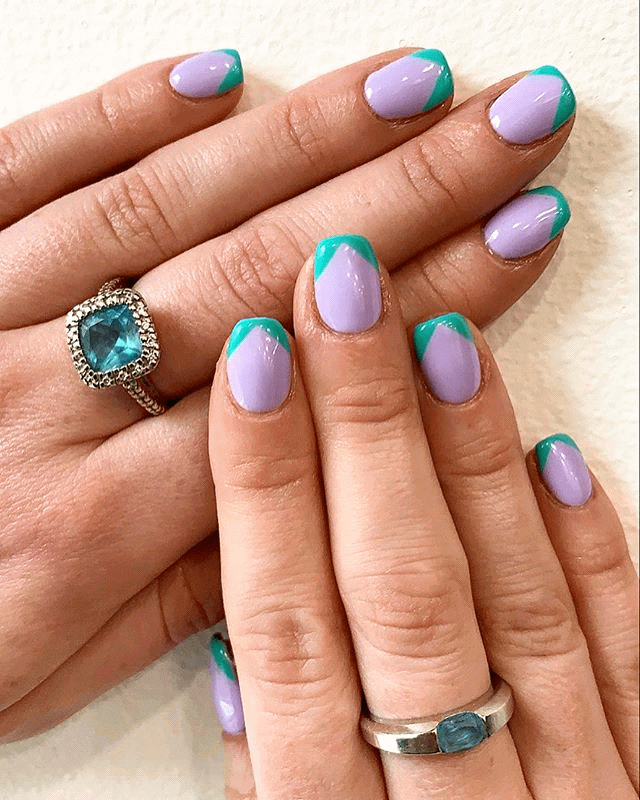
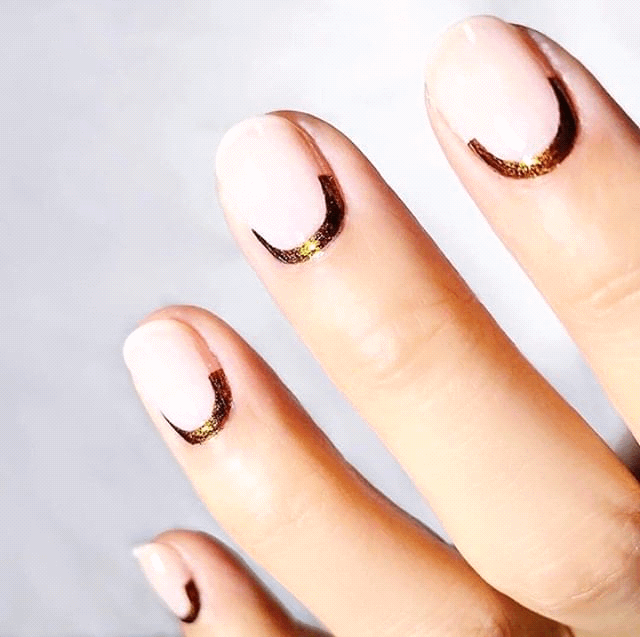
3. Reverse French Manicure
Now you are familiar with the French manicure, it’s time to add another border of different paint. But this time on the opposite side.
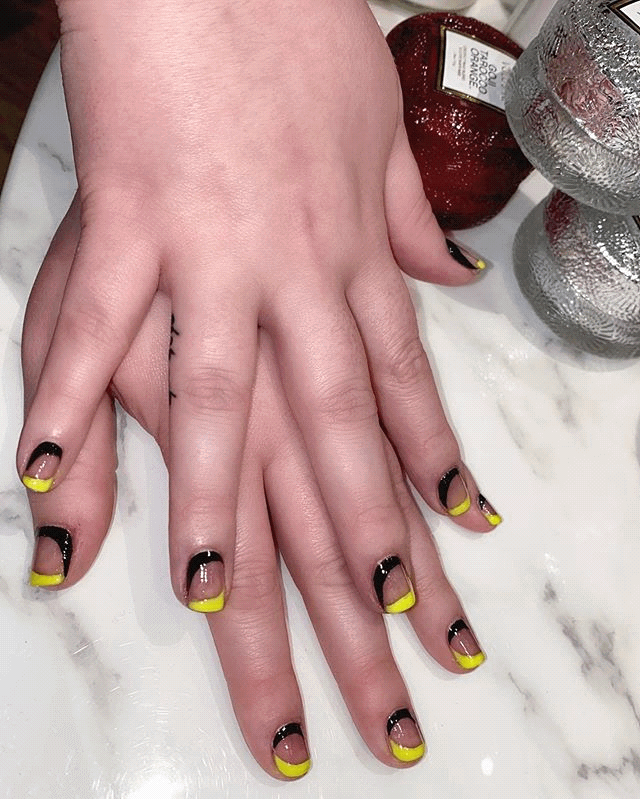
Cute, isn’t it? And this is what we call Reverse French.
4. Paraffin Manicure
This manicure is used if your skin is dry. Not only a nail paint but involves a hand massage for your fingers as well that makes your hands super soft. The process is quite impressive. As the name suggests, it involves the use of Parrafin wax. First, melt the wax in a special bowl and let it cool down.
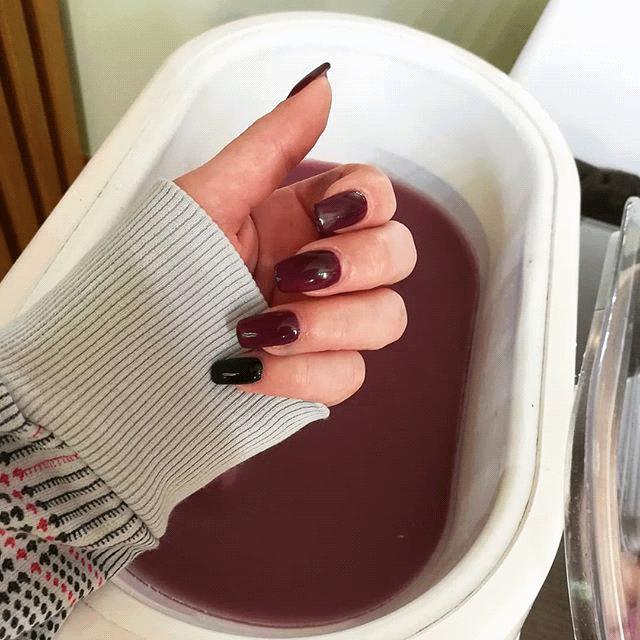
By the time the wax cools down to be bearable for your hands, you may massage your hands with some oil or lotion. Once its bearable, dip your hands in it, lift them, get dried in the air, and dip again until you complete the seven counts. Then keep it stuck to your hands for an hour and then wash it. These seven layers will make your nails super soft.
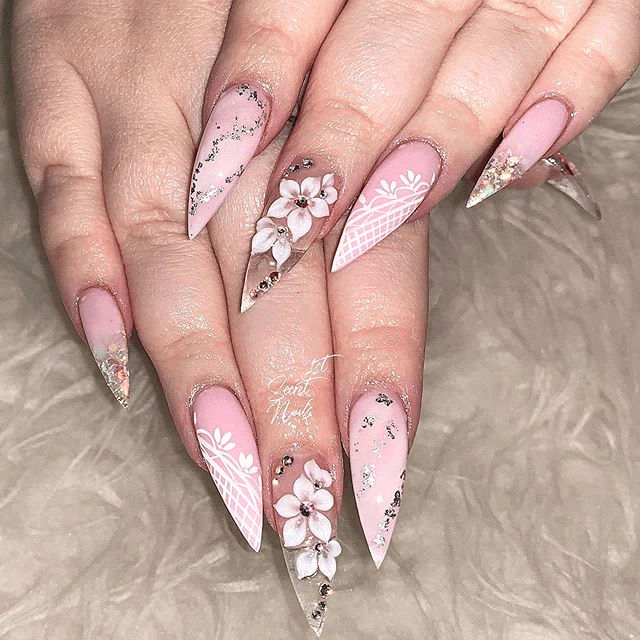
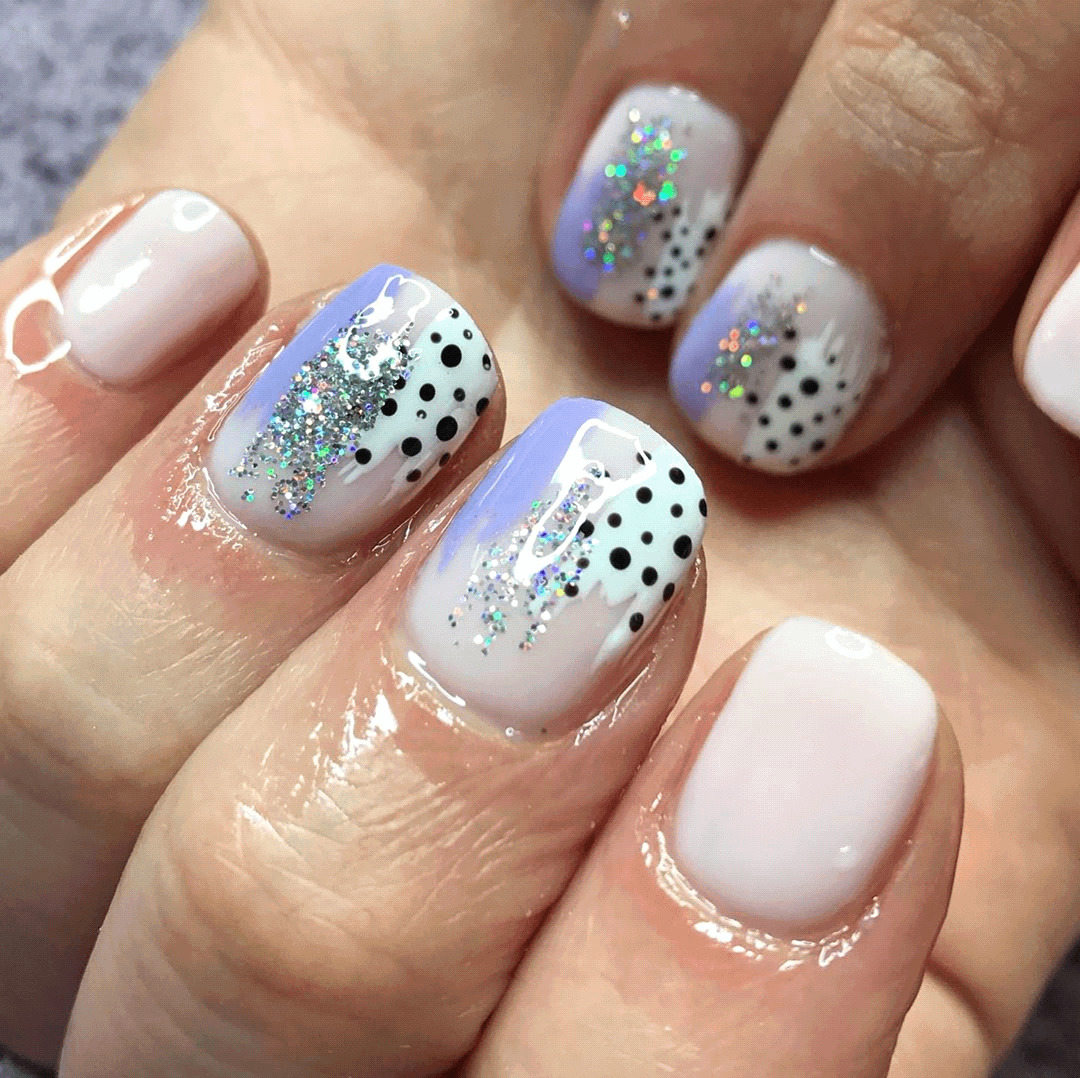
5. Gel Manicure
If you’re someone like me who wants stylish nails but looking for a low maintenance option, then Gel Manicure is for you. You need not visit your saloons frequently. All you need is a special nail polish and a PolyGel that can be cured under UV light.
It starts the same way as other Manucres do. Nail-trimming, cleaning, trimming the cuticles followed by applying the base coat. Once you have applied the base coat, cure it under the UV/LED light source for about 60 seconds. Then squeeze the small amount of Gel onto a spatula and put it on the dual form with think coat on the side that will stick to the cuticle and thinner at the other end. Now place it on the nail and press gently. Let it dry for few minutes and remove the dual form. Apply you favourite nail polish and that’s it.
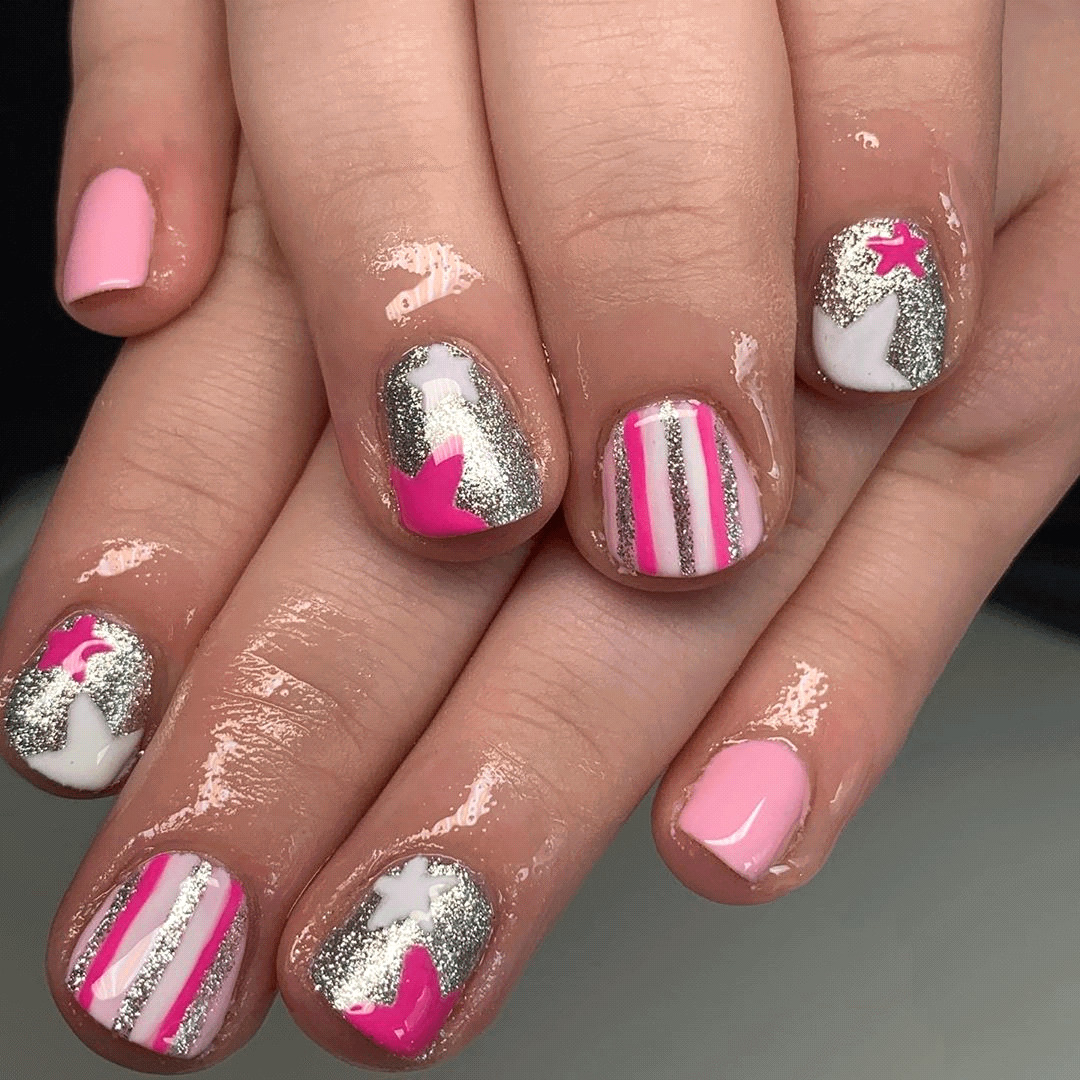
6. Vinylux Manicure
It can also be called Make-shift manicure, all because it’s easier to change or remove it. A fashion-geek with a desire to see new things quite often can apply this. The application is quite simple too.
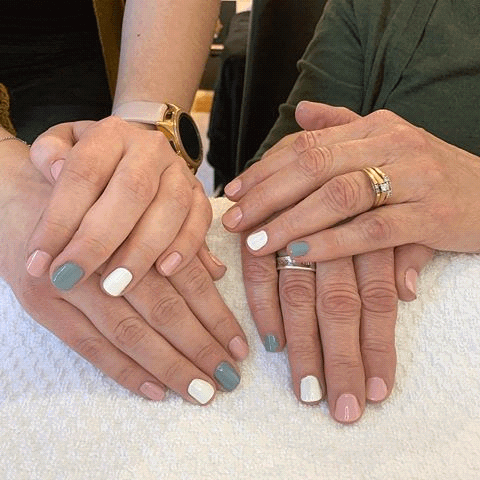
Once you’re done with the primary manicure step, directly apply a coat of Vinyl nail polish. Usually, two layers are enough, after which a final topcoat is needed depending upon if it’s Winter or Summer. To beautify it further, you may add colorful stickers and stones.
7. Shellac Manicure
This type of Manicure is for those who don’t care so often about their nails. It’s a combination of both Basic and Gel nail polish. The reason it’s famous is because of its durability. The more the strength, the lesser the chances of chipping.
Once your nails are cleaned, filed, and shaped, two coats with an interval for drying are applied.
8. Acrylic Manicure
It’s the most common type of manicure, or simply speaking your nail extension. Like any other sticking, the nails are buffed off to make the surface rough.
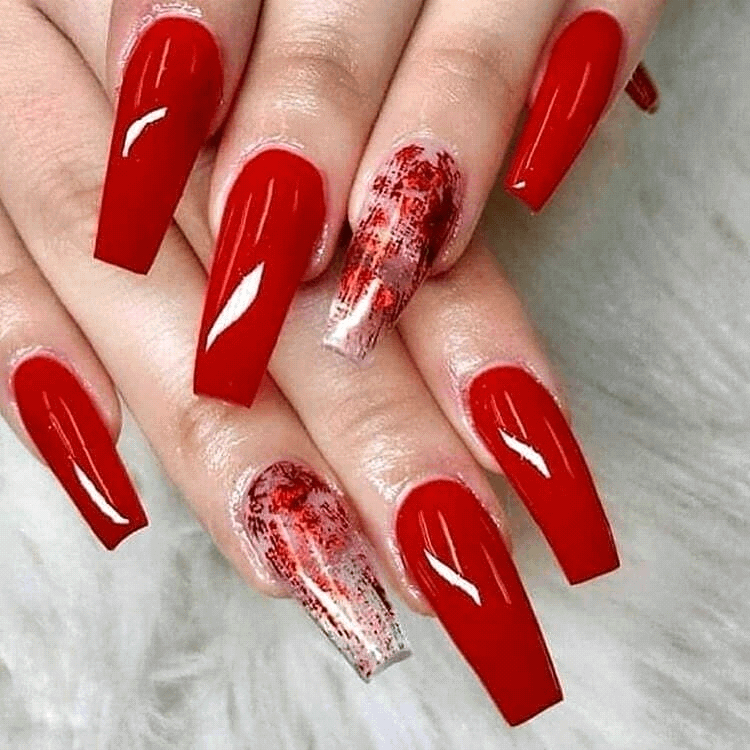
The acrylic mixture is then applied carefully, which is then shaped to look like an actual nail. After the acrylic mixture dries, the desired nail polish is used, which hides the joint.
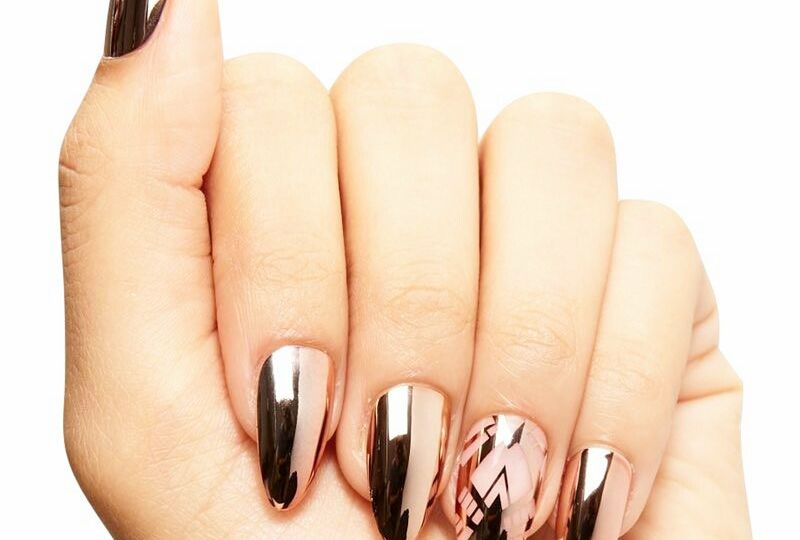
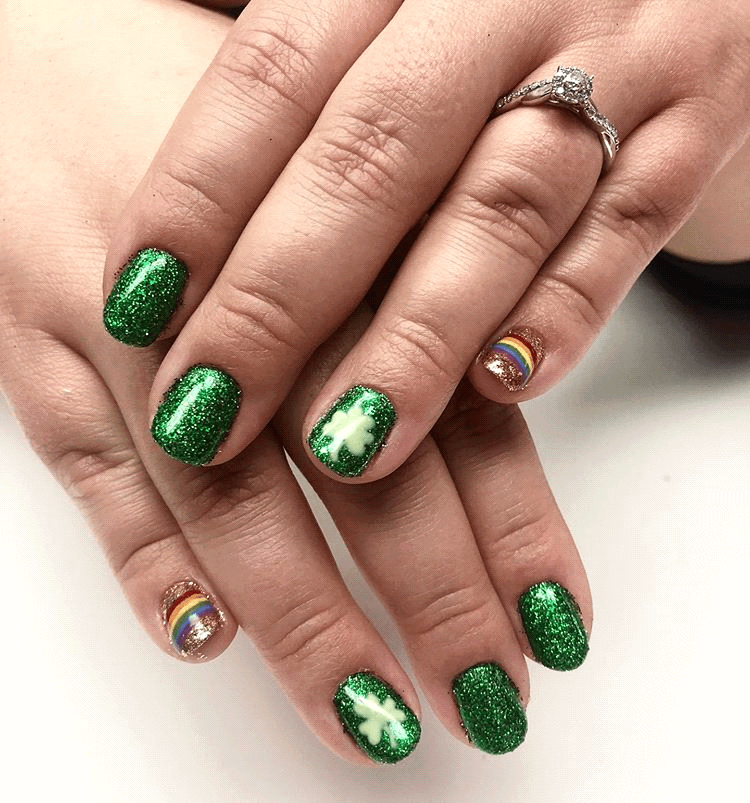
9. Reflecting Manicure
As the name suggests, Reflecting or Mirror manicure makes your nails behave like a mirror. It need not necessarily be total reflecting, but shinning like Rainbow is also considered to give Mirror effect.
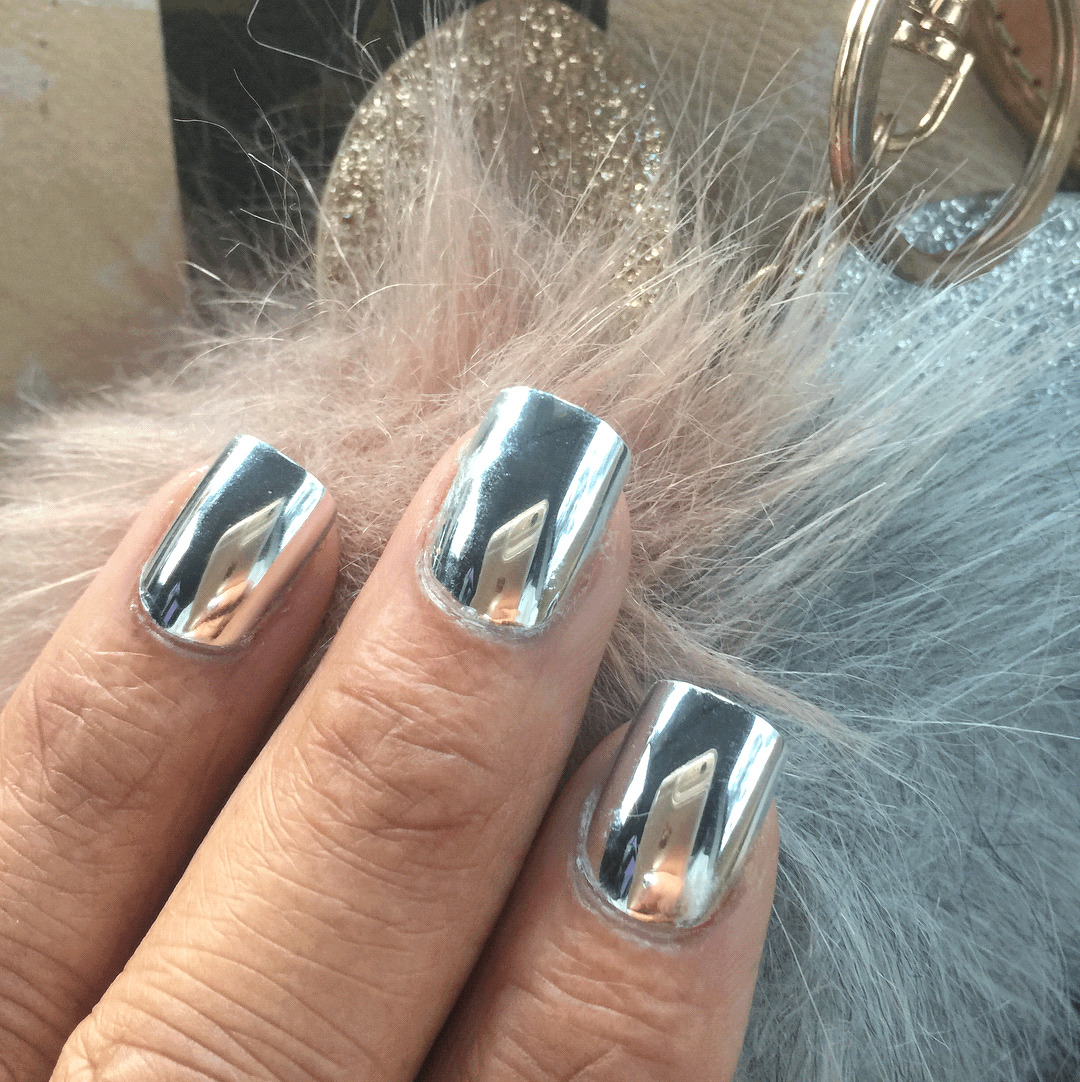
The base coat here will be darkest or simply black. After that, your Gel nail polish is applied evenly, which can be dried under UV light for the best result. Once dried strokes of Chrome Pigment are used with a brush to give it the mirror look.
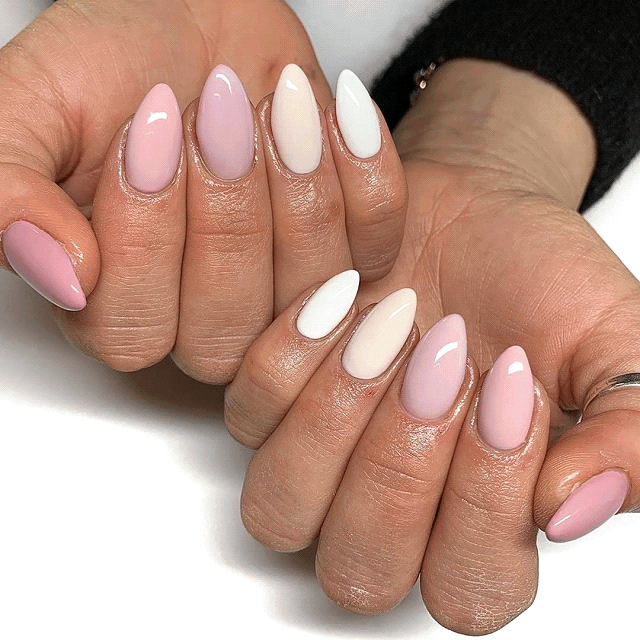
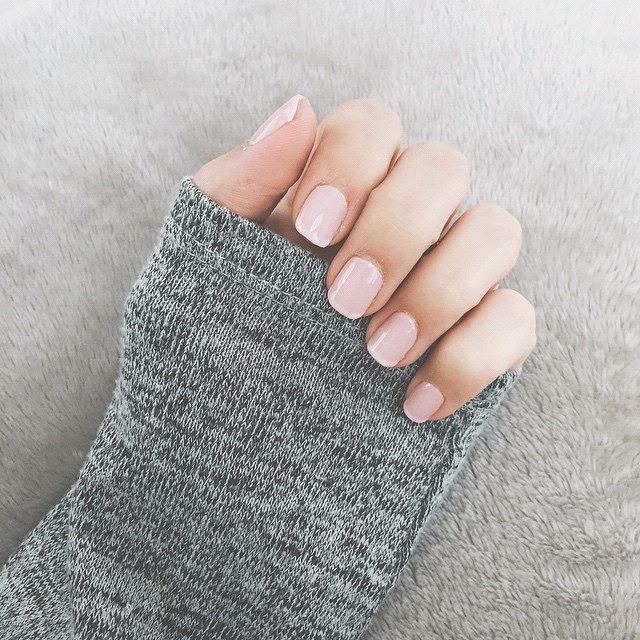
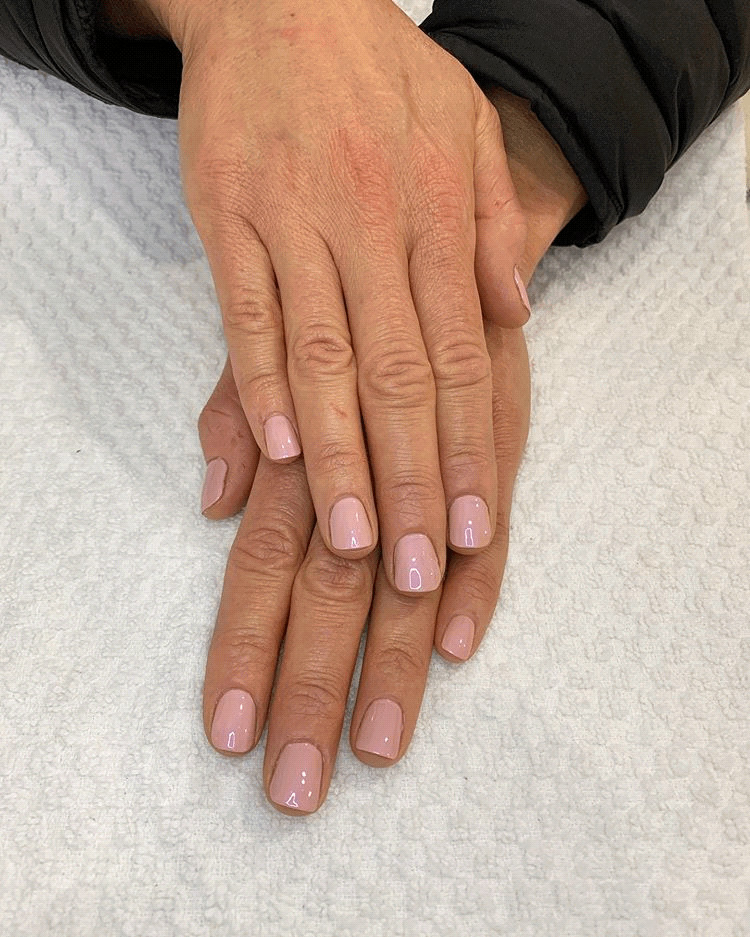
10. American Manicure
Some people confuse it with a French manicure, but it’s different. The critical difference is the look of your nails. Here the nails are given a round shape to look more natural. After the necessary steps, ivory or similar color base coats are applied. Finally, the nail polish is applied gently with a thick brush.
Which one to apply from the types mentioned above is purely a subjective question. You should take a quick round of each of them and see what sounds better to you.
PolyGel Nails vs. Gel Nails vs. Acrylic Nails
Acrylic nails are nothing but fake nails you stick on your nails, just to make your nails look bigger. First, an adhesive substance is applied onto the nails, and then these Acrylic nails are stuck. Painting, styling, and trimming is done later, according to one’s desire.

But this short-cut of manicure is not without its disadvantages. Since the glue is not natural for our body, a special liquid is used to remove them from your nails. Besides being a cumbersome job, it makes your nails easy-to-break.
Gel Nails are different from Acrylic Nails because they are not artificial nails; instead, its a kind of polish that can stay up to 2 weeks. Another difference is the thing that it does not dry ordinarily, instead of UV light dries it up.
They are useful in the sense that they don’t get damaged as Acrylics do.
However, the dark side of Gel nails exists. To remove acrylics, you need to soak your nails in acetone and buff it off, which makes your nails weak and remain dry over time.
PolyGel Nails, on the other hand, is the type that eliminates the disadvantages of both Acrylic and Gel Nails. Instead it combines the positive effects of both Acrylic and Gel Nails. Although dried in UV light like Gel nail, yet it’s much lighter than that.
It also has a lighter fragrance, that’s good for people who want the acrylic but are allergic to the strong smell. Removing them is more comfortable as well because it just needs a buff off rather than soaking.
Things to Know About Polygel Products
⦁ Polygel is said to be softer than Acrylic and more laborious than hard Gel
⦁ It dries out under the UV light in 60 seconds, approx.
⦁ Unlike Acrylic, it’s not an extension, instead a layer on your nail
⦁ The liquid used to make PolyGel is called Slip. The name is taken from the slip potters used during clay work.
Using PolyGel Nails For the First Time
Well, you have just purchased your PolyGel Nail Kit but don’t know how to use it. Don’t worry, keep reading this, and I ‘ll guide through the entire process.
First, note the things you need before you can start. It includes PolyGel tube, Primer, Nail File, UV light source, Slip Solution, anything for a base coat and a Cuticle Clipper.
Step 1
Remove the enlarged cuticle with the clipper. Because the more you push it, the more the nail will look beautiful.
Step 2
Next, we need to remove any fat, dust, or impurity on the nails. Use either alcohol or some dehydrator so that greasy residues get removed. Then file it to make it a bit rough. Because the rought the surface is, the more the stickness will be.
Step 3
Here take any of the nail form that’s bigger than your intended nail, so that PolyGel can easily reach the edges. Now use the spatula to take some amount of PolyGel and put it on the dual form on the side of cuticle.
Step 4
Take a brush and dip it into the Slip solution. Sqeeze it on the edges of the Slip bottle so that it’s neither too wet nor too dry. Now use this brush to spread the PolyGel on the nail form. It’s pertinent to note here that keeping the PolyGel layer thicker at the cuticle-end is better for a firm grasp.
Step 5
Finally, put it on your nail and press it gently. Remove any excess gel on the edges with the wet brush you have just used. Now put it under the UV light source for about 2-3 minutes.
Then pull the dual form slightly from the tip until it goes off. You may file the excess edges, but not the top surface, as it’s already smooth due to the nail form. Keep it under the UV light for a minute. Clean it again if needed, and apply your desired style or design.
FAQ about PolyGel Nails
How Long Will it Take to Apply PolyGel Nails?
According to the manicurists, it usually takes up to one hour if a single color is being used. On the contrary, if you’re using multiple colors, 2 hours may be considered an average time.
How Long will One Tube of PolyGel Last?
Well, again, it’s a subjective question. But experience tells that a total of 40 sets can be made with a color that has a regular use. However, frequent-used colors like Pink can be used up to 30 times only, whereas colors like White, which are used for French Manicures only, can make 70 sets even.
How Long Do PolyGel Nails Last?
A properly applied PolyGel nail will last for 20 days, almost, after which it will require some kind of maintenance if you want to continue using it.
Will PolyGel Damage My Natural Nails?
It’s not a guarantee that your nails will remain 100% safe, as the human error is always there in applying and removing the dual form. But, according to the experts, the nails are safe.
Precautions In PolyGel Or Other Manicures
⦁ If you’re out in a saloon that has an excellent reputation for having experienced staff, you need not worry about the damage of your cuticle or nails in any way. Still, if you’re doing it yourself, especially for the first time, extra care must be taken.
⦁ Filing of nails, removing the enlarged cuticles require utmost care, as you may cut unnecessary skin by mistake.
⦁ Sterilize your equipment if more than one person is using the same set.
Video of How to Make PolyGel Nails
Which Manicure Is Best for You?
The trends in manicure change like fashion does.
But you need not worry if you like some old manicure type and it’s not in the trend. The experiments are useful. Try 3-4 types frequently so you may know what suits you best.