The dotting tool is a tool for nail design that resembles a pen with a ball on the end. Its two versions, double-sided and one with replaceable tip, are very popular now. Different diameters of the ball allow to create patterns of different complexity from standard ones to real masterpieces. Points on the nails shown in the pictures look stylish and original. You can draw nail art with dotting tool quickly and easily at home. The whole process for beginners is presented in step-by-step pictures and videos.
Contents
Dotting Tool Nail Art: Step-by-Step Pictures for Beginners
Those who want to learn how to draw with the dotting tool need purchase several nail art dotting tool set with balls of different diameters. The secret of getting a beautiful design is determined by the choice of the proper print by 80%.
Beginners should choose simple patterns and only when gaining necessary experience – move on to more complex prints.

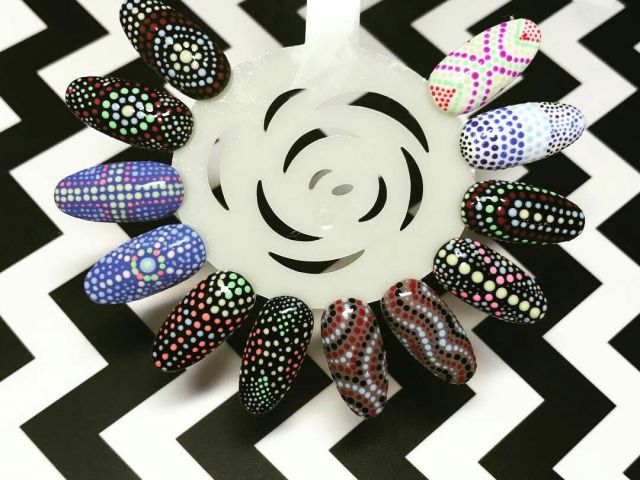
Nail Art with Dotting Tool Designs
With a simple nail art dotting tool kit professionals can create drawings on shellac. Beginners and lovers are better to start with simple schemes not to lose enthusiasm. Step-by-step pictures will help avoid mistakes.
For creative experiments polishes of colors required are applied drop by drop on a sheet of paper. In this case, it is easier to collect them with the dotting tool.
So what simple figures a beginner can paint? Watch how-to-do videos and look at the pictures.

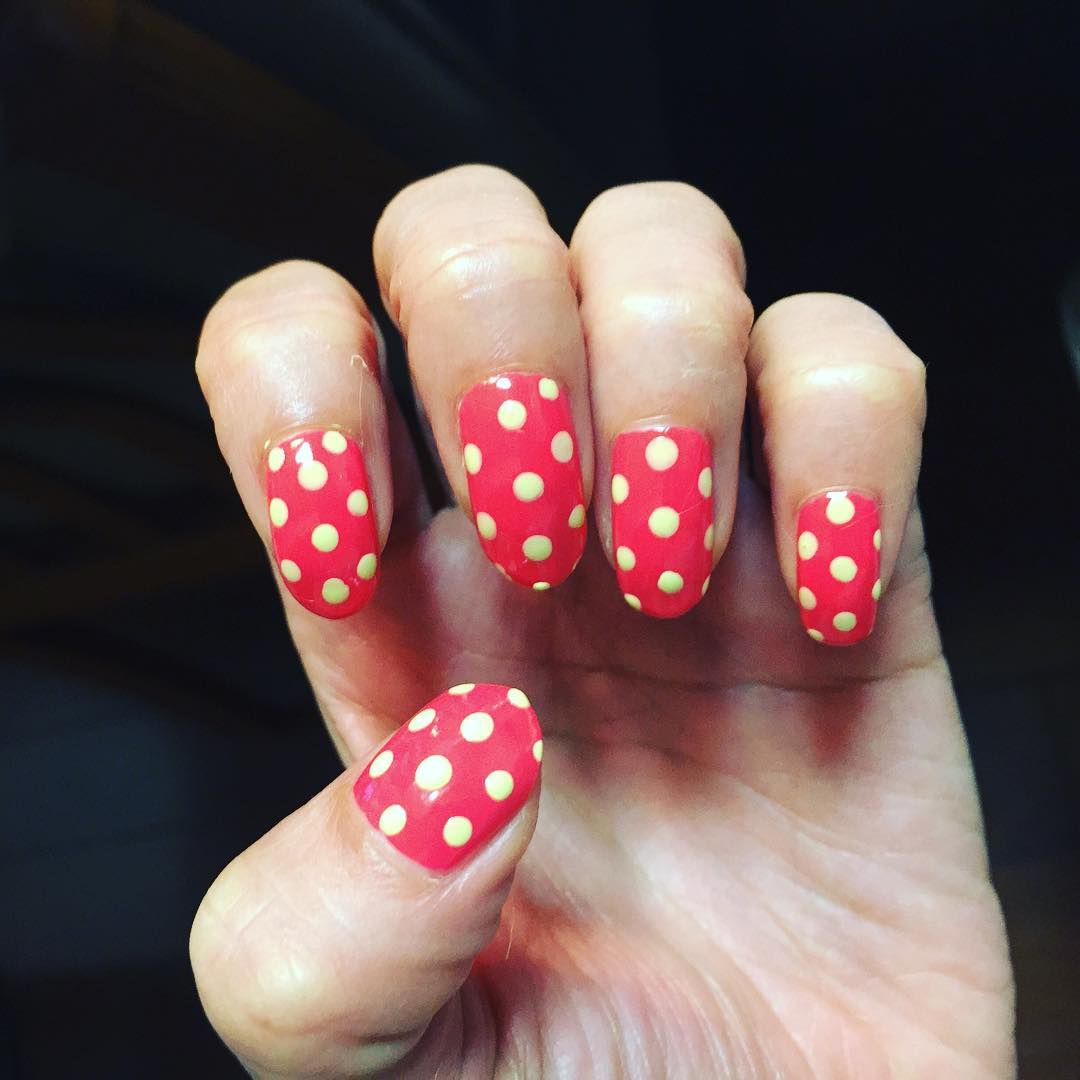
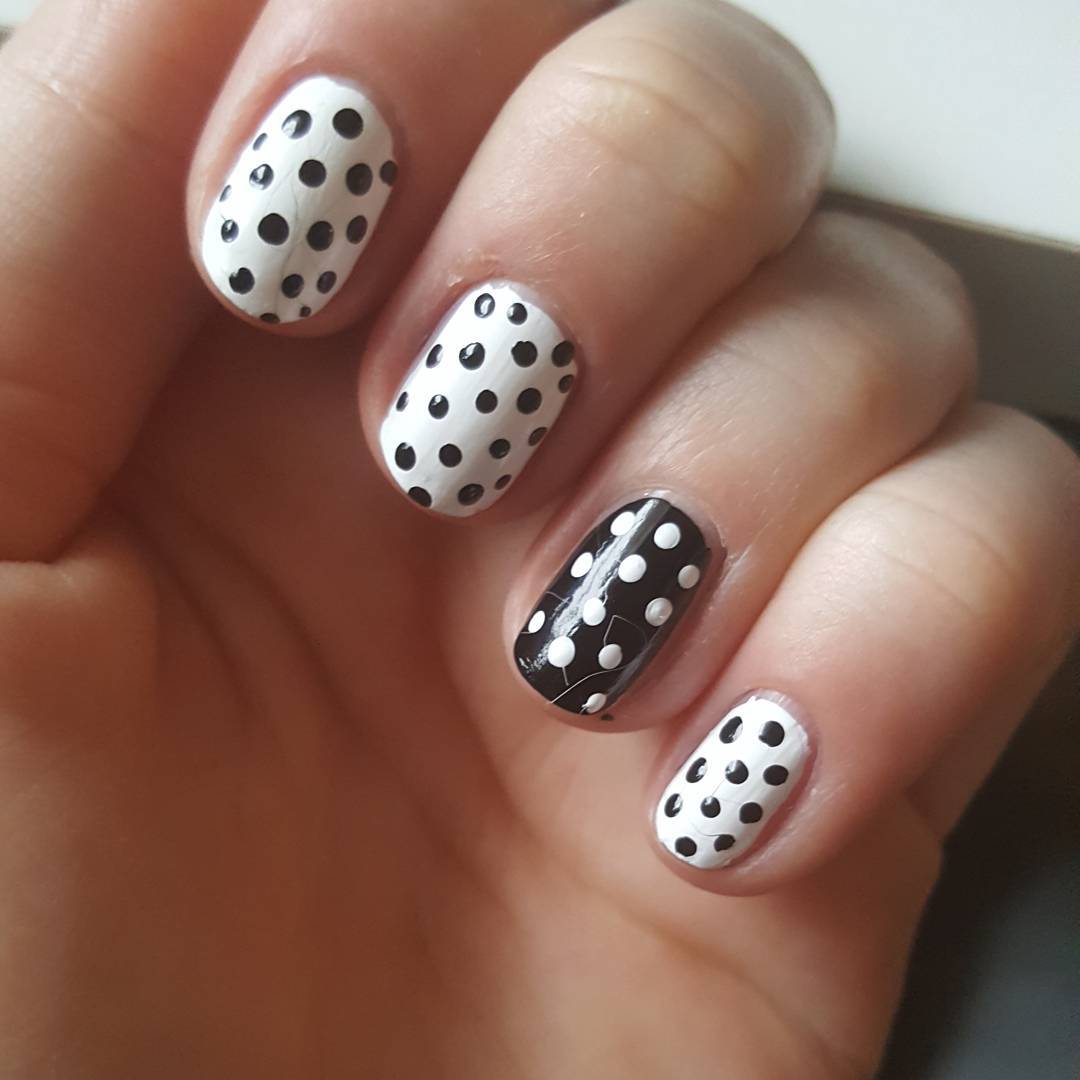
Spot
Collect a small amount of polish with the dotting tool and put the tip of the ball on the nail plate.
To get spots of the same size dip the tool into polish before each application.
To draw elements of different sizes you can draw 3-4 spots in a row without additional dipping. But the easiest way is to use the dotting tool for nails with balls of different diameters.

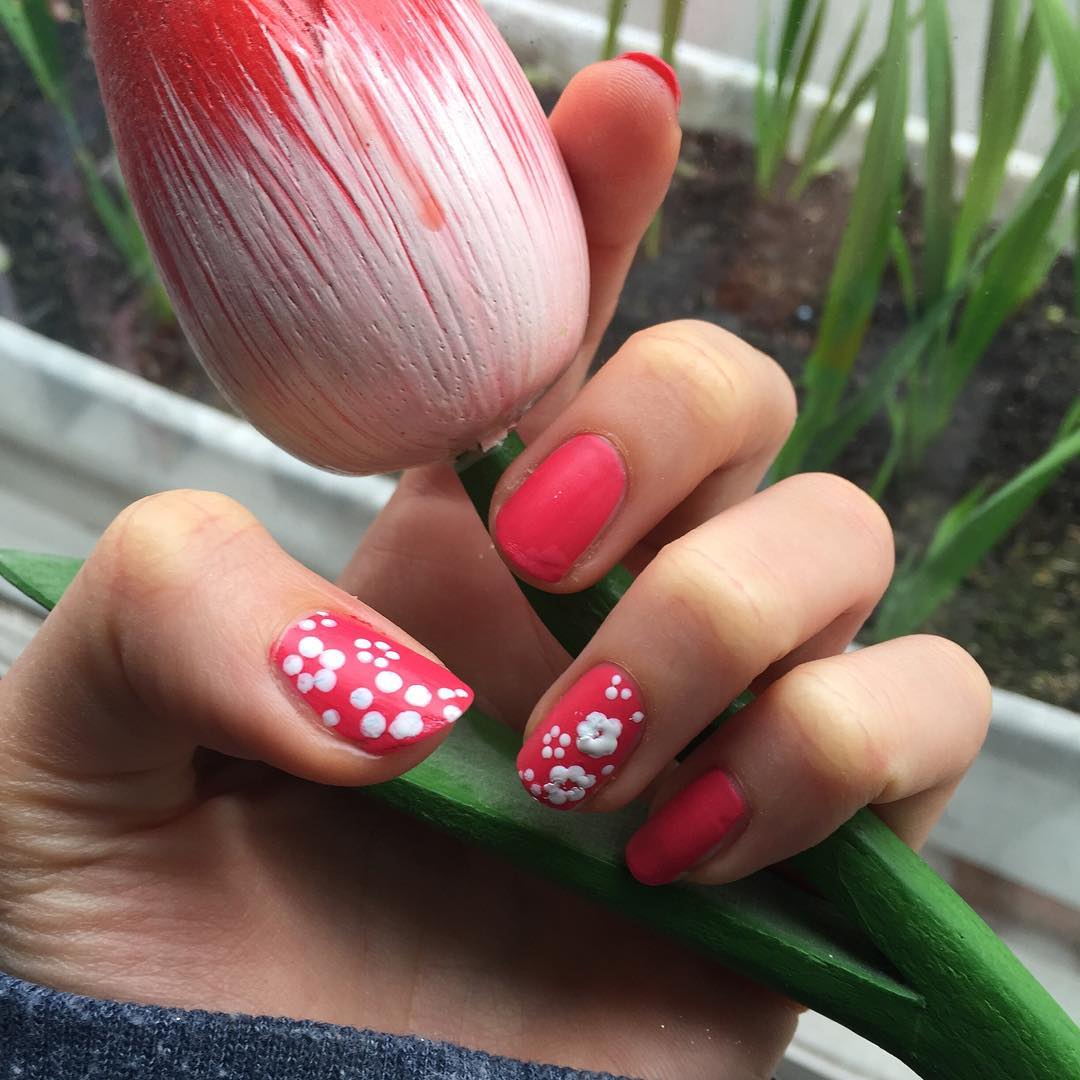
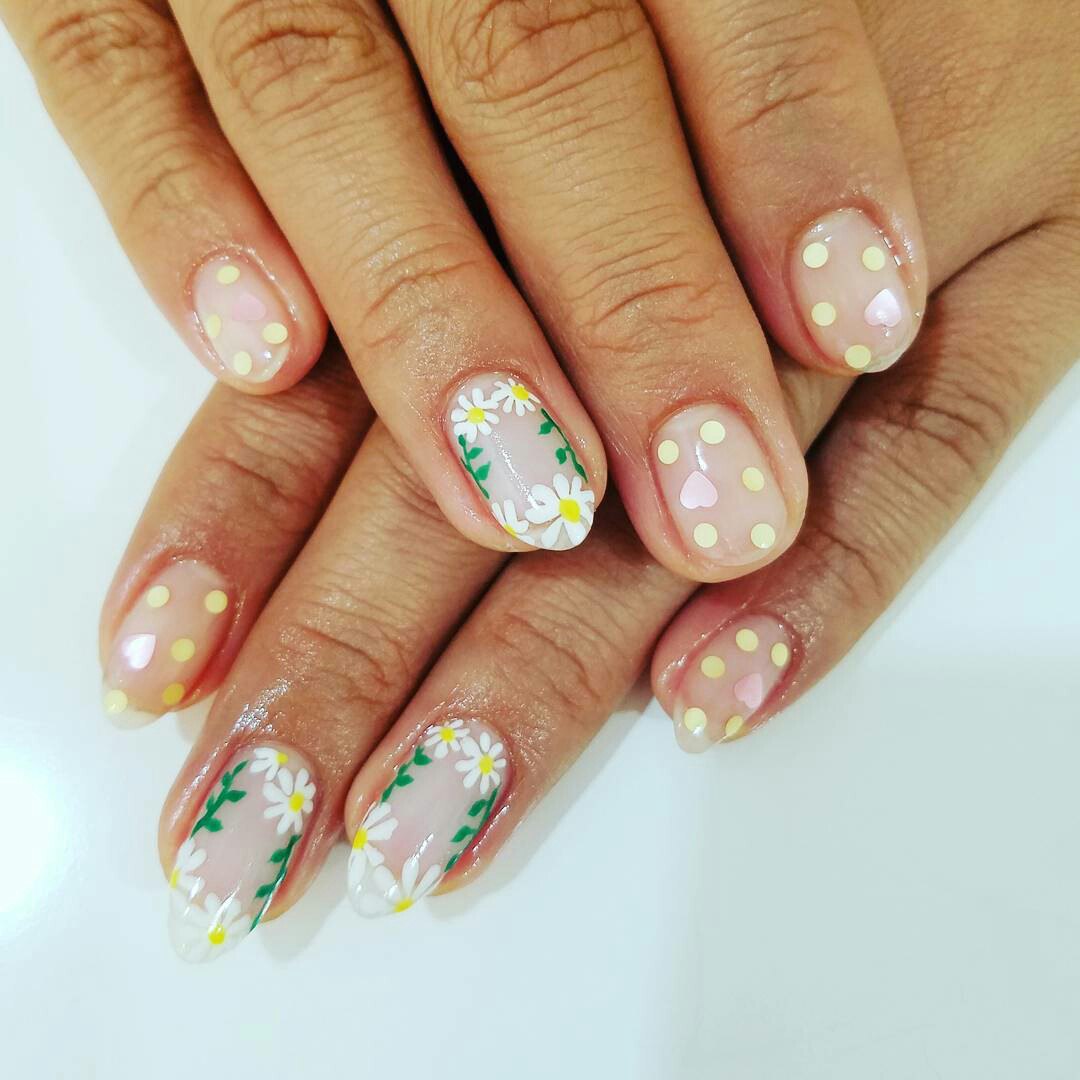
Flowers
Stick a strass in the center of the flower that has not been still painted.
Draw drops, or petals, around the strass.
You can paint a flower by drawing spots at a distance of 2-3 mm from each other.
If you draw spots near each other, they will merge into a line and thus the flower will look like a child’s drawing.
To get long petals like lilies or daisies have stretch them with a toothpick in the right direction immediately after application, as shown in the picture.
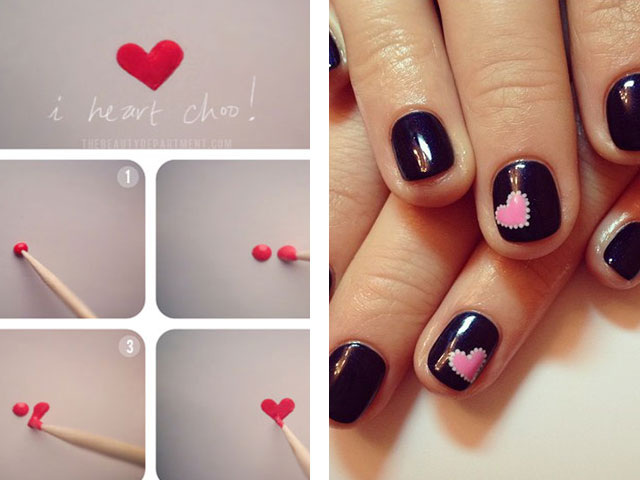
Heart
Draw 2 large drops with the dotting tool close to each other.
draw connecting lines with a thin brush creating the shape of the heart, as shown in the pictures.
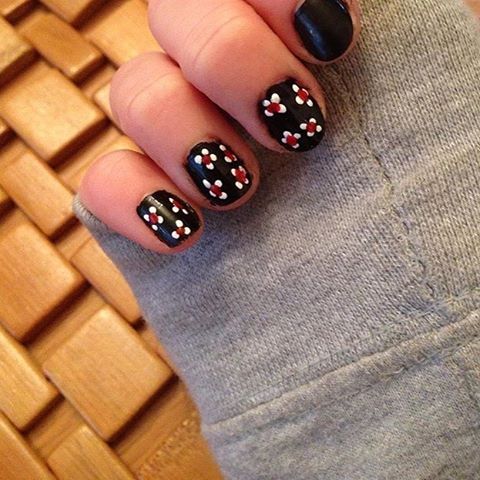
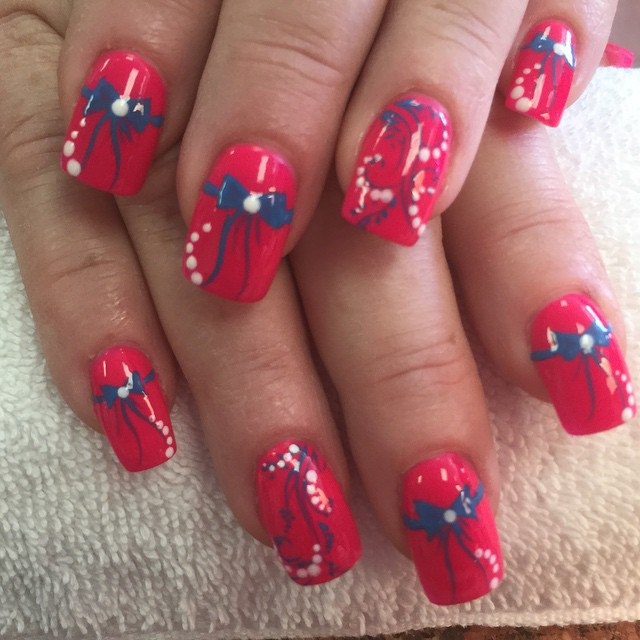
Bow
Draw 2 drops with the big dotting tool.
Paint two more drops in the center with another color with the smaller tool.
With the help of a thin brush or needle paint a connecting line between these drops.
A circuit bow can be emphasized with a dark color.
Dotting Tool for Nails Art: Simple Drawings at Home
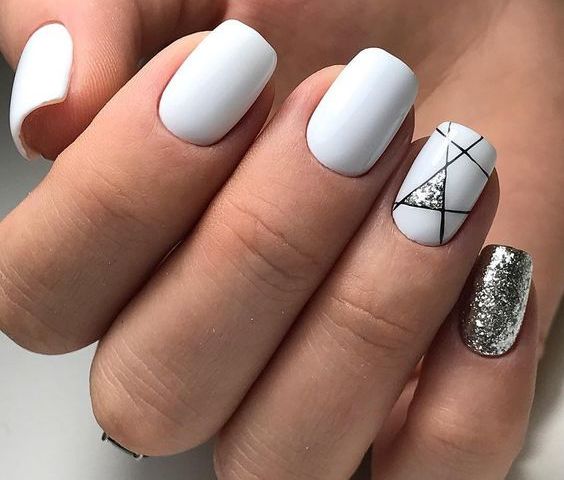
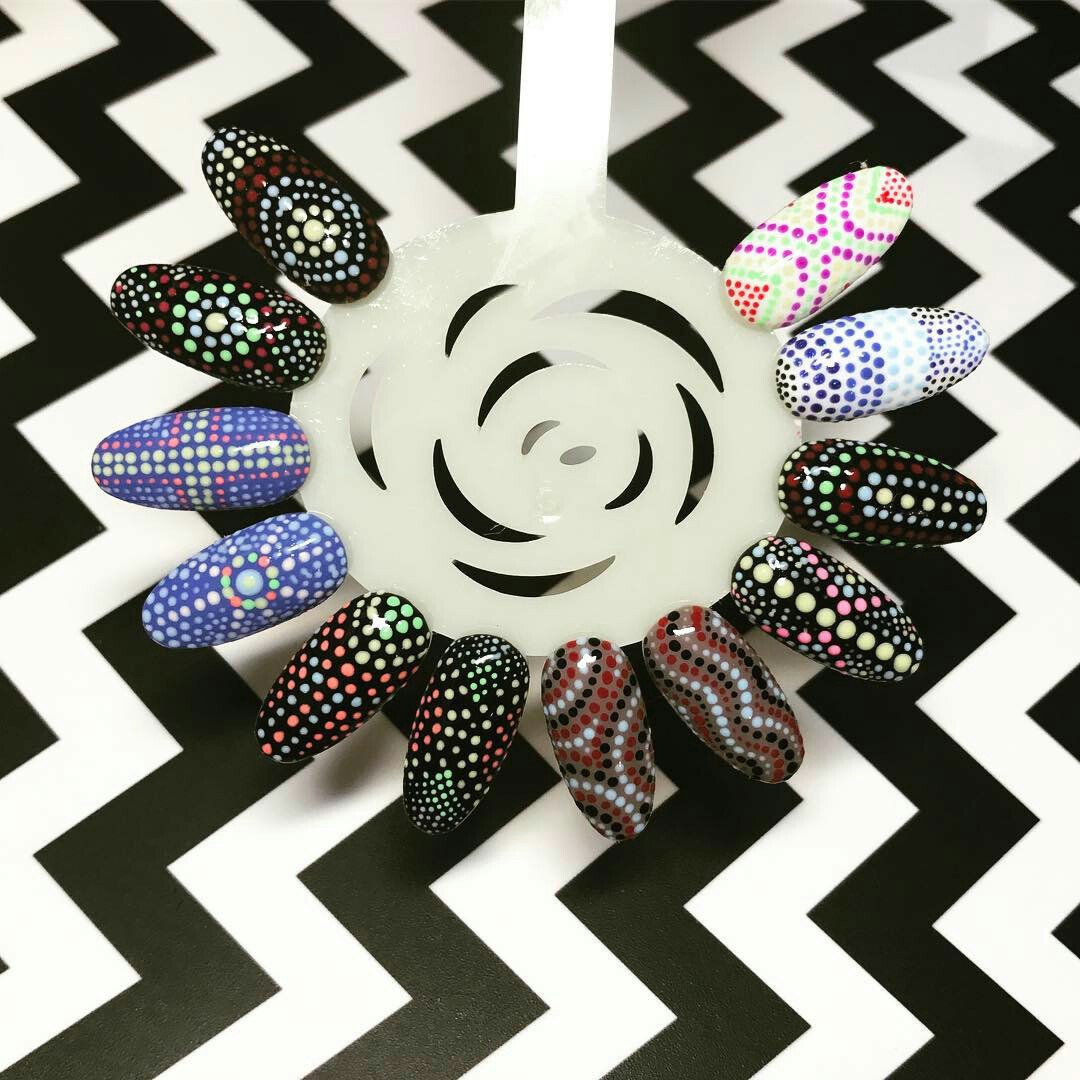
There are simple compositions that can be easily nail art dotting tool by beginners. For example, geometrical figures, abstractions or animal prints. You can make a print original with spots of different size applied randomly or orderly. Special skills are not required, but the aesthetic taste is necessary.
We offer a selection of simple master classes with pictures showing a step-by-step process of creating patterns:
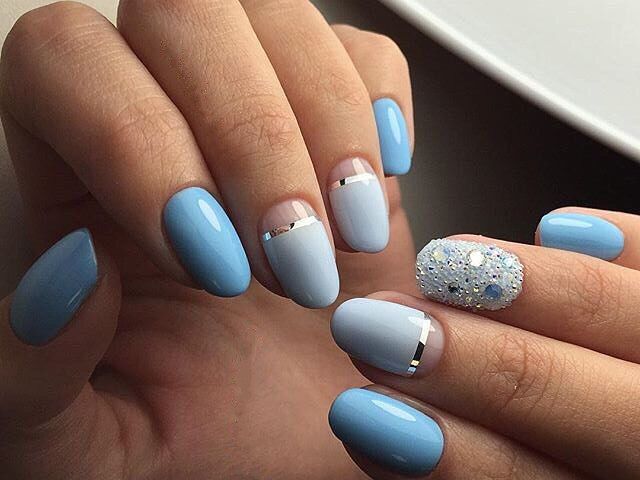
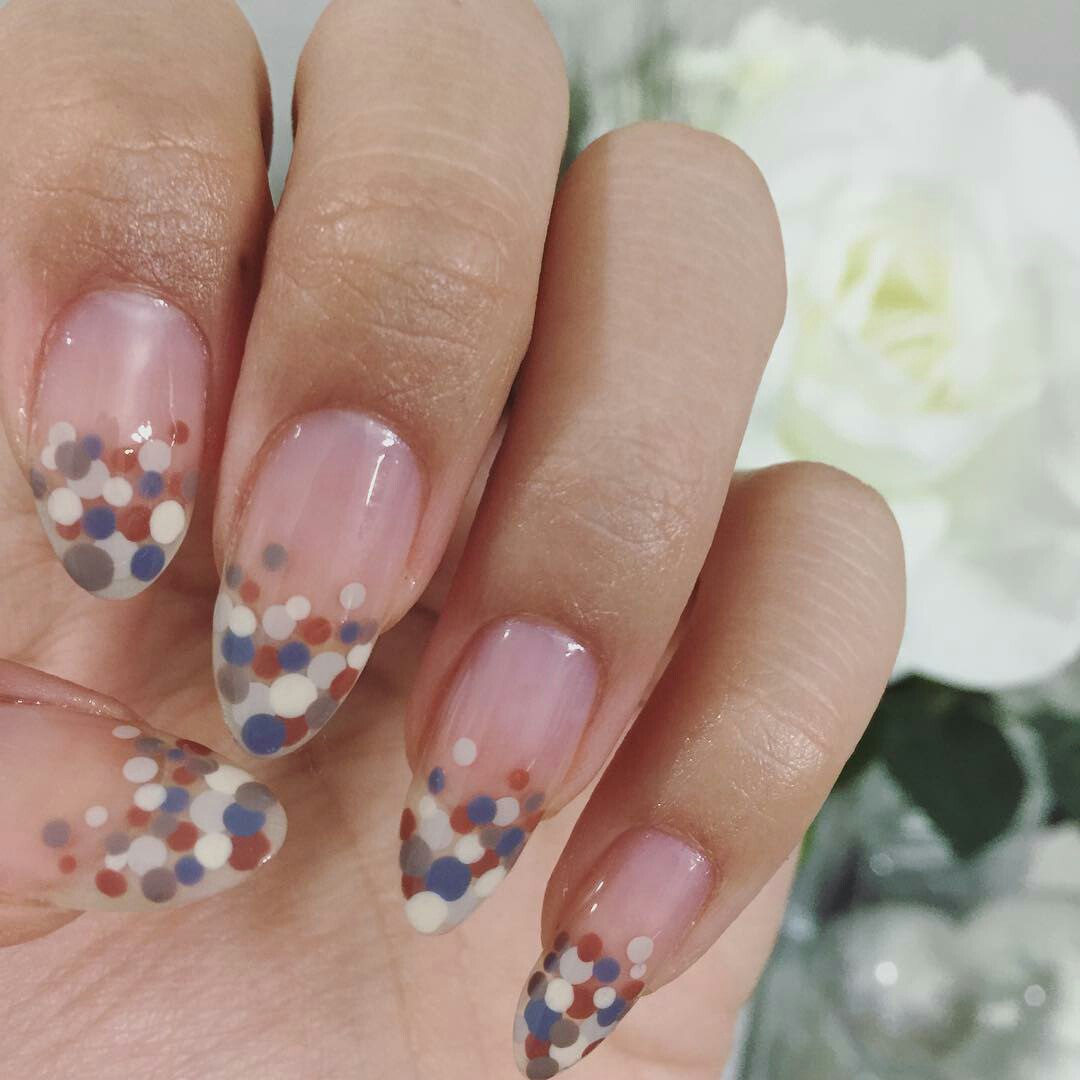
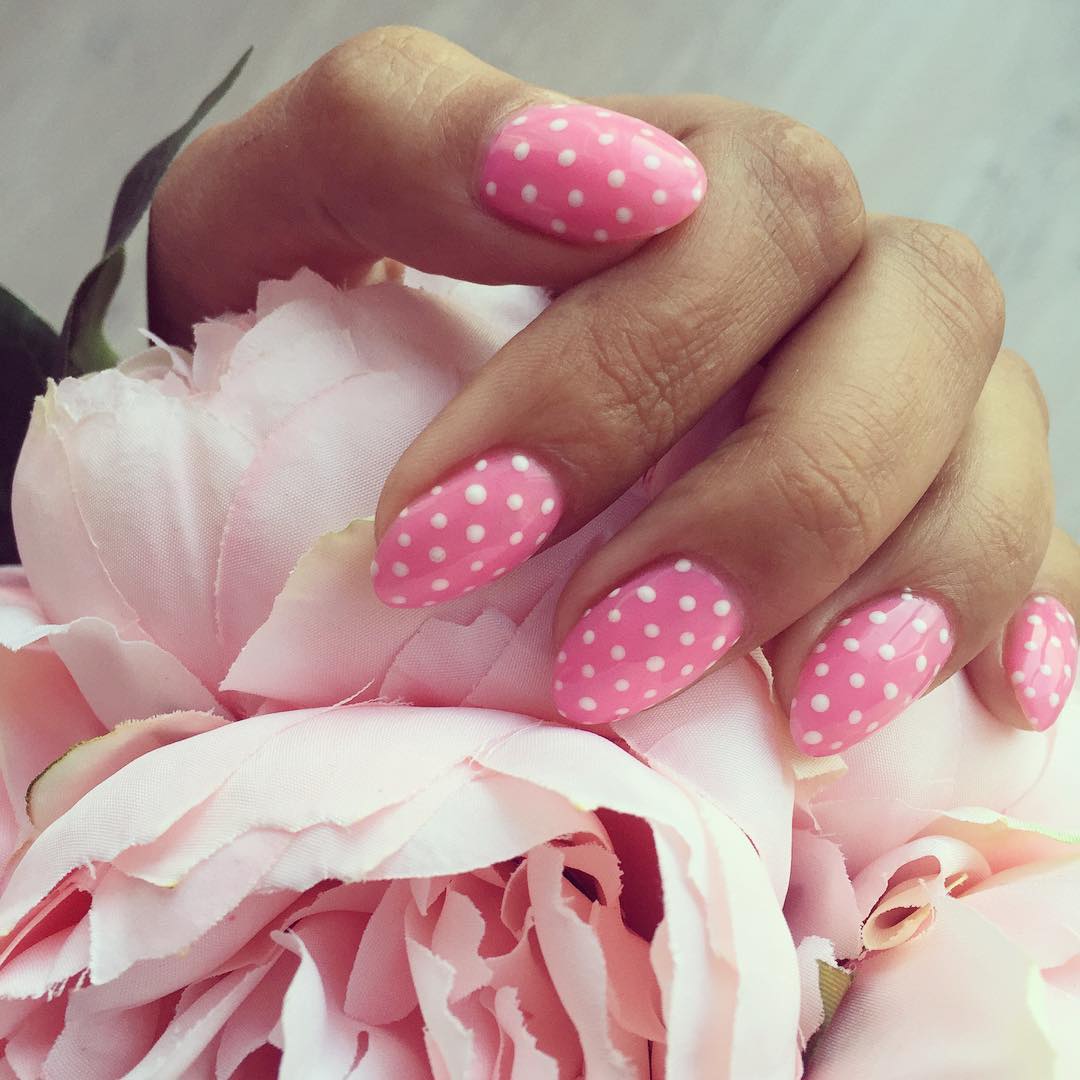
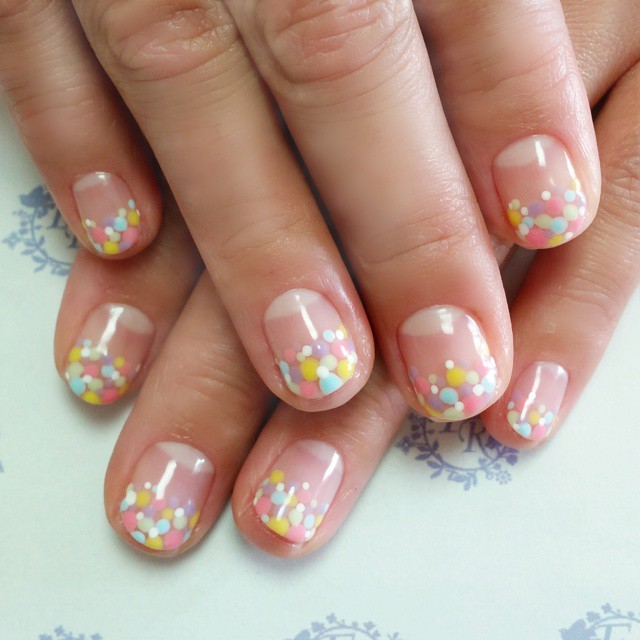
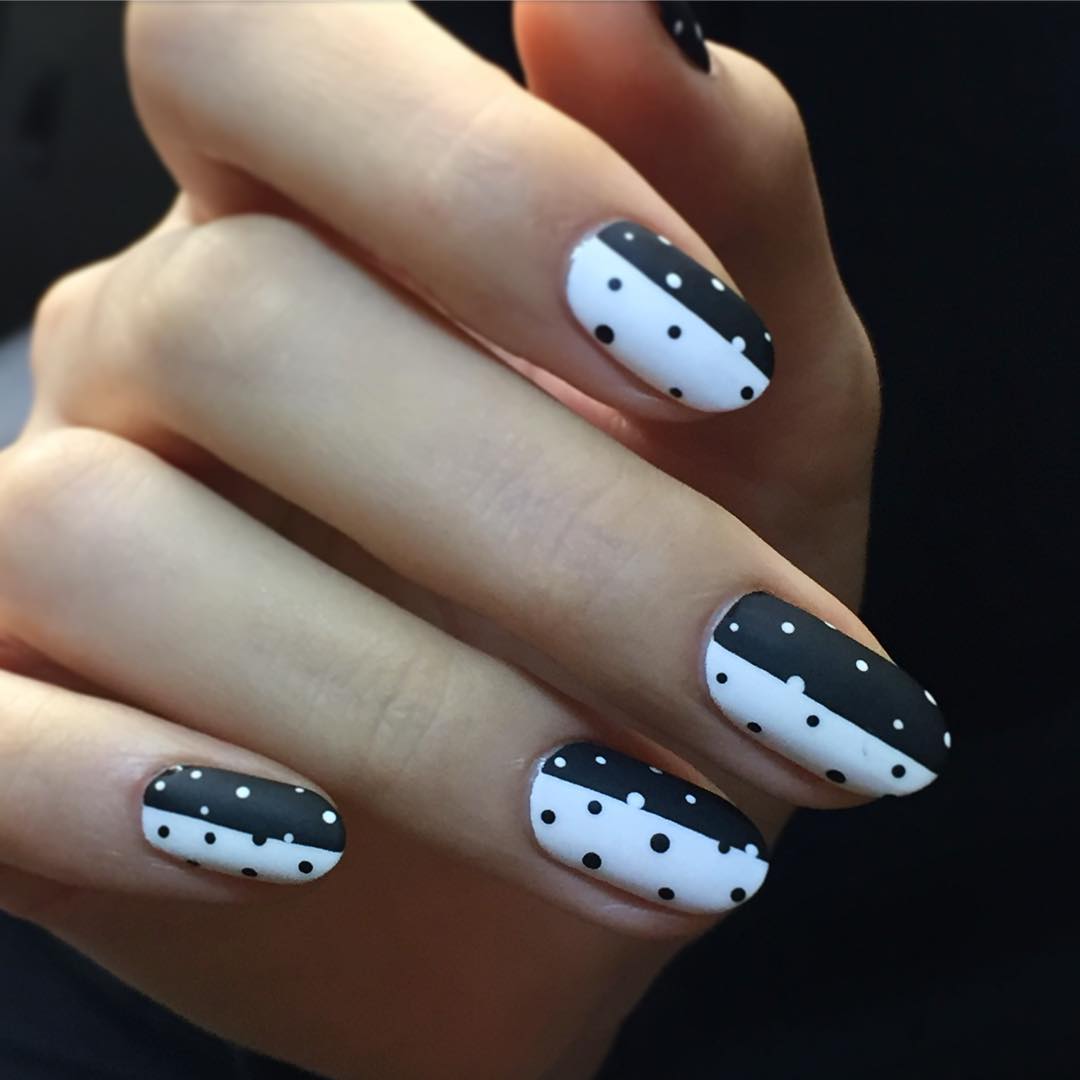
French Peas Manicure
- Cover the entire length of the nails with a light pink gel polish;
- Paint a white “smile” on the tip. The basis for the design should be classic French manicure;
- Draw symmetric double row of drops with the dotting tool. The picture must be positioned horizontally just under the white stripe of French;
- Layers of all stages should be applied one after another and dry them after applying the finishing coat.
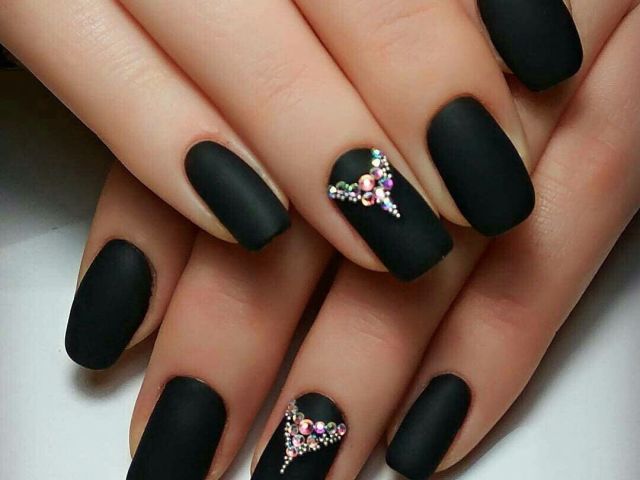
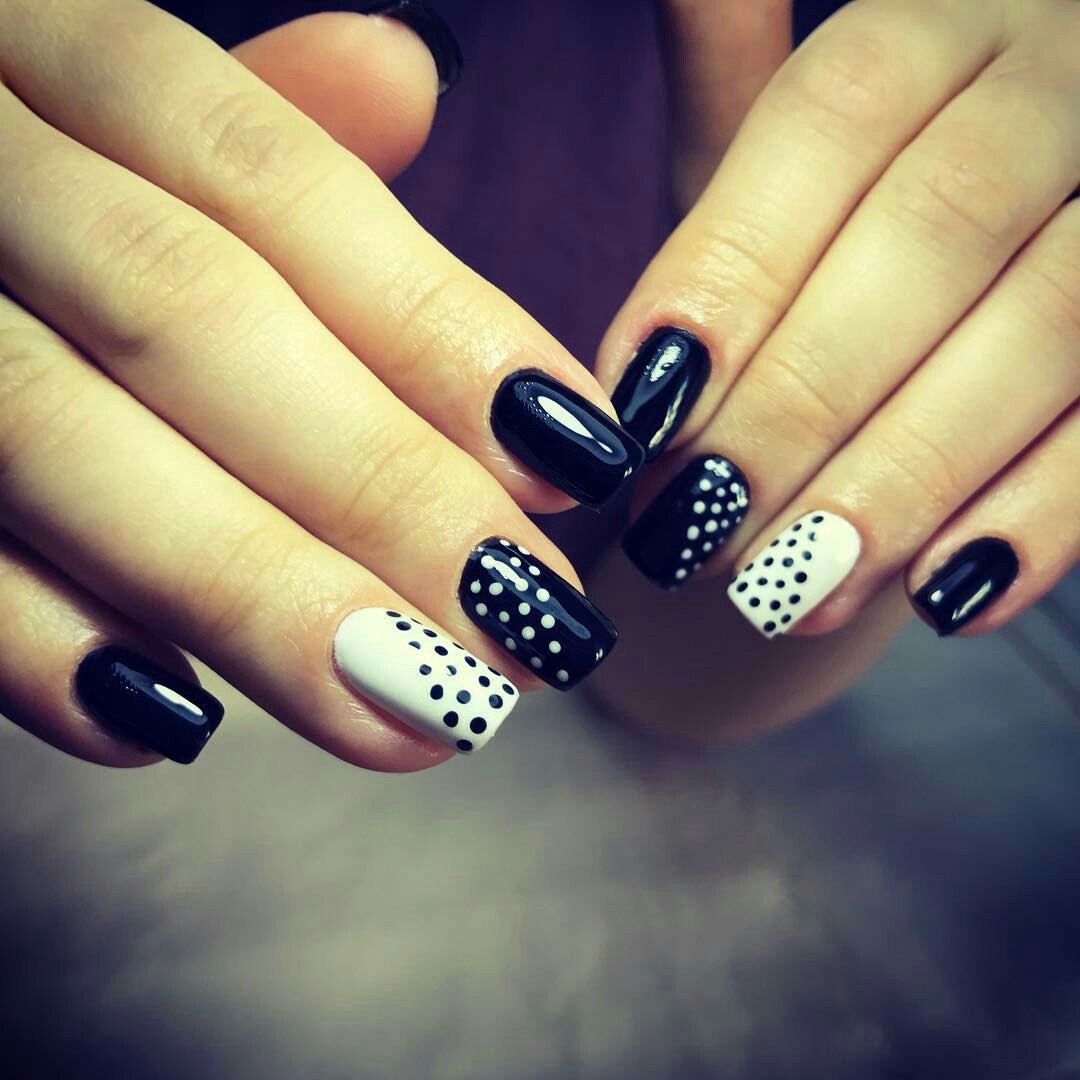
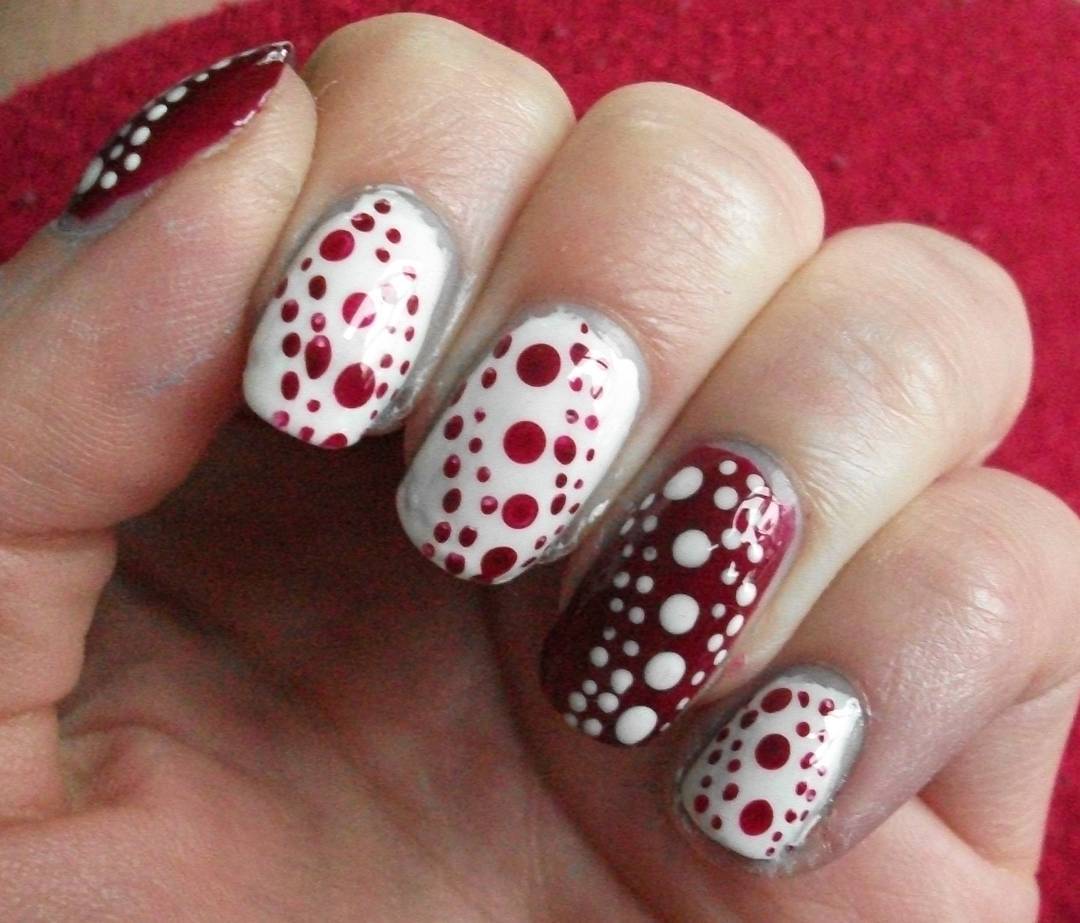
Contrasting Placer Manicure
- The basis must be some polish in black color. Apply it and leave for a few minutes to dry the nails completely;
- Meanwhile, dissolve the white paint on the palette and dip the dotting tool in it;
- Draw spots of different sizes on the area from the middle to the tip of the nail art with dotting tool;
- Fix the print with finishing coating.
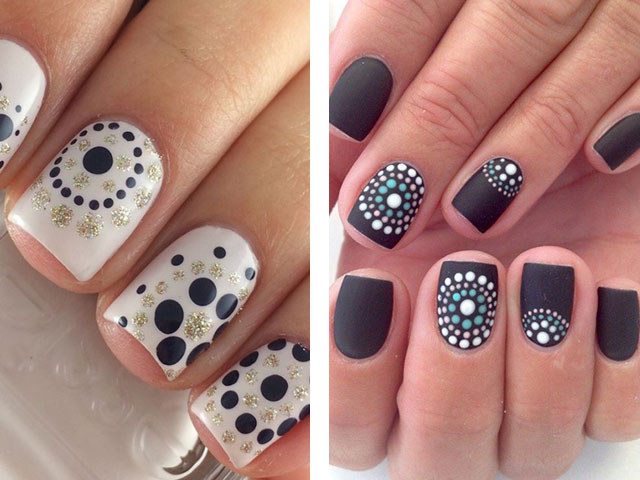
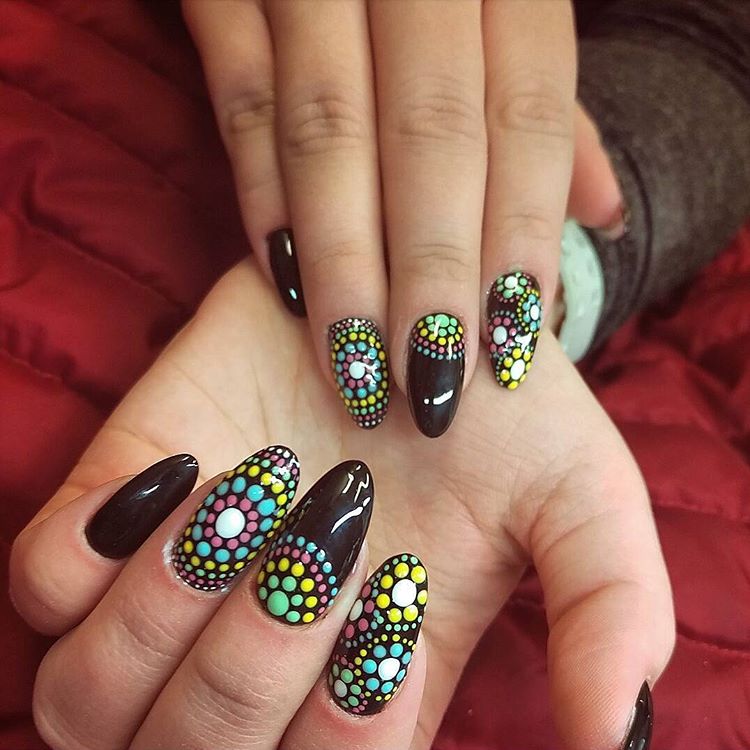
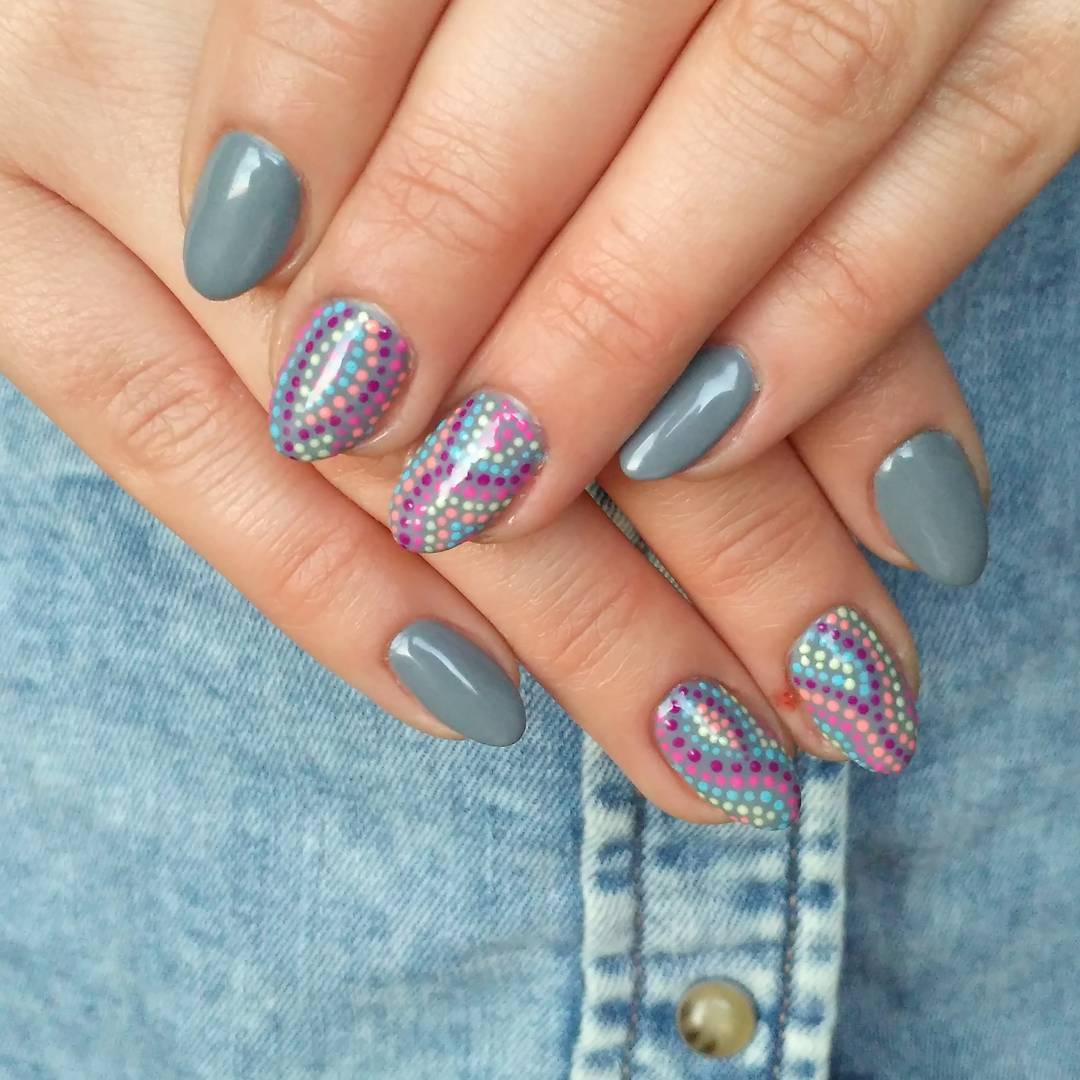
Firework Manicure
- Cover the nails with black or dark purple polish and dry them well;
- Prepare the polish coating in yellow, pink and turquoise for the design;
- Dip the dotting tool in yellow polish and draw several spots of the big diameter in the center of the nail plate in the vertical direction;
- Collect pink nail polish and apply small parallel spots with the big dotting tool.
- Do the same thing but use the turquoise shade for the other side;
- Fix all the layers with the finishing coating.
The video below will show you the step-by-step instructions how to create a print:
Zebra Manicure
- Cover the nail plate with white polish;
- Dipping the ball of the tool in black color start painting the corners on the right tip of the nail. To make the figure look more natural, dilute corners with wavy lines, as shown in the video;
- At the end, fix the print.
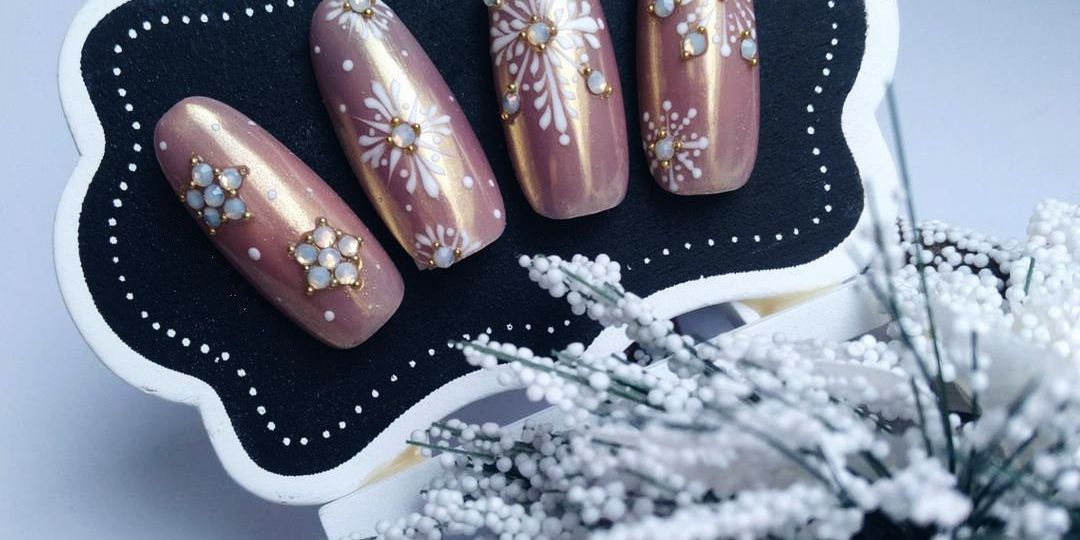
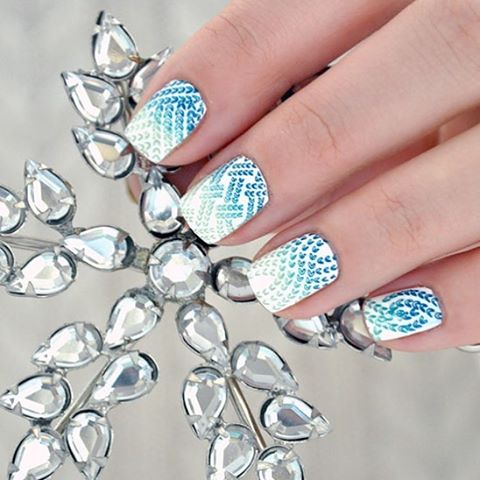
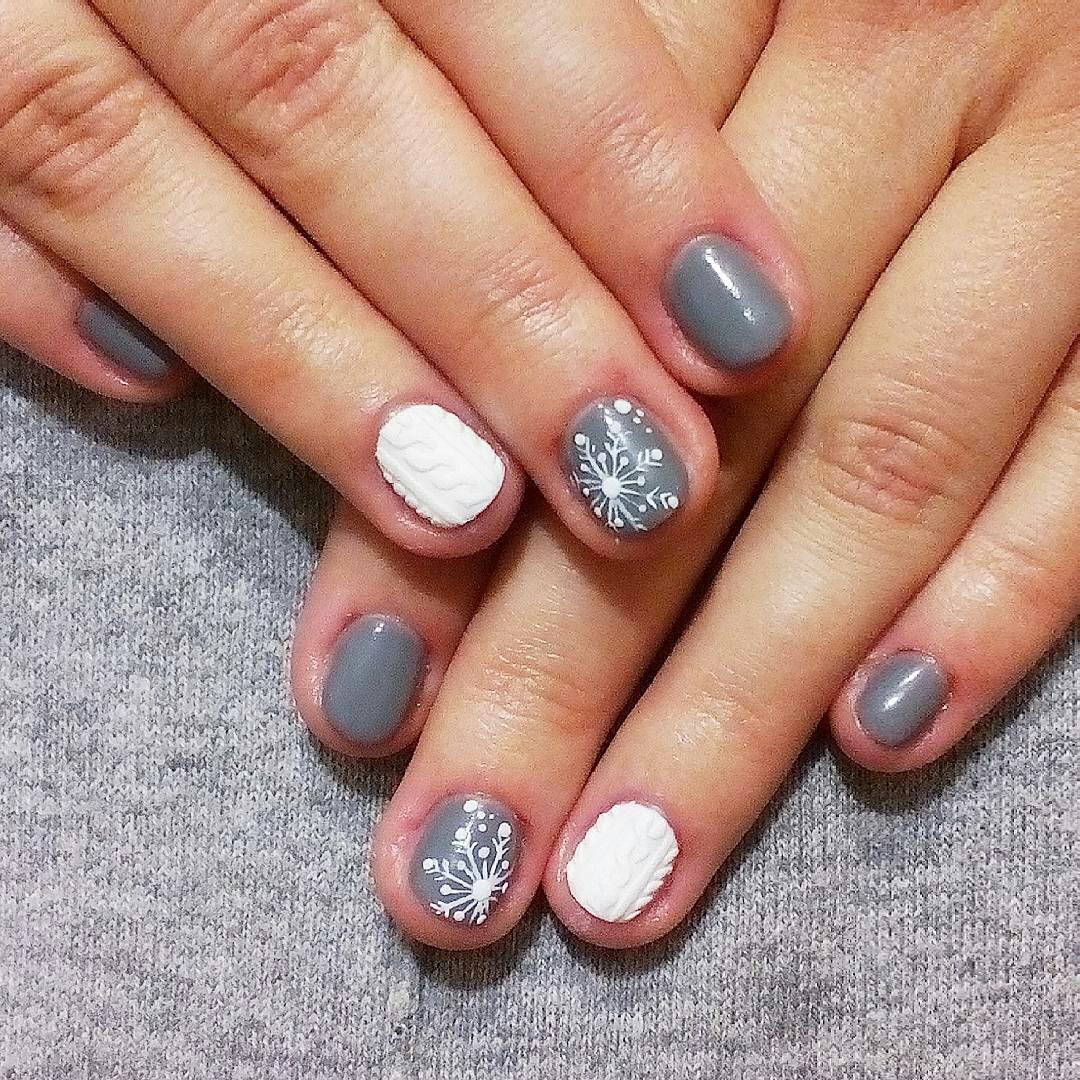
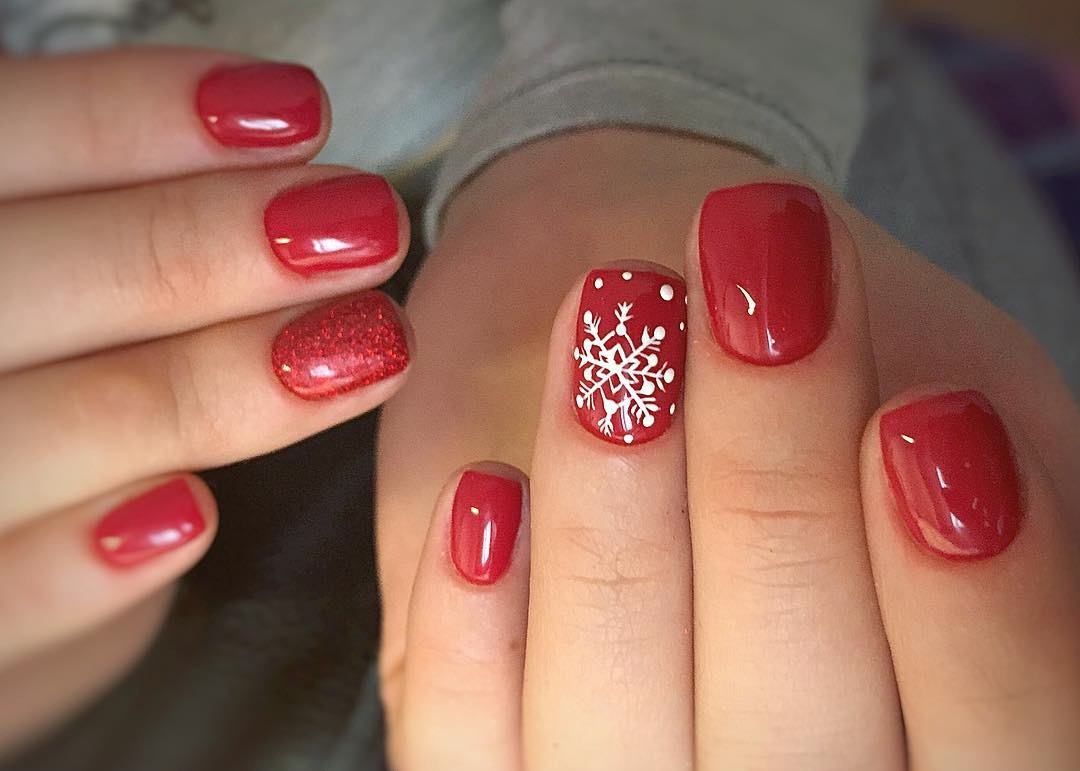
Snowflake Manicure
- Covet the nail plate with blue polish.
- Draw a foundation, three intersecting lines and small branches on each side, with the dotting tool ib white color.
- Paint spots on the tips and closer to the center of the snowflake.
- Fix the top.
Versions of the pictures above can be freely chosen by you. The main thing is not to afraid of experimenting. More interesting ideas can be learned from different videos below.
How To Use Dotting Tool for Nail Art: Video Tutorial for Beginners
At the end of the article we offer to watch a step-by-step instructional video to see for beginners. From it you will learn how to make simple drawings on the nails using this unusual tool.
Learn how to create a trendy design quickly with the dotting tool using simple schemes.
Photos from Instagram.com