This is women’s nature: we always want something new, let’s say, change the hairstyle or makeup style or master a new nail design. When we try to follow the fashion and to find a stylish image, we try to experiment. It feels good when they’re lucky. Today we’d like to acquaint those who are still searching for the best image and wanting to change it with the original nail design. In 2017, the negative space nails became the brightest trends at trade shows. The article will tell exactly about that.
Contents
What Is Negative Space Nail Art
Incomprehensible and even a bit strange name means a quite simple technique of manicure. The point is that there are areas not covered with nail polish on the nail plate. The typical example is the favourite French nail design when you cover only the tip of the nail with polish. Here, the moon nail design with negative space can be mentioned.
This nail design, perhaps, will attract those who prefer moderation and minimalism in nail art but, at the same time, want to look modern and unusual. It’s quite easy to do such manicure so even a novice in the nail industry will be able to master this. We’d like to bring the pictures to your attention to let you imagine how such nail design looks.
Negative Space Nail Art: Tutorial
When you looked at the pictures, you could be afraid of that you could have some difficulties. To be honest, it’s really easy to do such manicure. You just need know several nuances. There are three main ways of creating the nail design with negative space. Let’s consider each of them.
1. As for the first way, you will need a thin brush. Apply a drop of gel polish of the chosen color to foil. Soak the brush with polish and draw a thin line in the center of the nail. Paint the chosen area carefully trying to make a layer even and smooth. Dry it under the UV lamp and repeat this when treating the other nails.
2. As for the second way, you’ll need a flat brush. Cover the half of the nail with polish. Now take the flat brush, dip it into polish and remove remains of it drawing a smooth line. Dry it under the UV lamp and repeat the procedure twice.
3. As for the third way, you’ll need a scotch tape. When you stick this, ensure that it is pressed tightly to the nails, especially to the sides. Apply a thin layer of gel polish with a pressed brush without coming out of the boundaries of the tape. Dry it under the UV lamp and repeat it when applying the second layer. If you follow this way, the edge will be especially even.
Try to experiment with this nail design, and you’ll get stylish and original results. You need only master the bases of the technique, dream up, and you’ll create unique and inimitable nail art.
Nail Art with Thermofoil and Video
First of all, we offer you to master one version of negative space nails. We’ve decided to choose exactly this version because it’s simple but, at the same time, looks amazing. Follow the instruction, and you’ll do it.
- Cover the treated nails with base polish. You’ll use thermofoil to create the design, so the nail plate must be perfectly smooth. Apply the base polish in two layers.
- Remove the adhered layer, and gel polish will lie smoothly.
- Treat the nail plate with a manicure buff.
- Cover the upper part of the nail (the half of it) following one of the ways mentioned above.
- Now it’s time to stick thermofoil. Degrease the nails before doing this.
- Cut off some foil, but it should be a bit bigger than you need to create the design.
- Slightly heat foil under the UV lamp and start applying this to the nails. Take into account that there should be a level unpainted line – negative space – between gel polish and thermofoil. Stretch the foil as it should lie evenly and stay for a long time. Remove the remains of foil. Use tweezers to remove foil from the sides and a glass file to remove it from the tips.
- Now fix the result. Apply the base coating to the entire surface of the nail.
As a result, you’ll get laconic but, at the same time, stylish design that will decorate your nails both on weekdays and weekends. To understand the technique better, watch the special video.
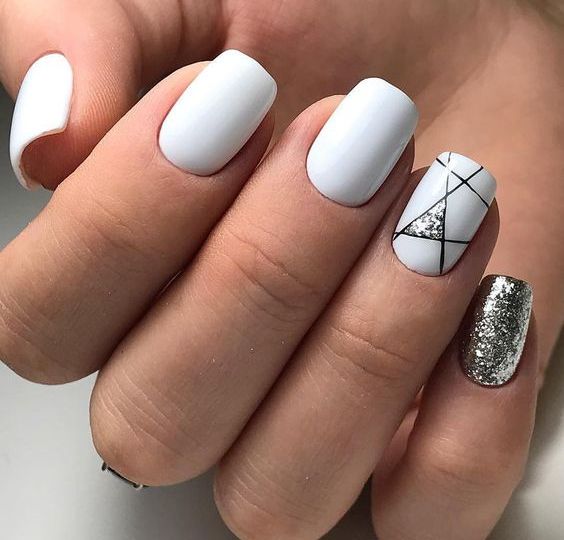
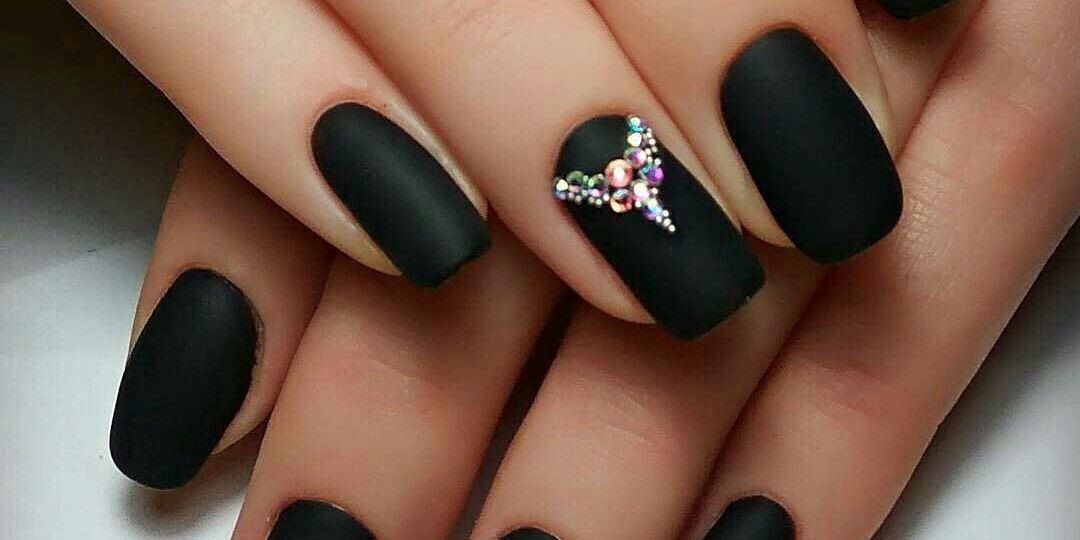
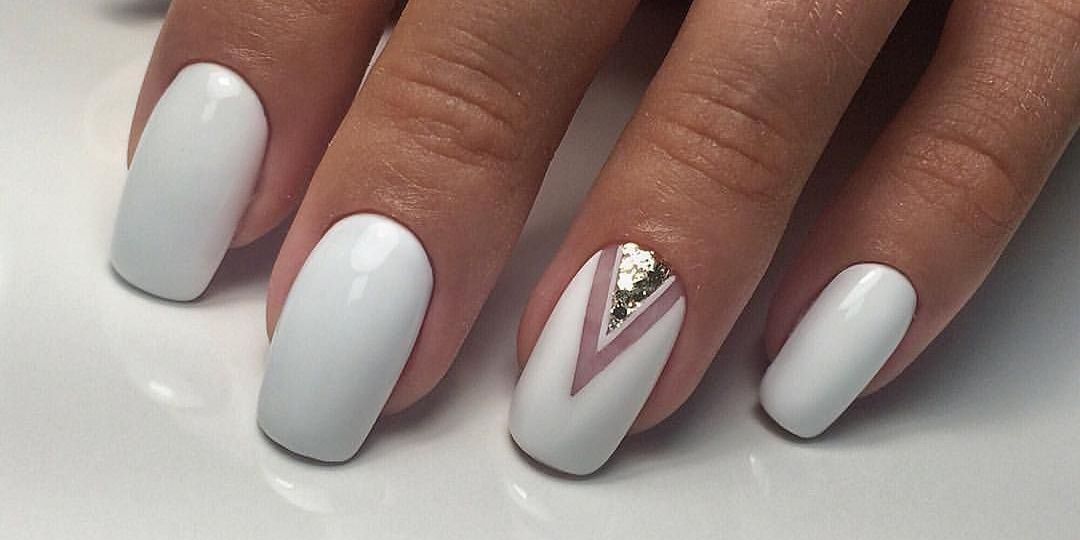
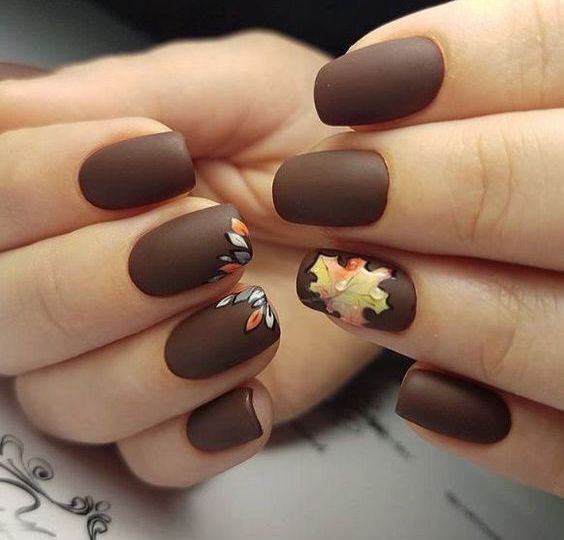
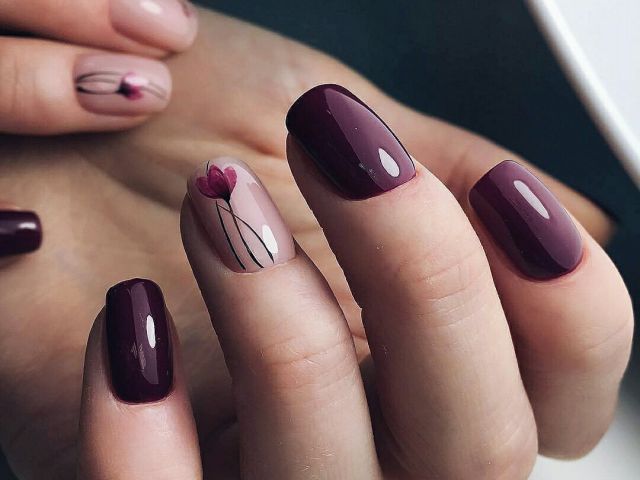
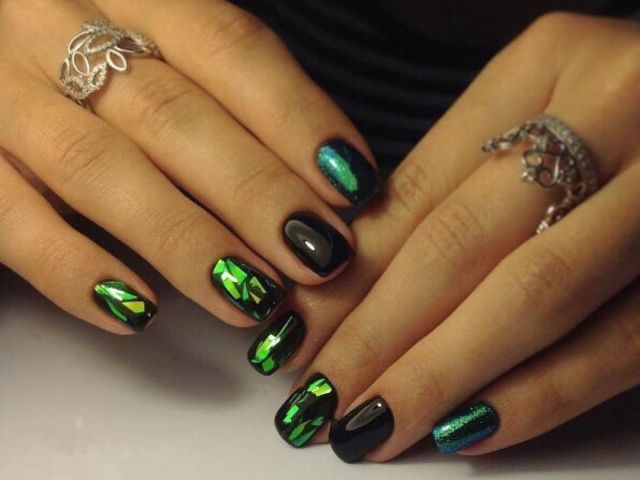
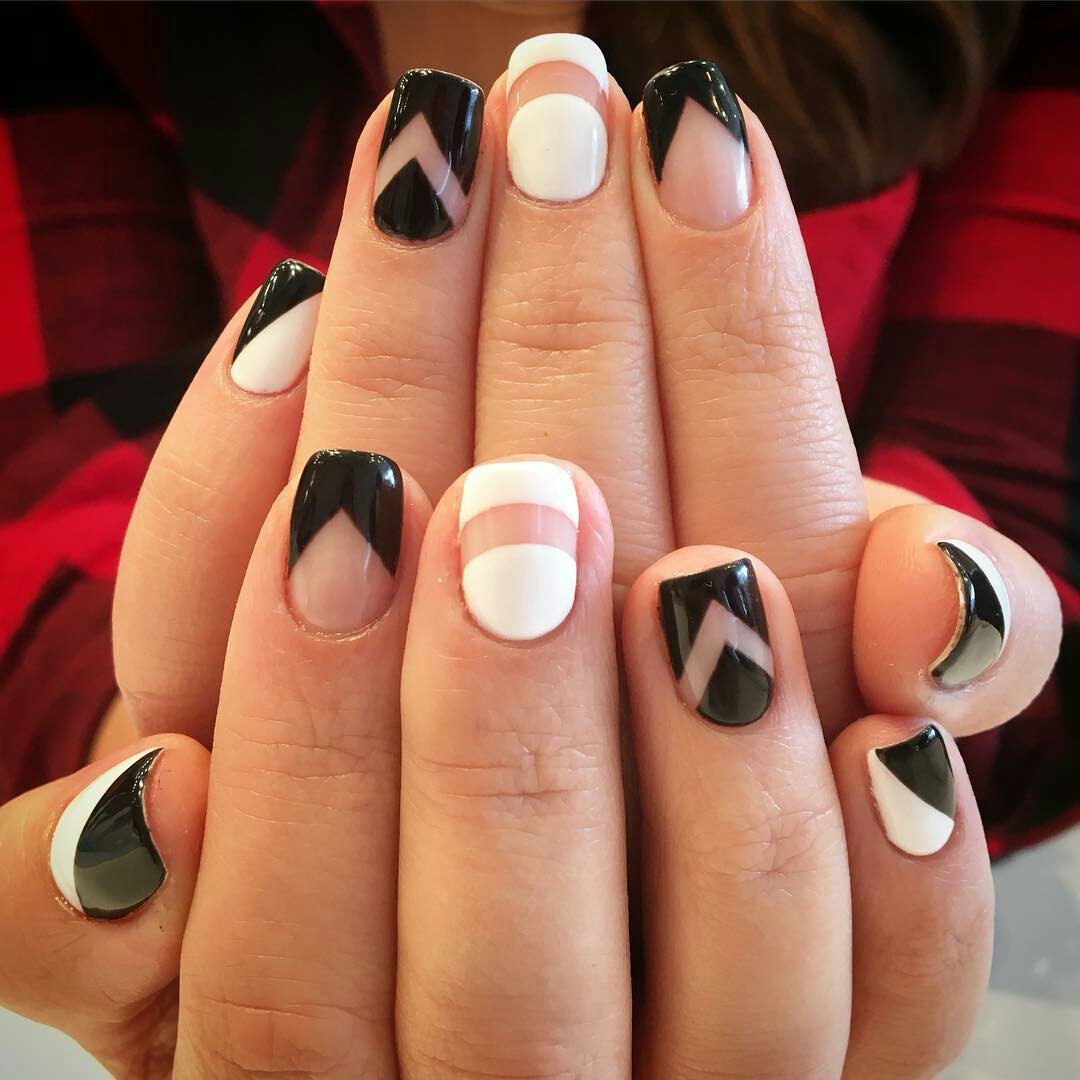
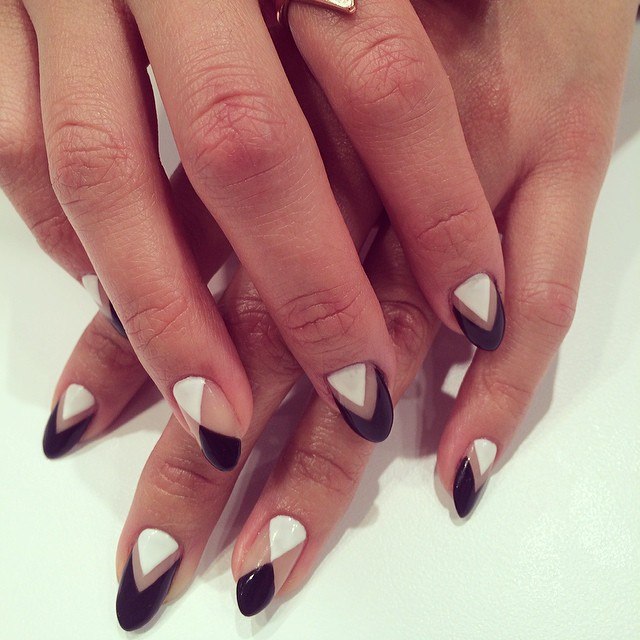
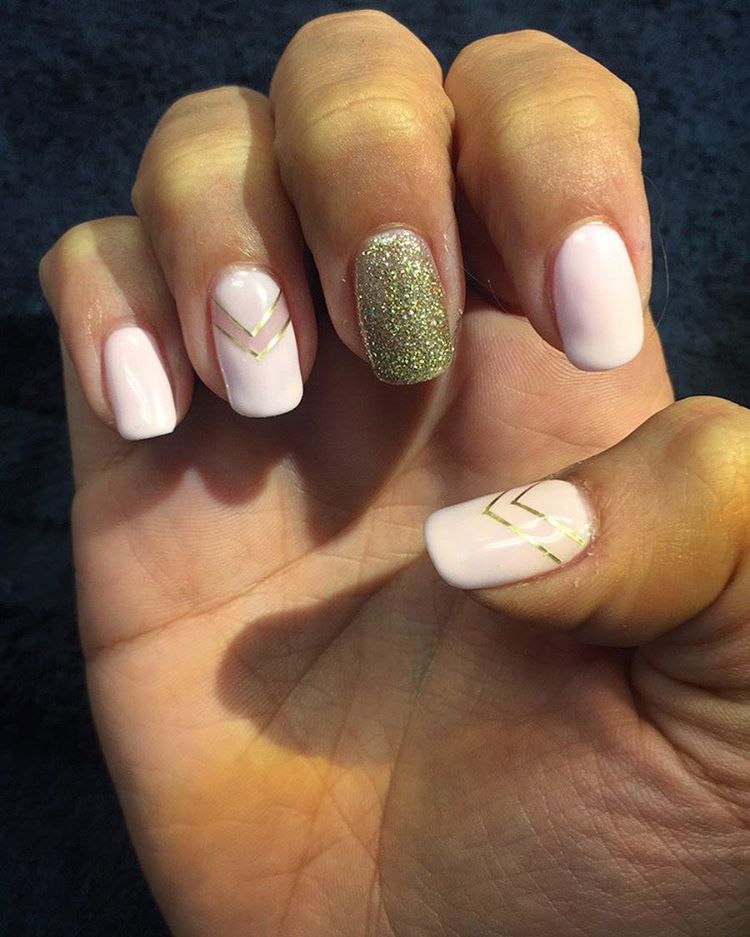
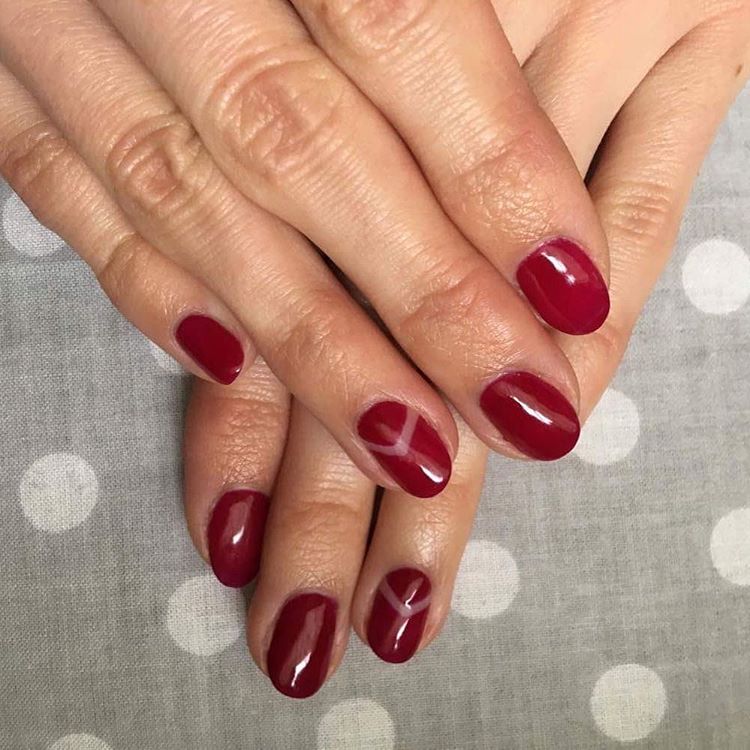
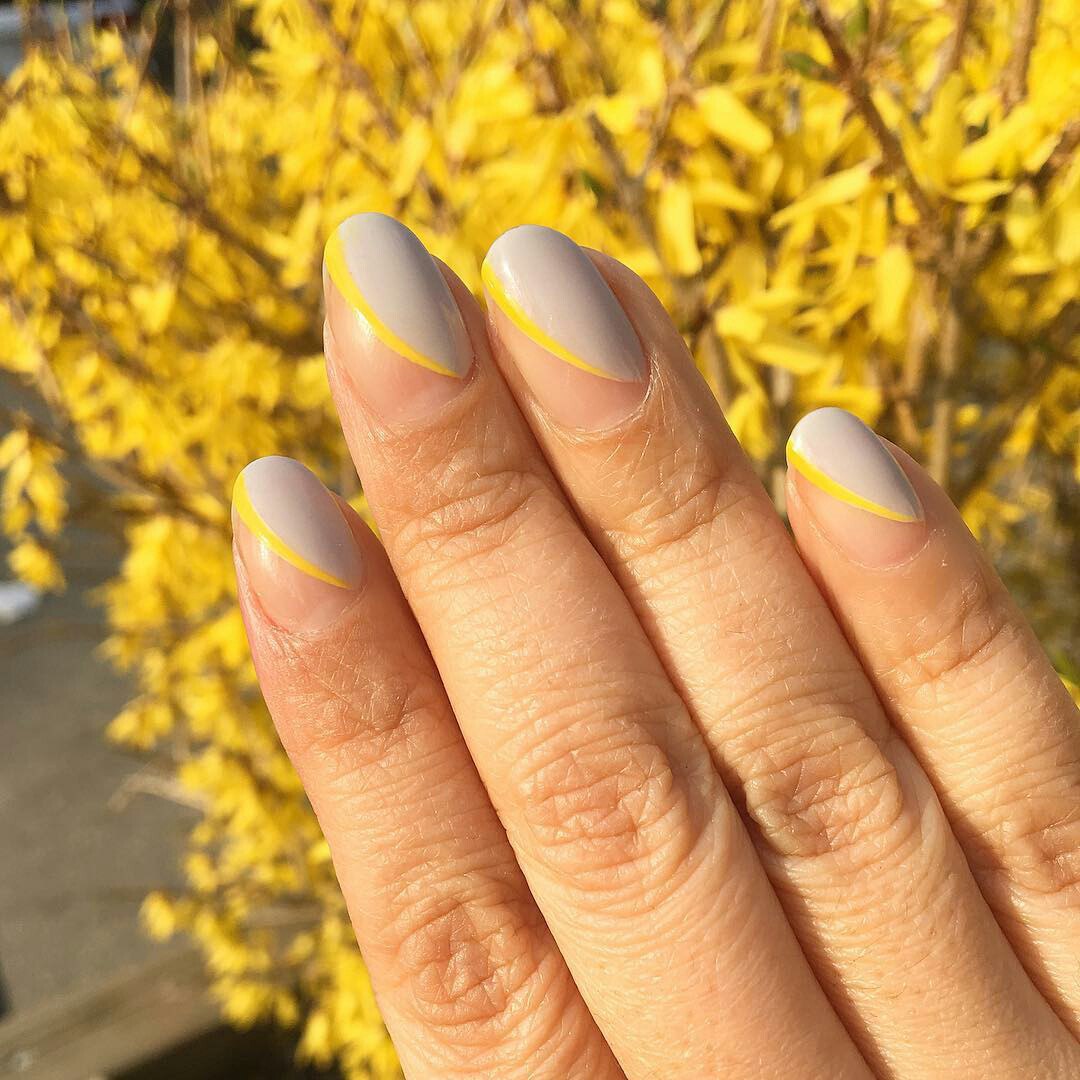
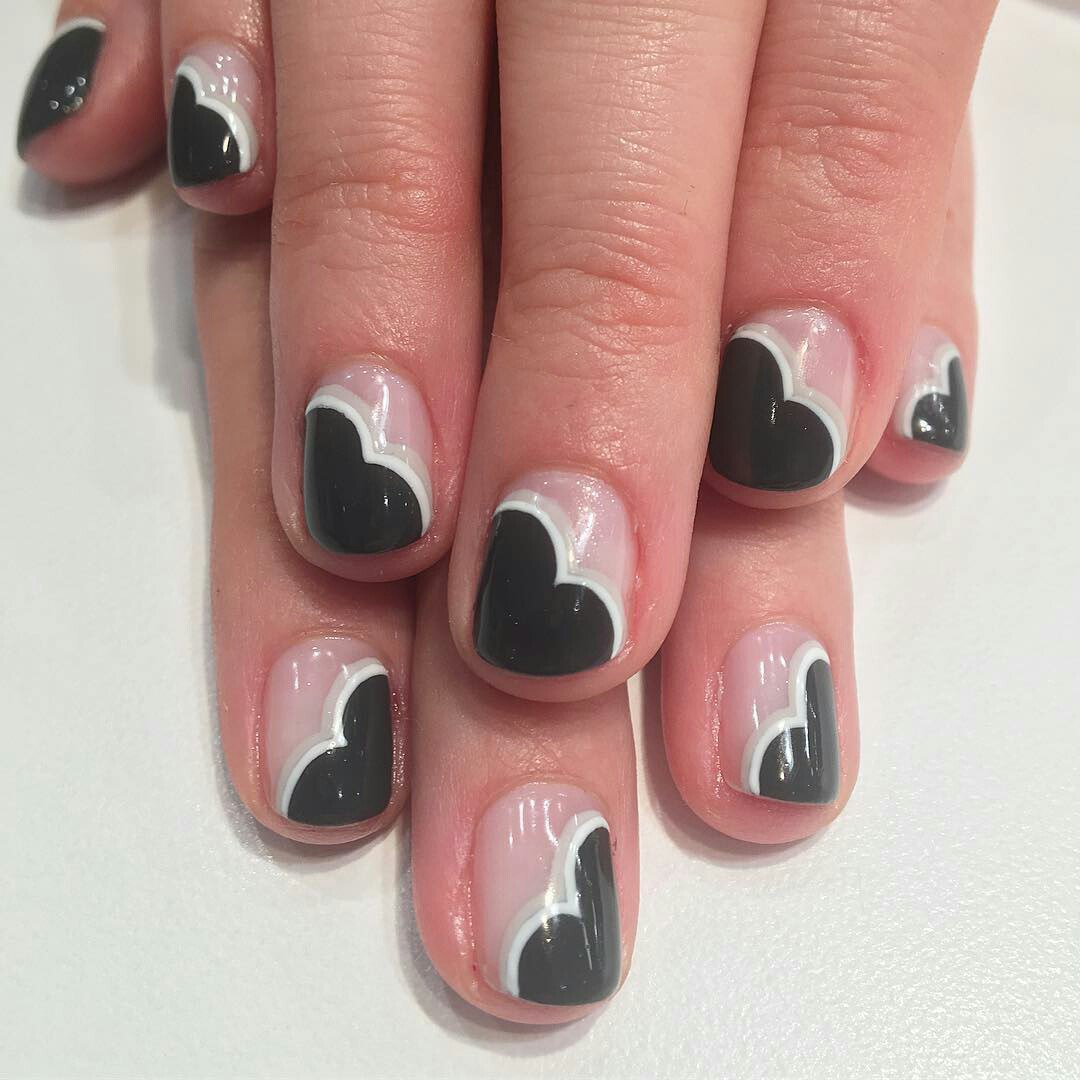
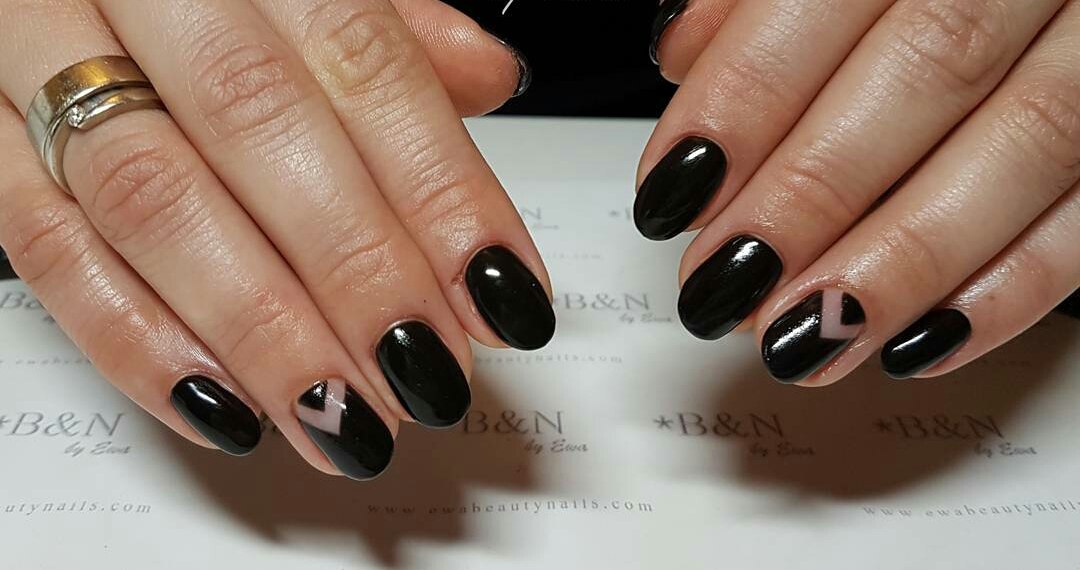
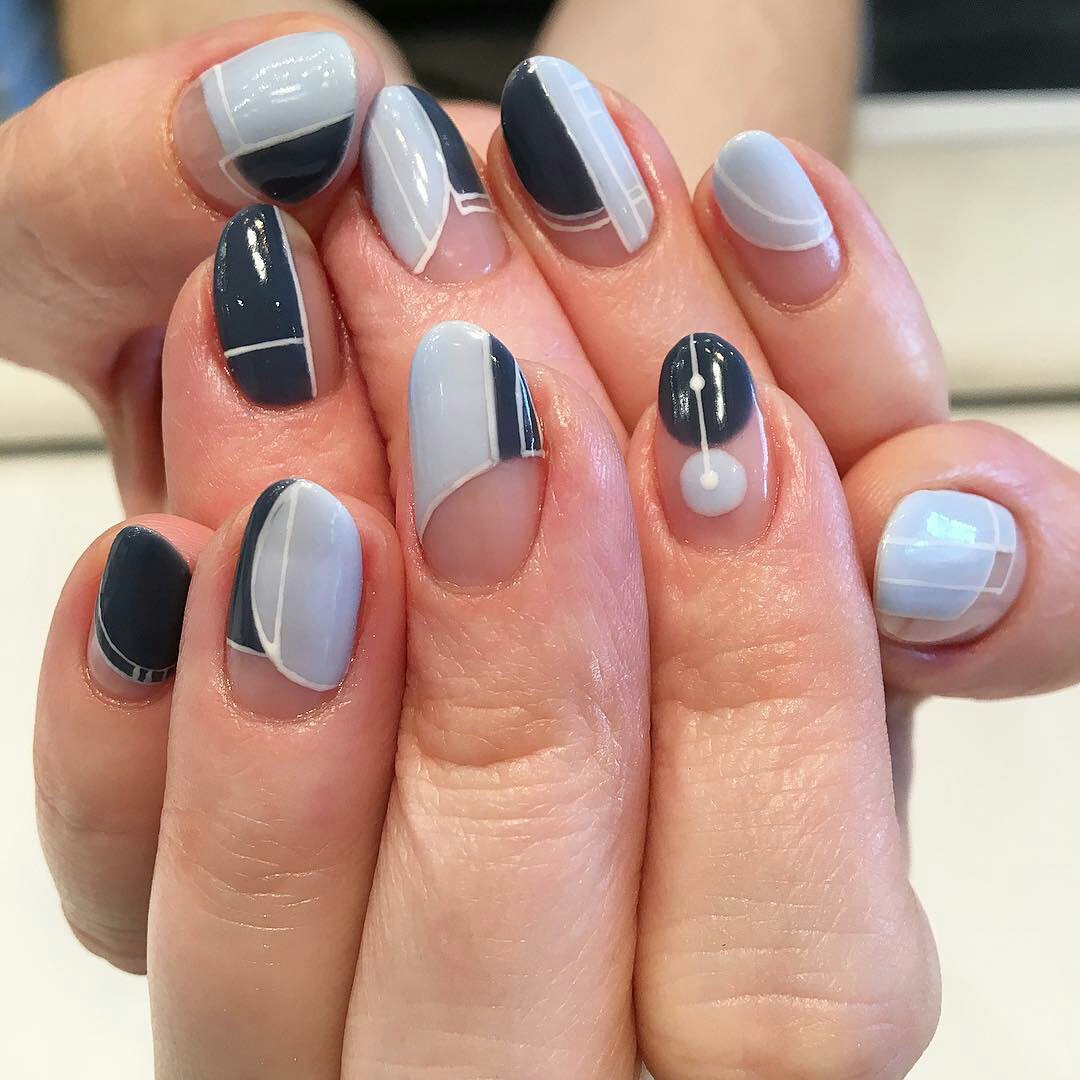
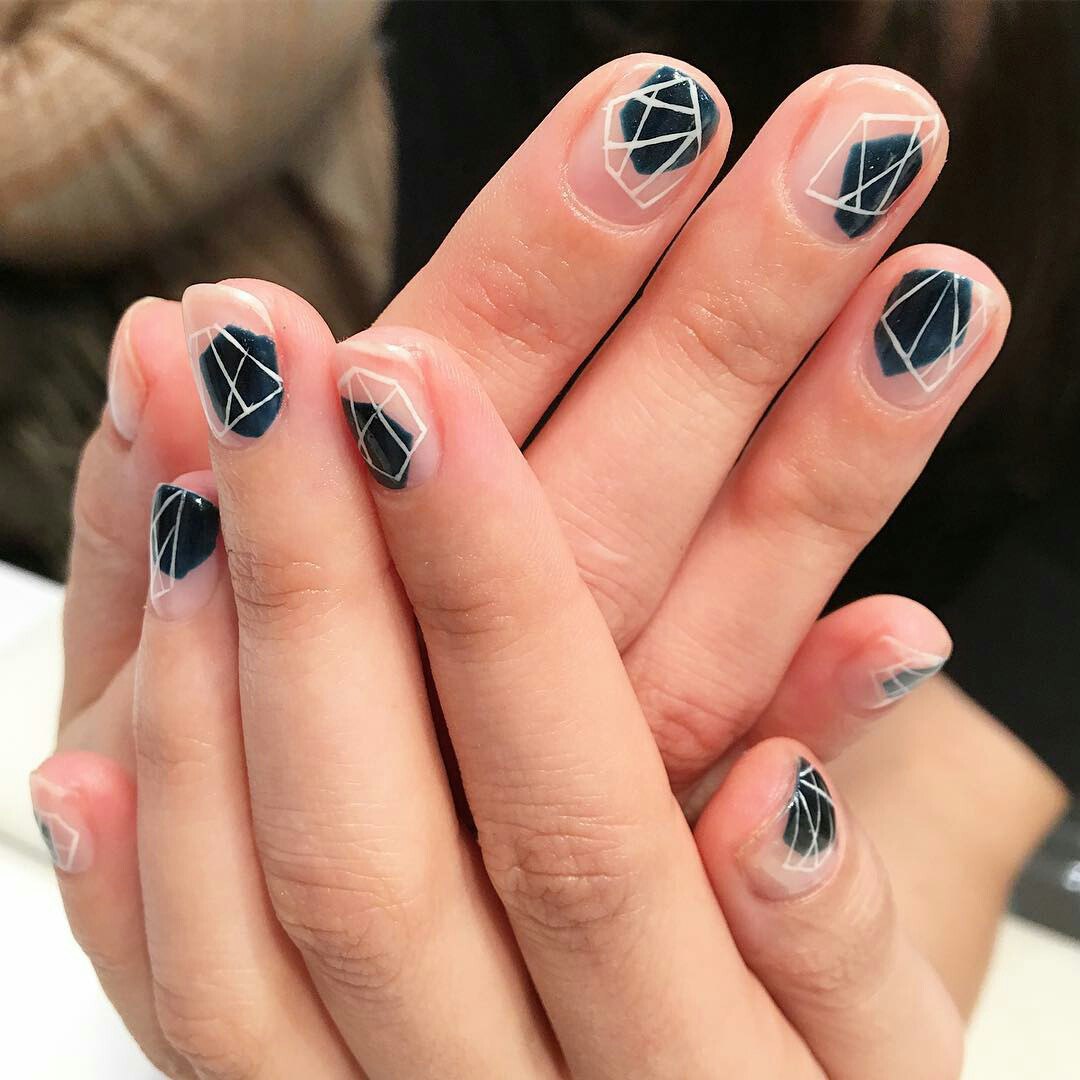
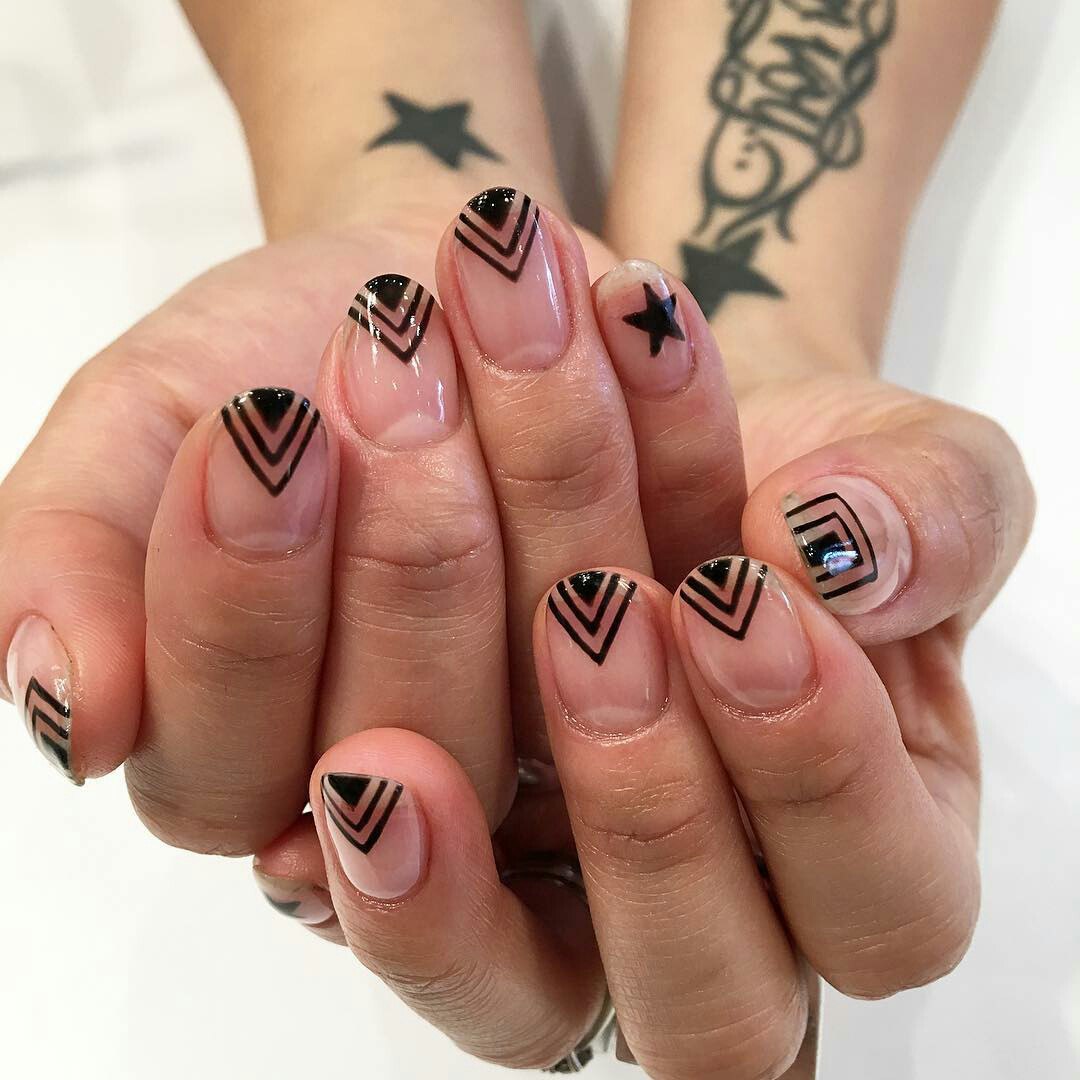
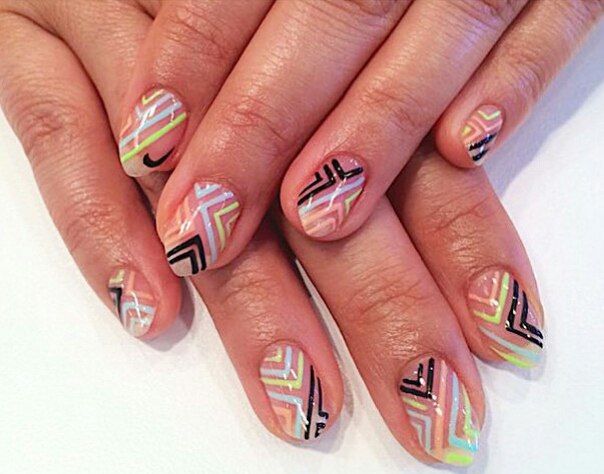
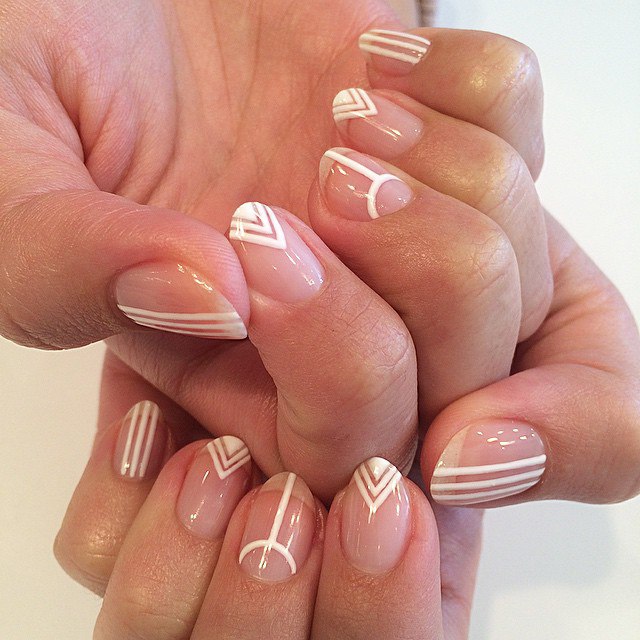
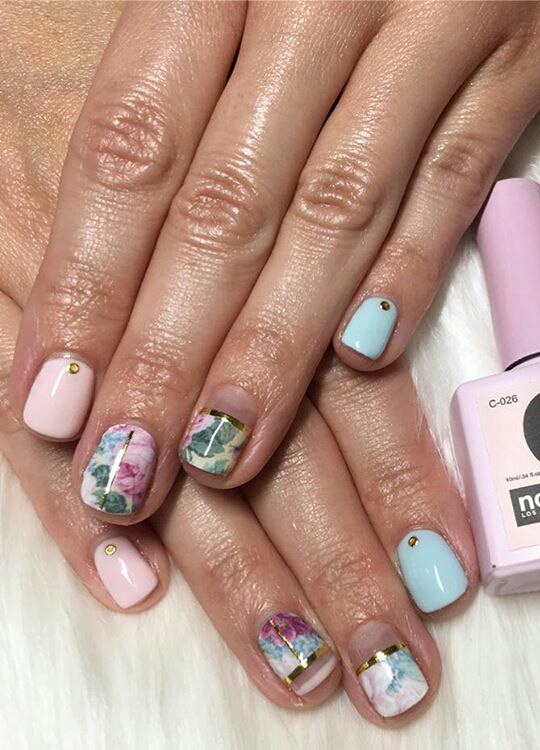
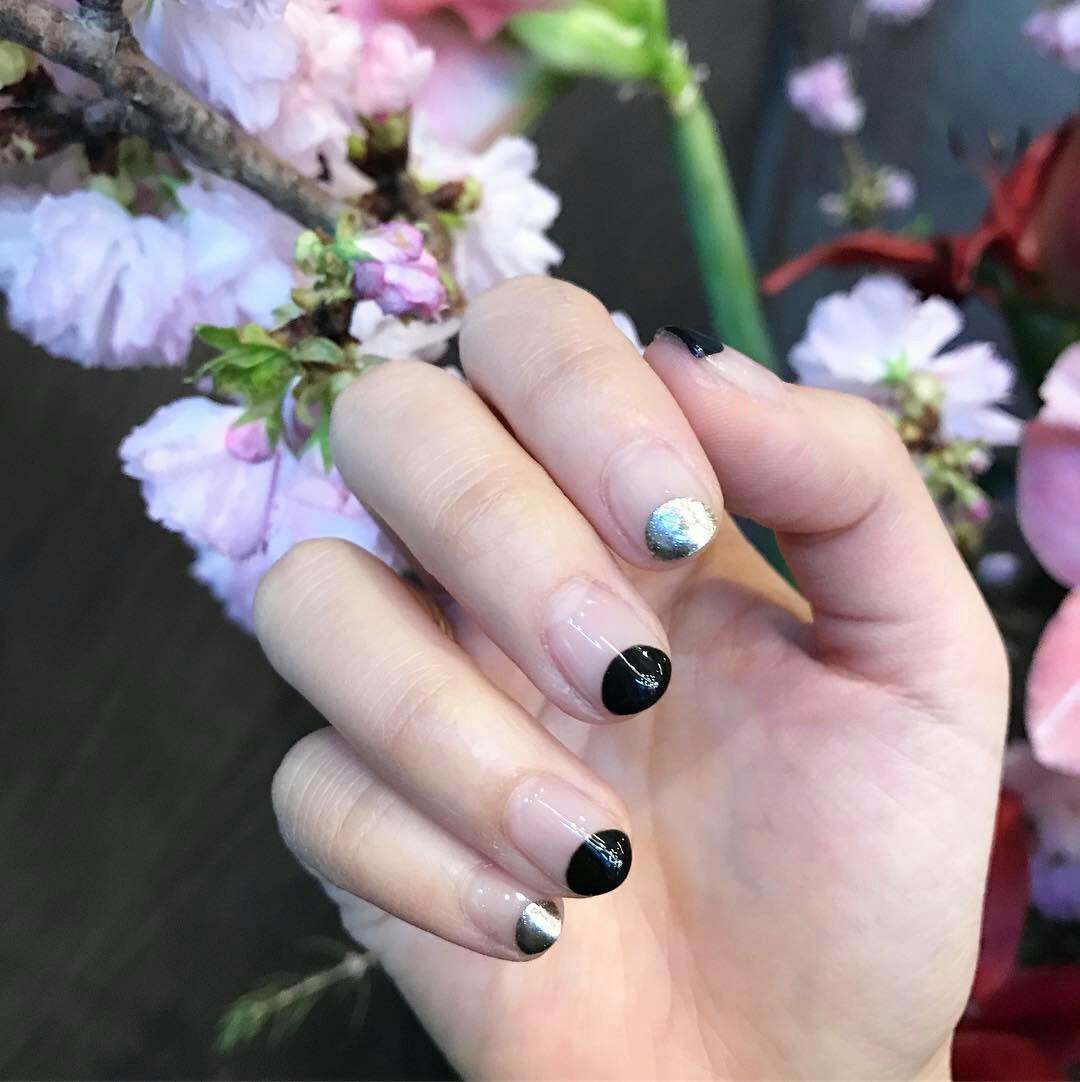
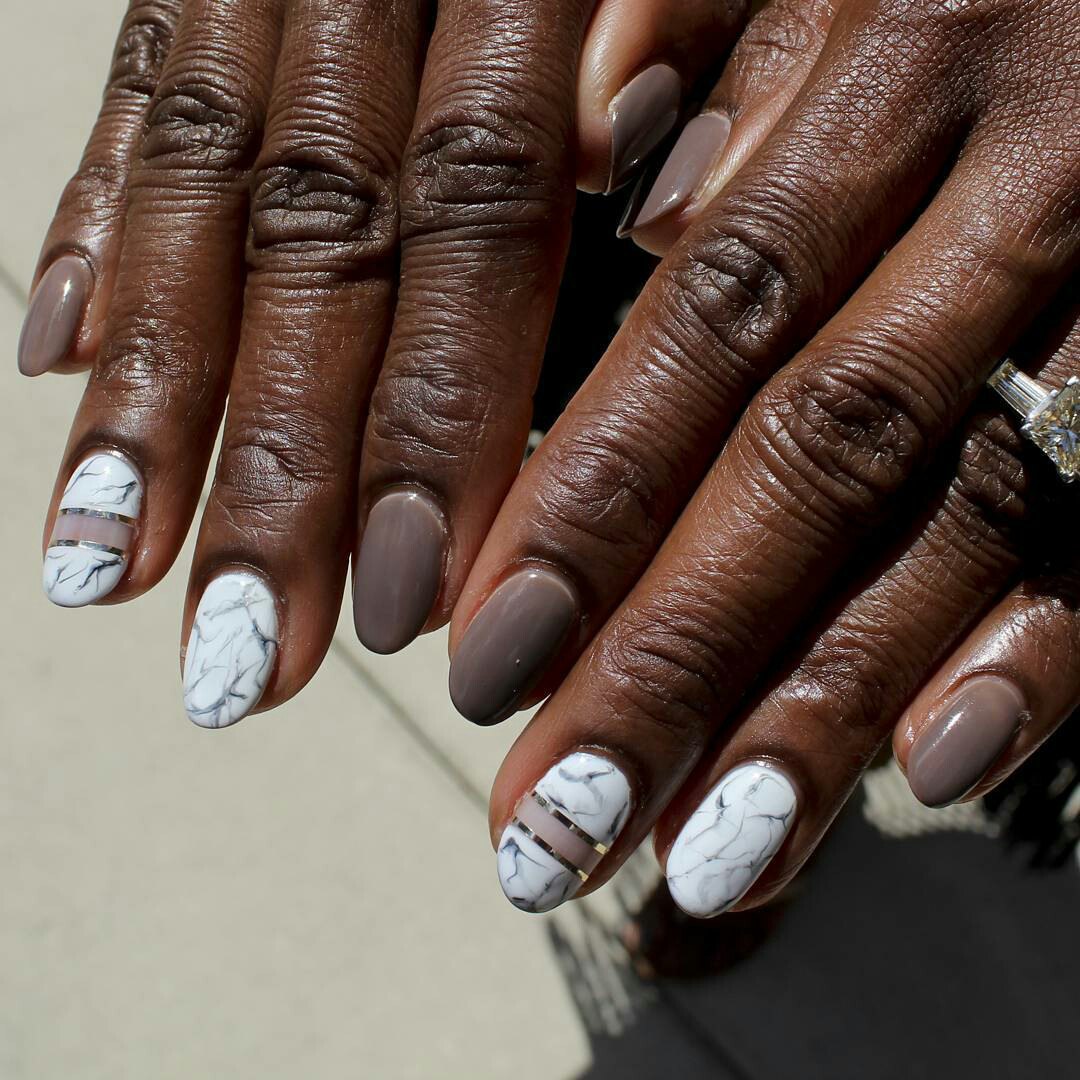
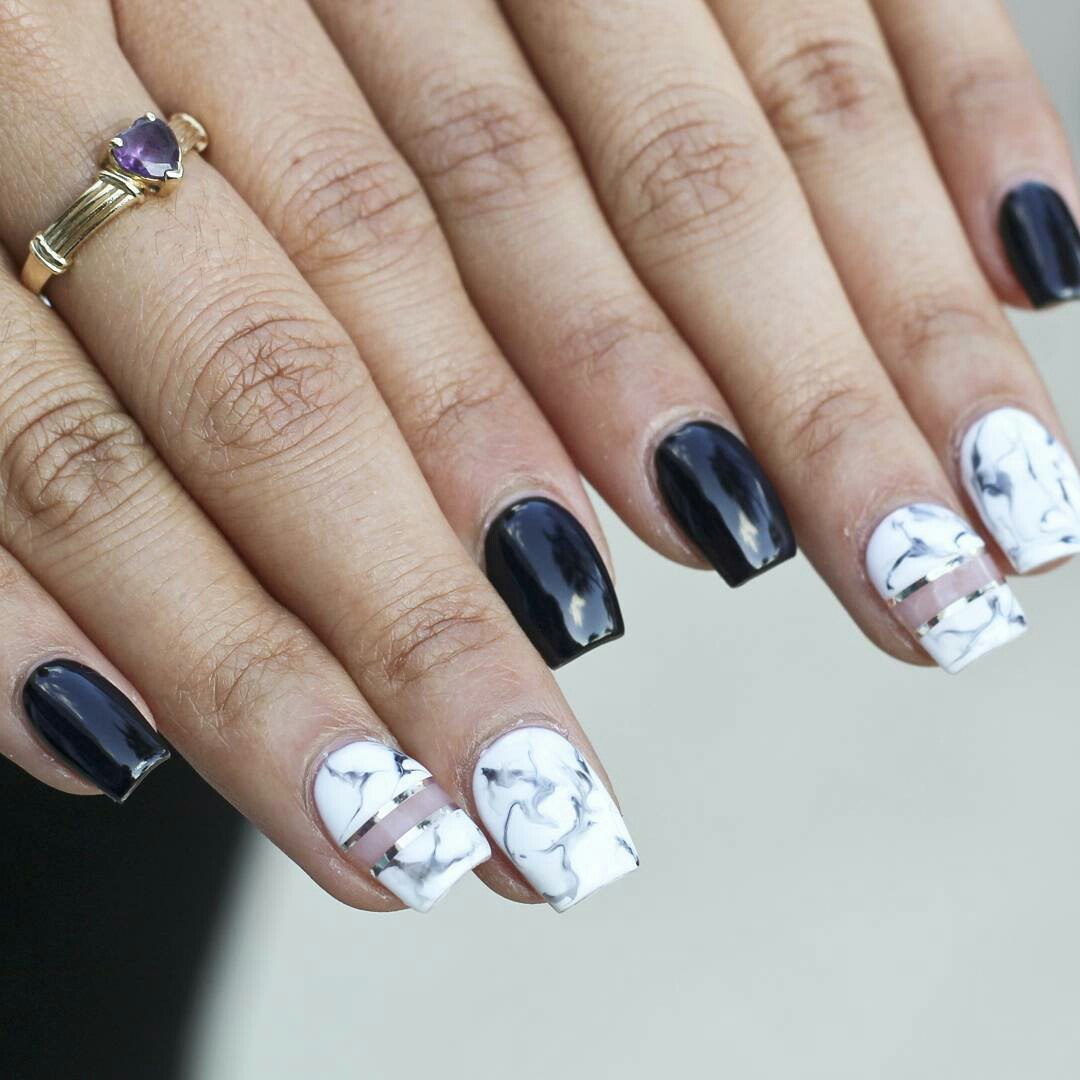
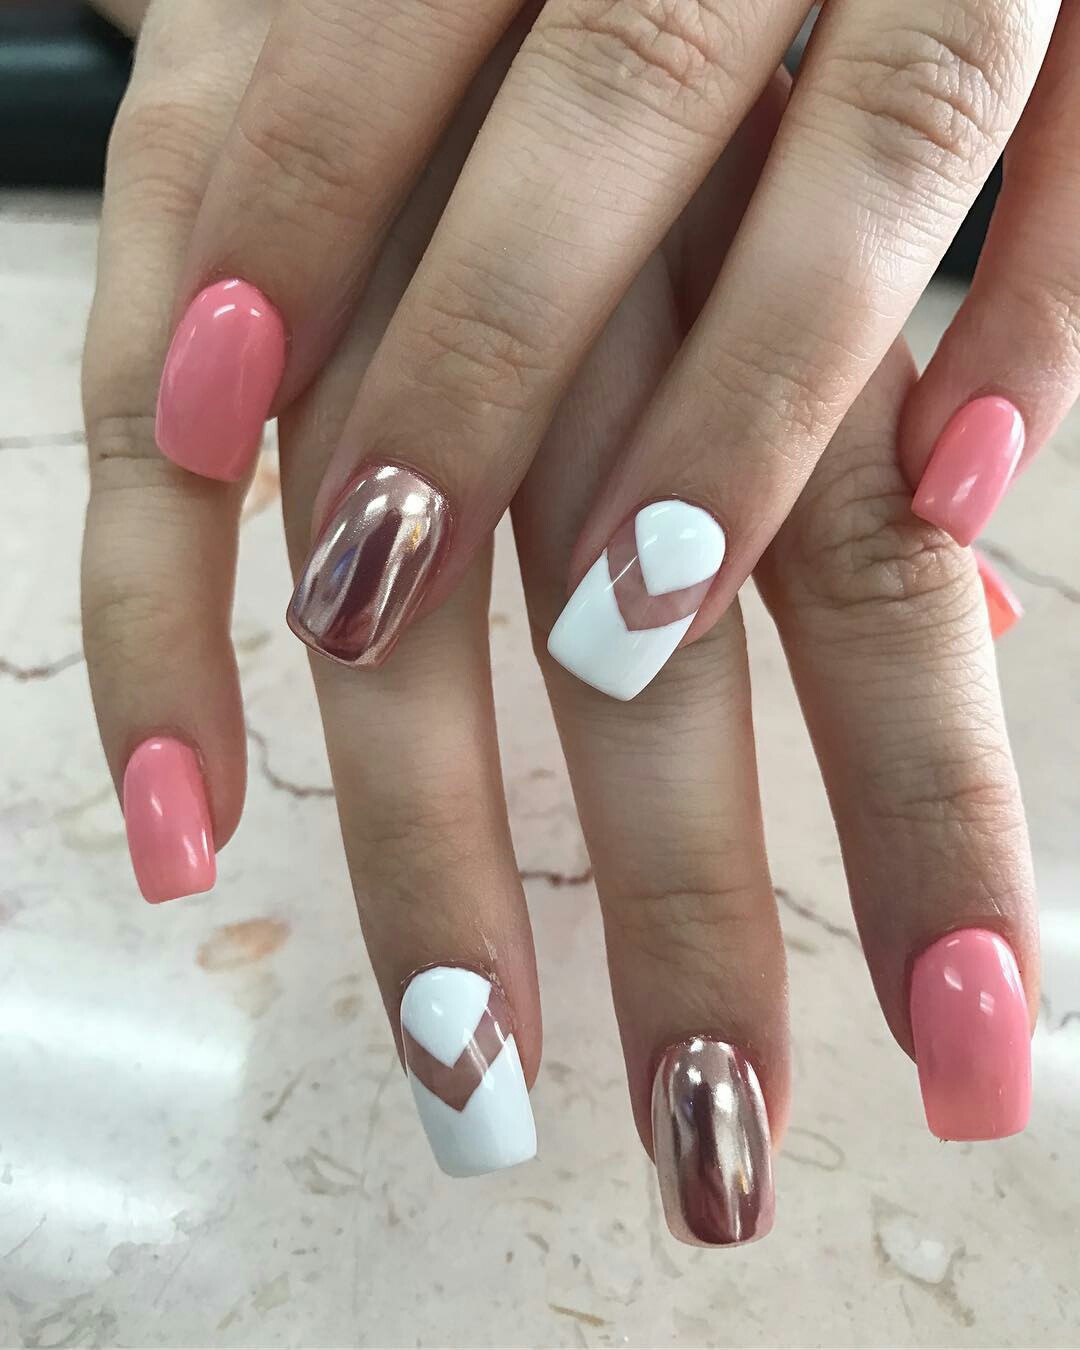
Pictures of Negative Space Nails Design
We’ve collected the best pictures of nail designs to inspire you and make you want to master the technique. These pictures will demonstrate you that with negative spaces you’ll be able to create amazing nail desings.


Don’t be afraid of experimenting when it comes to your appearance – create and implement your ideas! Today we’ve told you about another fashionable nail design and offered a step-by-step instruction how to create that. If you like the negative space nails, we offer you to watch another video, and you will learn how to do delicate pink moon manicure in this style.
Photos from Instagram.com