Everybody have, at least, once admired how drops of water hang on leaves and grass blades after summer warm rain. They gleam in the sun and shine like gems. The same is with dew drops powdering in the mornings. Do you know that it’s possible to do manicure with such effect? Try to bring some freshness and originality to your image, and we’re going to tell you how to do water drop nails design. Such extraordinary manicure not only will become an unusual accessory, but also make you charm and gentle.
Contents
Water Drop Nails: Step-by-Step Tutorial
Step 1: First, do the standard manicure. Remove the old coating and treat the cuticles not to let it ruin the whole image. Make the desired shape of the nails.

Step 2: Cover the nails with a layer of basic polish. The main coating will lie smoothly and carefully.

Step 3: Apply the main coating in two layers. Wait until the first layer dry before applying the second layer.

Step 4: Now make dew drops or rain drops. Pour a little of top polish on a dry surface, and this will facilitate your task.

Step 5: Dip the dotting tool into the top polish and starting making the drops on the nails in a random order. Their shape and size depends on you wish. It’s better to alternate small and big drops, and in this case the design will look natural. It’s not necessary to make the perfect and round drops as flowing drops will look more natural. When you finish decorating the one nail, dry in the lamp to make the drops smooth and volume.

Step 6: Make the drops on the other drops drying them in the lamp.

Step 7: Manicure is almost ready but now you should remove the adhered layer that remains on drops of gel polish. To do water drop nails effect, dip a usual napkin into spirit and rub all the nails with it. It’ll remove the adhered layer without damaging the decorative coating.

Do you think that you can’t create such difficult design on your nails? Don’t have any doubts! Honestly, it’s really easy to make such manicure. Some effort, and rain drops will shine on your nails. With this clear step-by-step instruction, it’ll be easy to you to do water drop nail art.

Collection of Photos: Water Droplet Nail Art
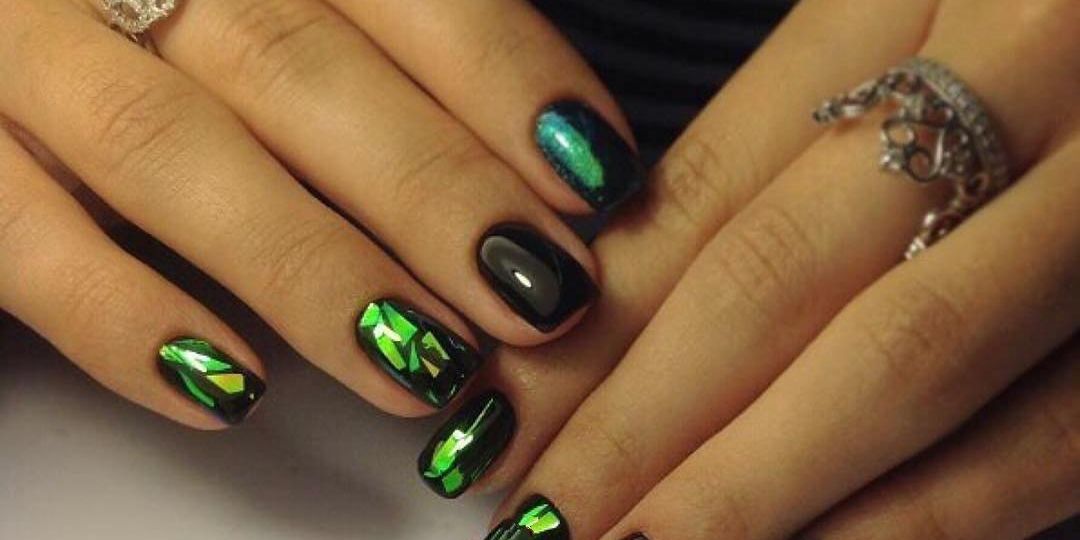
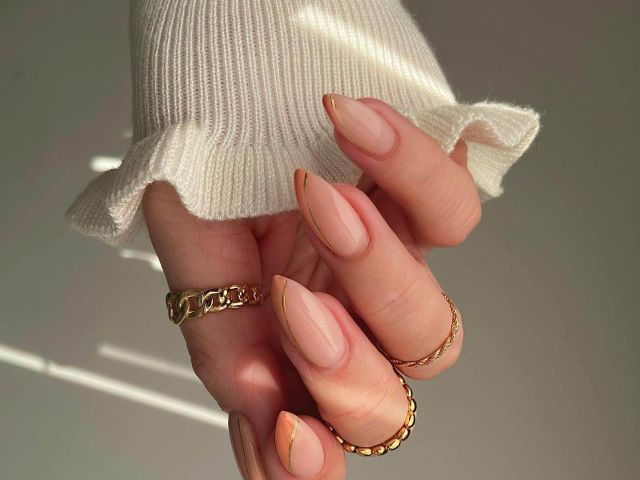
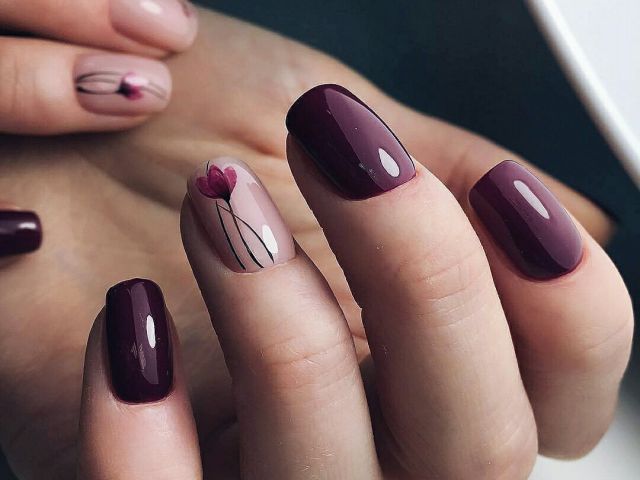
The design can be absolutely different, and everything depends on your fantasy. It’s not necessary to use the chameleon polish so you can take any decorative coating of any color. If you want, you can add as many sequins as you want to create a shining effect or to draw some pattern.

We want you to be inspired and offer to look at the pictures. Use drops of colorless polish and you’ll create gentle, bold and natural manicure. The pictures will suggest in which direction you should move.

Everything brilliant is easy to get. And we’ve just ensured that. You needn’t go to beauty salons anymore when you’re going to some festive event or just you want to change your image. This design will become a real life saver for you.

Don’t be afraid of experimenting with colors! Believe that this design will become a nice decorative element of any color making it brighter, deeper and more saturated. Besides, you’ve already seen this. If you prefer manicure in dark colors, the video where you can find another three versions of stylish nail art will be very interesting for you.


Water Droplet Nails: Video Tutorial
To do this, you need chameleon nail polish that creates very beautiful color transitions. You can give your preference to any color you like. To make some drops, use colorless gel polish or a finish coating. Use a nail dotting tool as a working peace. If you don’t have one, use a toothpick or a hairpin.
That’s all, delicate and, at the same time, unusual manicure is ready. Compared to complex patterns, it’s not difficult to create an effect of rain drops. The result will be inimitable. Such manicure won’t be unnoticed. We offer to watch this video instruction to learn how to make water drop nail art.
Also you’ll appraise the design!


Photos from Instagram.com


