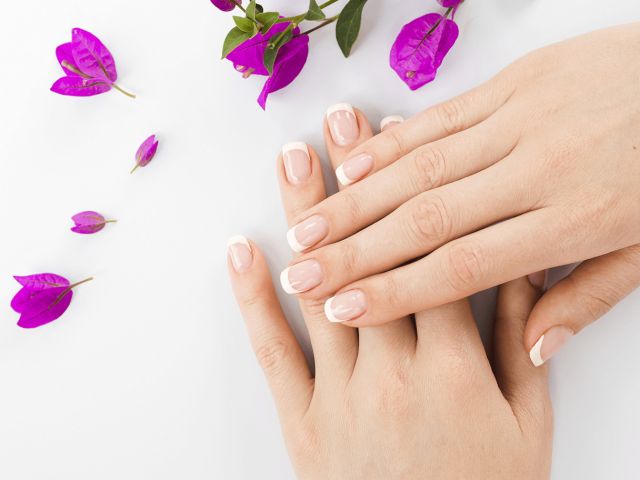
When representatives of the gentle sex choose a nail design, they are guided by many principles. The important thing is that the nails must look stylish and perfect and that they must match the whole image harmoniously. Despite the great popularity of moon or classic French nail design, now more and more young girls prefer a novelty in nail art, the galaxy nails design.
Contents
How to Do Space Nails Art: Best Tips
Space or cosmic nail art is considered to be a seasonal trend. By the way, you even don’t have to pay for this design, as you can create it at home. There is a plenty of special polishes and gel polishes for the manicure in “galaxy” style.
The article represents a master class in decorating your nails, pieces of advice and recommendations in question “how to do galaxy nails step-by-step”. Such design will become your “distinctive feature”. Also, you have a right to experiment. You can paint stars, planets, the milky way, nebula, etc. on the nails.
Galaxy nail art is a relevant trend. Such coating is up-to-date, fresh and absolutely new. The nails will catch the eye. In beauty salons such nail design is quite expensive. But this is not a problem, as any girl can to do stars on nails at home. Moreover, she doesn’t need some special skills. Any woman can master the technique of space coating. In this article you’ll learn how do you do galaxy nails at home.
How to Paint Galaxy Nails
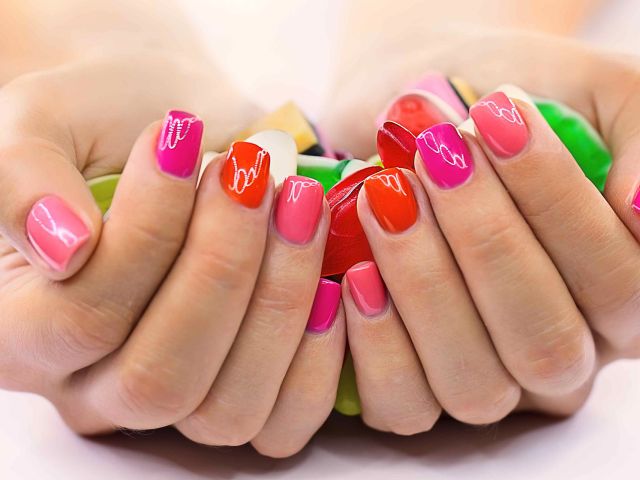
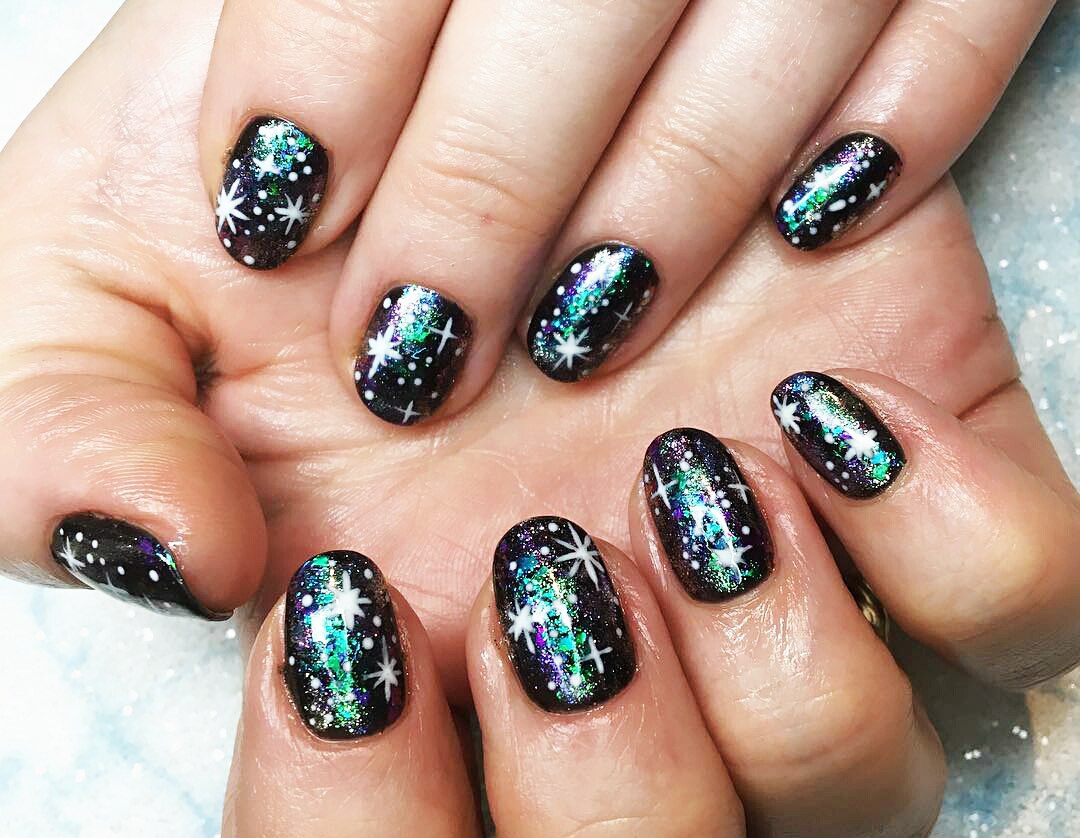
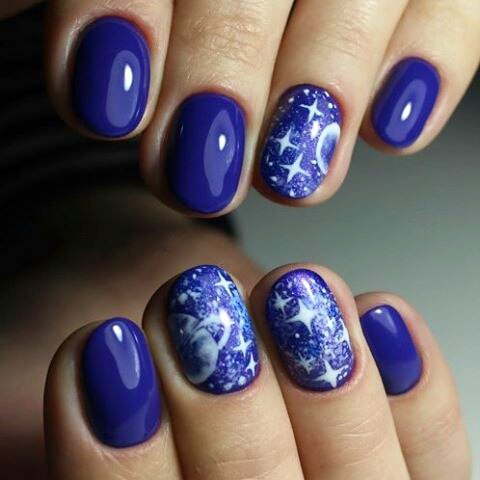
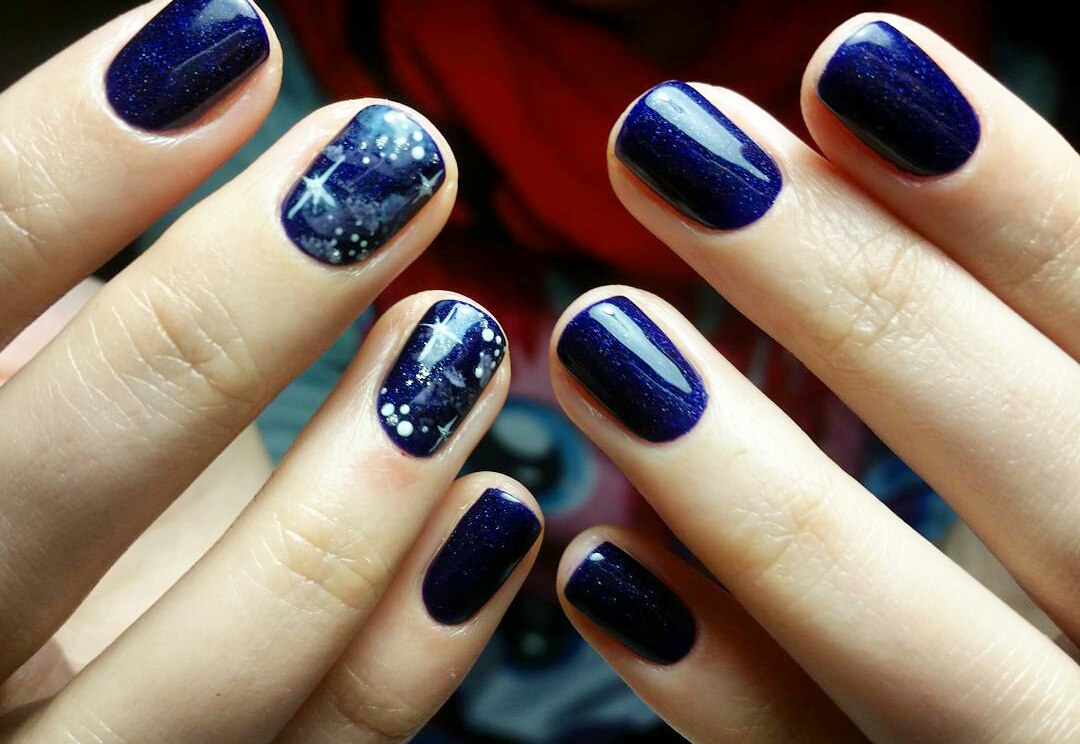
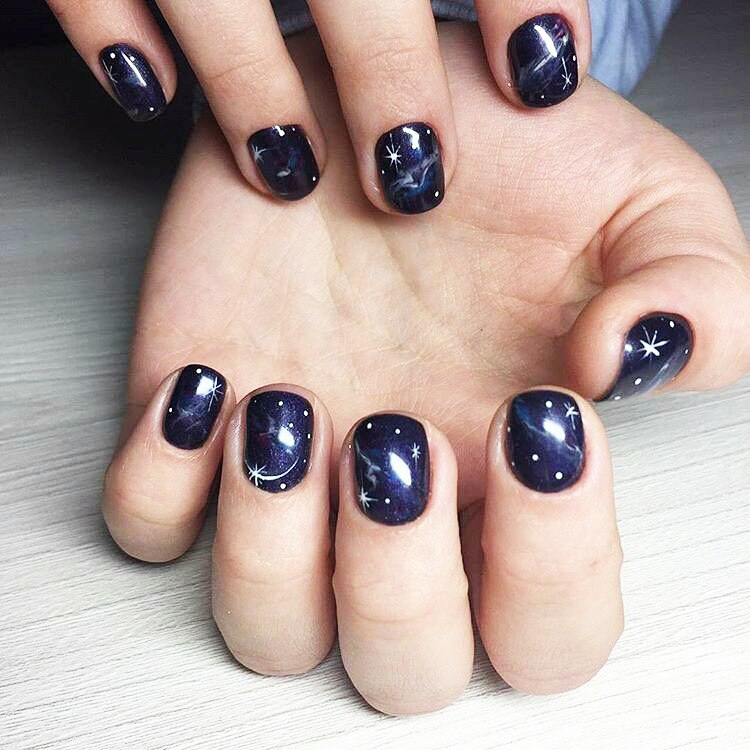
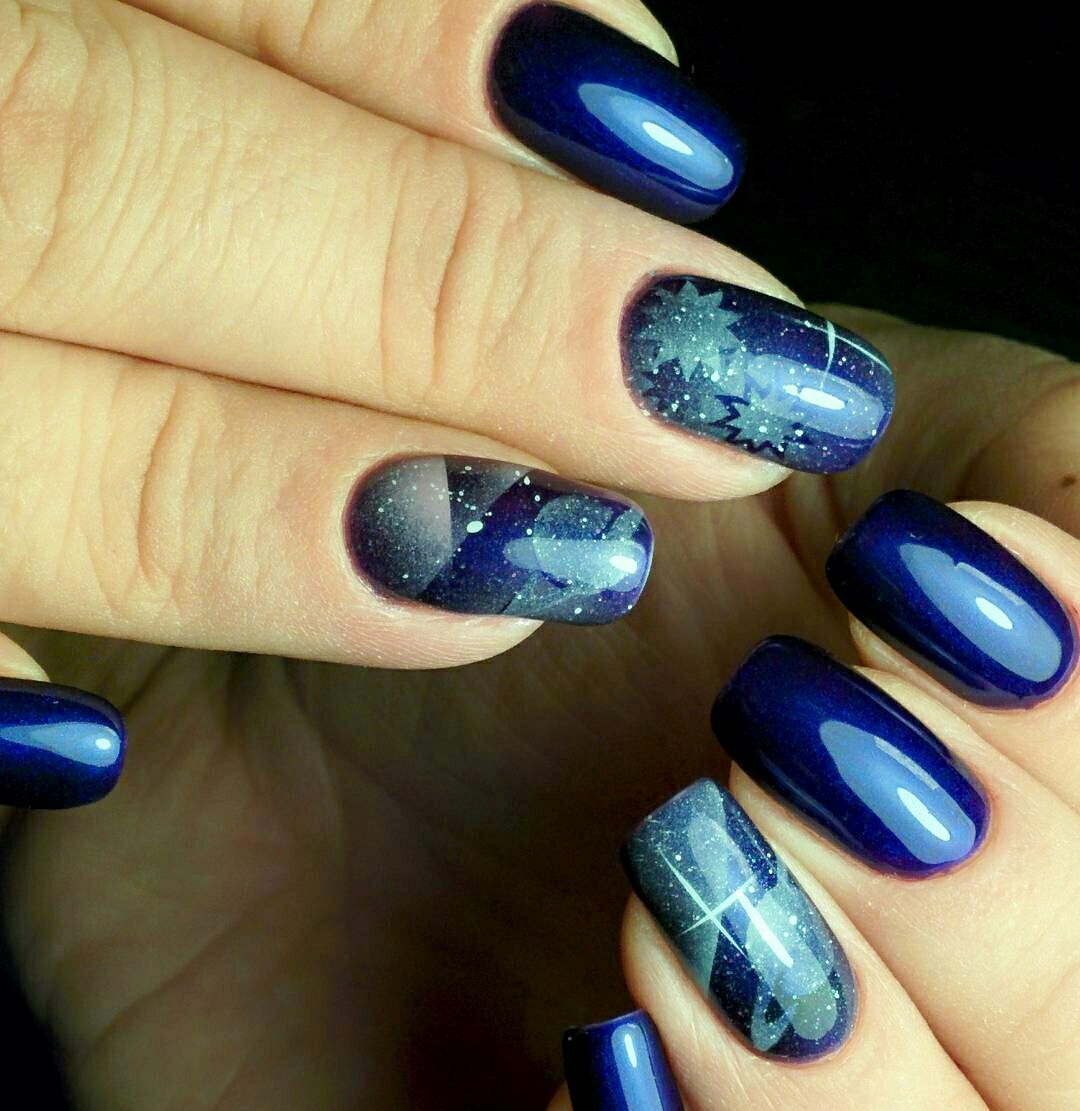
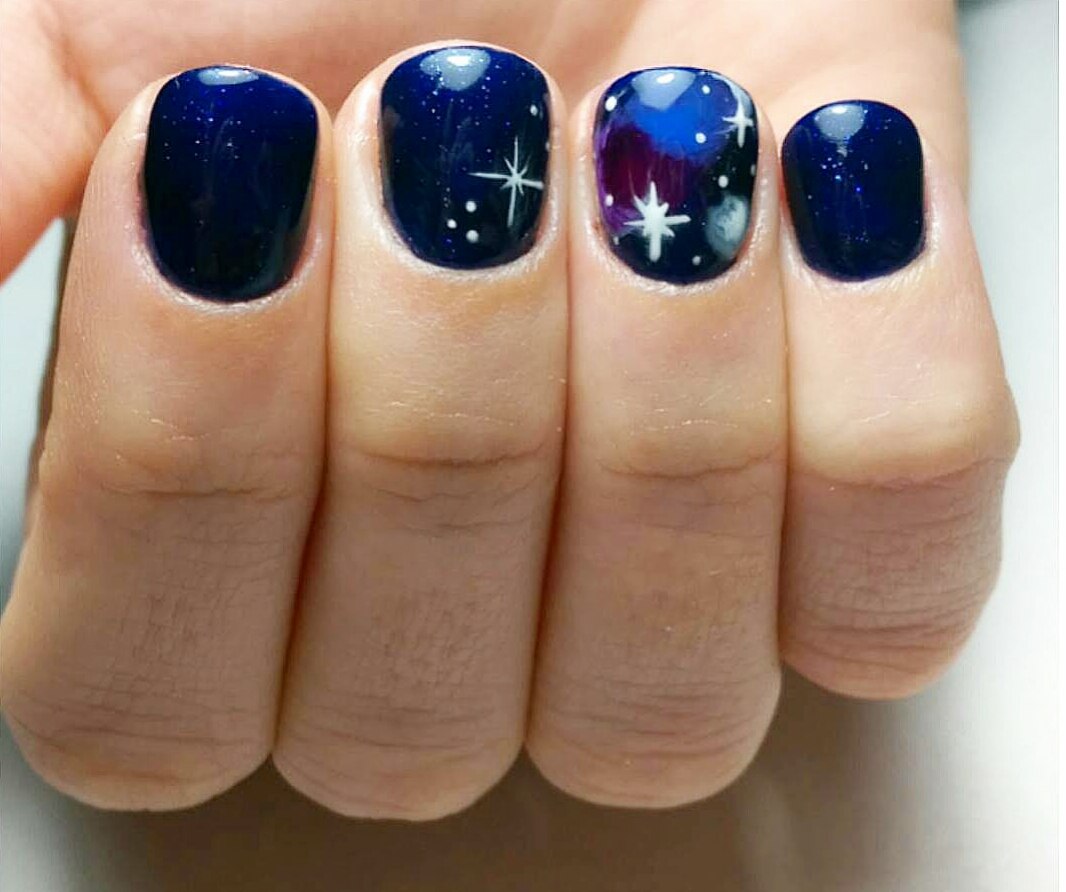
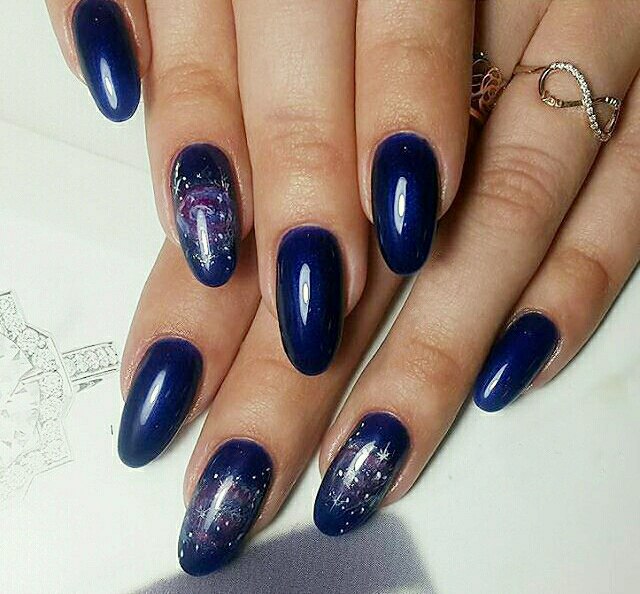
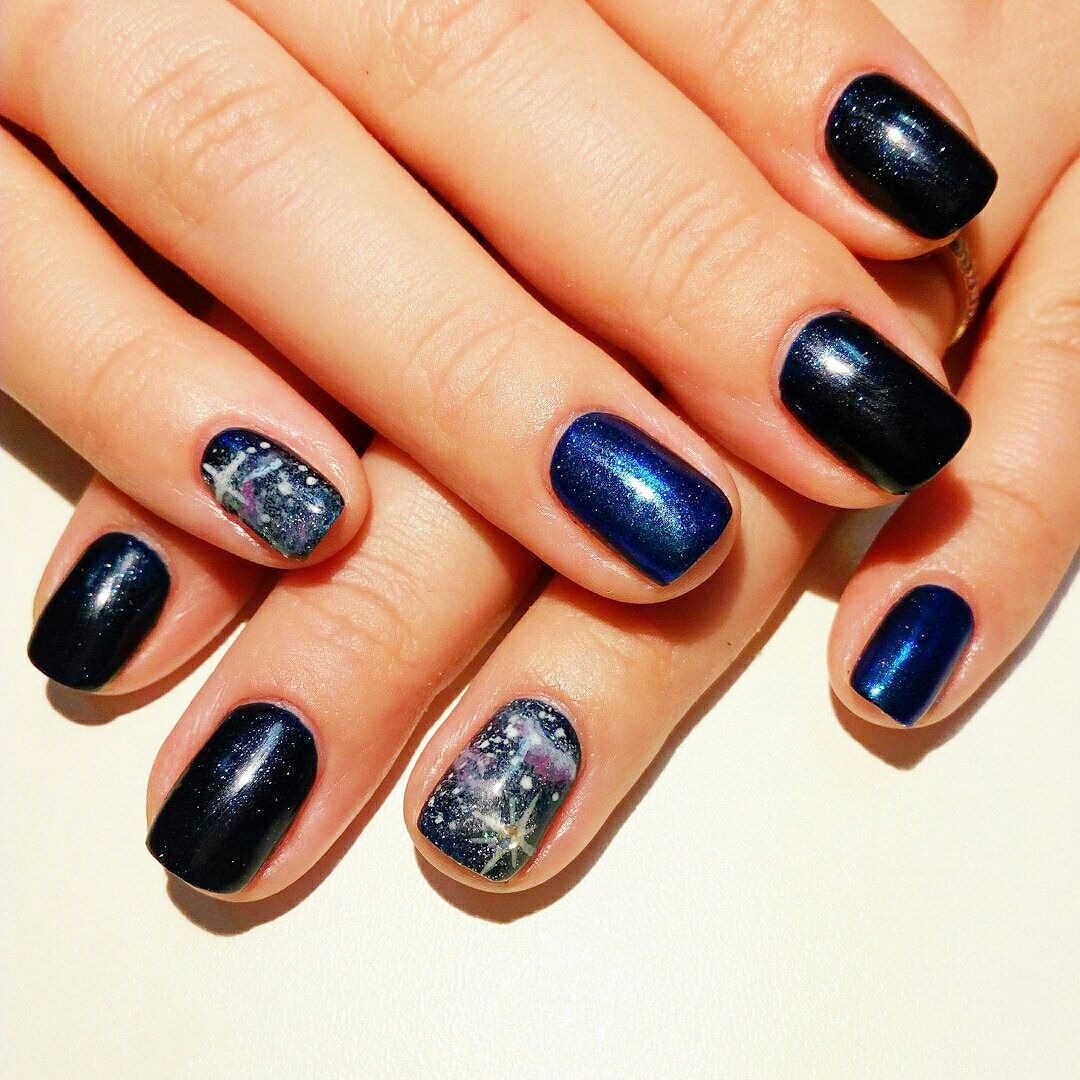
Nowadays the galaxy “theme” is very popular. There are a plenty of clothes and accessories of particular color and design in stores. The nails with stars, planets and other “cosmic” elements painted on them look quite spectacular. Such manicure suit everyday life, as well as some festive events. It looks perfect on both short and long nails. It will emphasize your style, especially if you are at the party.
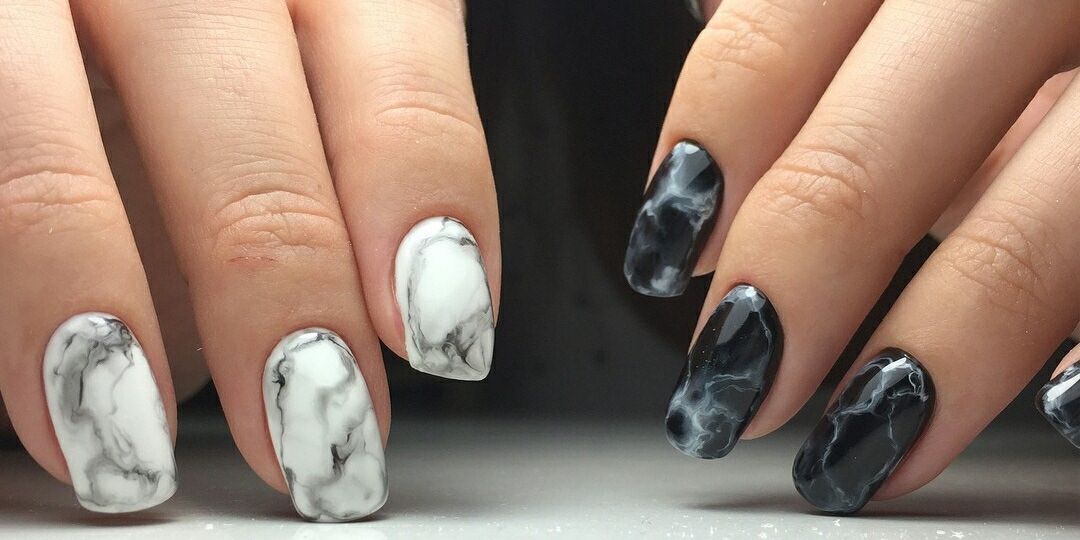
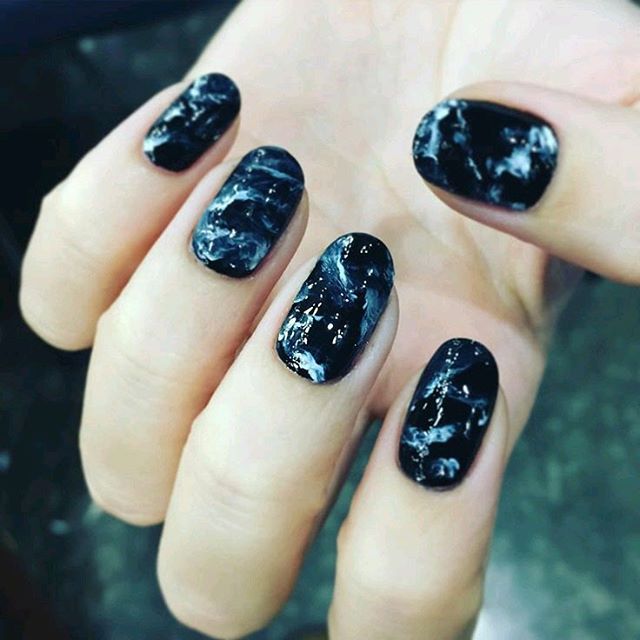
To make the galaxy nail designs, you may choose different colors and shades that are associated with cosmic theme one way or another. White, yellow, silver, pink, light blue, dark blue and black shades and galaxy nail color are welcomed. In shops you even can buy a special nail polish called “Space”.
If you decide to rely on your fantasy, draw a sketch before creating the design. This way you will be sure that the shades you’ve chosen match each other perfectly. The combination of holographic and mother-of-pearl polishes flowing with different shades is especially amazing.
Among this, before doing the galactic nails purchase the following tools:
- basic polish (it should be dark: black, dark blue or purple;
- light polish (you need it for some nebula);
- two or three bright polishes;
- glitter or shiny polish;
- fixer (transparent);
- sponge.
Look at some pictures with the nail design on the net and you’ll find a lot of interesting details. There are even step-by-step instructions, but everything will depend on your fantasy. Don’t be afraid of experimenting.
How to Make Galaxy Nail Art: Tools and Materials
Such decorative coating has many advantages, so you just must learn how to do space nails
mastering the technique.
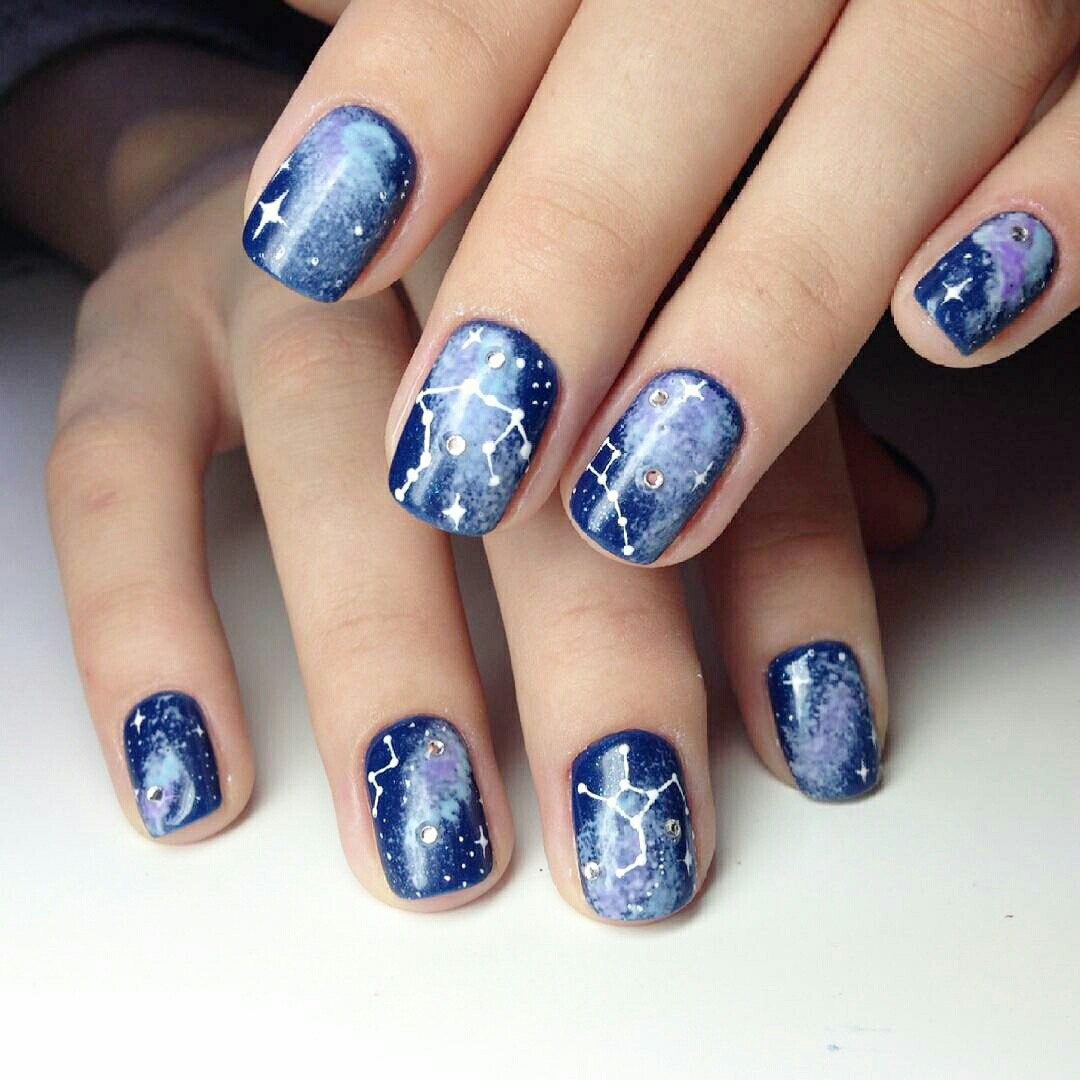
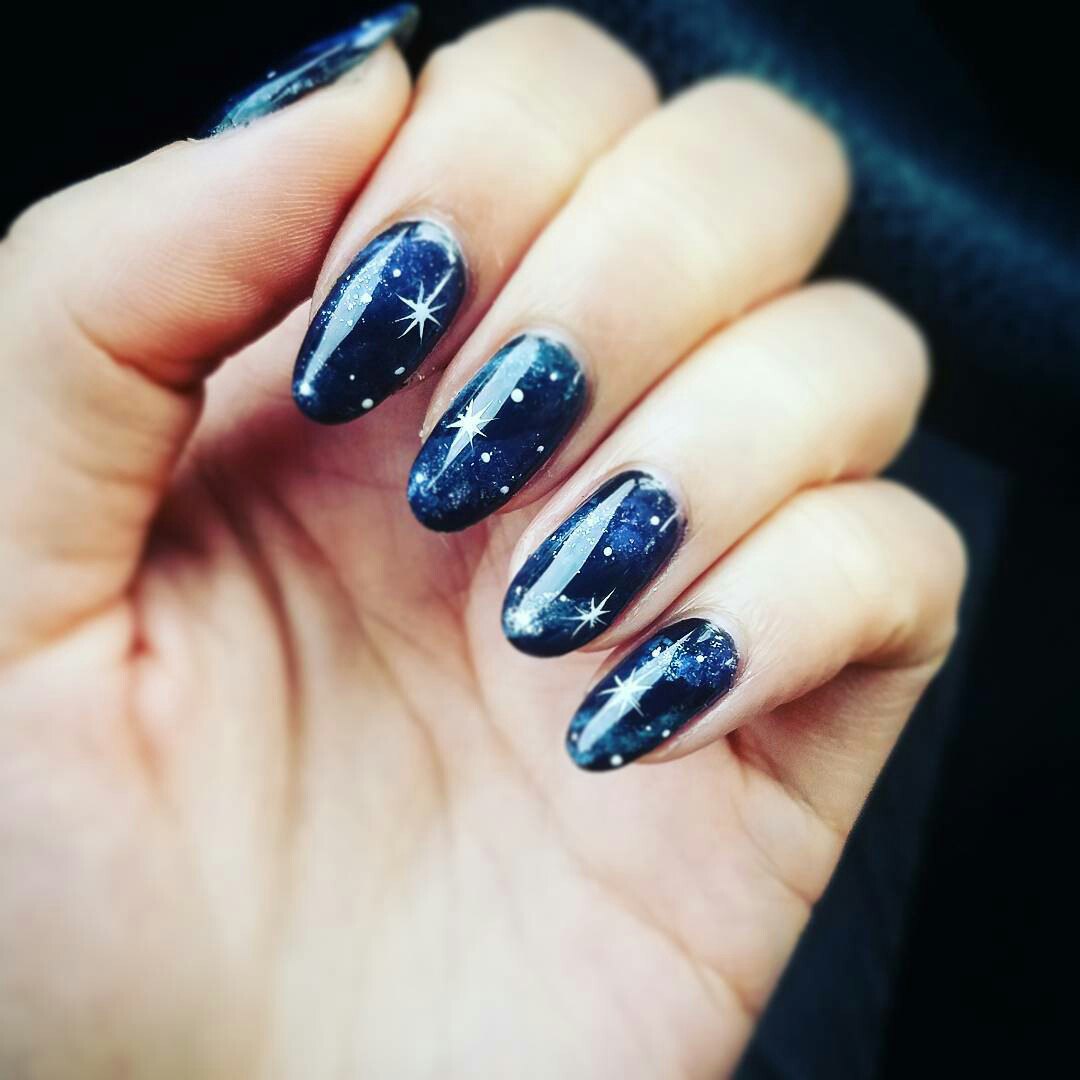
When painting stars on nails you can draw different planets, stars, constellations, etc. It’s up to you what to paint.
The advantage of the matte galaxy nail polish is uniqueness and exclusivity. Every time you will get something new and something different.
Women with both long and short nails are able to diy galaxy nails. If you’re doing such manicure for the first time and are getting not an ideal variant, you can fix any little defect.
The modern brilliant coating will make your drawing tridimensional and attractive. Moreover, your manicure will become a real masterpiece.
The galaxy nail design can be created with such handy tools, as a sponge and a brush. The technique of “water” manicure is also often used.
So, to do the manicure you will need:
- polish for base coating;
- colorful nail polishes that must include both very dark and very light shades, as well as bright and saturated colors;
- foam or usual sponge;
- special brush for nail art;
- a piece of paper or cardboard;
- decorative nail polish with glitter powder;
- polish for finishing coating.
Galaxy Nails: Polish / Gel Polish
It’s up to you what the polish to use – the usual one or the gel one. But you should understand that if you coat your nails with gel polish, you will be satisfied with more long-term effect. Well, techniques of creating the “ombre galaxy nails” design are similar.
To do the manicure, you need dark saturated colors. To draw decorative elements, you need lighter colors. You even can use a saturated pink, lilac, raspberry or yellow shades.
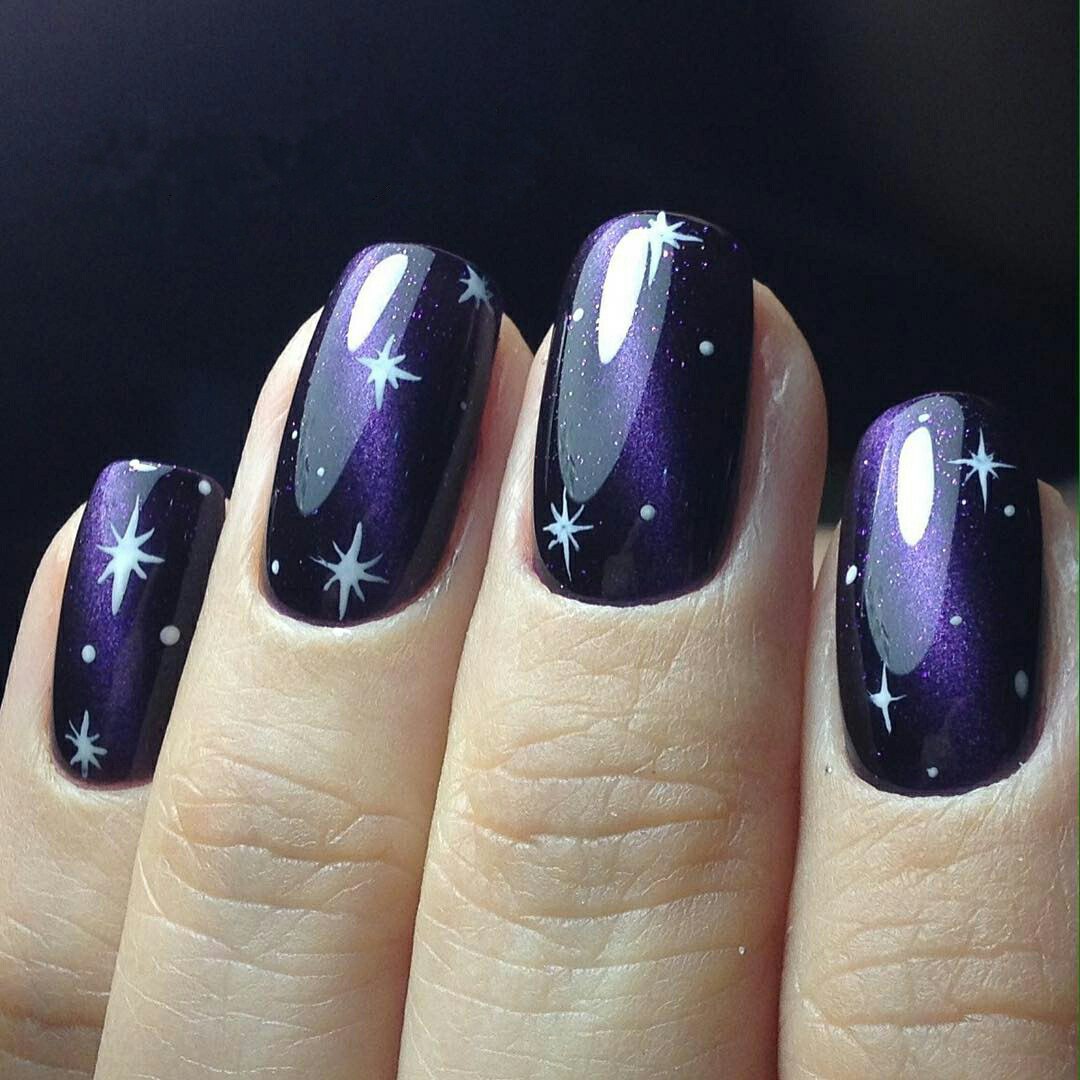
If yoy want to paint a star on nails, you can use a silver polish. You can change the color range at your wish.
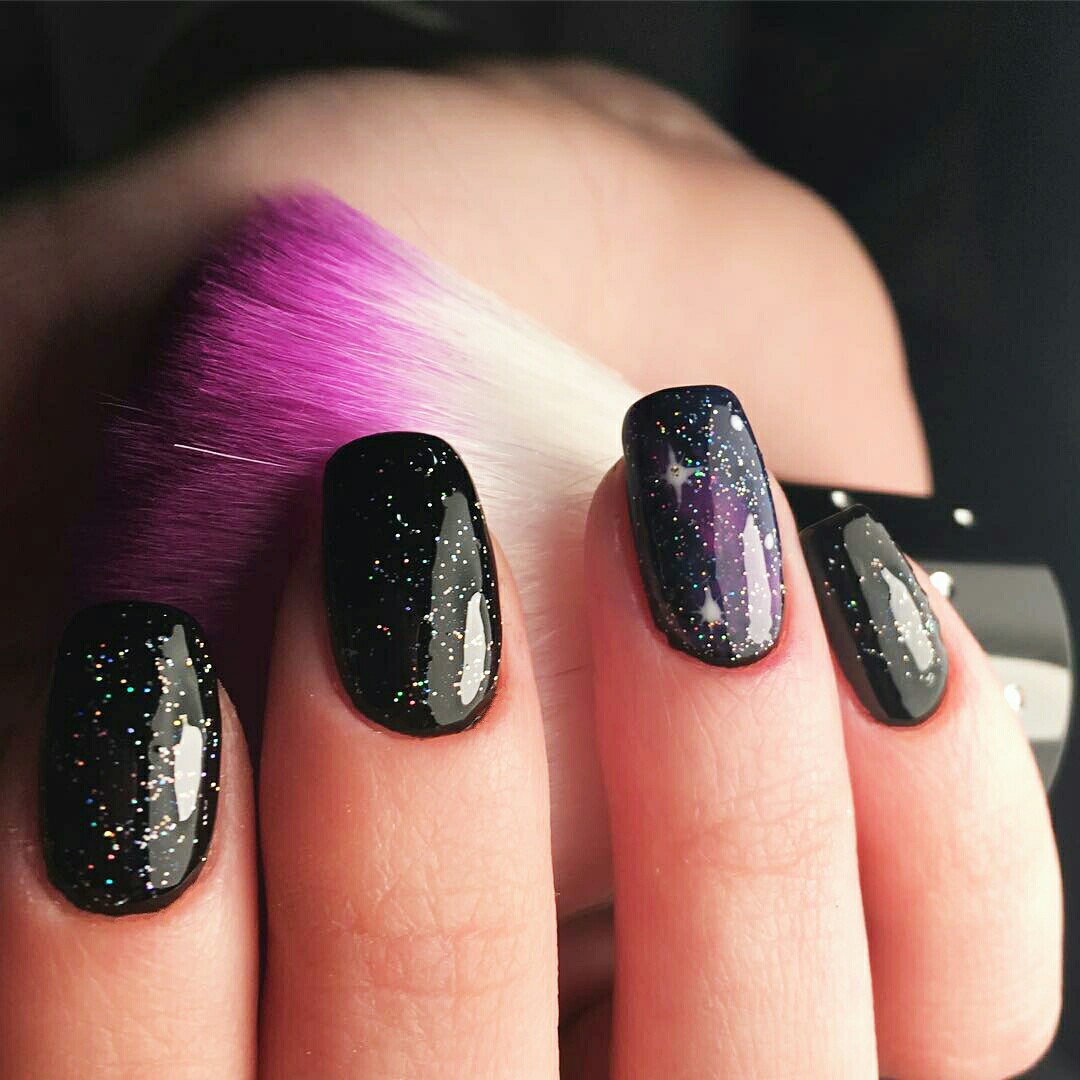
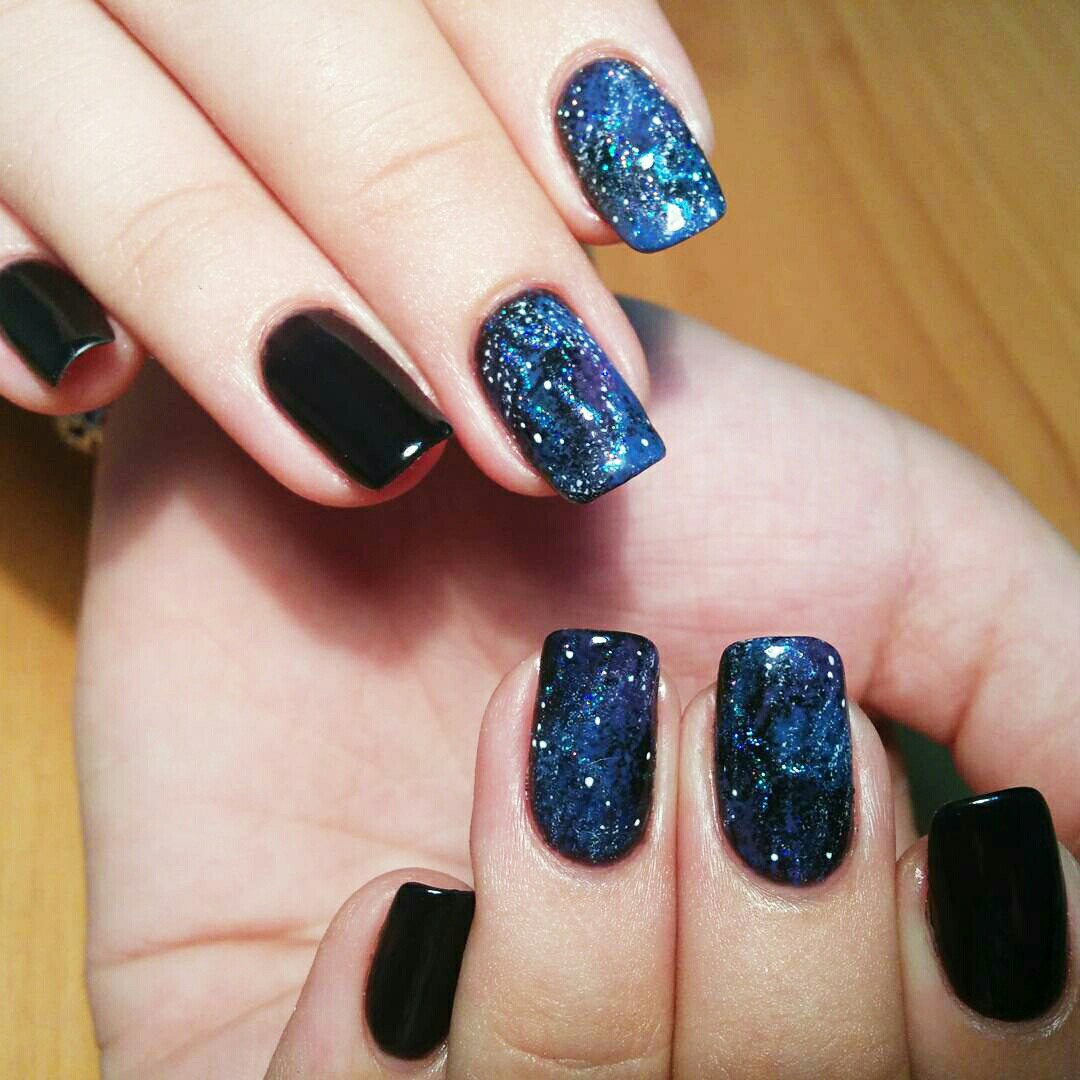
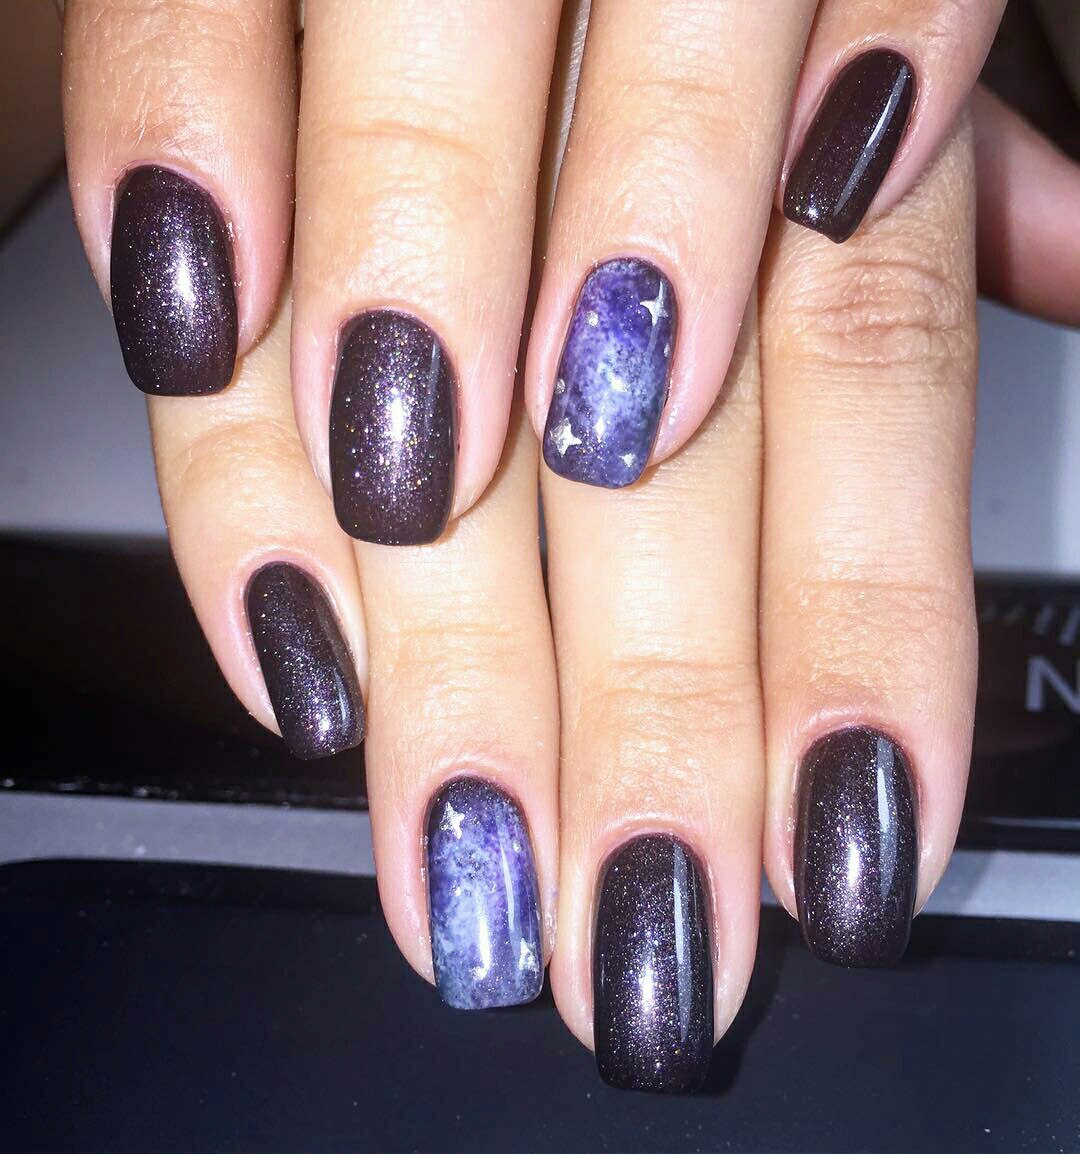
You also can use acrylic paint to draw patterns and nebula of the cosmic nail art. Glitter is an important part of the galaxy nails style and the nail design as a whole. You also can use sequins making some small planets of them. But here it’s important not to overdo it: use sequins to decorate one or two nails of each hand.
Tips on Doing Successful Easy Galaxy Nails
- Firstly, it’s more comfortable and better to apply the polish imitating nebula not with a cosmetic sponge but a usual foam sponge. The porosity of the usual sponge is better, which allows to draw more attractive and more level picture.
- Secondly, if you choose this nail design, you’ll have to coat each nail plate with several layers of polish. To make them dry faster, use a UV-lamp.
- Thirdly, before applying a main dark polish coat the nails with the base polish.
- Fourthly, to finish this, apply the finishing coating. Due to this polish the coating will stay longer. And the starry sky will be shining.
- To draw stars use a dotting tool.
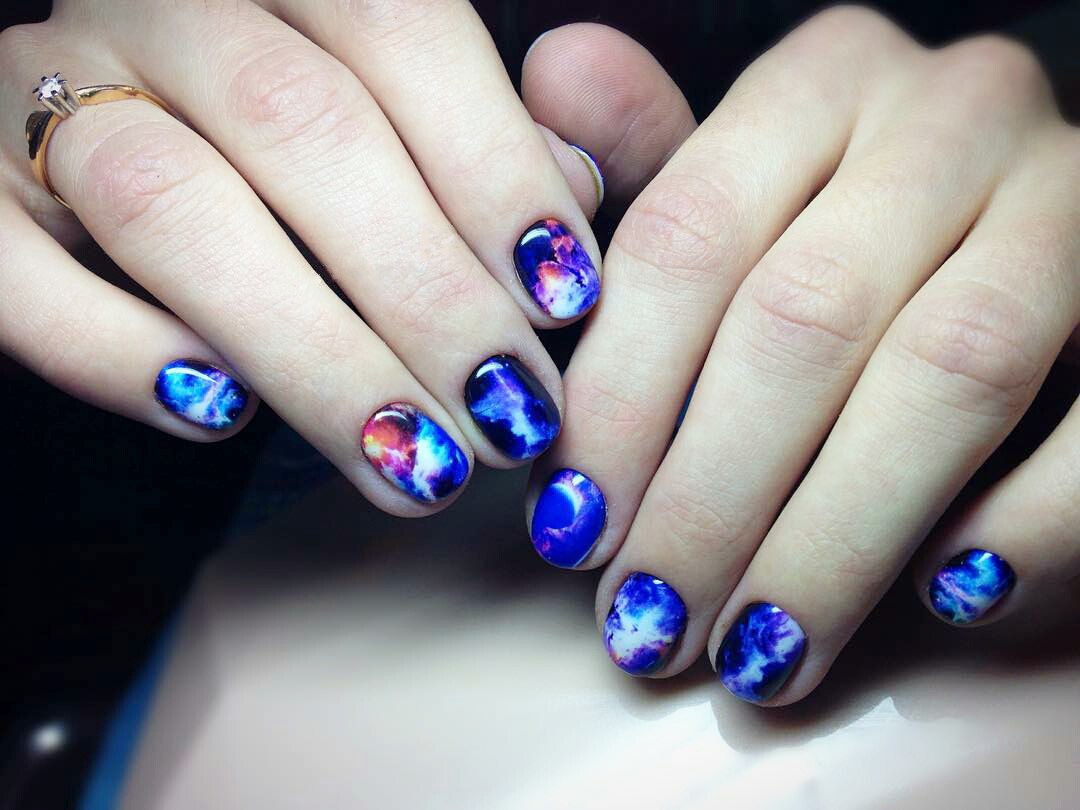
How to Paint Your Nails Galaxy: Step-by-Step Tutorial
Step 1. The first stage of the galaxy manicure or space nail designs is hygienic cleaning of nail plates and cuticles. To do this, use special tools and cosmetics. Don’t forget of adjust the shape of the nails. They must be of the same shape and length.
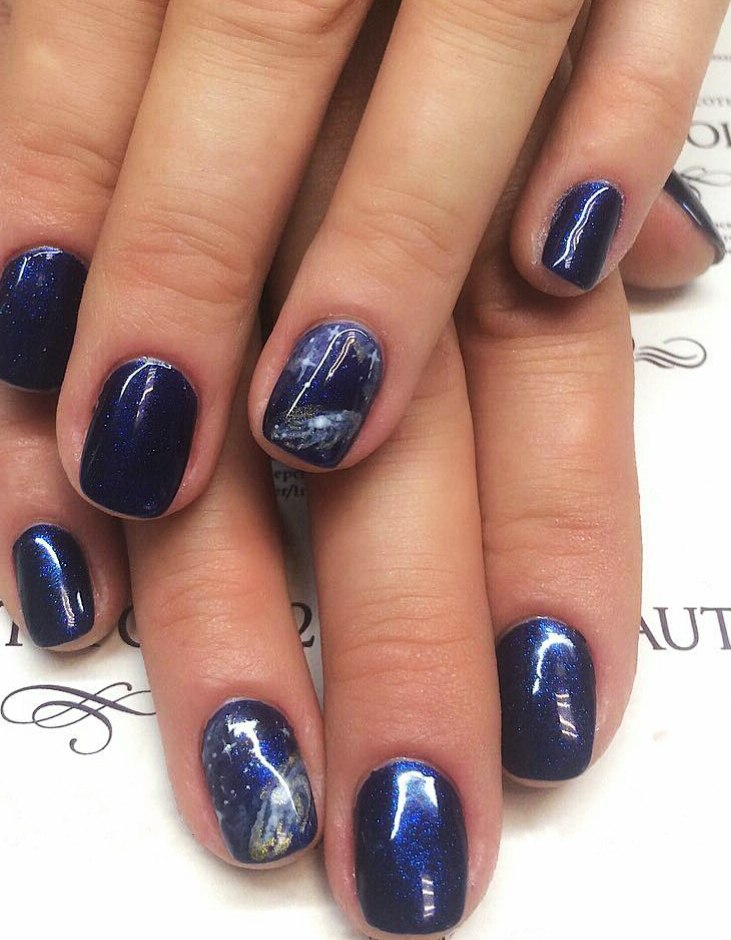
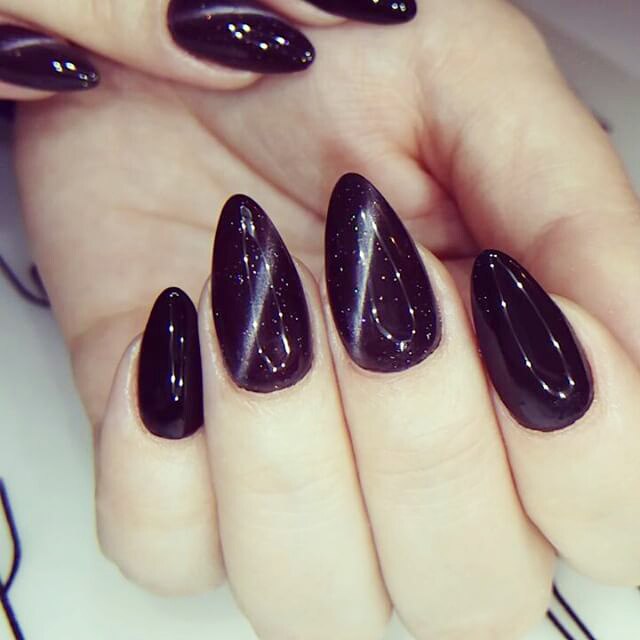
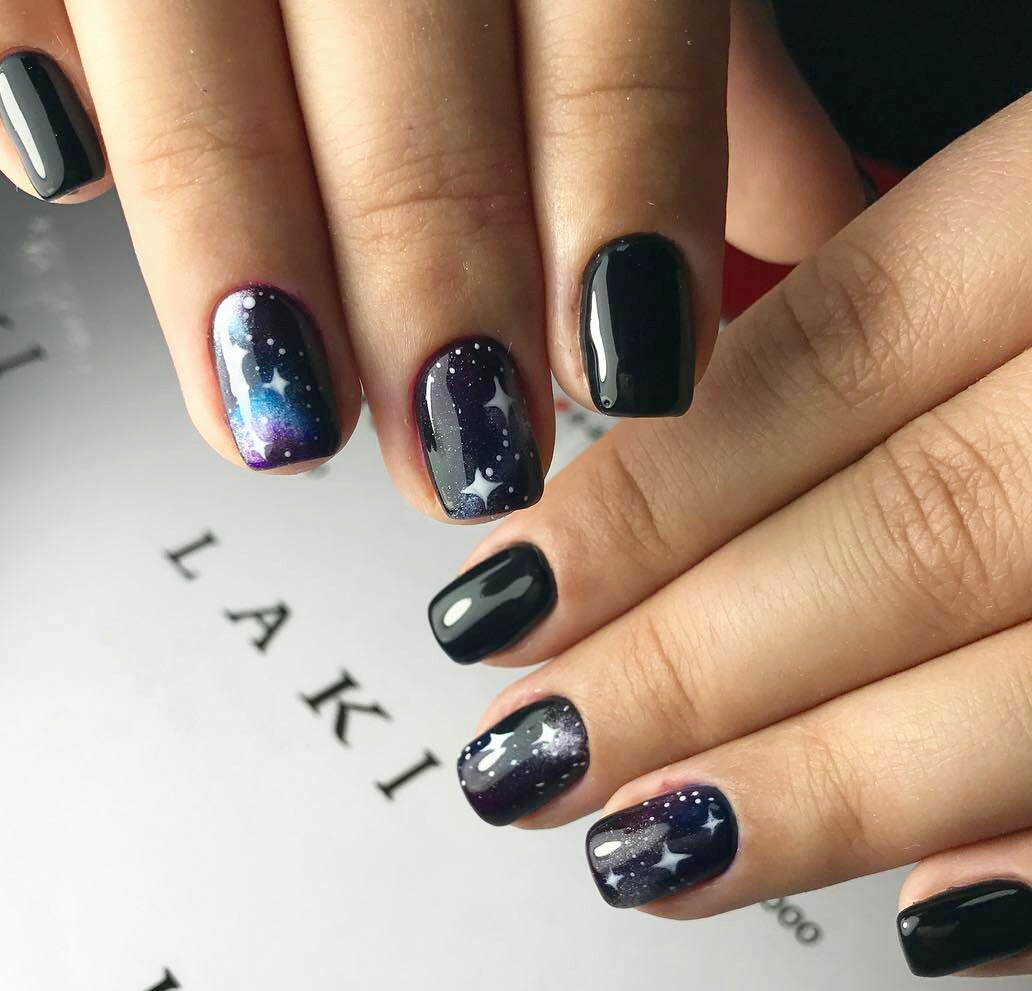
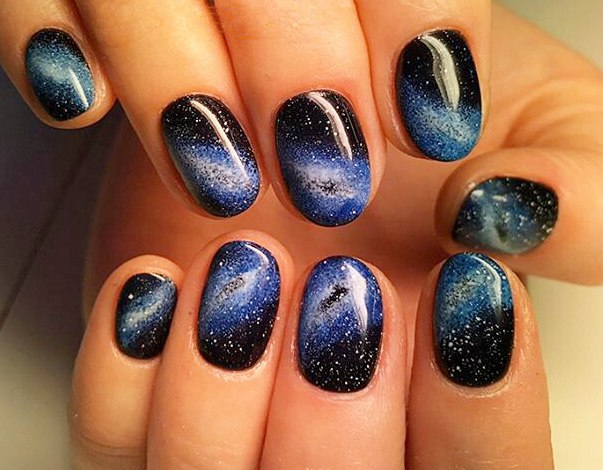
Step 2. Coat the nails with two layers of the base polish. You should prefer blue, black, dark grey and purple.
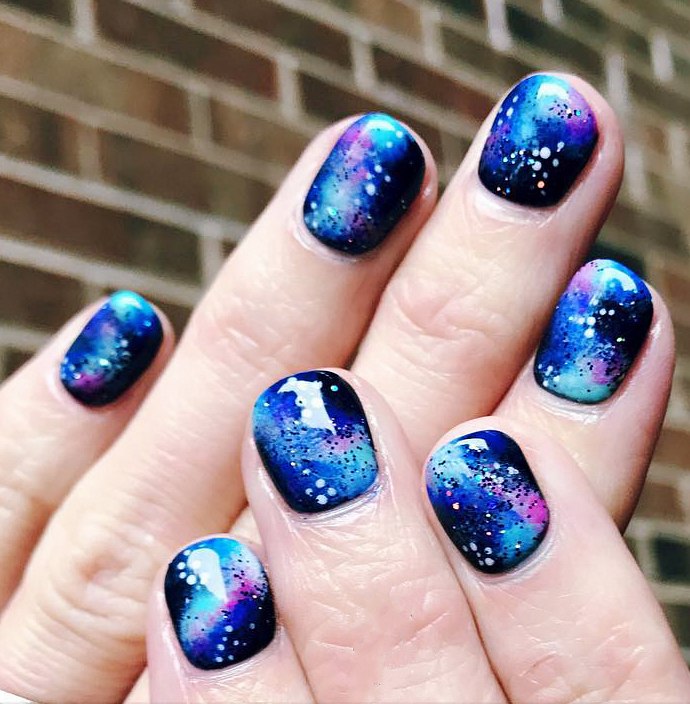
Step 3. Apply light blue polish with a sponge. Do the same with pink, green and yellow shades. Apply them on the basic layer in a random order. Let them dry.
Step 4. Apply glitter on the nails randomly too. Draw several planets with a light polish, a thin brush or a usual toothpick. You also can draw the milky way with a thin brush.
Step 5. The final stage: coat the nails with a transparent gel polish.

Before proceeding with using gel polish, purchase the following tools: ultrabond, de-oiler, base coating, gray polish with sequins, finishing coating, oil for cuticles, such paint as light blue, pink, and white, sponge.
Step 1. First remove the old coating and cut the nails. Then, use a nail file. This way you’ll remove gloss. Wipe off some dust from the nails.
Step 2. Clean the nails with the de-oiler. Let it dry. Apply ultrabond. Distribute it economically.
Step 3. Apply the base coating. Dry the nails in the UV-lamp.
Step 4. Coat the nails with the first layer of black polish. As the polish is not pigmented and the layers must be thin, apply one more layer of the black polish.
Step 5. Start painting space. Squeeze out contrasting polishes on the palette. Dip a sponge in white paint and coat the nail with it. It shouldn’t cover the whole nail.
Step 6. Now apply pink and blue paints. Paint points with a dotting tool. Wait for them drying.
Step 7. Apply glitter. You’ll get an unusual space picture.
Step 8. Apply the finishing coating. You can do it twice.
Step 9. Remove the adhered layer with special cosmetics. Treat the cuticles with oil.
Now you know how to do galaxy nail art at home.
Such manicure will become an excellent supplement to your image. And even if you are going to the party, it will become a great supplement to your evening dress. The simple galaxy nails will also look perfect with casual clothes.
Photos from Instagram.com