Water nail art can be boldly called a novelty in the world of nail art. It has become unbelievably popular in a short time. To do it, you don’t need some special expensive tools. Any girl having no special skills is able to do the manicure. She gets an amazing pattern! The pattern is painted quickly and amazes with its diversity and brightness.
Contents
Water Nail Art: Materials
It’s really easy to create the water nail polish art. It’s enough to be patient and to prepare all tools that you need to make it. Just like in any case, you should practise, as only then you’ll get the result that will satisfy your aesthetic taste.
Basic tools:
- glass or plastic wide container;
- water;
- duct tape or fatty cream;
- toothpick or needle;
- nail polish remover;
- cotton pads or buds;
- nail polishes of different colors.
You need duct tape or fatty cream to remove the remains of polish from the skin around the nail. Also, you need 3 polishes, at least: the transparent polish and two colorful polishes. You should choose bright and contrasting colors as you can get an amazing effect. If you have everything, proceed to do nail art in water.
Water Marble Nail Art: Instructions
- Do usual hygienic manicure: cut over the cuticles, make the shape you want and polish the nails. Apply the transparent polish. Due to it, the following layers of polishes will be fixed better.
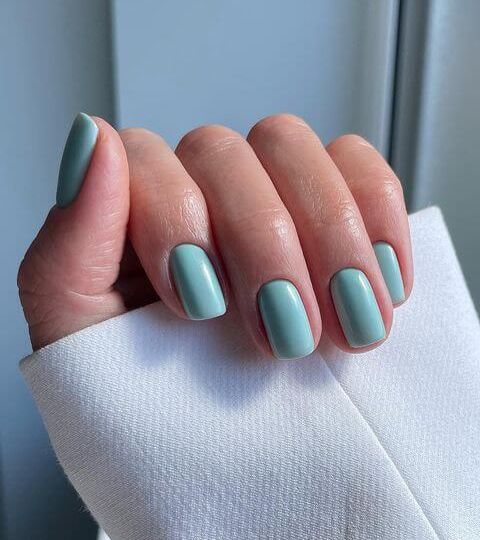
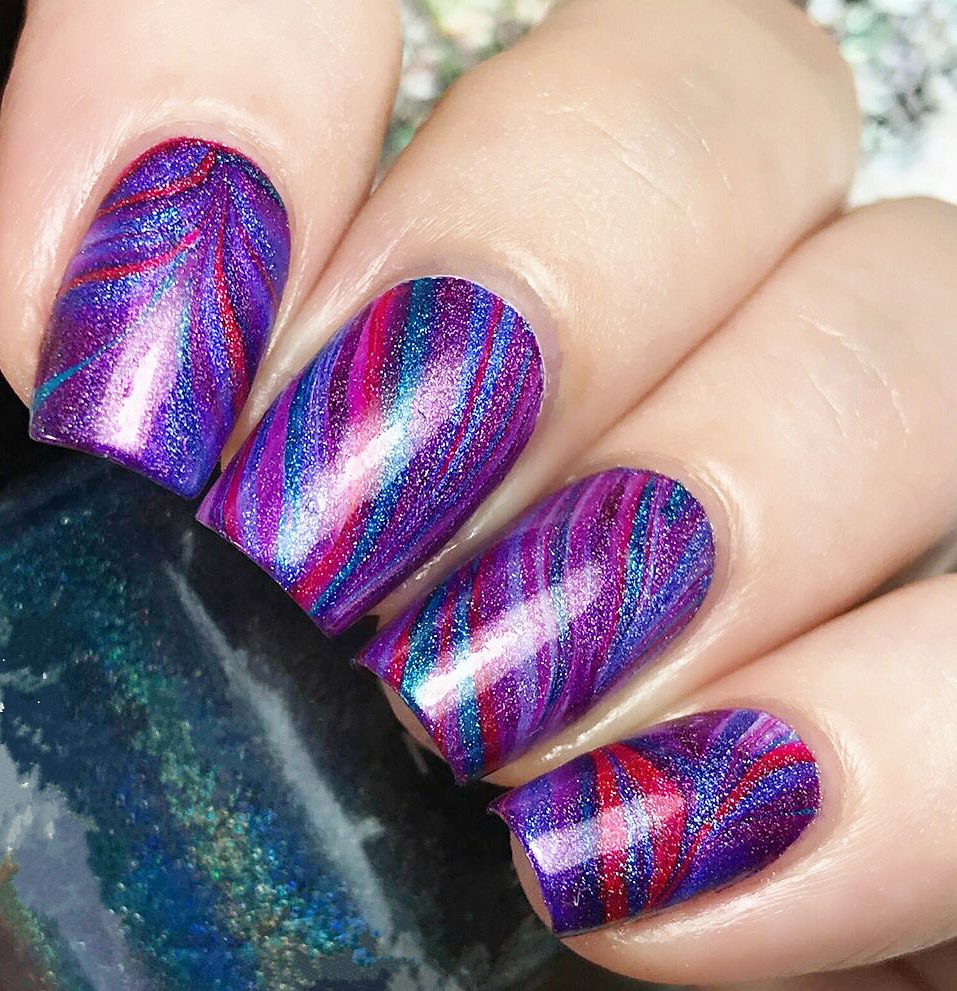
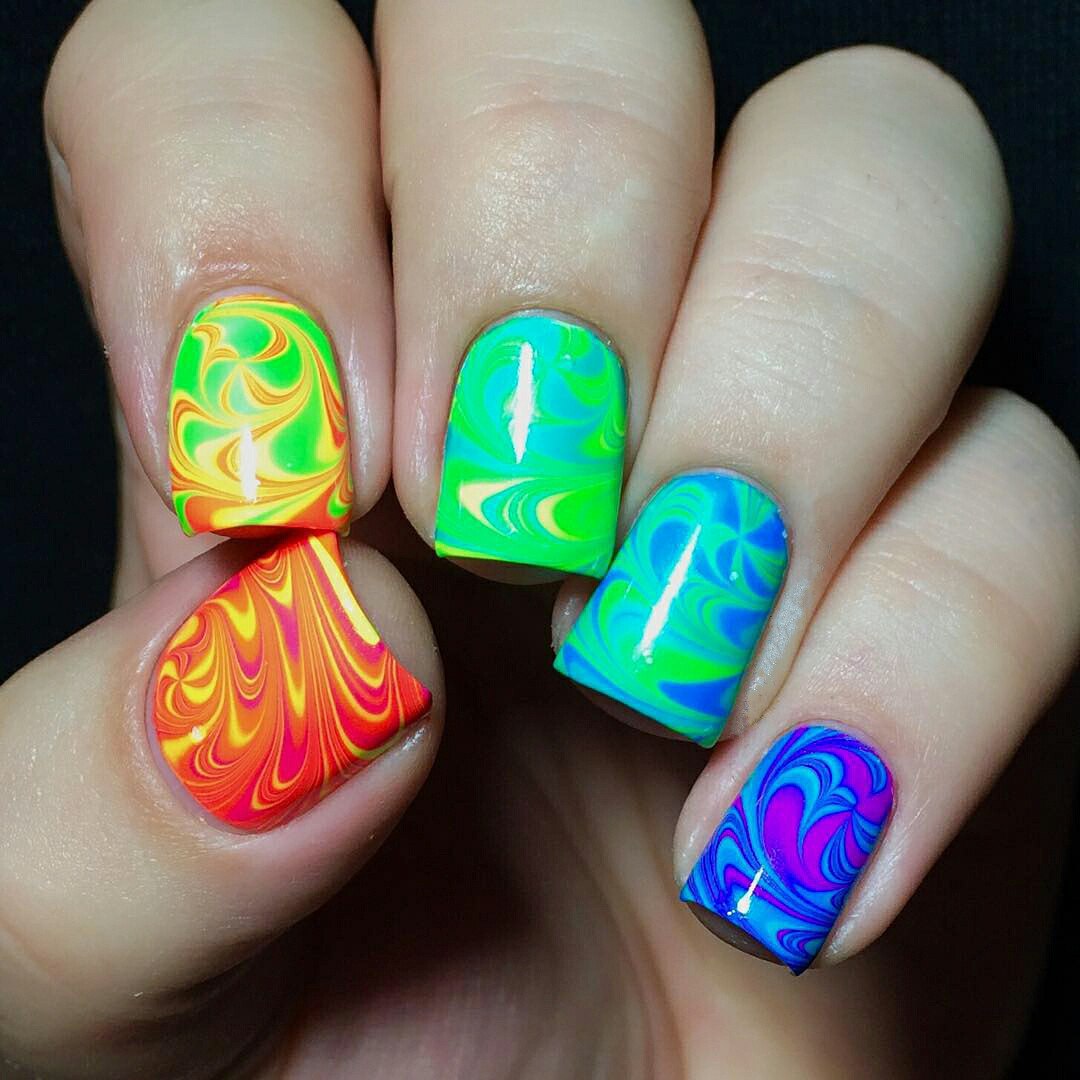
- Cover the nails with basic polish. For this, you can choose any color: it depends on the coloring of the chosen water nail art. Such picture looks very effective on the white polish. But don’t overdo with a contrast, otherwise such manicure will be provoking and absurd.
- Place the duct tape on the skin around the nail after applying cream on the cuticle.
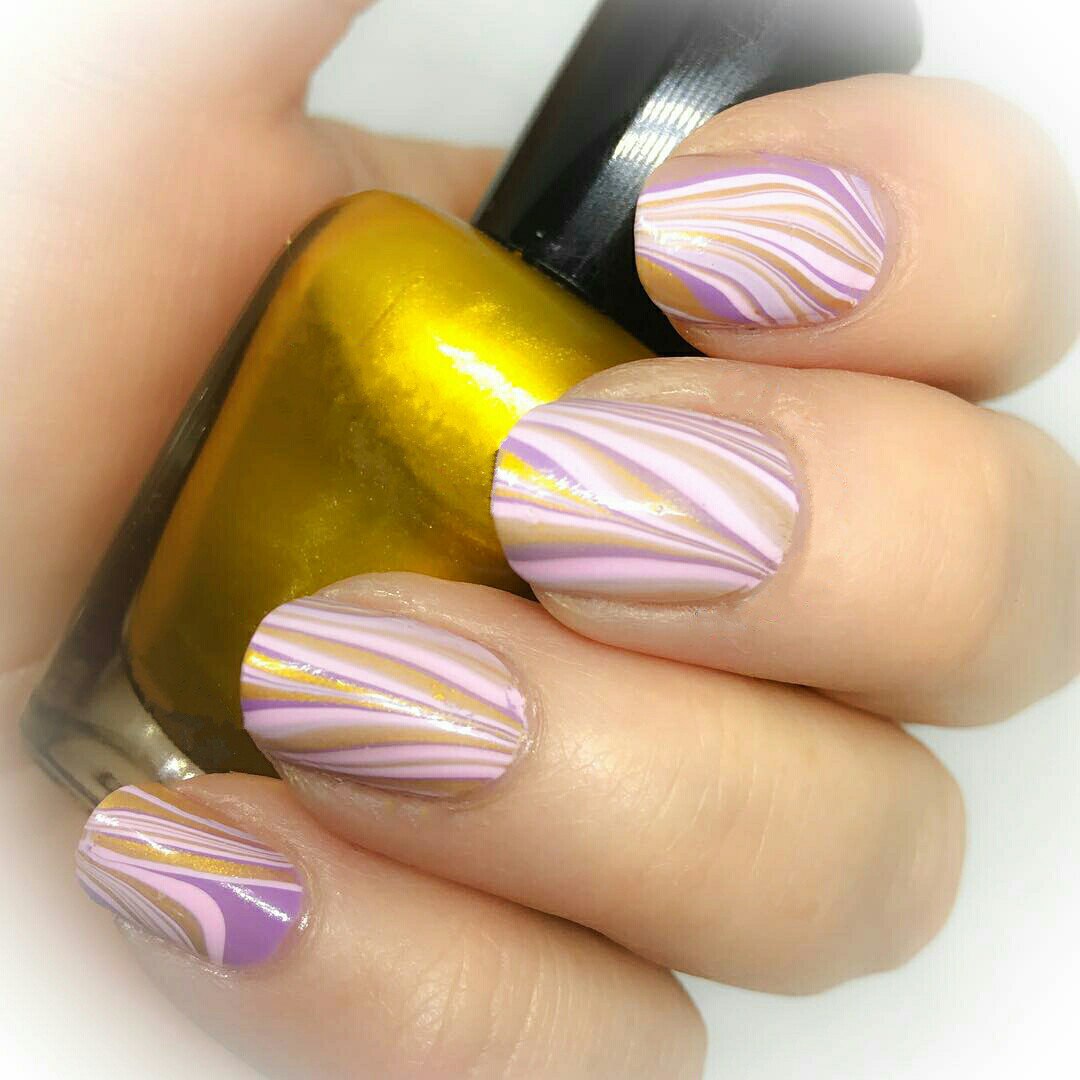
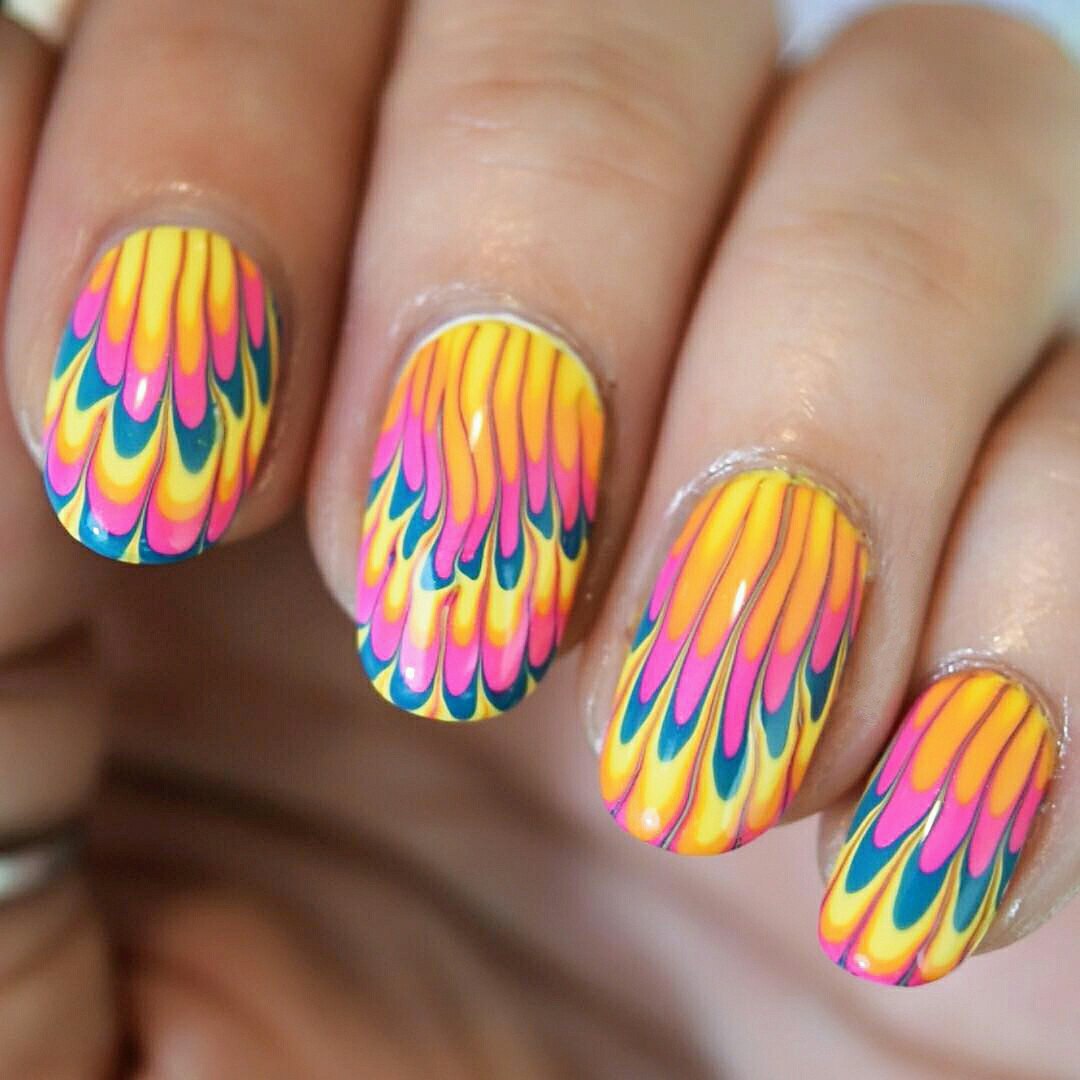
- Add yellow and blue polishes to the bowl with water. The first drops will spread on the surface. Pour other drops in the center of the spreading surface. Do it until the area of the polish on the surface is wide and even.
- Make a picture you wish with a toothpick. Don’t dip the toothpick into clean water and touch the surface of the polish. This way you can destroy everything. It’s better to start painting the pattern from the second layer. Draw the lines in different directions, to the center, in a parallel way or along the whole nail.
- Dip the finger in the water in the container.
- Wait for a couple of minutes. Remove the remains of the polish from the surface with a toothpick. Turn the nail.
- Remove the extra polish from the cuticle. Coat the nails with a fixing layer of the transparent layer.
Don’t be sad if you don’t get the perfect result from the first time. You should practise again and again. And you should learn several secrets that will help you make the process easier and more beautiful.
Secrets of Nail Art Designs with Water
This list includes all nuances that may be interested for beginners in the world of nail art.
- You should apply fatty cream only on the skin around the skin. If you apply it on the nail plate, remove it with a pod or a napkin. Degrease the nails, otherwise the polish won’t stay long.
- The temperature of water must be warm but it mustn’t be higher than 40 degrees. Exactly this temperature lets create the most interesting pictures.
- Don’t be sad if you don’t get identical pictures on the nails. The point of the water nail art is that all patterns are of the same design but they are still different.
- The most suitable polishes are liquid ones. If your polish is old, don’t dilute it with some dissolvent, otherwise the polish will be worse and you’ll get a ridiculous design.
- Gel polishes are not suitable. They just don’t spread over the surface of water.
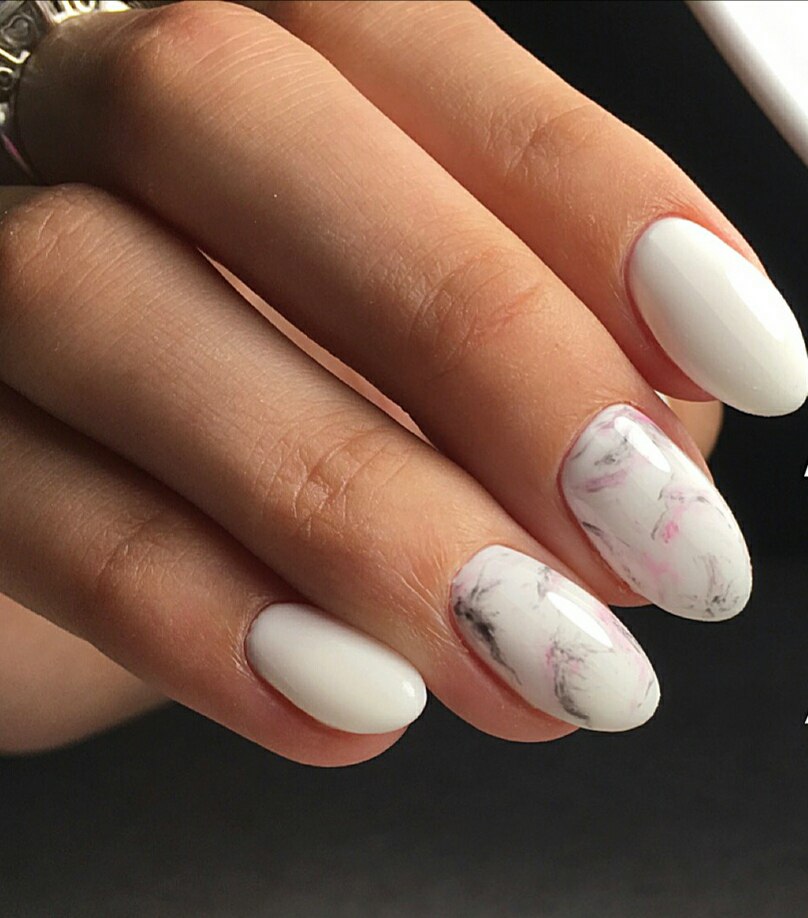
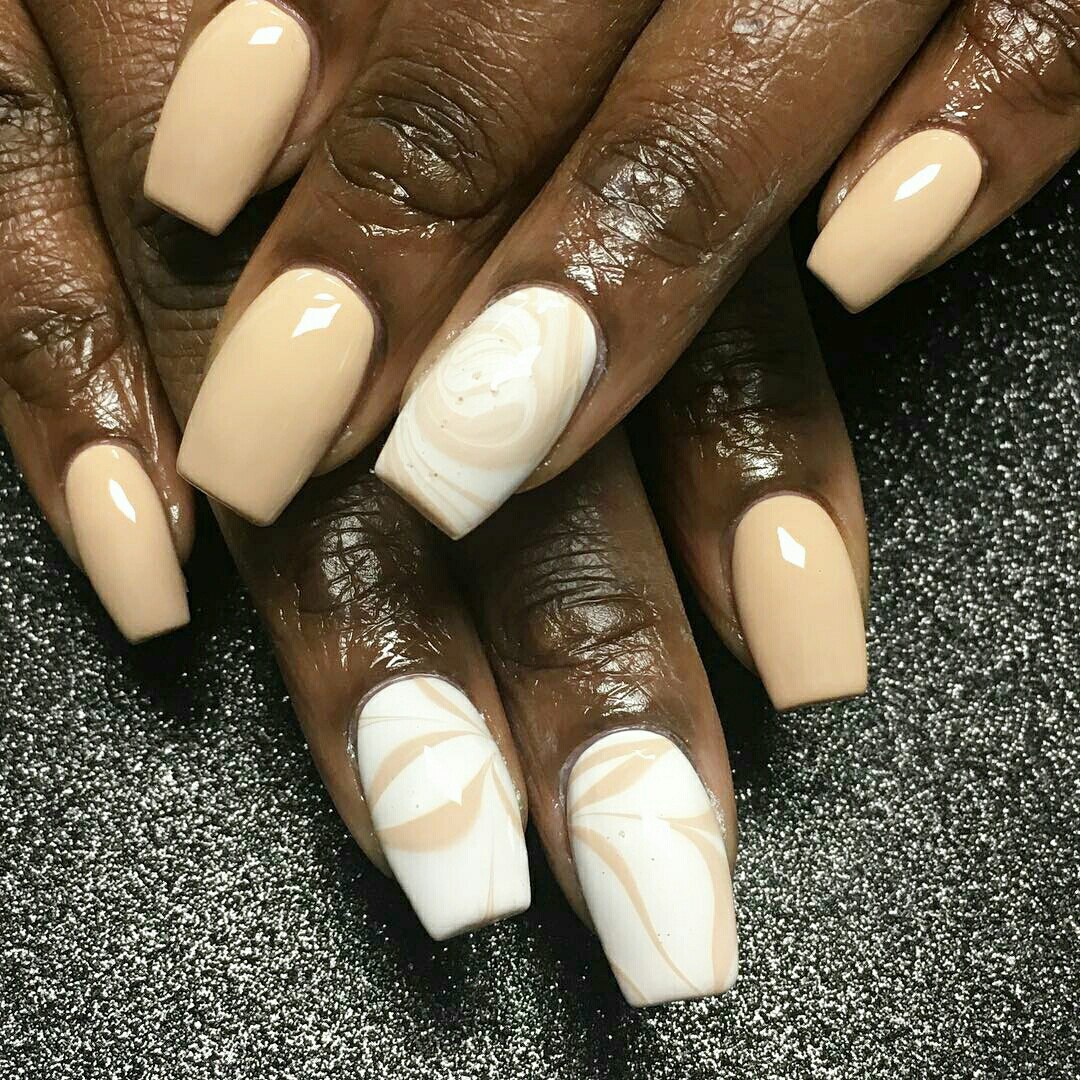
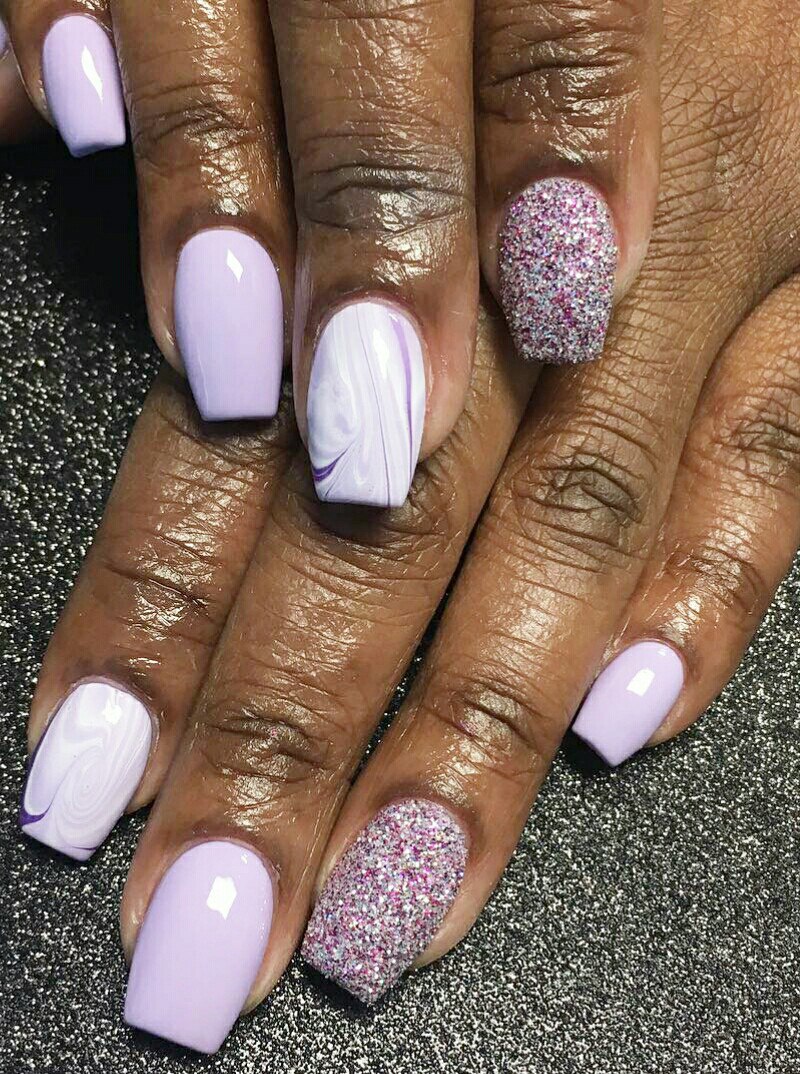
- You can draw a pattern on the clean and degreased nails, as well as on the nails covered with a polish. Pastel or white shades are often chosen as a base coating.
- Don’t choose too many polishes to create the design. If you do the manicure for the first time, so it’s better to choose only two shades.
- Clean the toothpick every time with a polish remover. It’s even better to take a new one.
- Not to use too much polish, don’t use a very wide container. But it must be deep enough.
- You should do the manicure on the medium-length. The picture won’t look beautiful on the short or long nails.
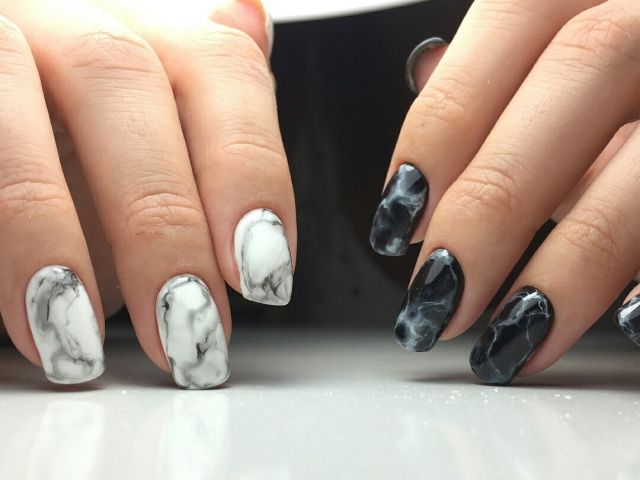
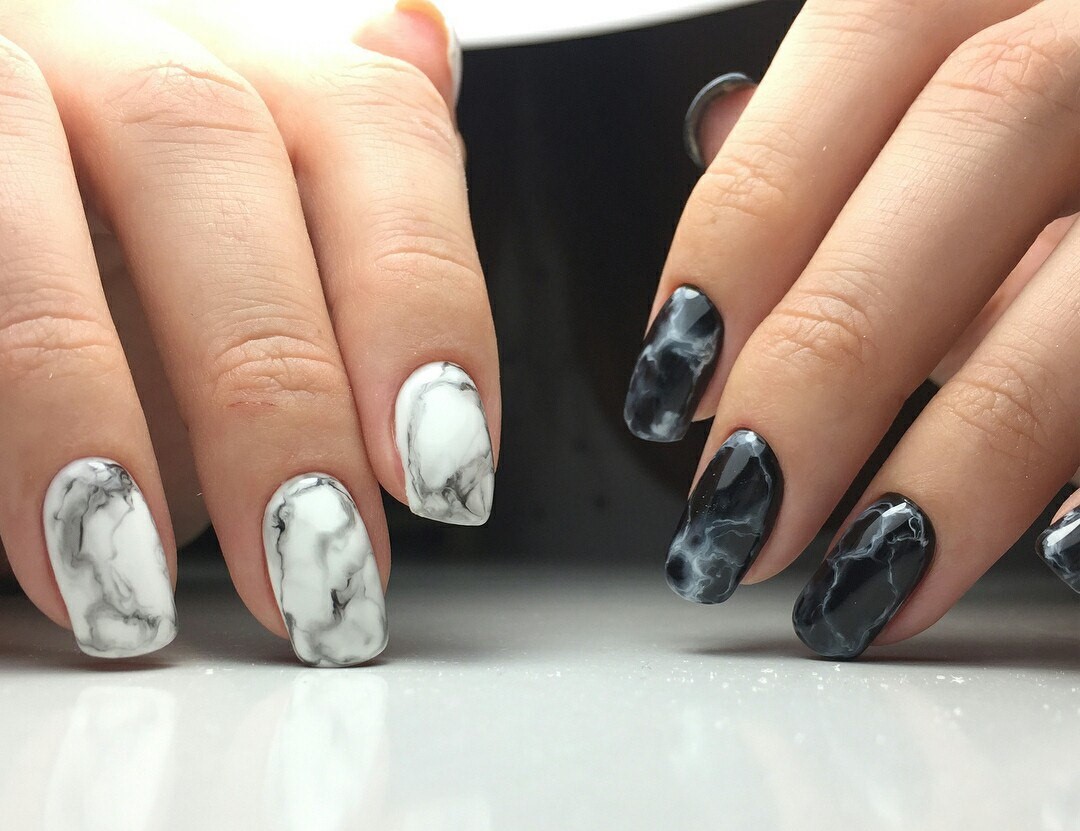
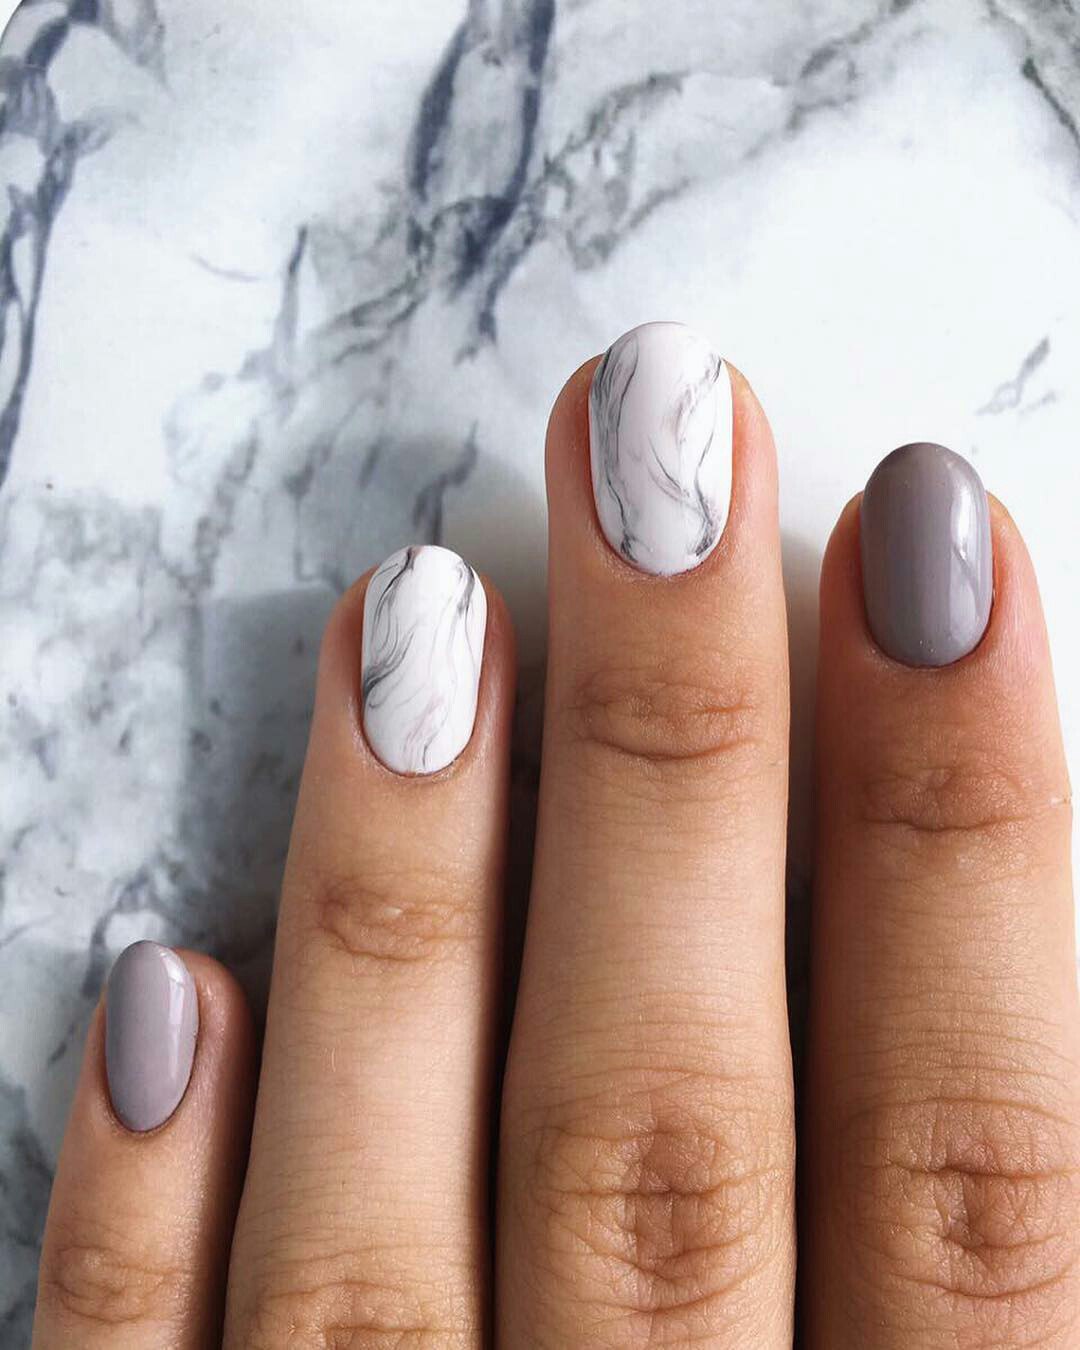
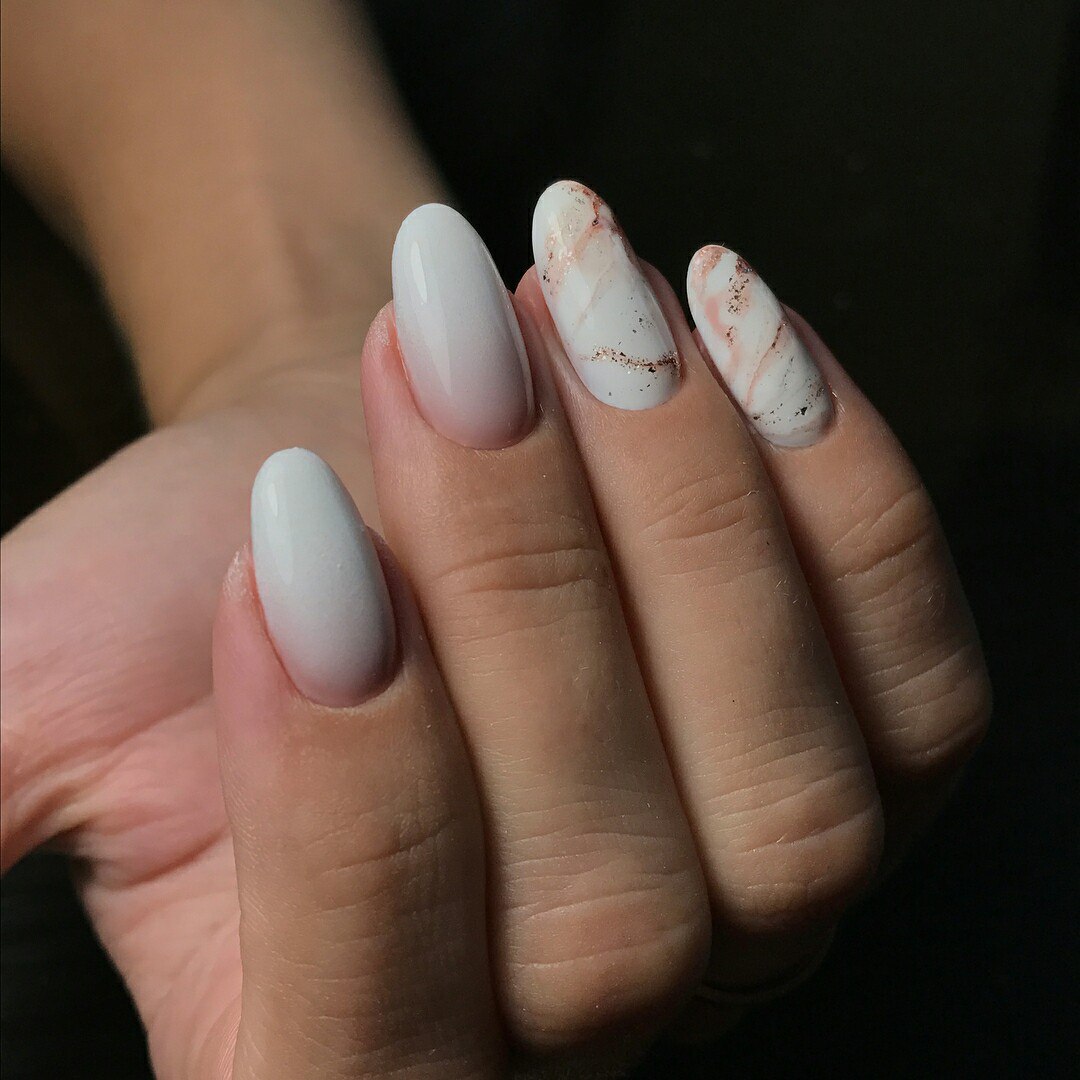
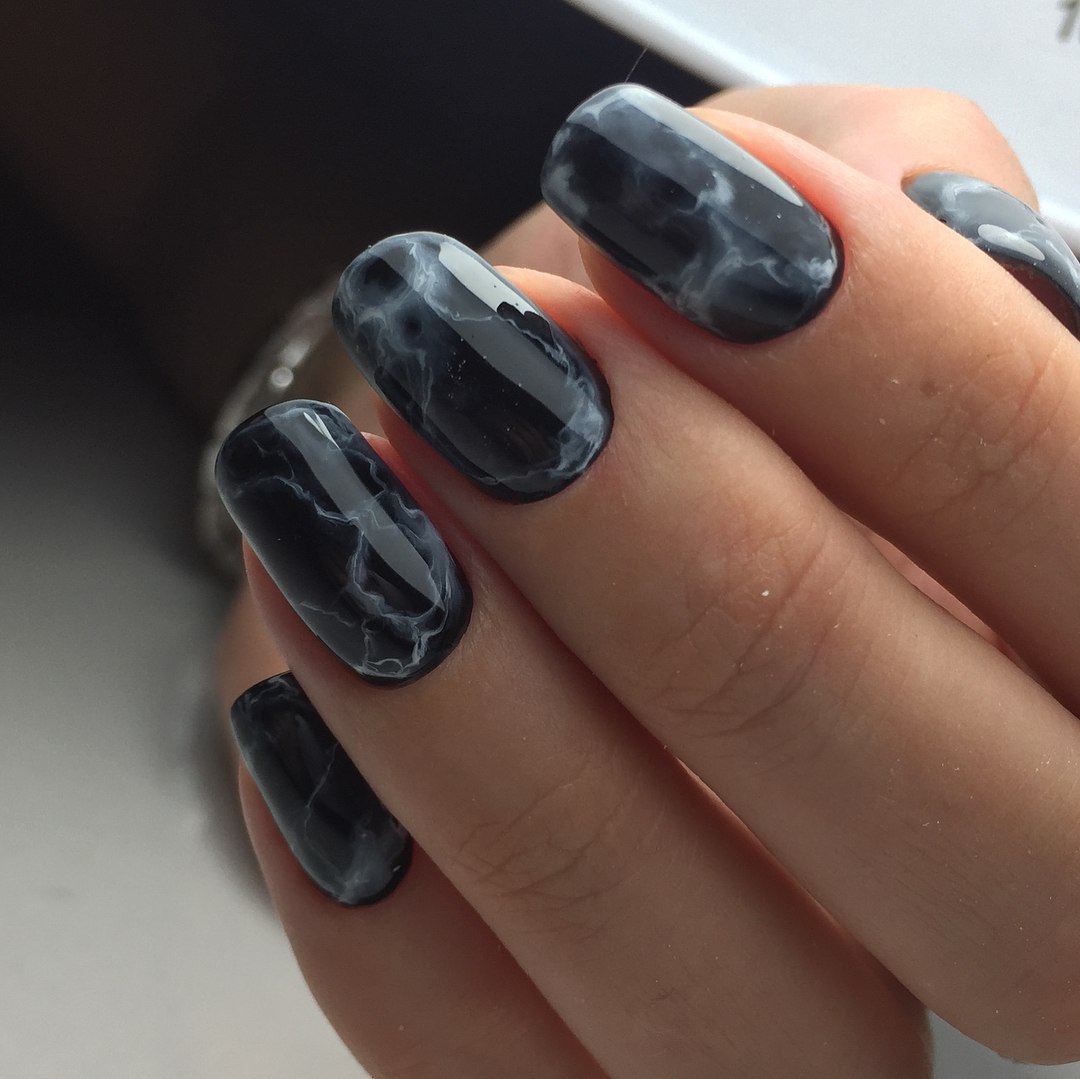
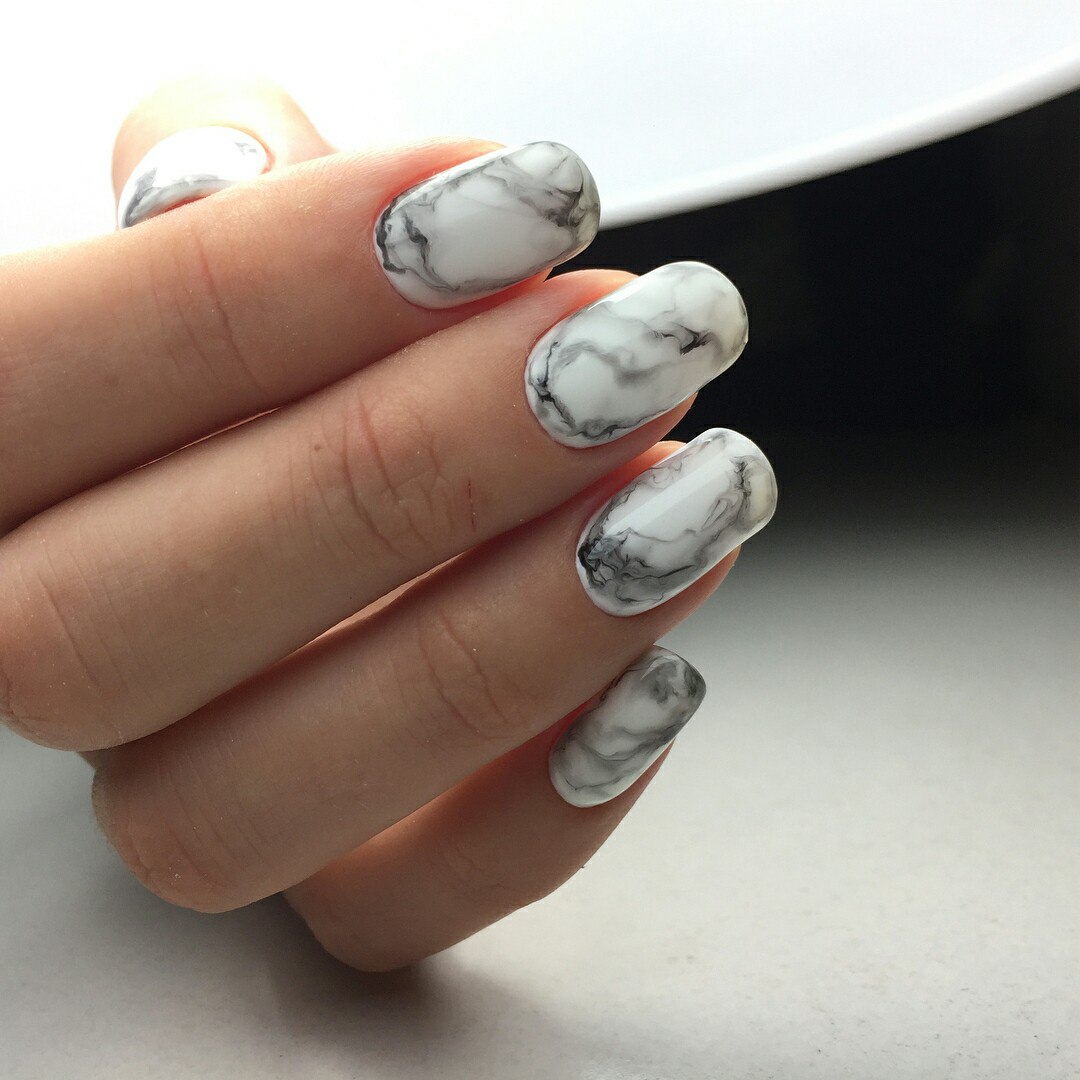
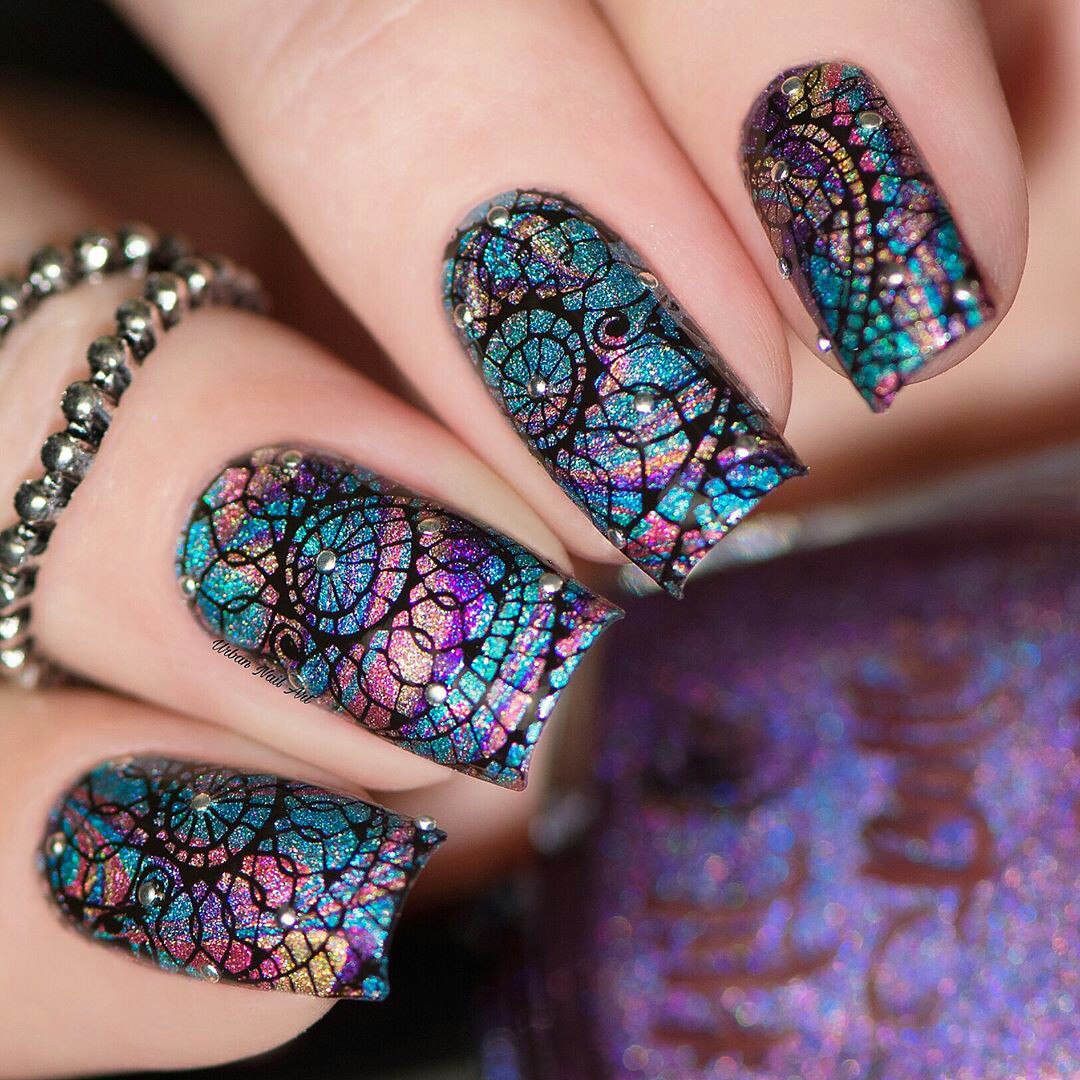
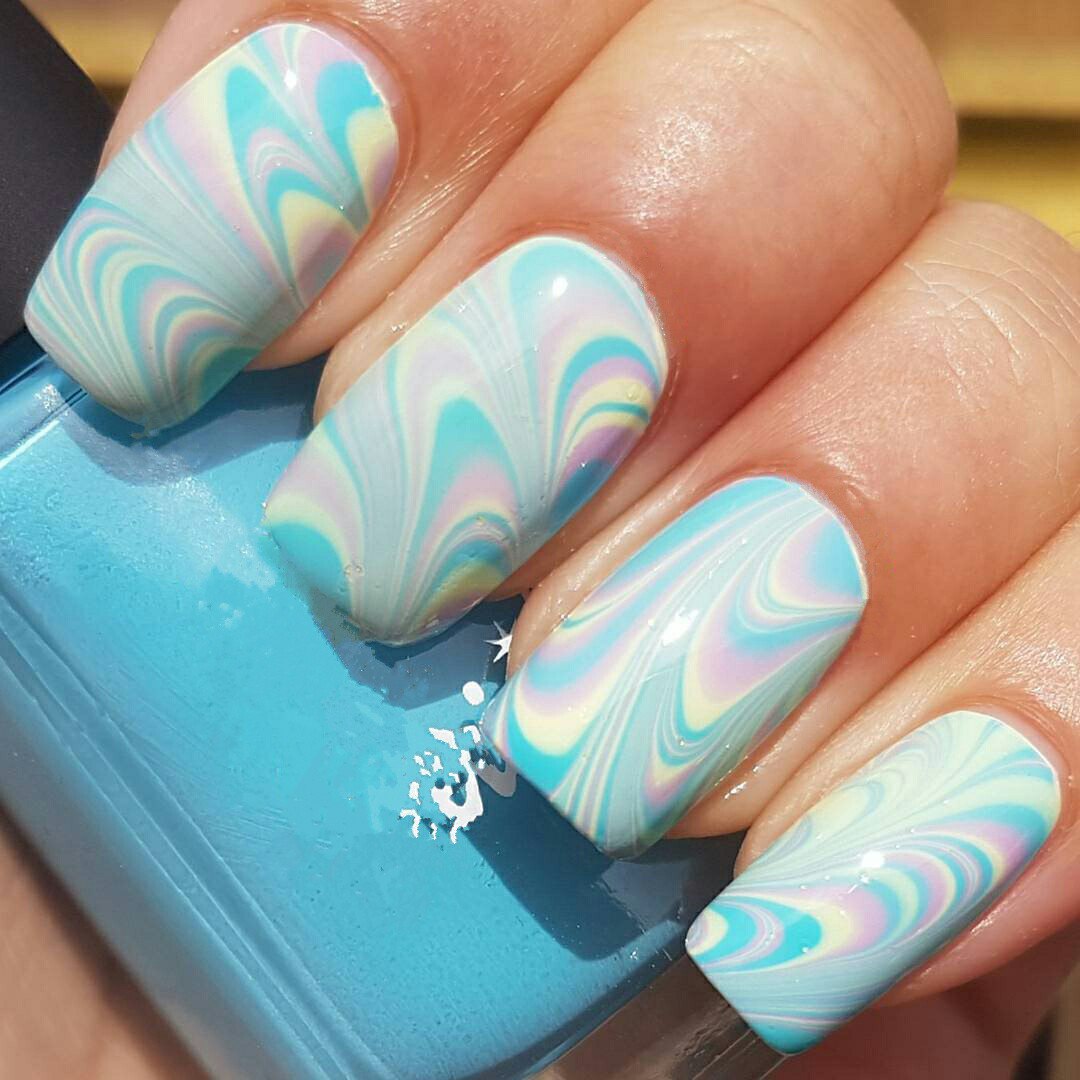
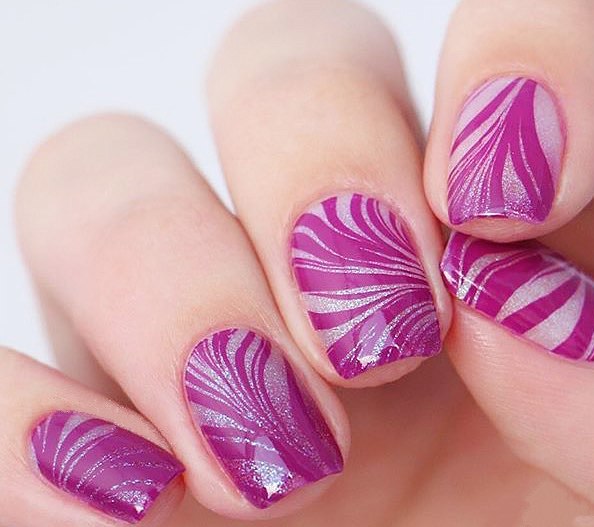
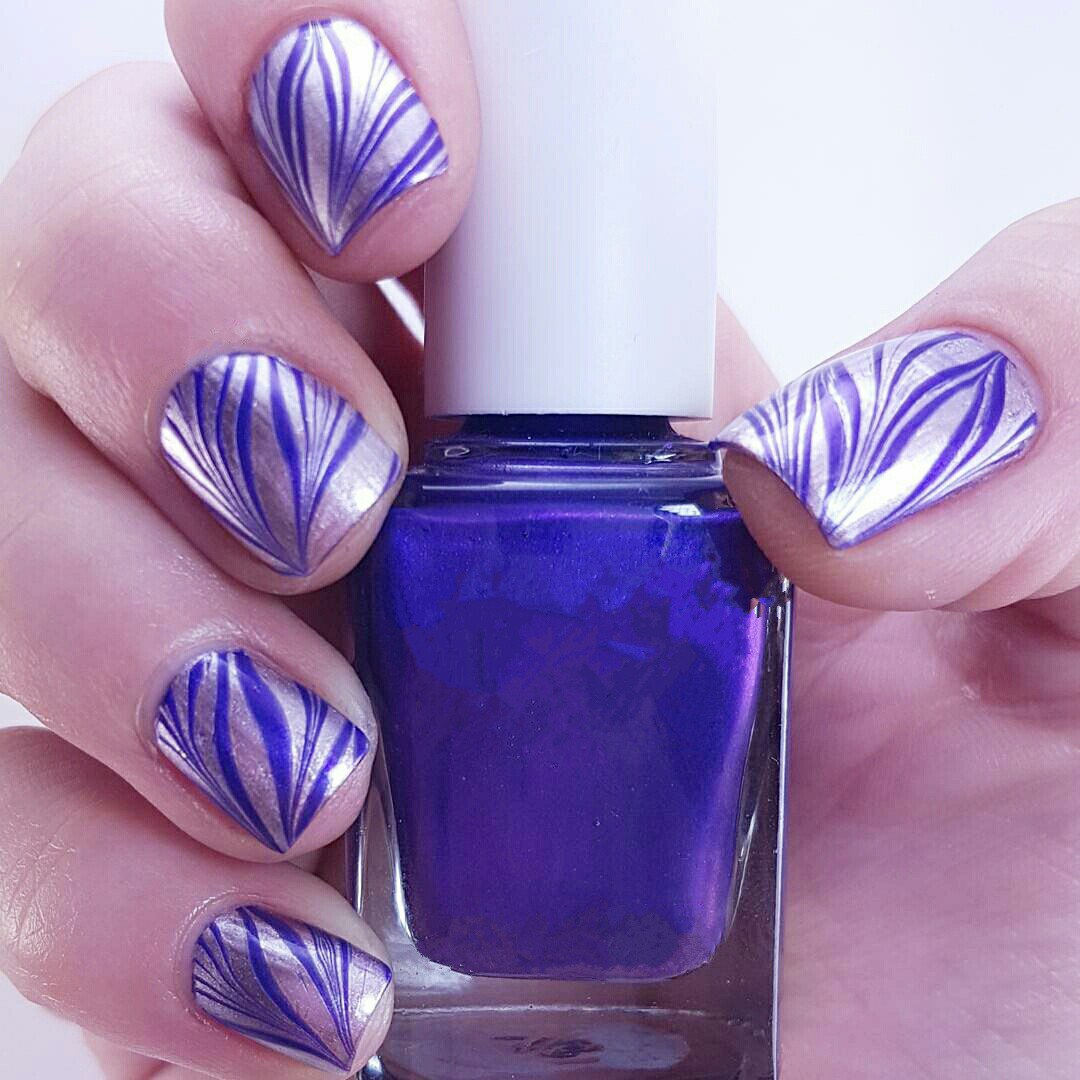
- To make the design imitating marble, use pastel shades. Polishes with shimmer or holographic polishes are the best.
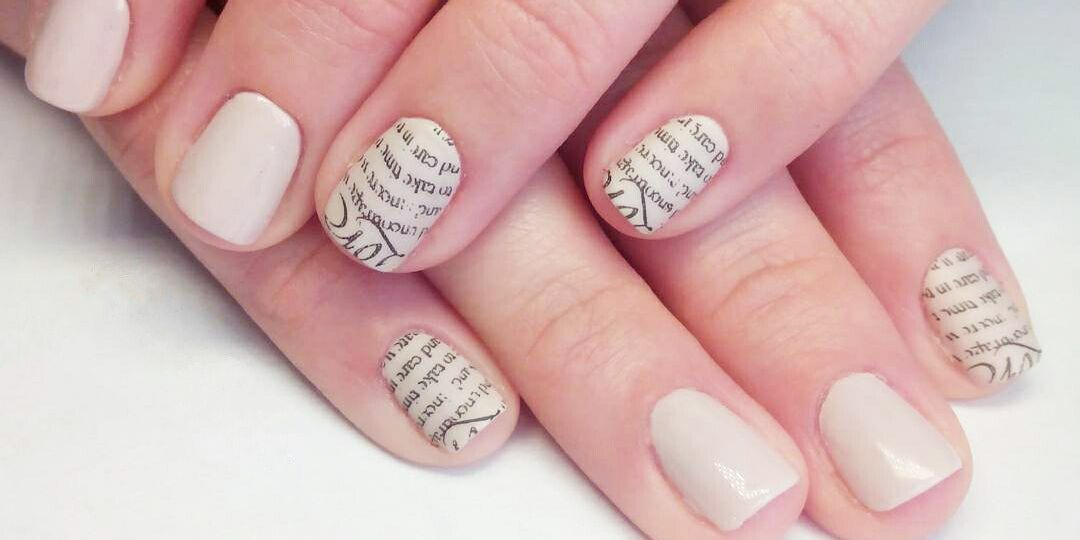
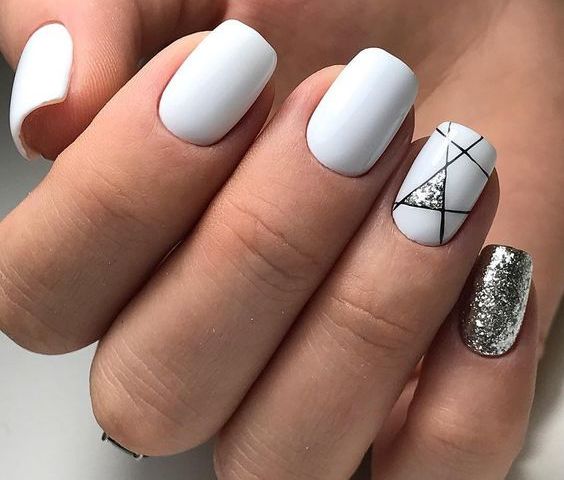
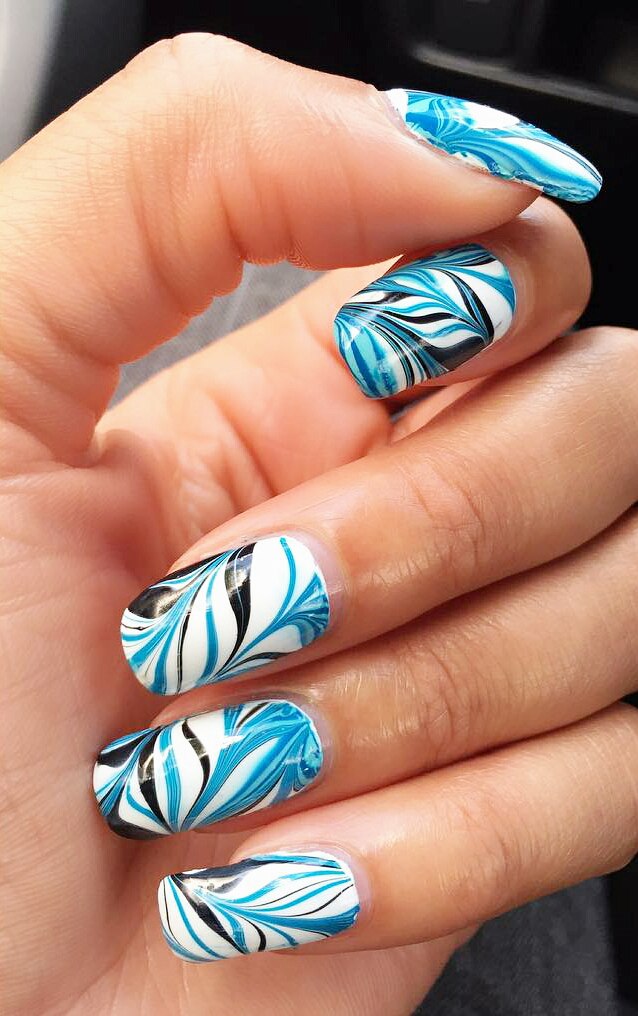
- Black-and-white pictures are most effective. Such design is suitable for a formal meeting, for everyday life and for any party.
Mistakes that You Can Make Doing Water Marbling Nail Art
- Wrong choice of the container. If the nail tip when dipping into water touches the bottom, the deepness is not suitable. Choose deeper bowls.
- Wrong choice of the temperature of water. If water is too cold, the polish on the surface of it will be covered with “crust”.
- Old polishes. Old polishes won’t spread over the surface of water.
- The polish doesn’t drop on the surface of water. There are two reasons for it: too thick polish and touching with water.
- Dirty toothpick. When you draw a line, clean the toothpick. Also, you should remember that you mustn’t dip it into water deeper than 5 mm.
How to Do Water Marble Nail Art for Beginners
The fashion dictates new trends from year to year, for example, color and pattern. It’s all about clothes, makeup, haircut and, of course, manicure.
The interesting fact is that the technique of water nail art dates back to the 7th century. So, in Japan different surfaces were decorated and “marble” paper was made in this way.
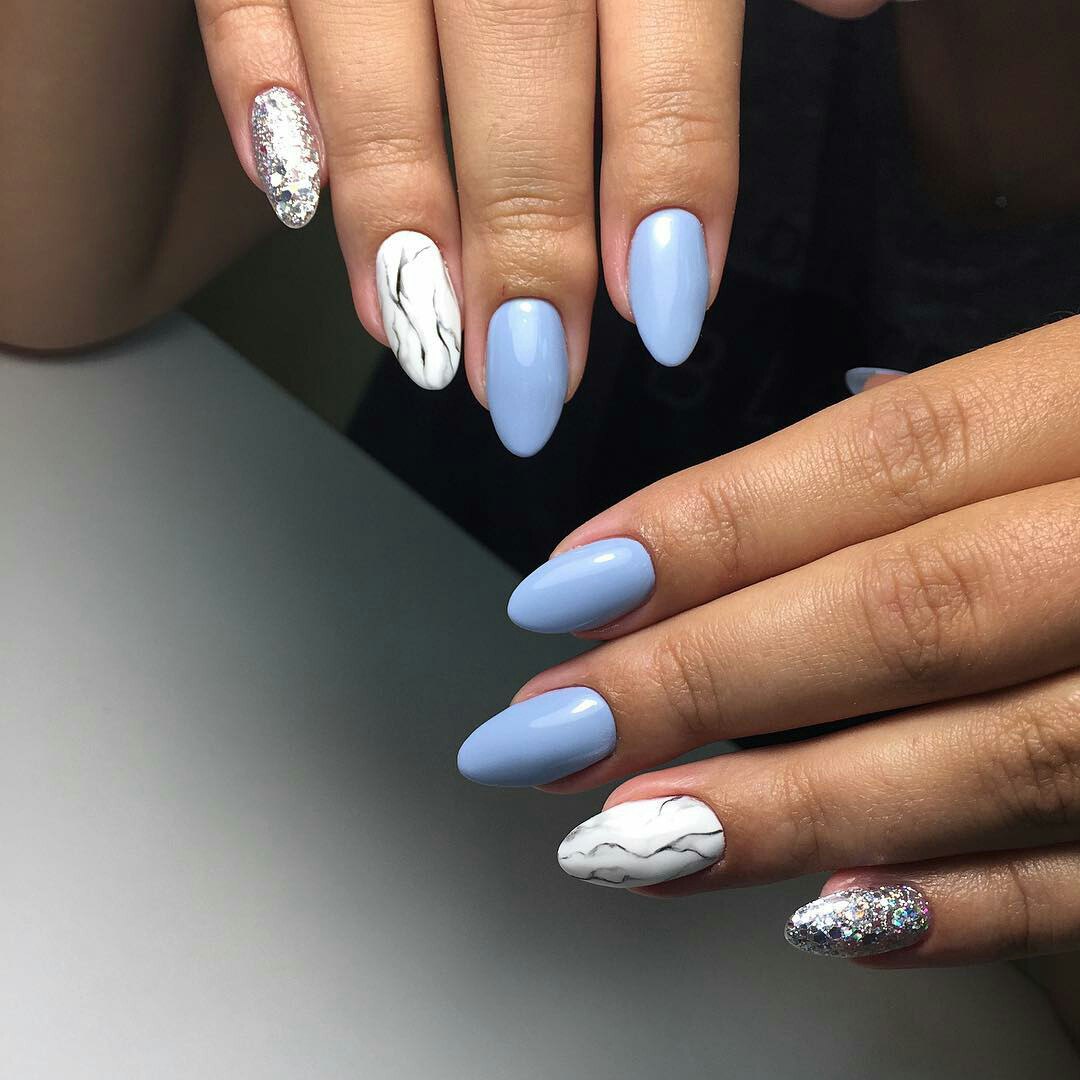
At the beginning of 2014 nail art with water covered almost the whole nail plate. Bright and contrasting, as well as pastel shades were used. But then the technique was changed: now the “crust” of the dried polish is just removed from the surface of water and is used at wish: it is cut in accordance with the nail shape or it is used like some separate decorative elements.
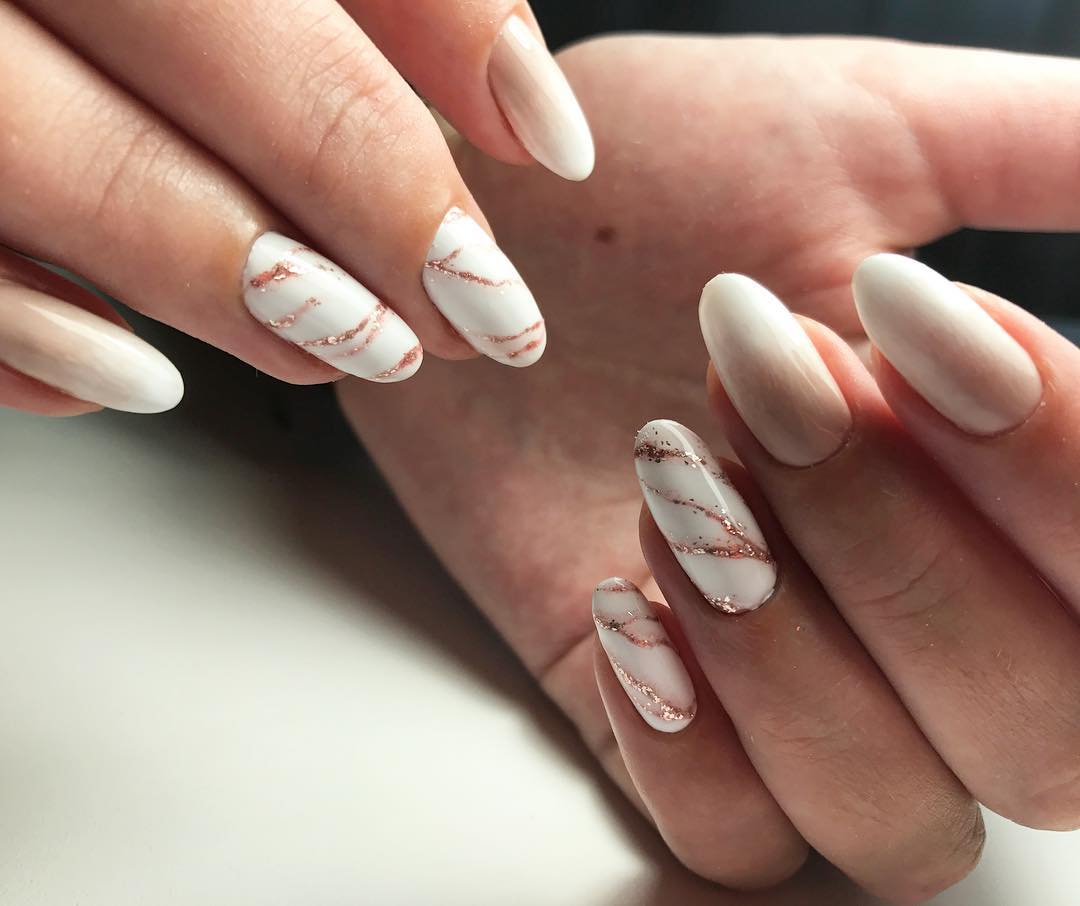
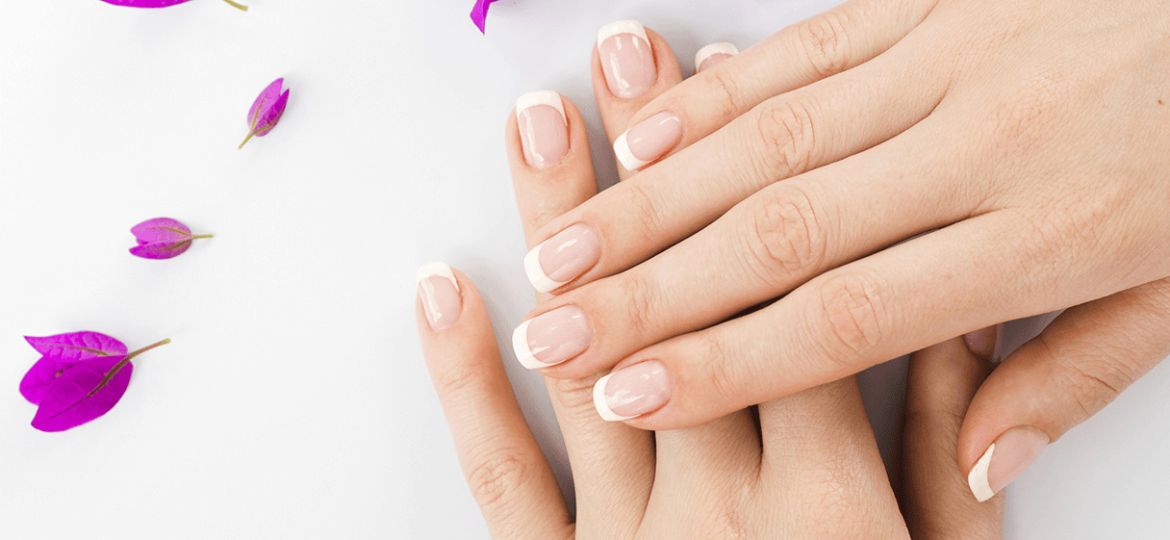
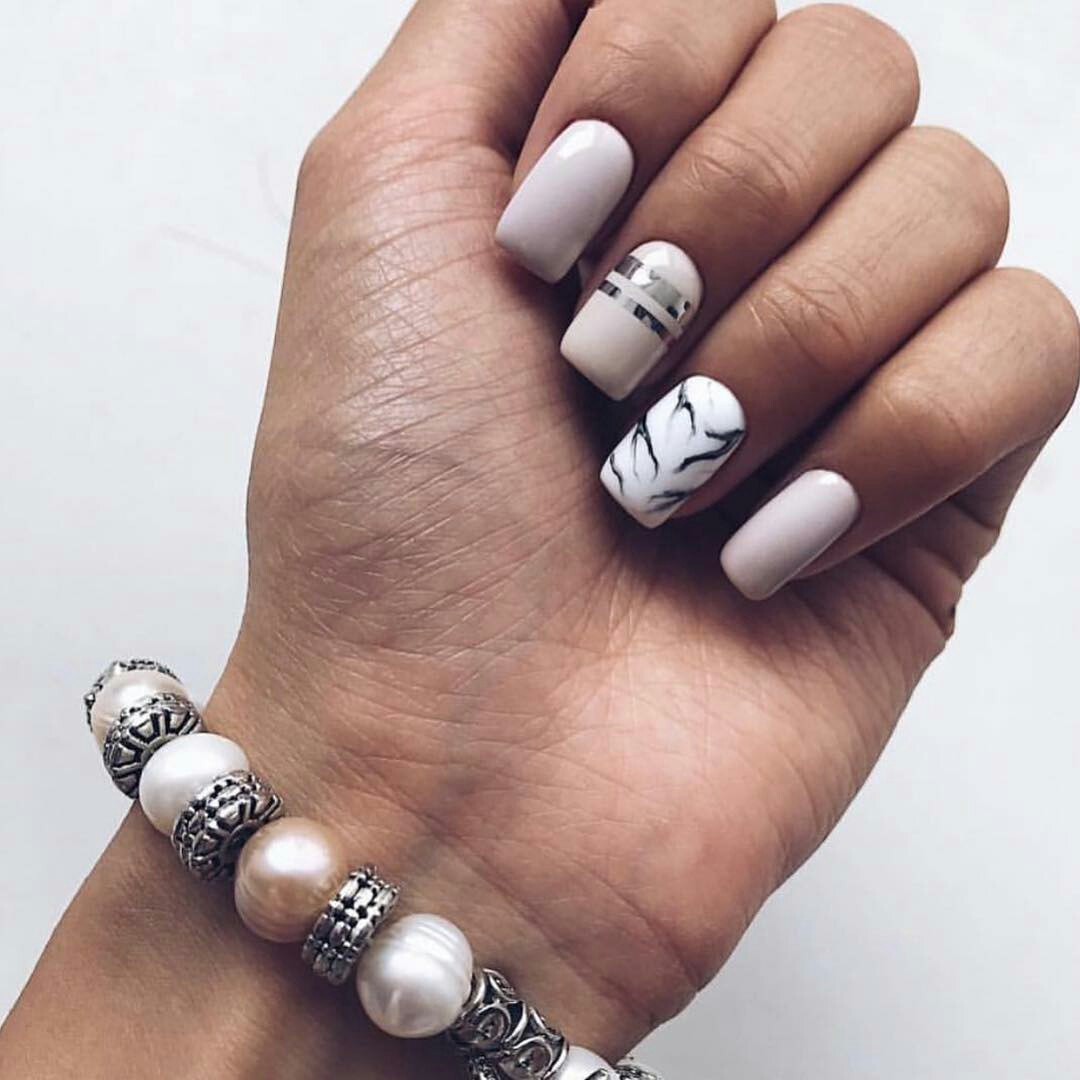
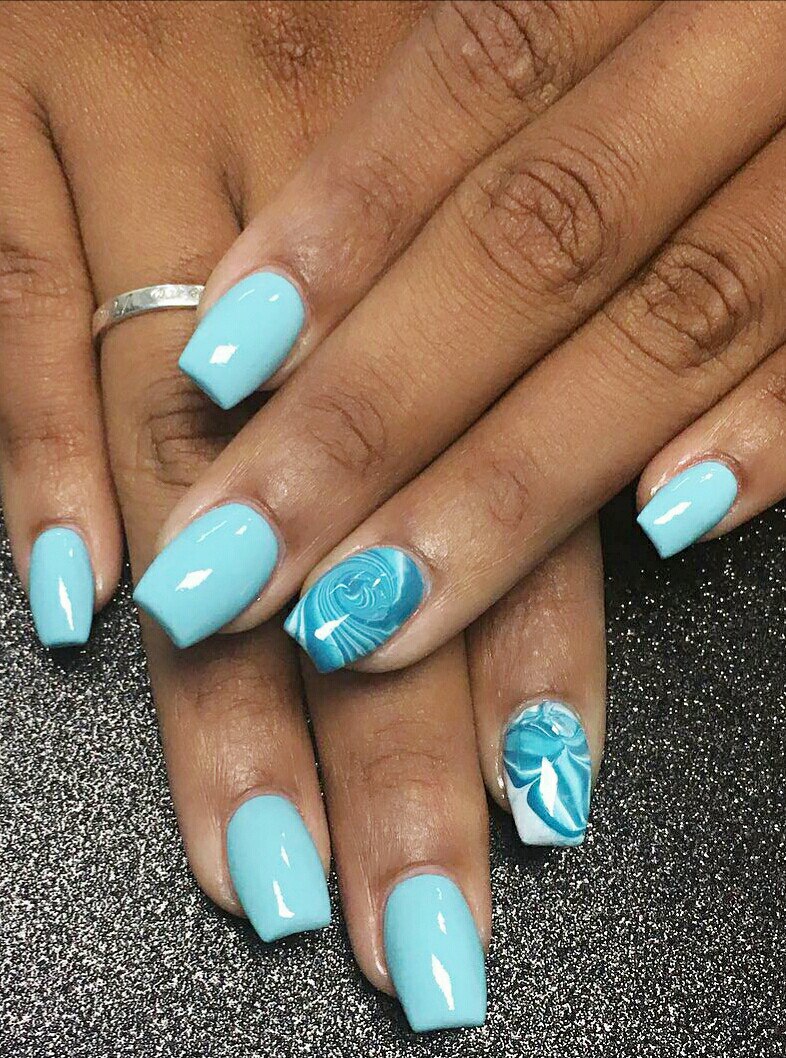
Also, the French nail design with some elements of the water design has become very popular. To make it, paint the tip with a bright polish and apply a water pattern painted with white or transparent polishes on the top. It looks quite spectacular!
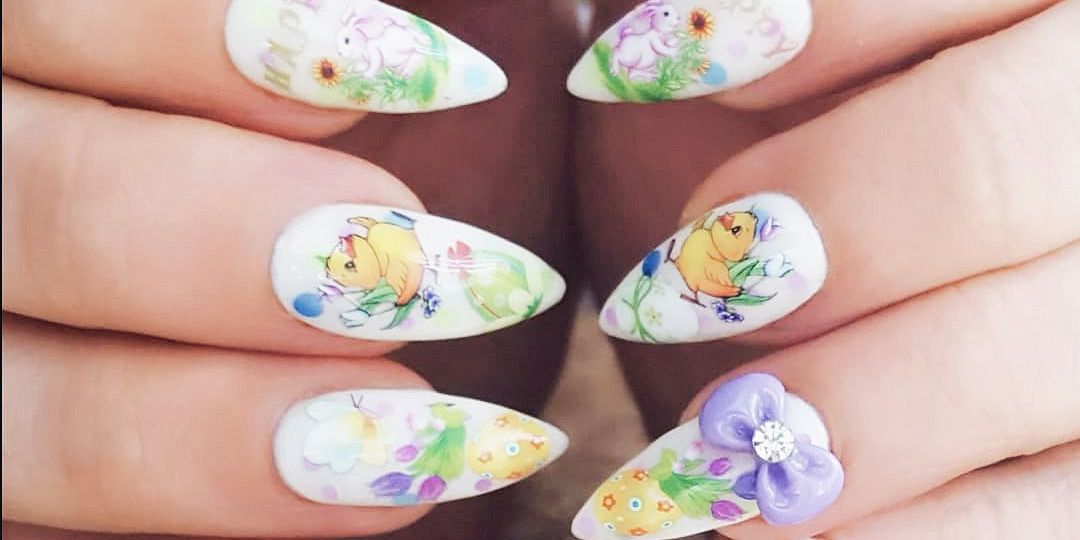
In future the water nail design will be more and more popular. As nail art is being developed, new nail ideas appear. For example, the combination of liquid gems and water nail art.
Nail artists always compete with each other, and this competition is welcomed by representatives of the gentle sex.
When you create the nail design using a water technique, don’t follow the familiar rules. Don’t be afraid of experimenting and create your own ideas.


How to Do Water Nail Art: Video Tutorial
Photos from Instagram.com