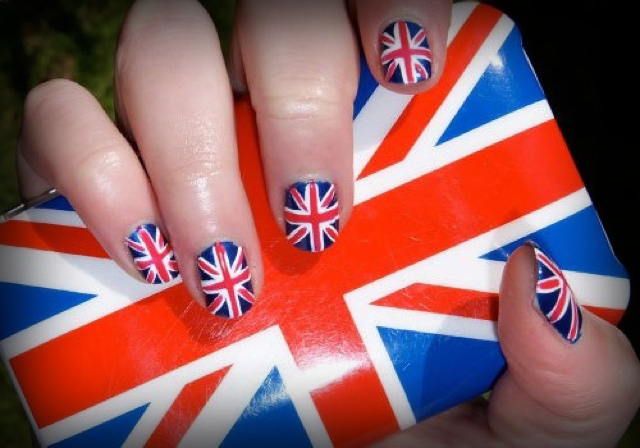
The Fourth of July is just around the corner, and what better way to show off your patriotic spirit than with some adorable and easy American flag nail designs? This article is about helping you achieve cute, simple nail art that pays homage to red, white, and blue. Whether you’re attending a backyard barbecue, watching fireworks, or simply celebrating the independence of the United States, these patriotic nail designs will surely make a statement.
This article provides step-by-step instructions and tips on creating stunning American flag nail designs. From classic flag patterns to creative variations, we’ve got you covered. Whether a nail art novice or an experienced enthusiast, you’ll find inspiration and ideas to suit your skill level.
Why should you keep reading? Well, if you want to show off your patriotism in style, these nail designs offer a unique way. They’re not only eye-catching and fun but also easy to achieve. You don’t need to be a professional nail artist or have fancy tools to create these looks. With our guidance, you can achieve fabulous results with minimal effort.
Contents
Cute and Simple American Flag Nail Art: Step-By-Step Tutorial
For work you will need:
- White polish as a base,
- Blue polish,
- Red polish,
- Transparent polish or fixer,
- Thin brush.
The process seems complicated only at first glance. In fact, this action will attract you quickly, and already at the initial stage, you will understand that it’s not difficult to draw an American flag nail art.
Bring Your Nails In Order
First, you need to bring your nails in order. Make them oval, get rid of burrs and cuticles, and make the nails neat. After that, apply the nail base. It can be colorless or white polish. The base is necessary for leveling the color and surface of the nail plate.
Applying Background
Use white lacquer as a background. If it has already been applied as one layer of the base, just cover the nail with it again. It is necessary to achieve a monotone effect. Many women will decide that the background is not so important, as, one way or another, it’ll be covered with another polish. But in the case of the American flag nail designs it is necessary to ensure that there are no dark spots under the varnish, no marks, etc. Otherwise, the manicure will look cheap and sloppy.
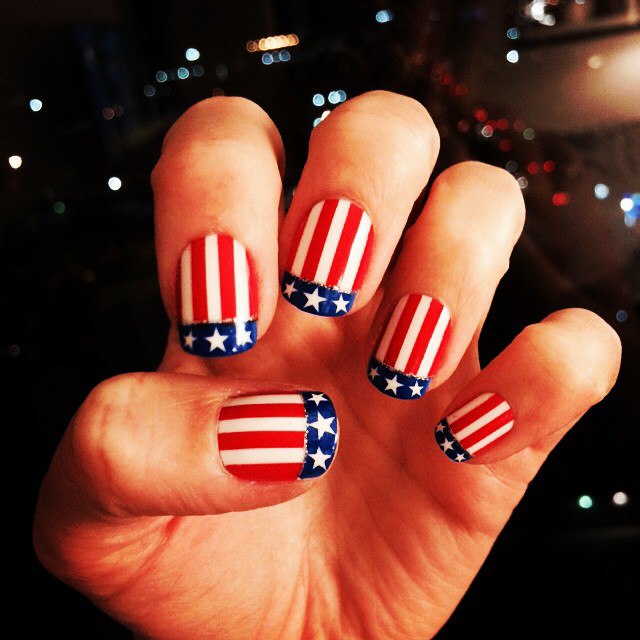
Beginning Drawing
The first thing to do is to apply blue polish. Depending on the chosen variant of the pattern, both the width and the location of the strip of blue color are adjusted. In the classic version, this color covers less than half of the nail. Therefore, it is better to apply a blue color in two layers. Allow it to dry completely.
The next step is to apply thin lines of red color. Draw them with a thin brush, so that the image will be neat and beautiful. Strips are applied to the remaining surface of the nail in the same direction as the blue color. That is, if the drawing goes diagonally, then the red lines are made diagonally. If you chose the horizontal option, then the red lines are drawn parallel to the base of the nail.
Attention! Red lines are applied in one layer. Therefore, try to grab a sufficient amount of polish immediately, so you do not need an additional application of nail polish.
Add Stars
As is known, the American flag on nails has white stars. Their number is equal to the number of states in America. But it’s impossible to draw so many stars on the nail – the picture will merge, it will not look stylish. It’s enough to draw 1 or 3 beautiful stars to complete the picture.
On a blue background start drawing white stars. You can do it with a thin brush, a needle, or a toothpick. The stars are drawn simply: there are lines intersecting at one point, the number of 3 pieces (the asterisks will be six-pointed). If this problem seems difficult to you, then instead of stars put white dots.
Getting The Result
To make the manicure sparkle and not deteriorate quickly, you need to cover the nails with a fixer. You can also use products for rapid drying of the nails. In this case, your masterpiece will remain on the nails for at least a week in its original form.
4th of July Nails – Different Shapes and Lengths
The most unusual, eccentric, and extravagant fashion trends always come from America. People there have creative thinking and approach to different situations. In any case, American people are looking for non-standard ideas for solutions. The nail design in the American style is always interesting and attractive. Most Americans are patriots of their country. Moreover, they try to emphasize their status in every possible way.
One way is to decorate the nails with the flag of America. Both teenagers and respectable ladies love such designs. This nail art was originally popular only in the territory of the country, but today its success has gone far beyond the borders of the United States. The “American flag” design is based on the popular Beverly Hills nail design, which is very similar to the French manicure, and differs only in the less clear line of the “smile.
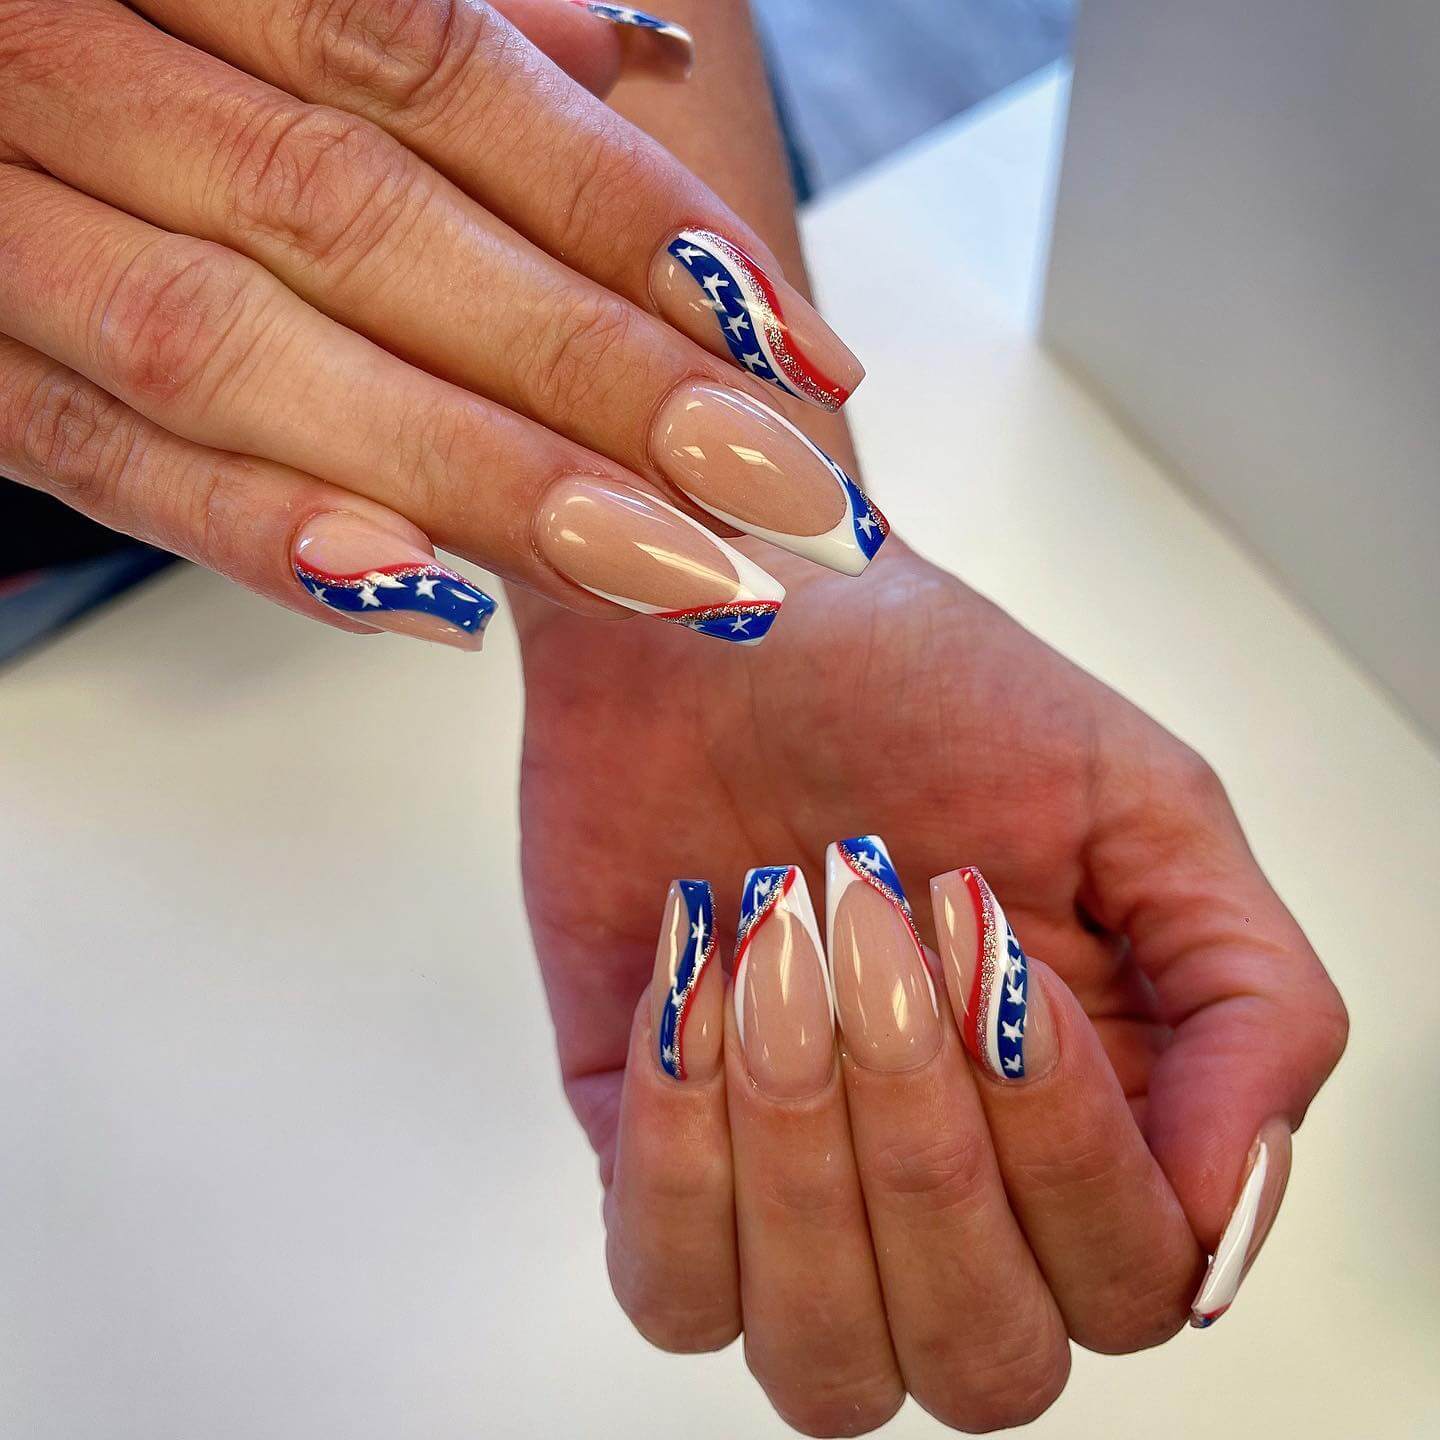
Regarding the 4th of July nail designs, the shape and length of your nails can play a significant role in the overall look. Whether you prefer long, short, square, almond, stiletto, or coffin nails, patriotic designs can be tailored to suit your preferred nail shape. Let’s explore some ideas for each shape:
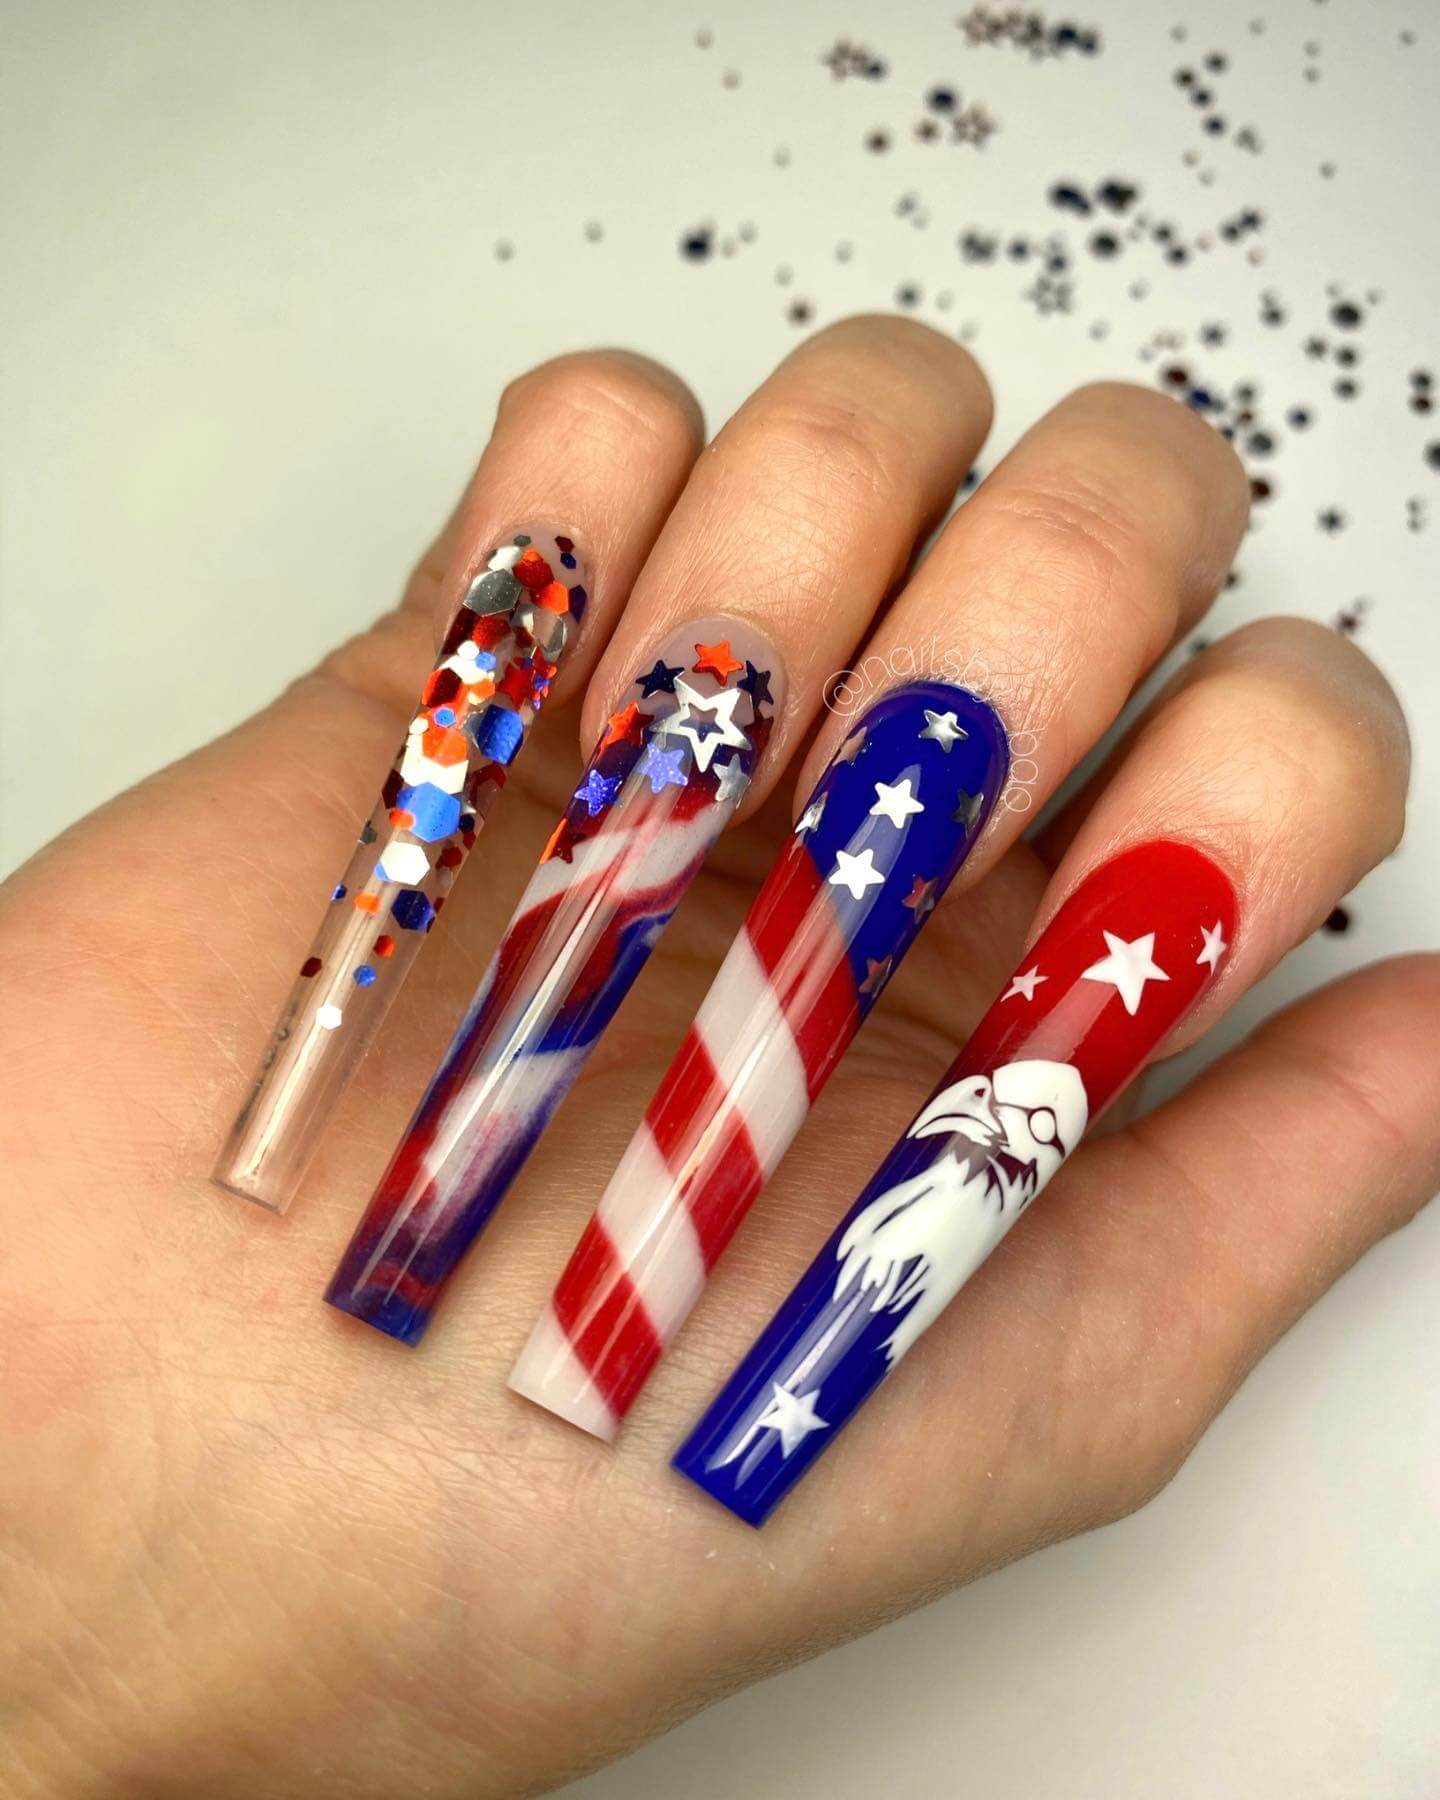
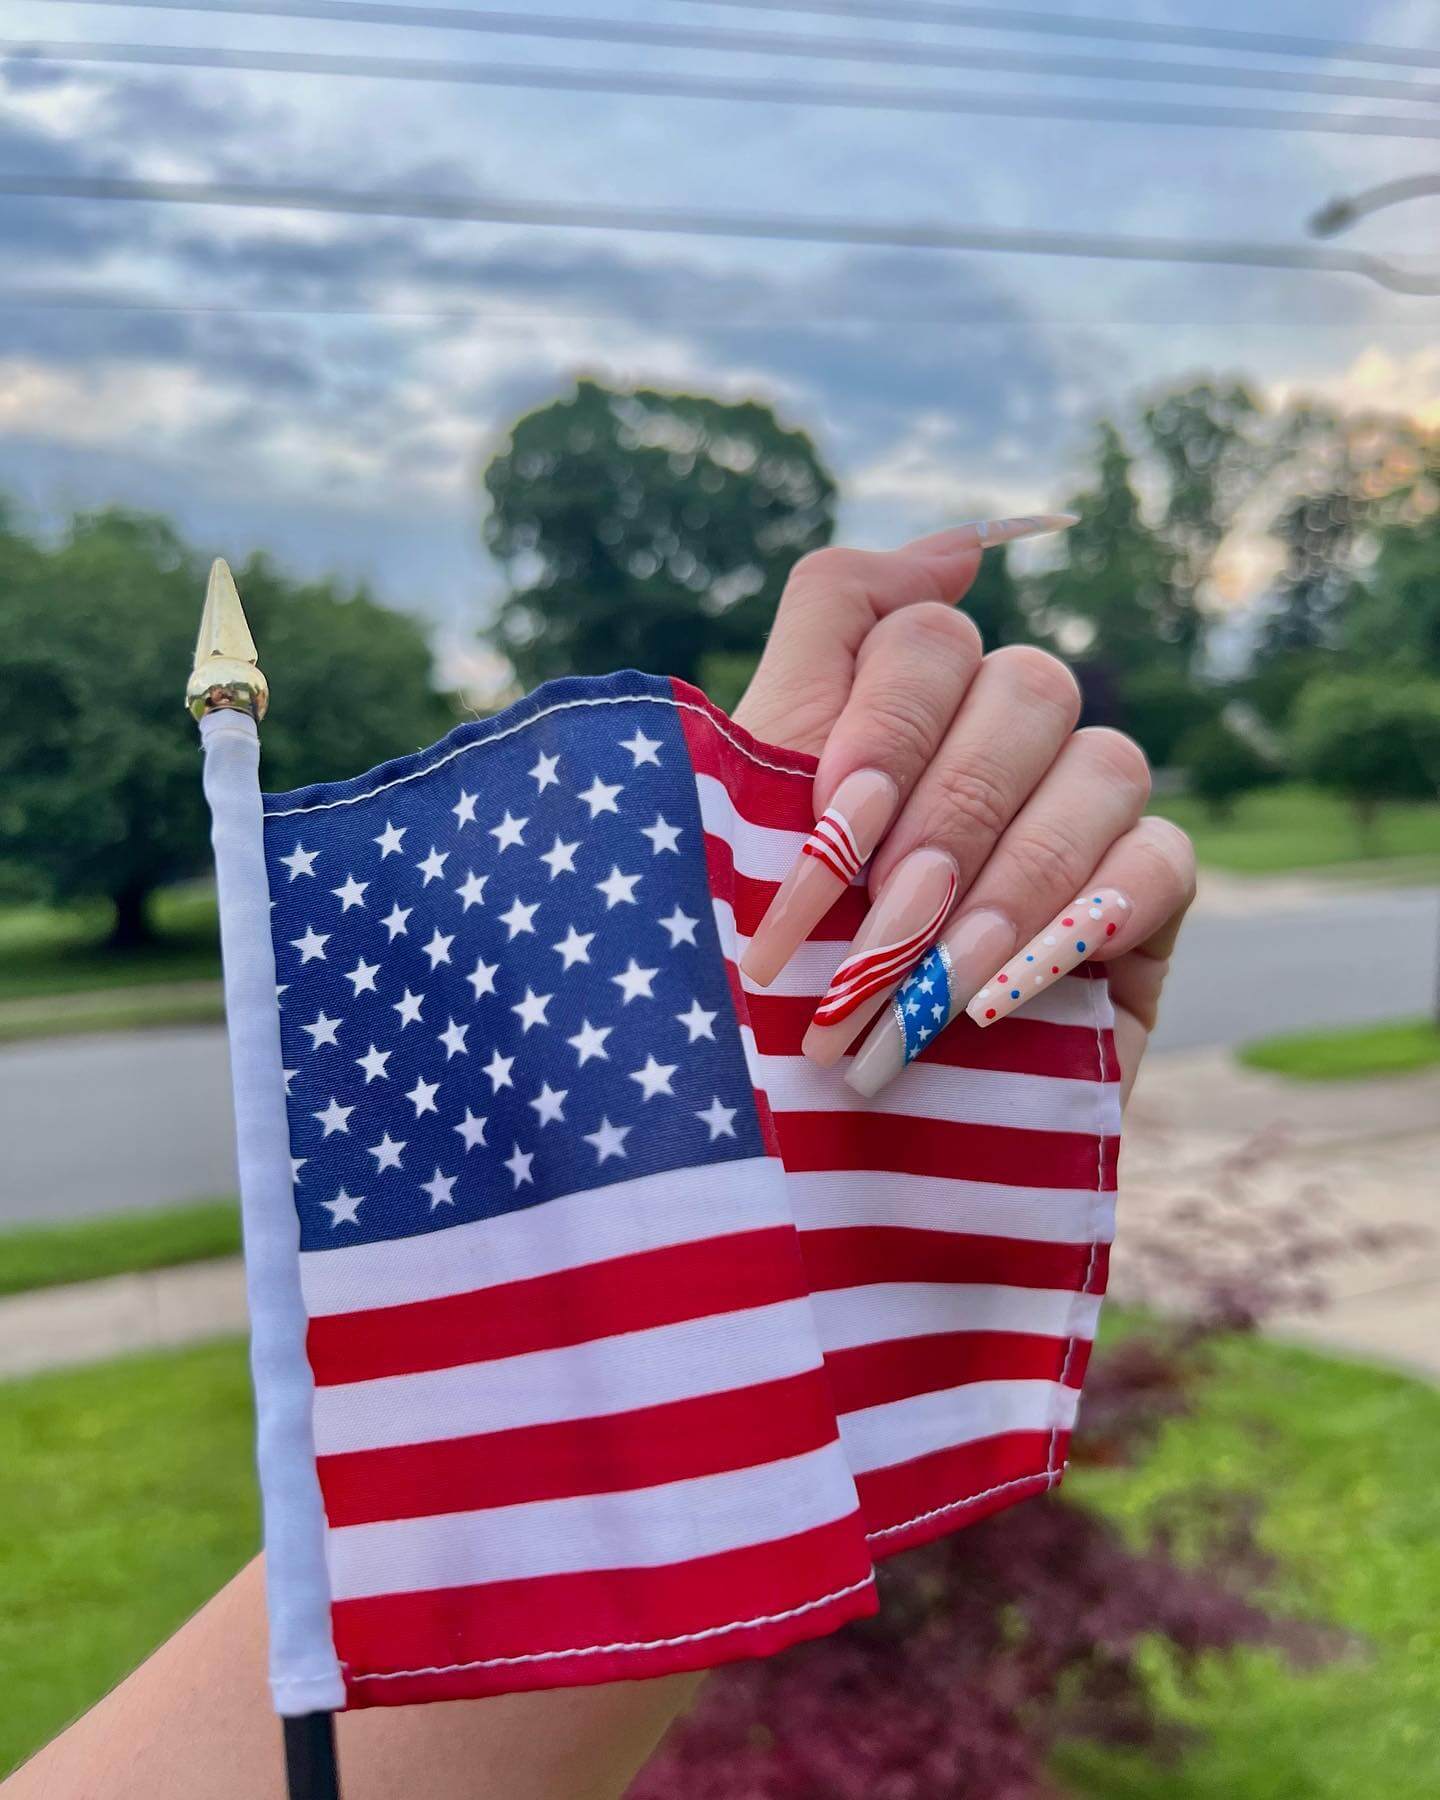
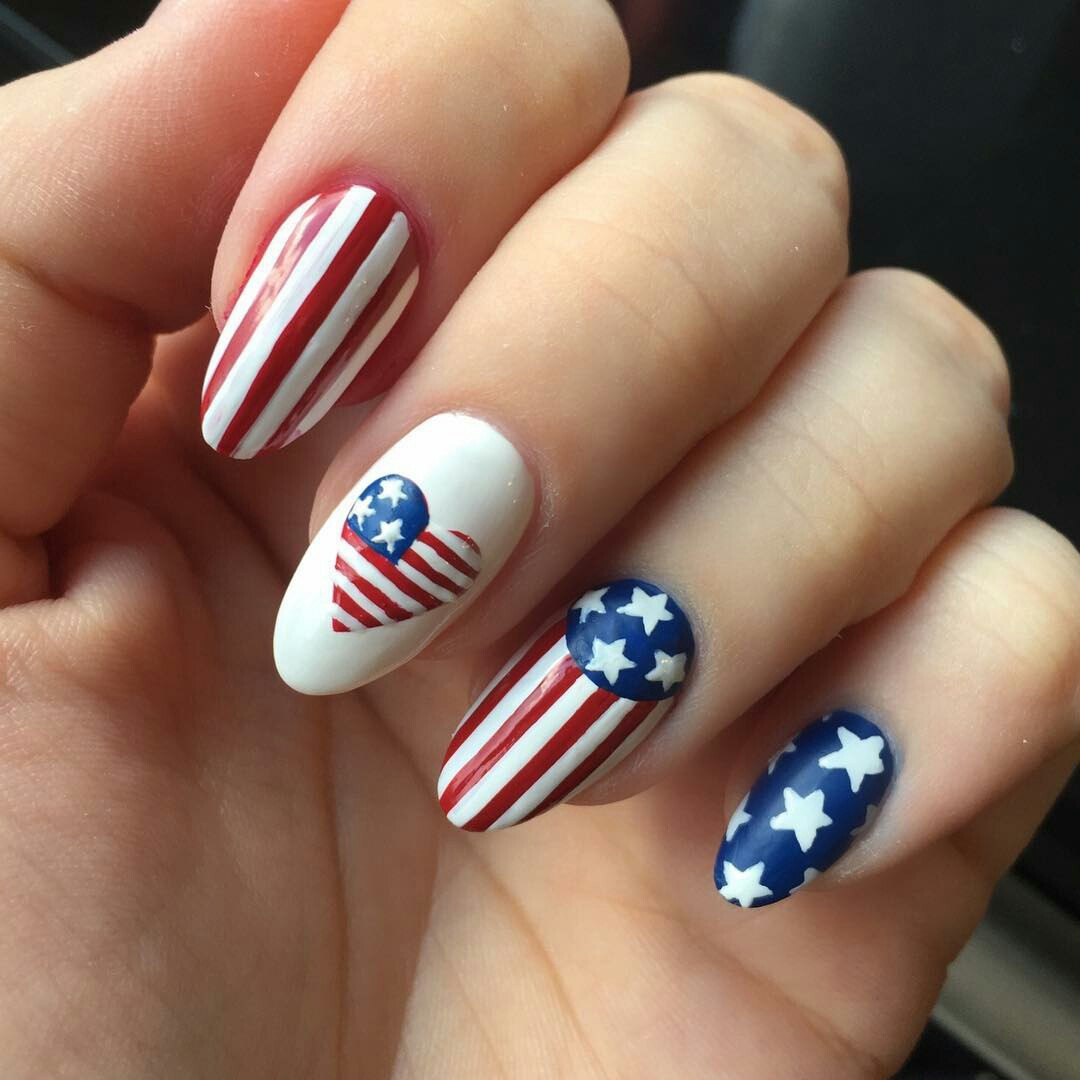
Long Nails
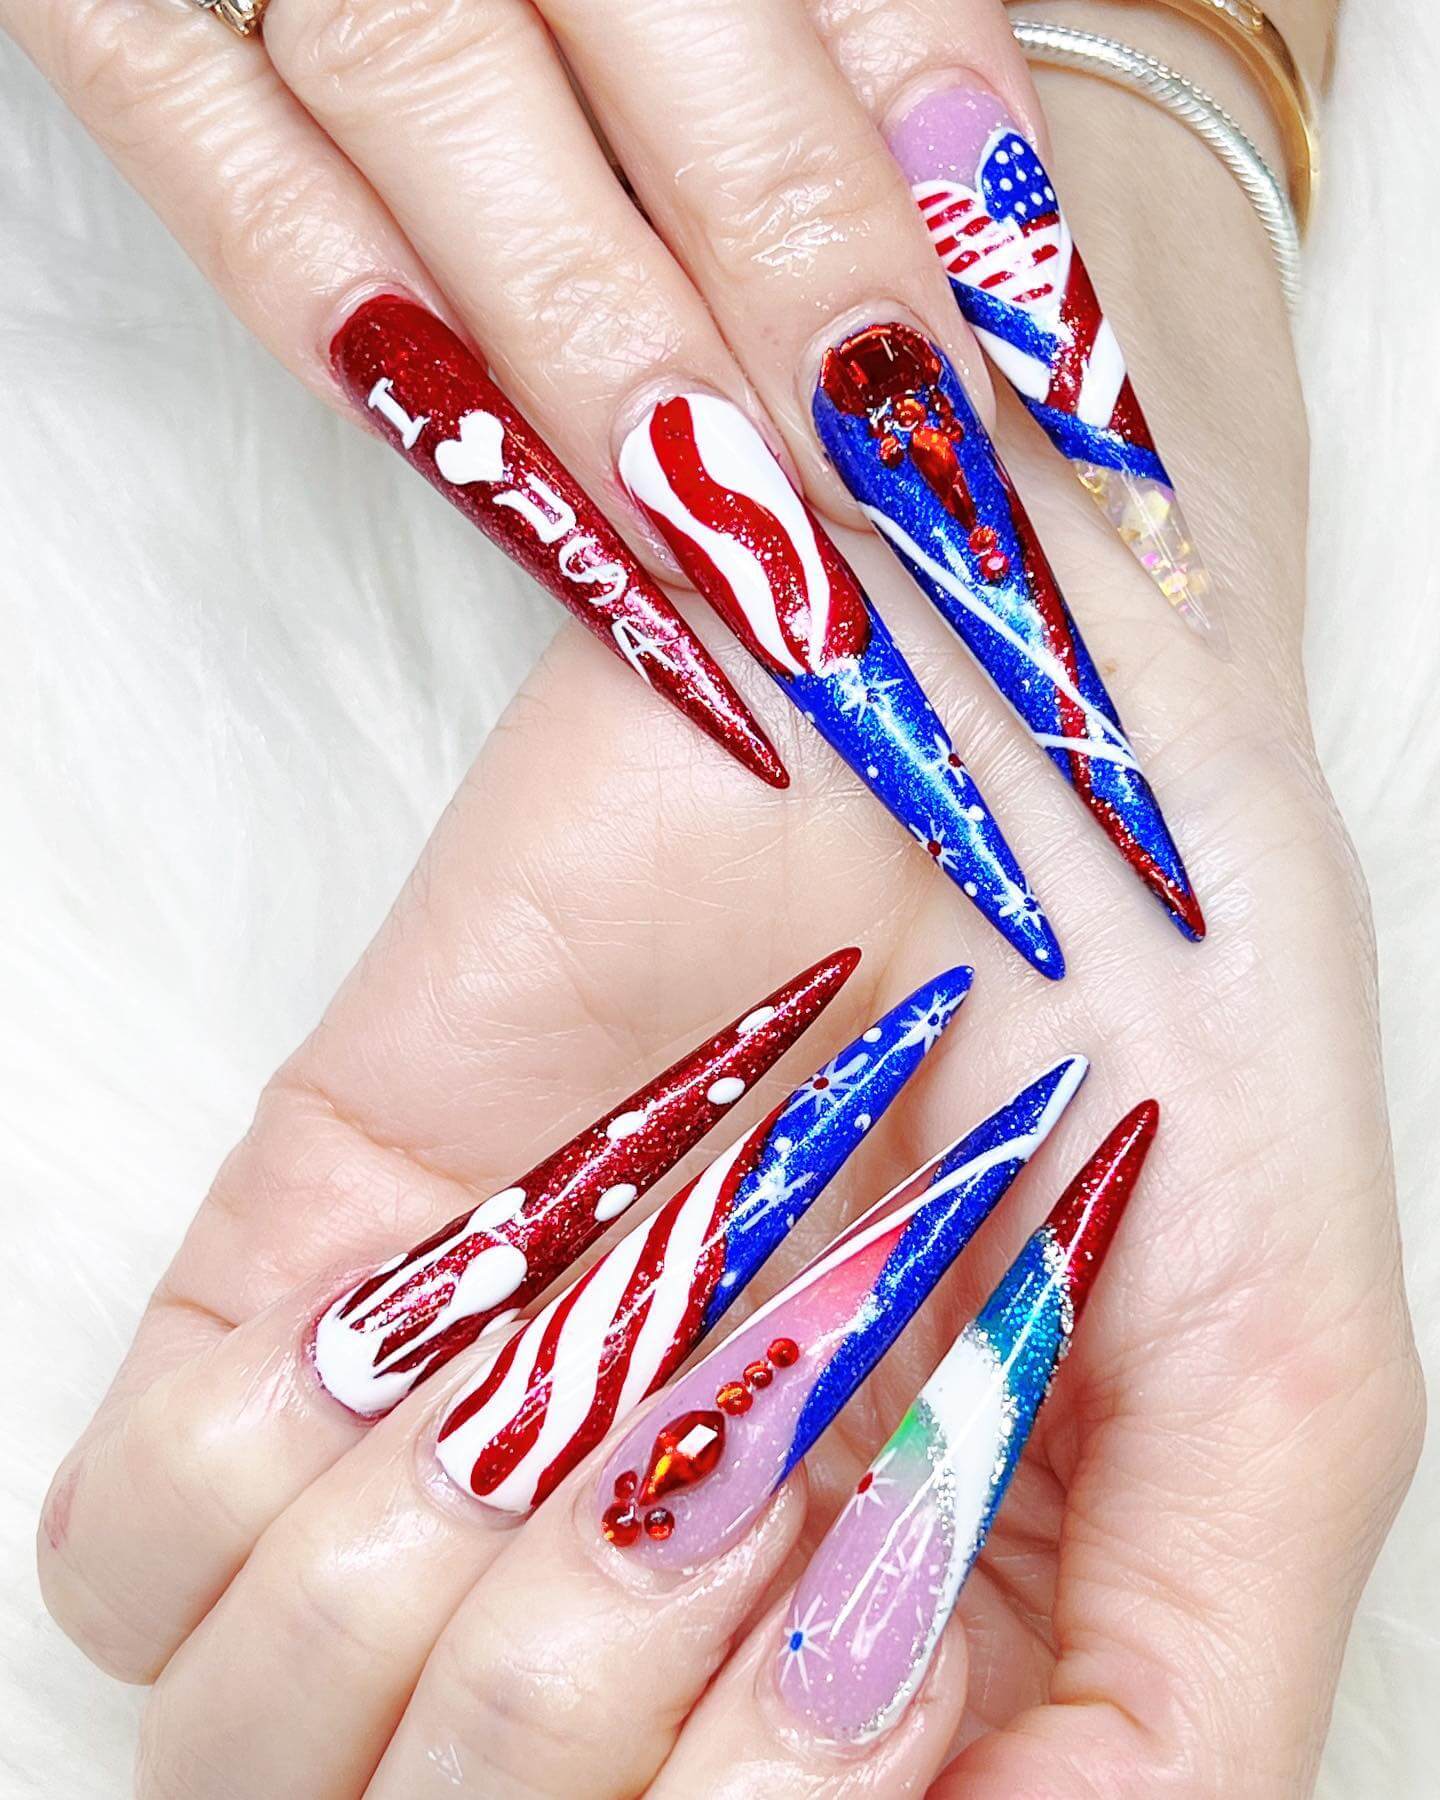
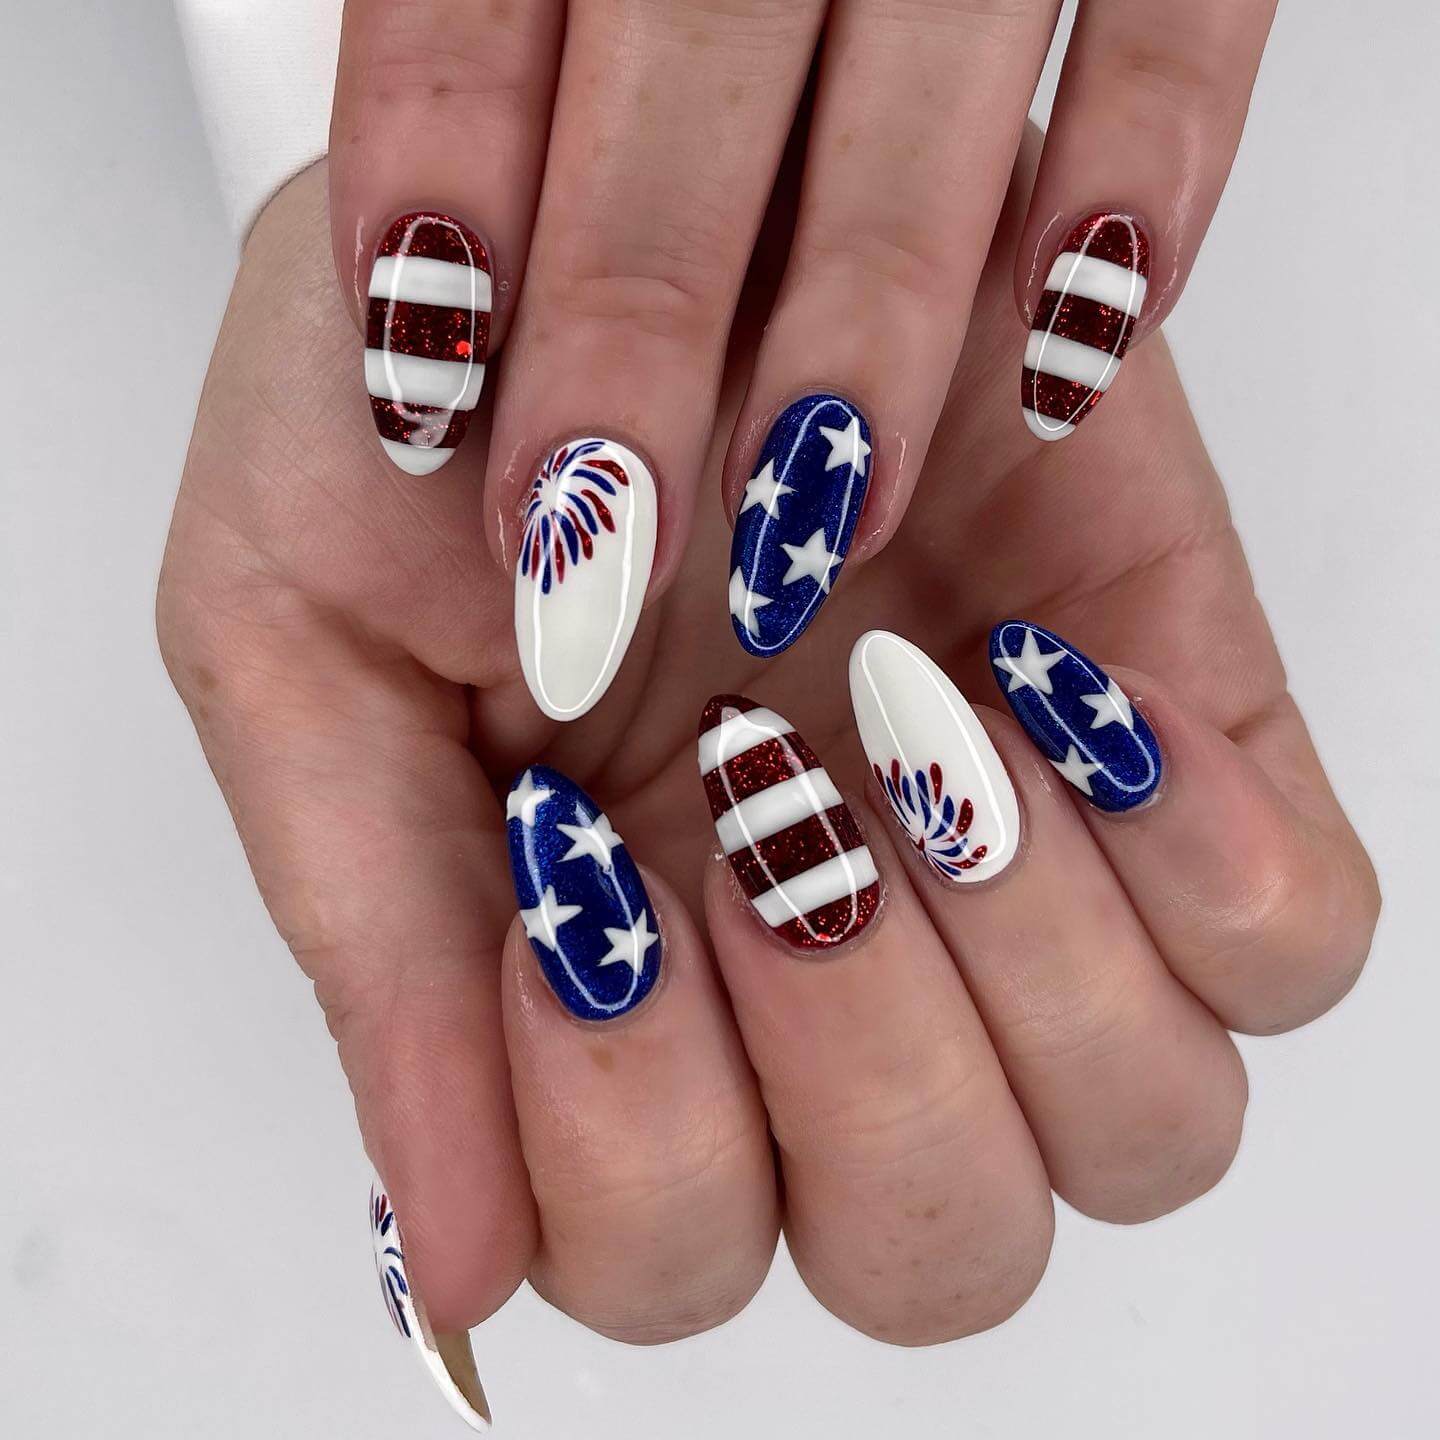
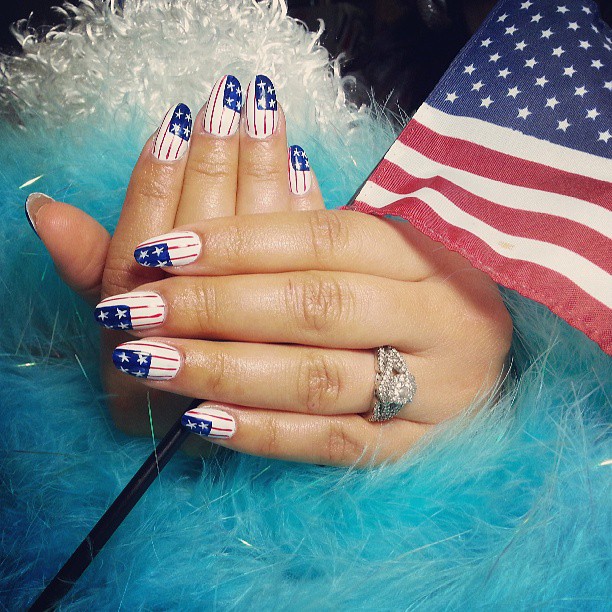
Long nails provide a larger canvas for creativity. You can create intricate designs and incorporate more details. Consider painting your nails vibrant red and adding white stars and blue stripes for a classic American flag-inspired look. Alternatively, you can opt for a gradient effect, starting with red at the cuticle, transitioning to white, and finishing with blue at the tips.
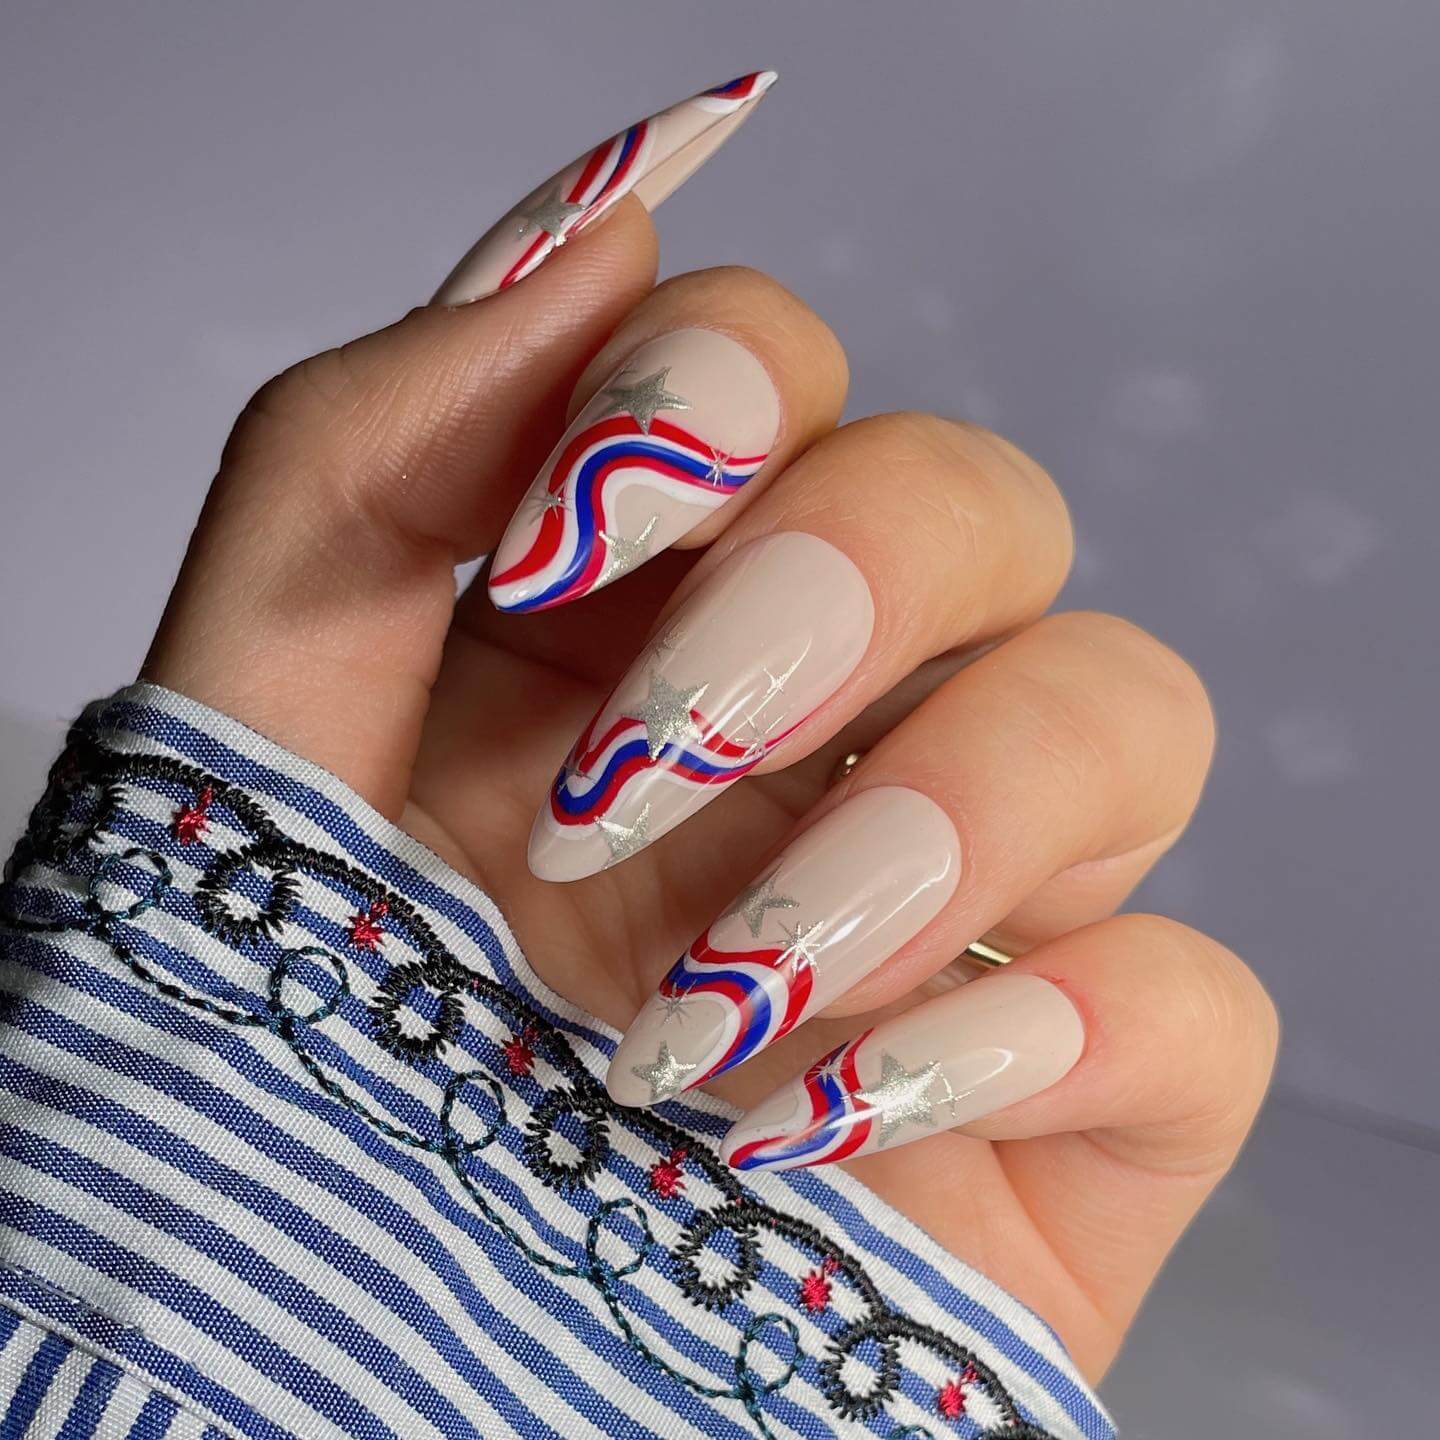
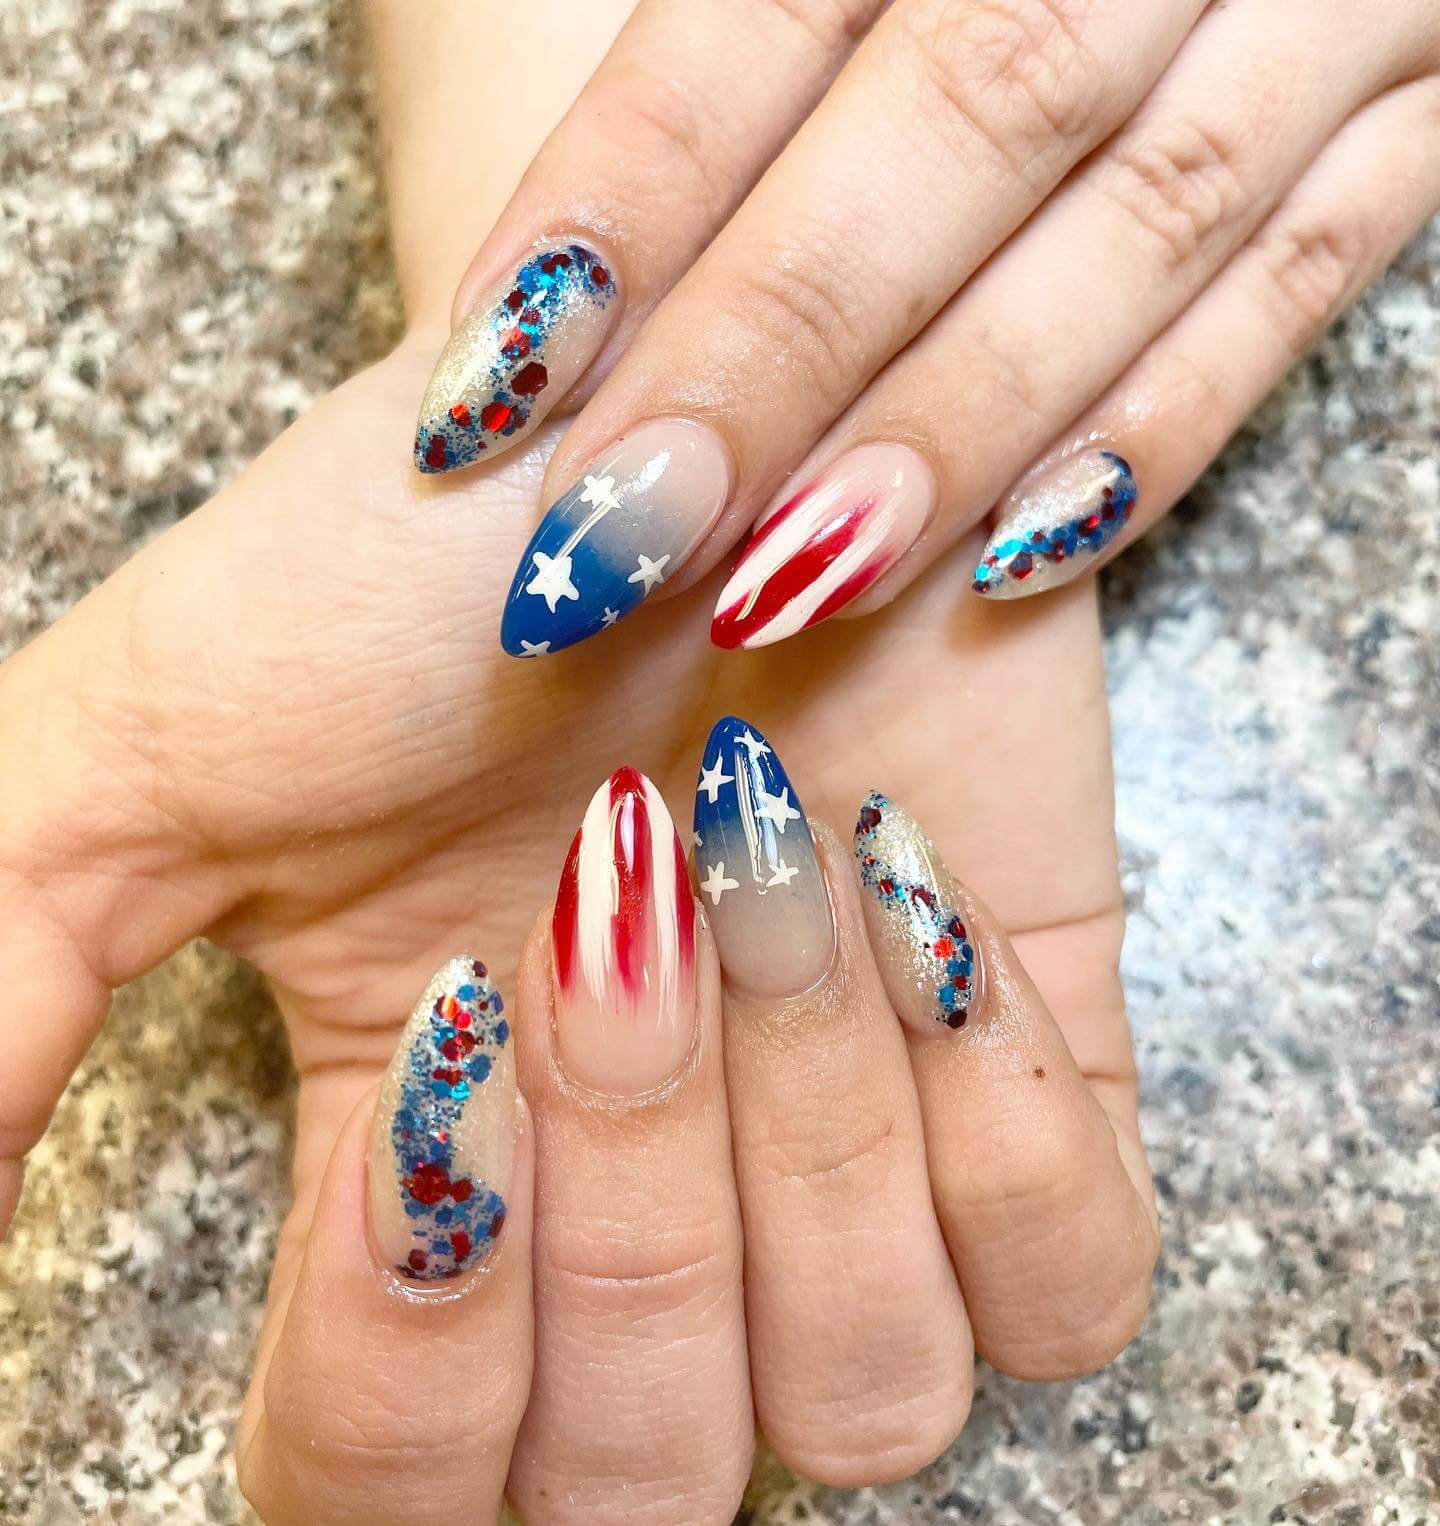
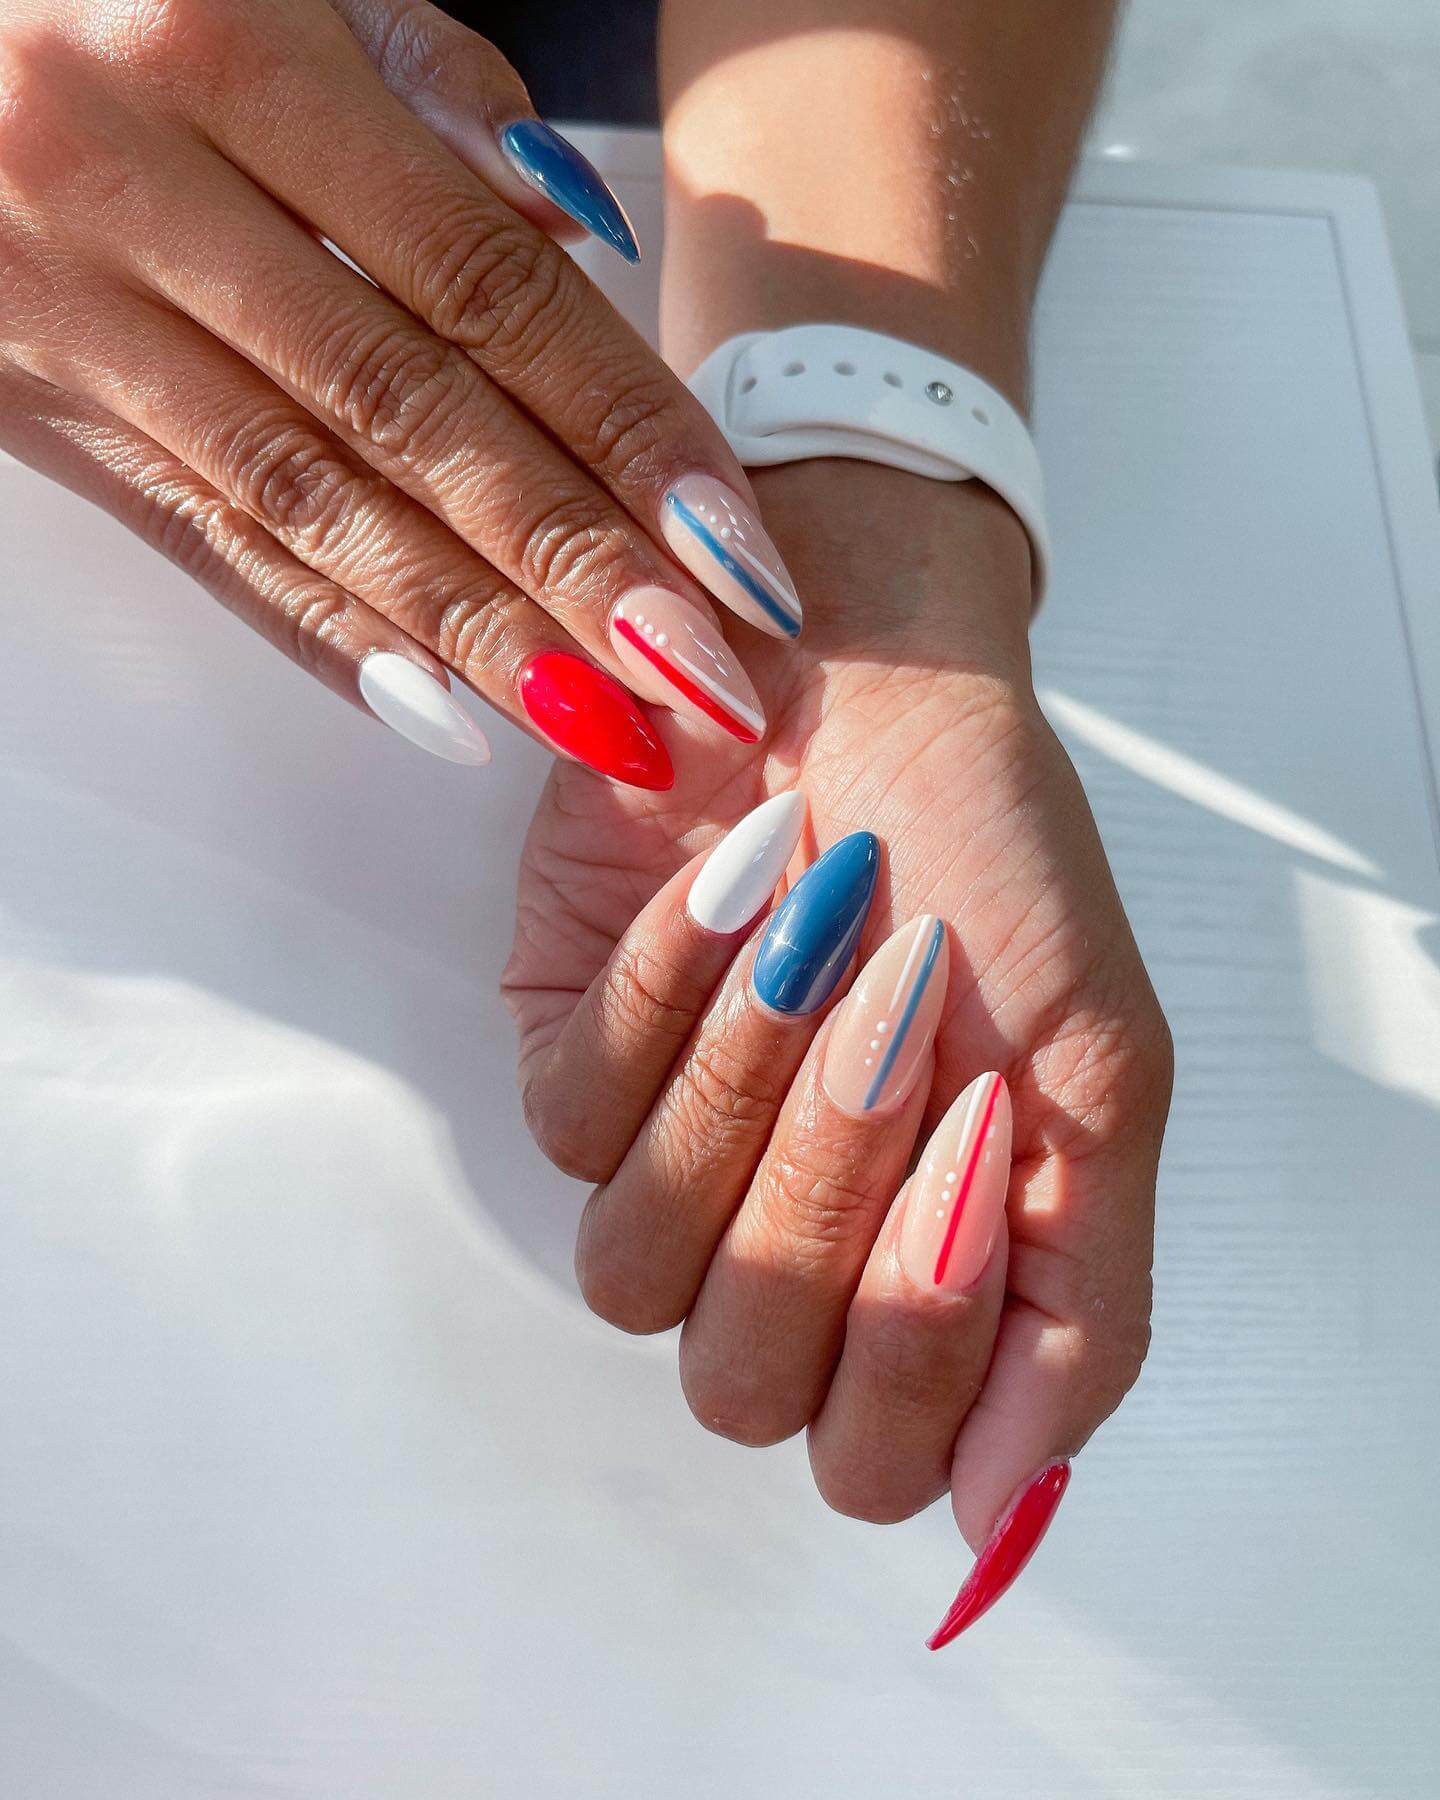
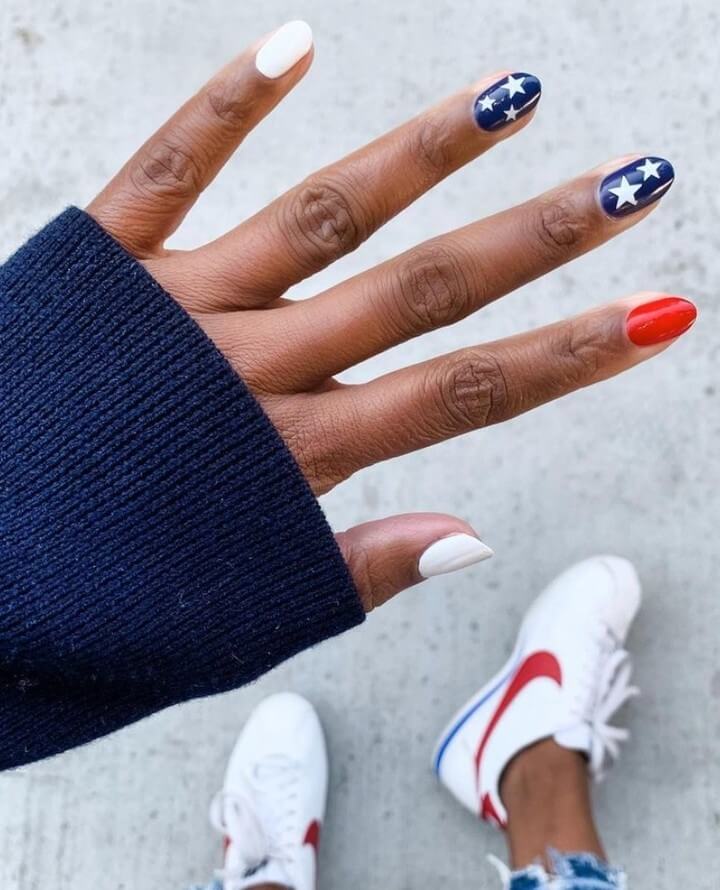
Almond Nails
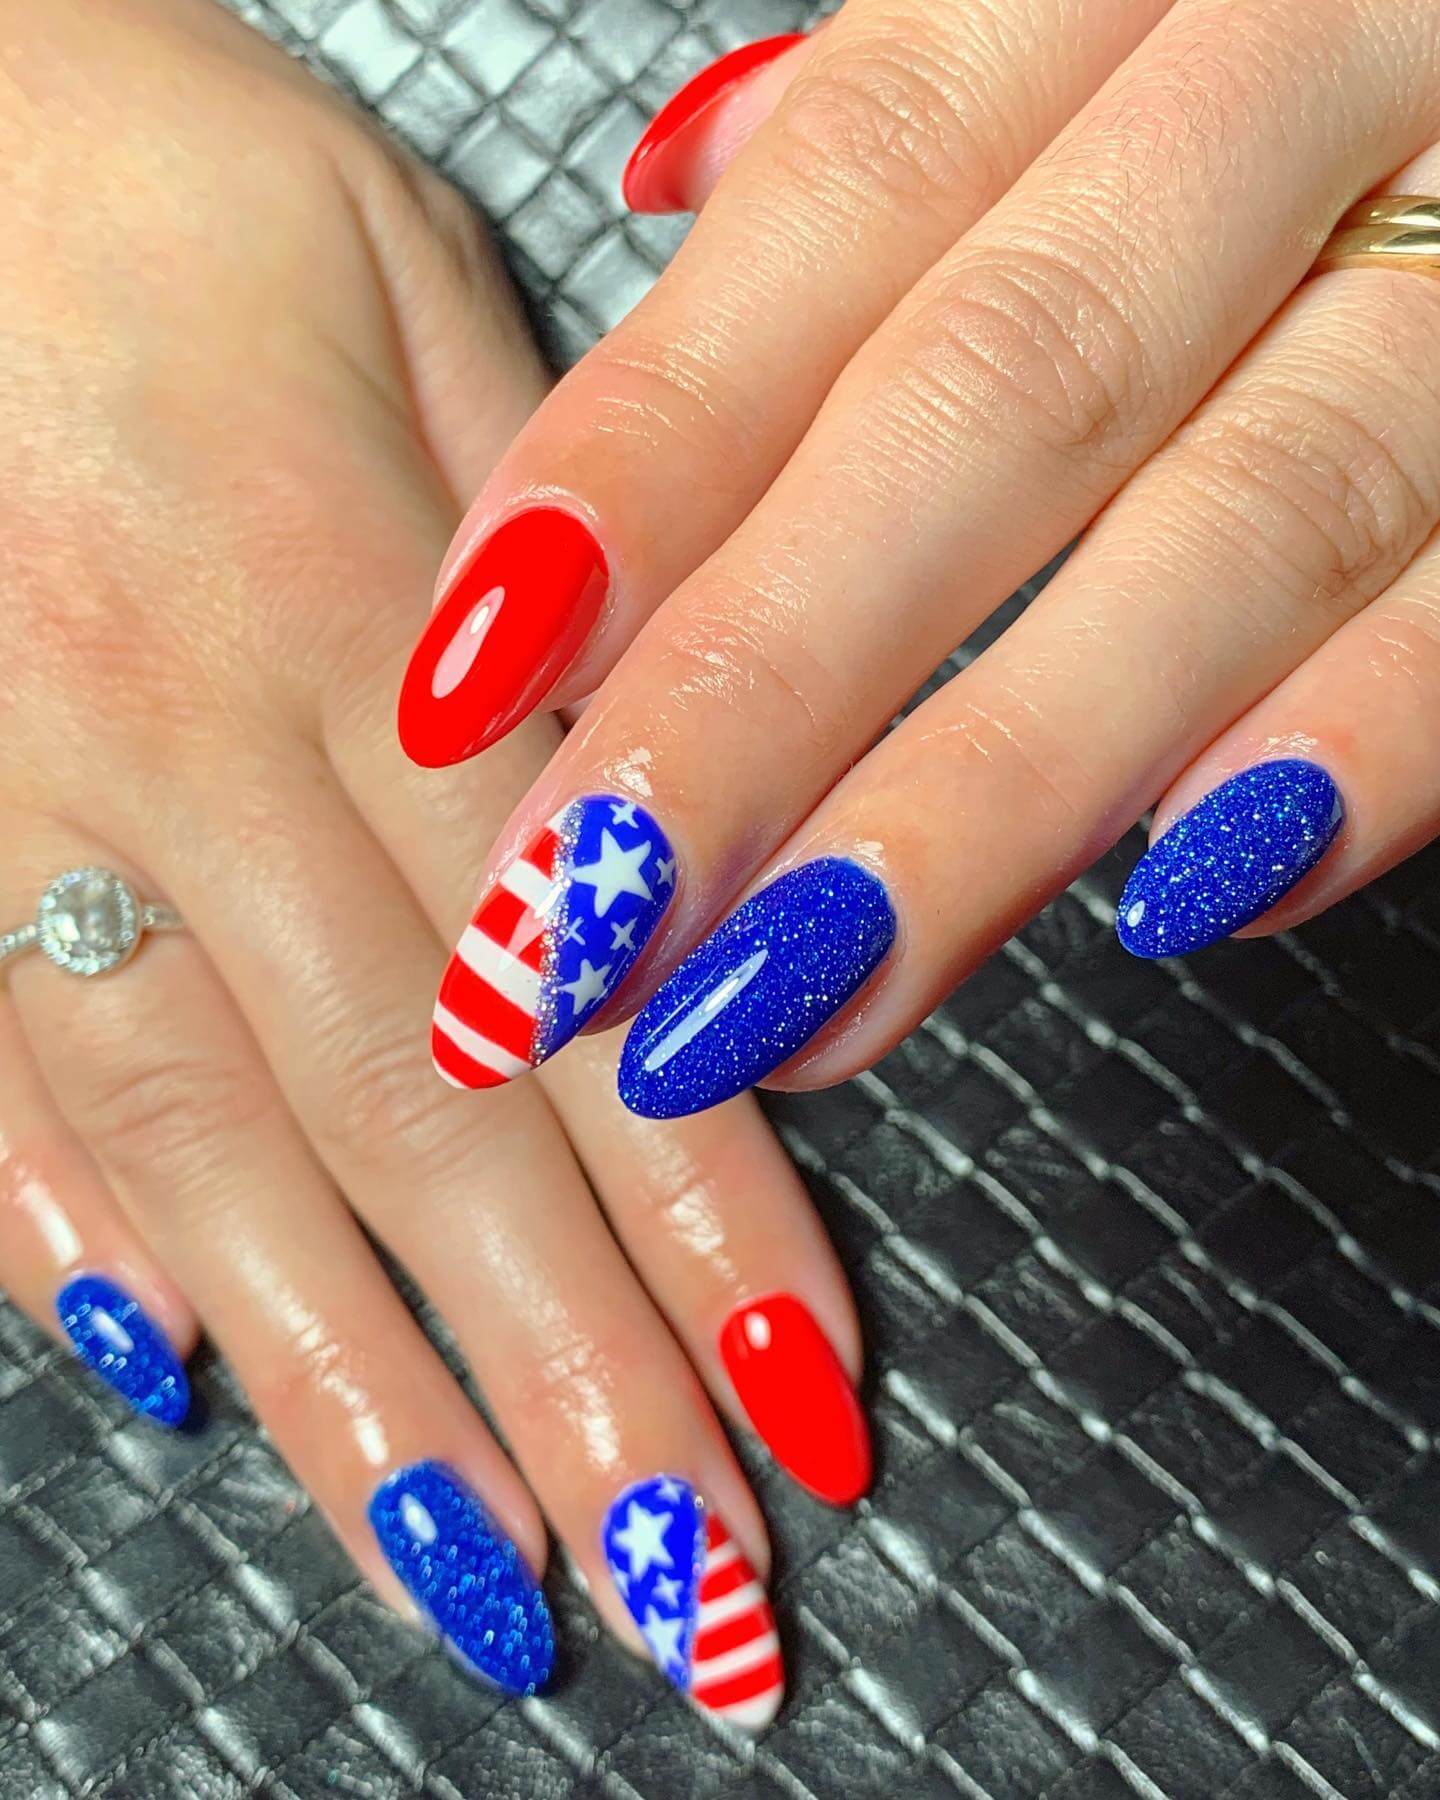
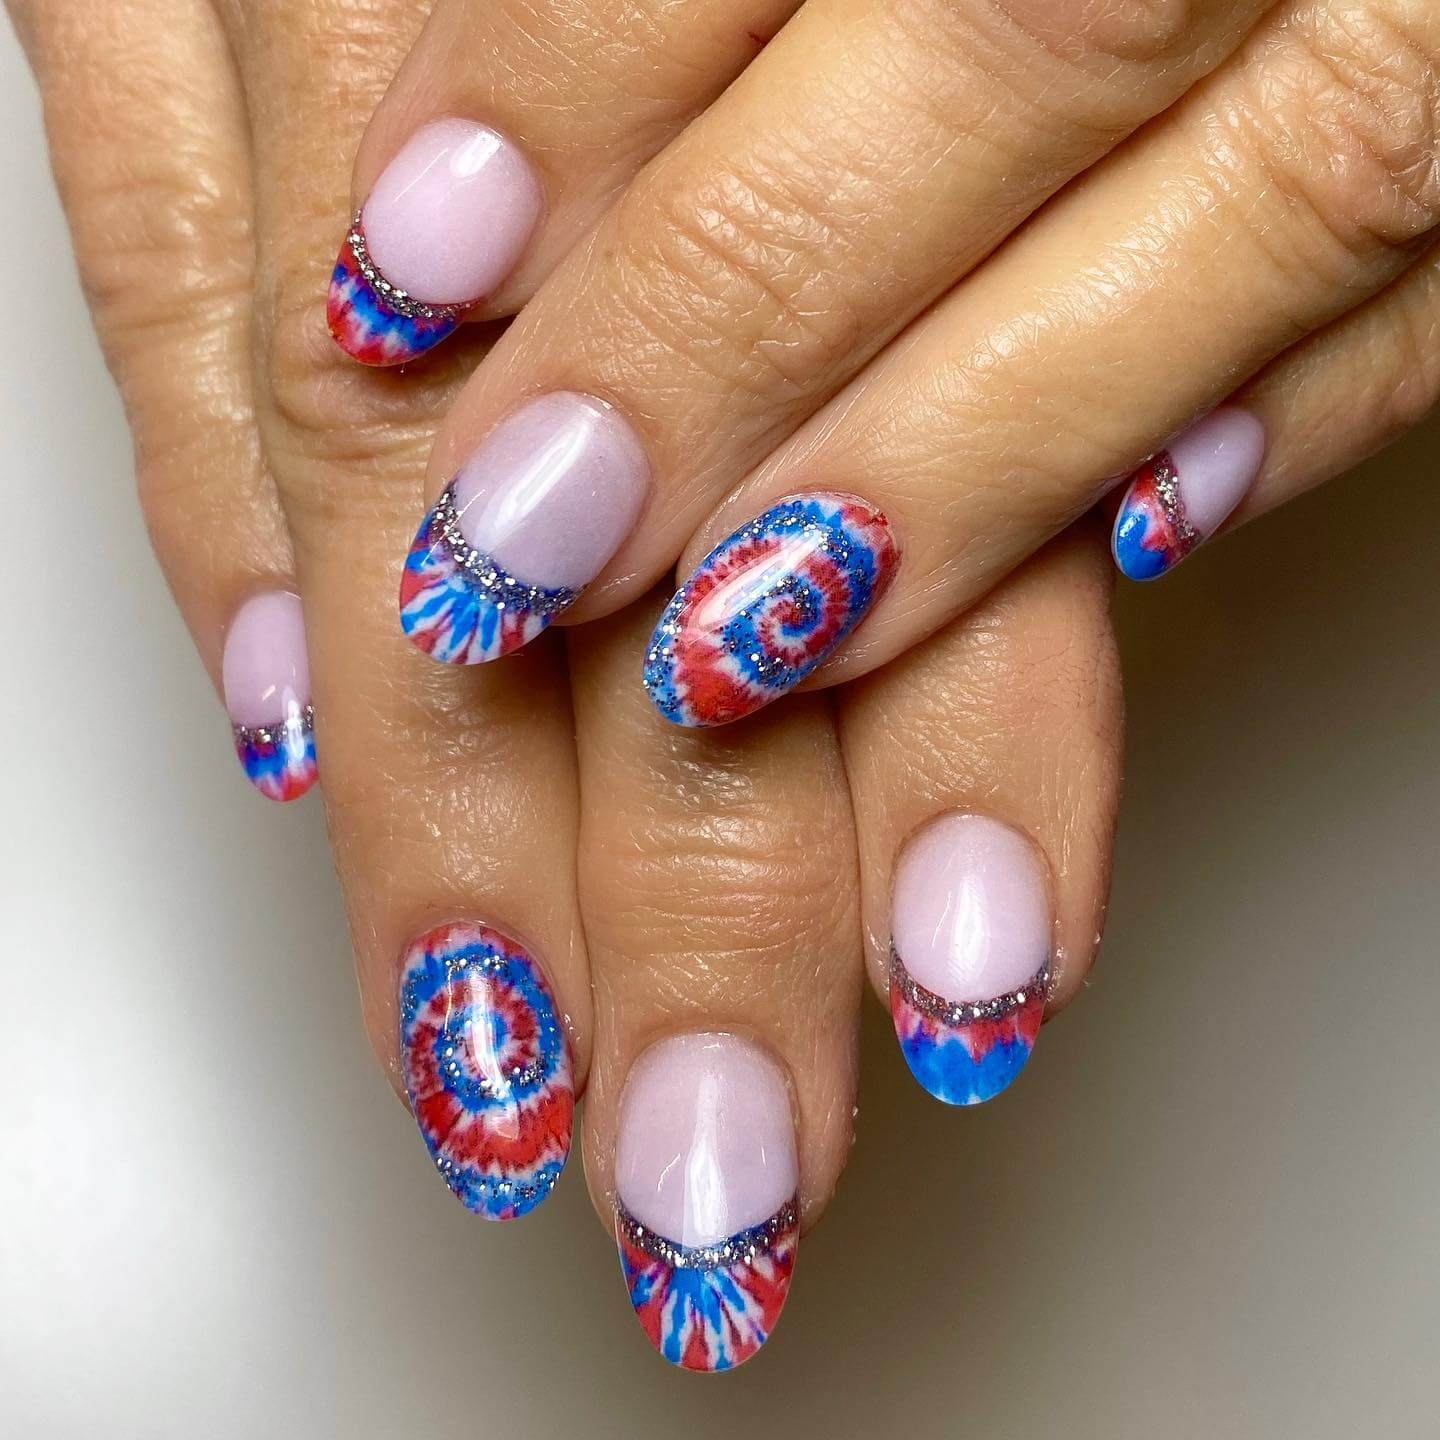
Almond-shaped nails are elegant and feminine. For a 4th of July twist, you can create an ombre effect using red, white, and blue shades. Begin with a deep blue near the cuticle, fade into white in the middle, and finish with a vibrant red at the tips. Add small silver stars or glitter accents for an extra touch of sparkle.

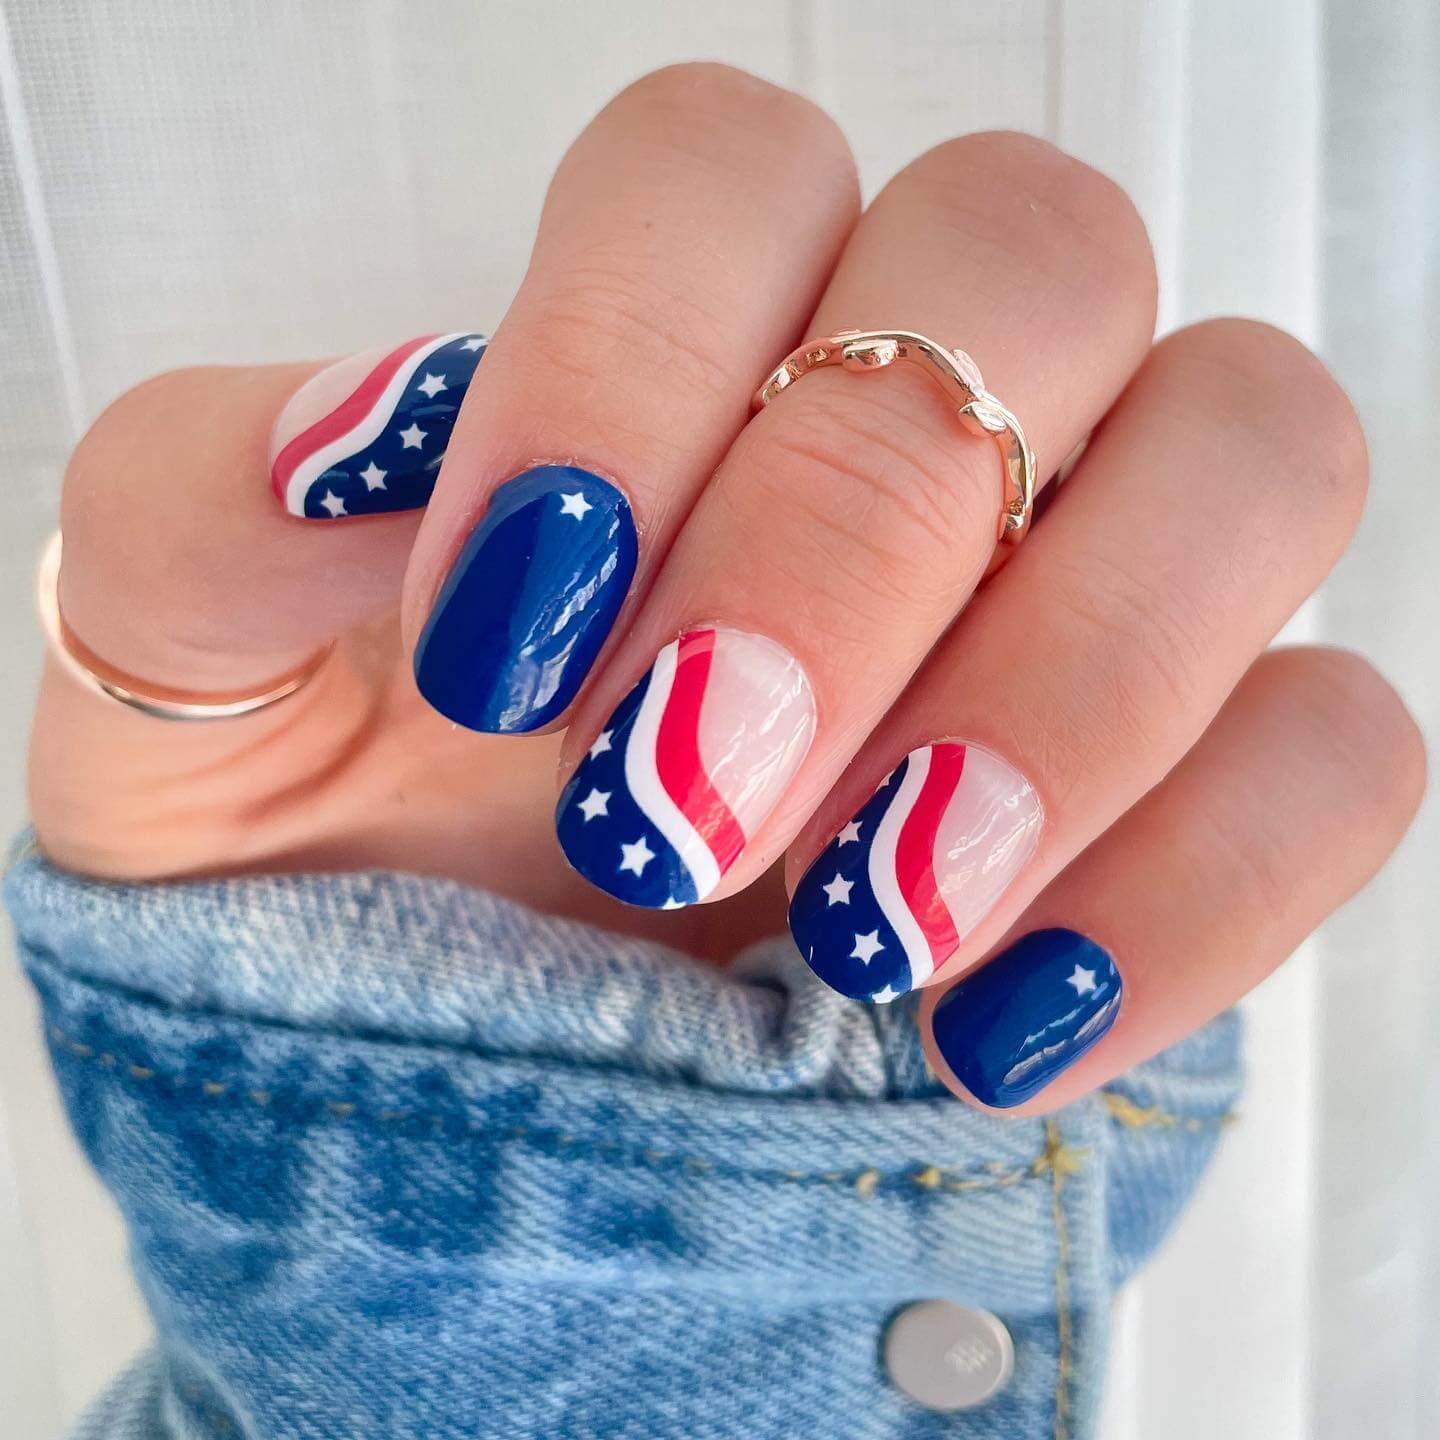
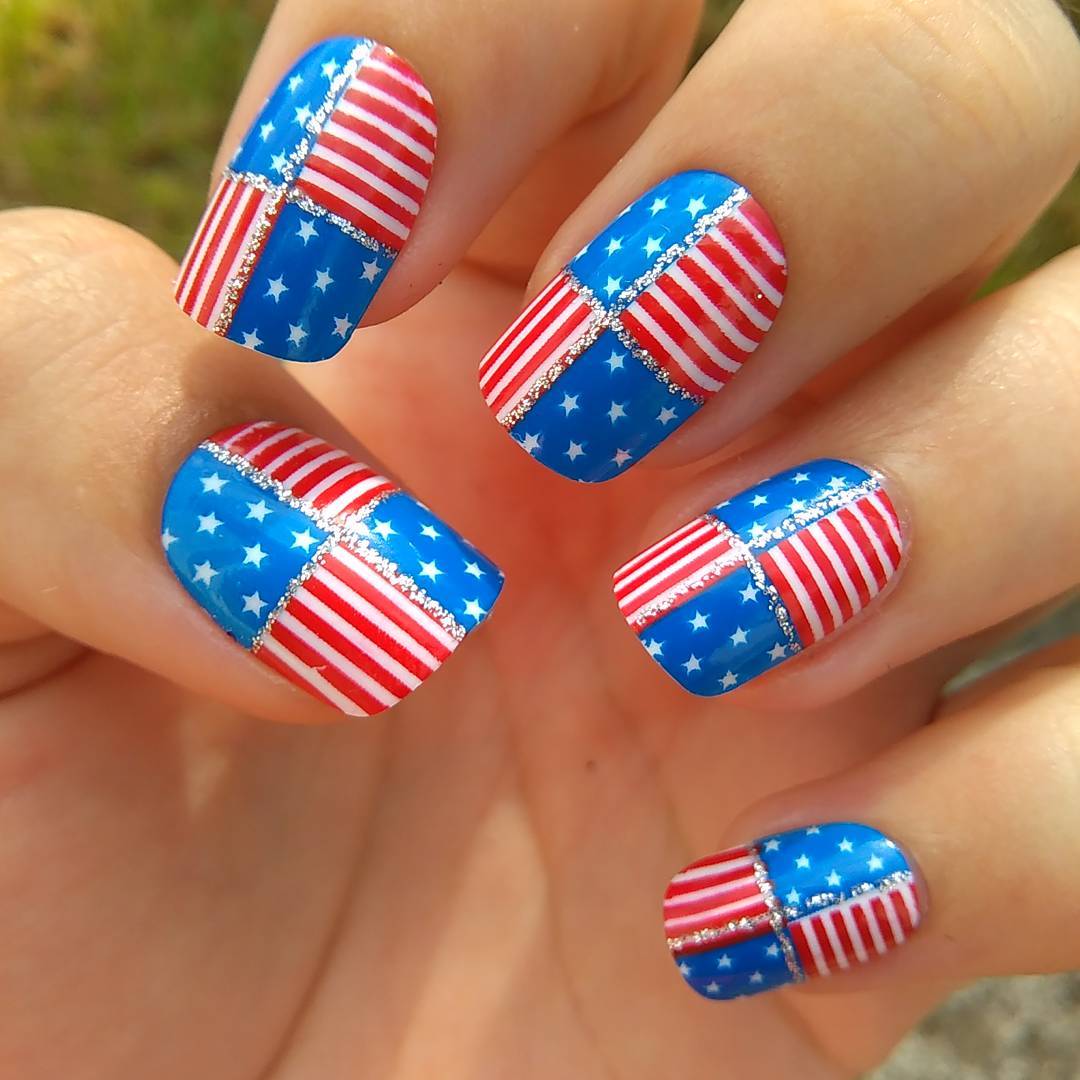
Square Nails
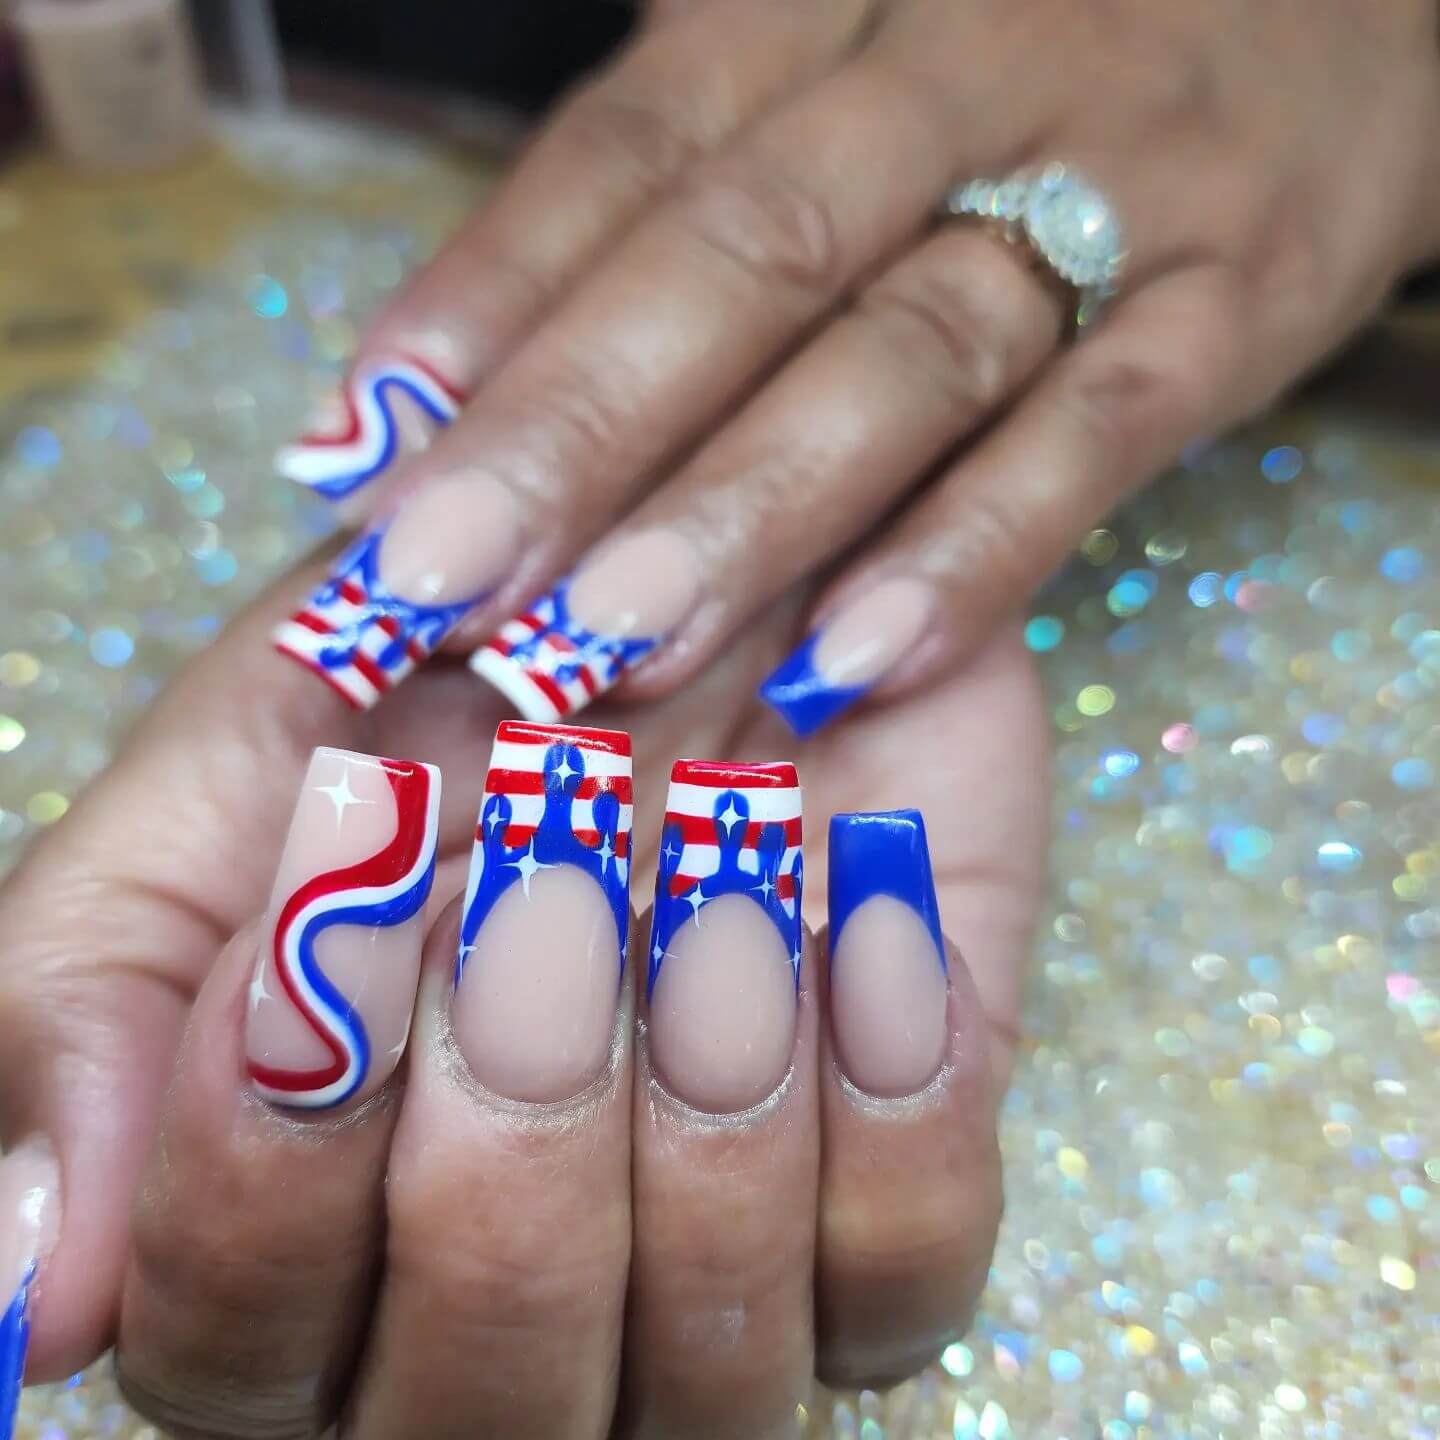
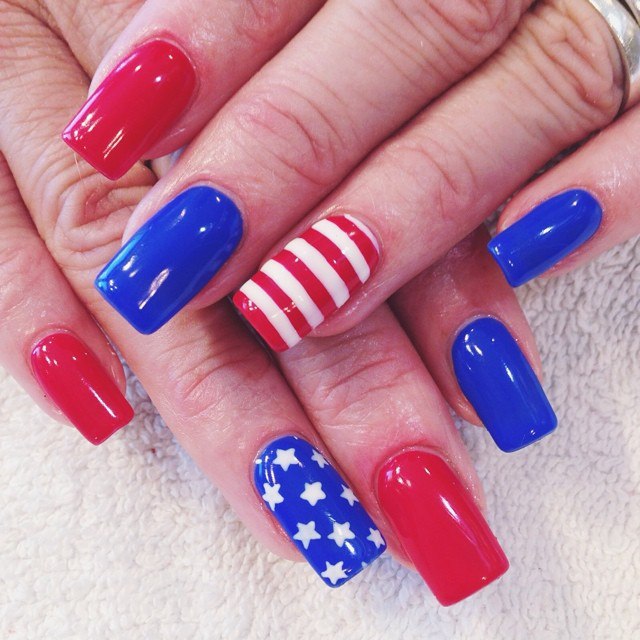
Square nails offer a modern and chic look. To achieve a patriotic design, paint your nails in alternating red and white shades, resembling the stripes on the American flag. Add a blue accent nail and decorate it with white stars or silver glitter for a patriotic focal point.
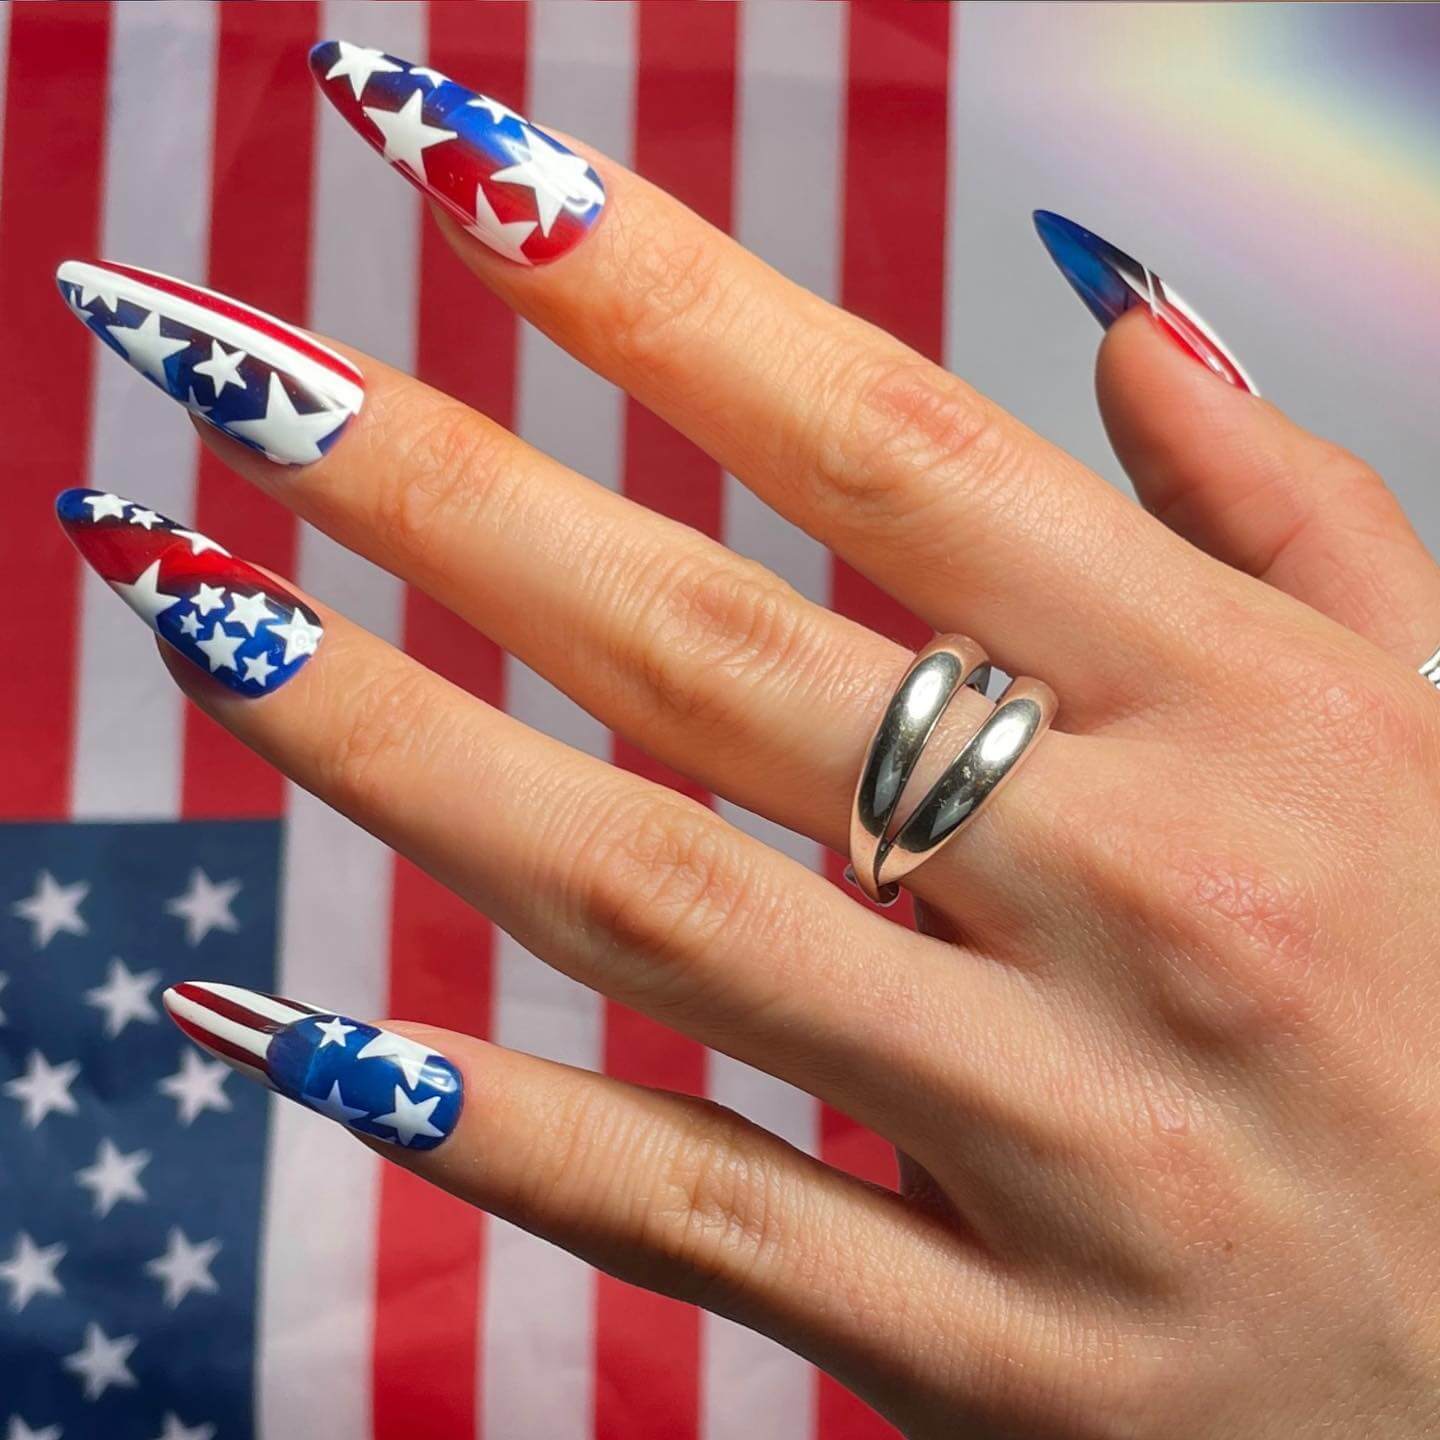
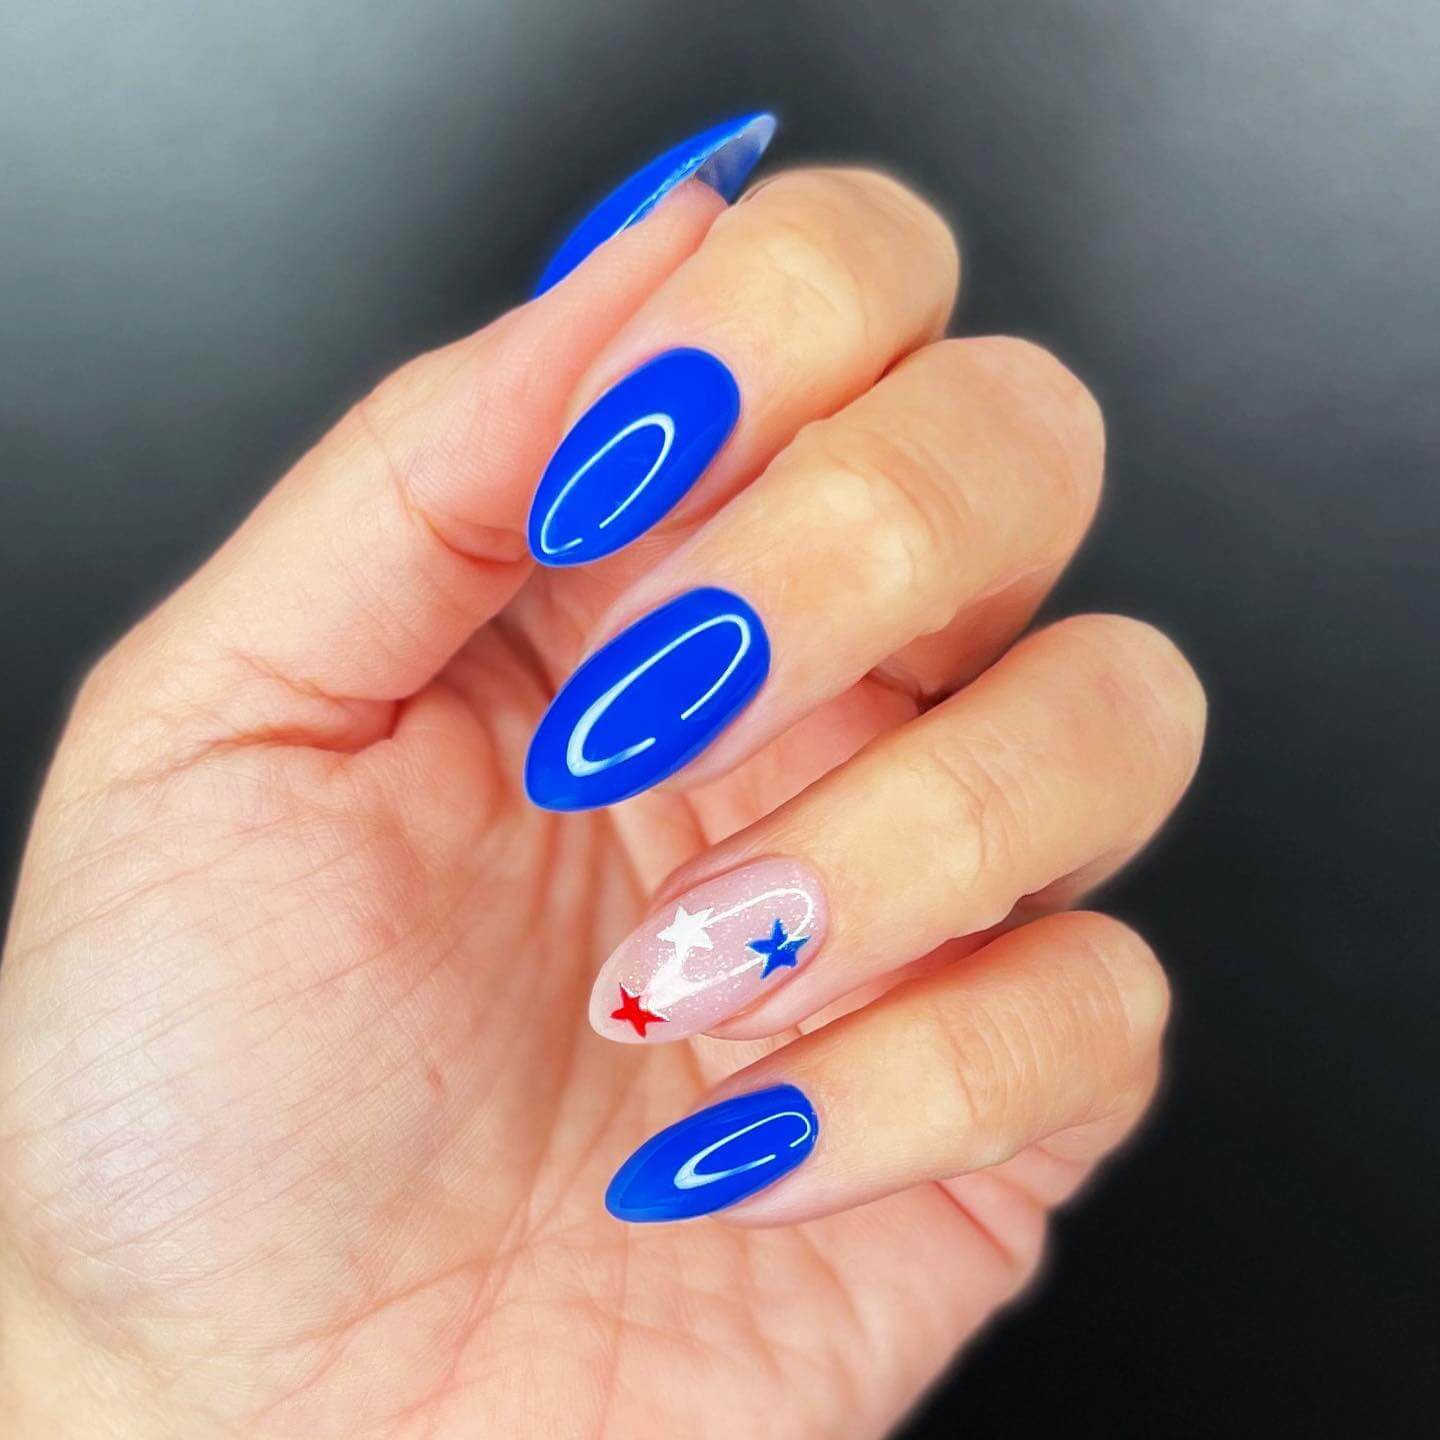
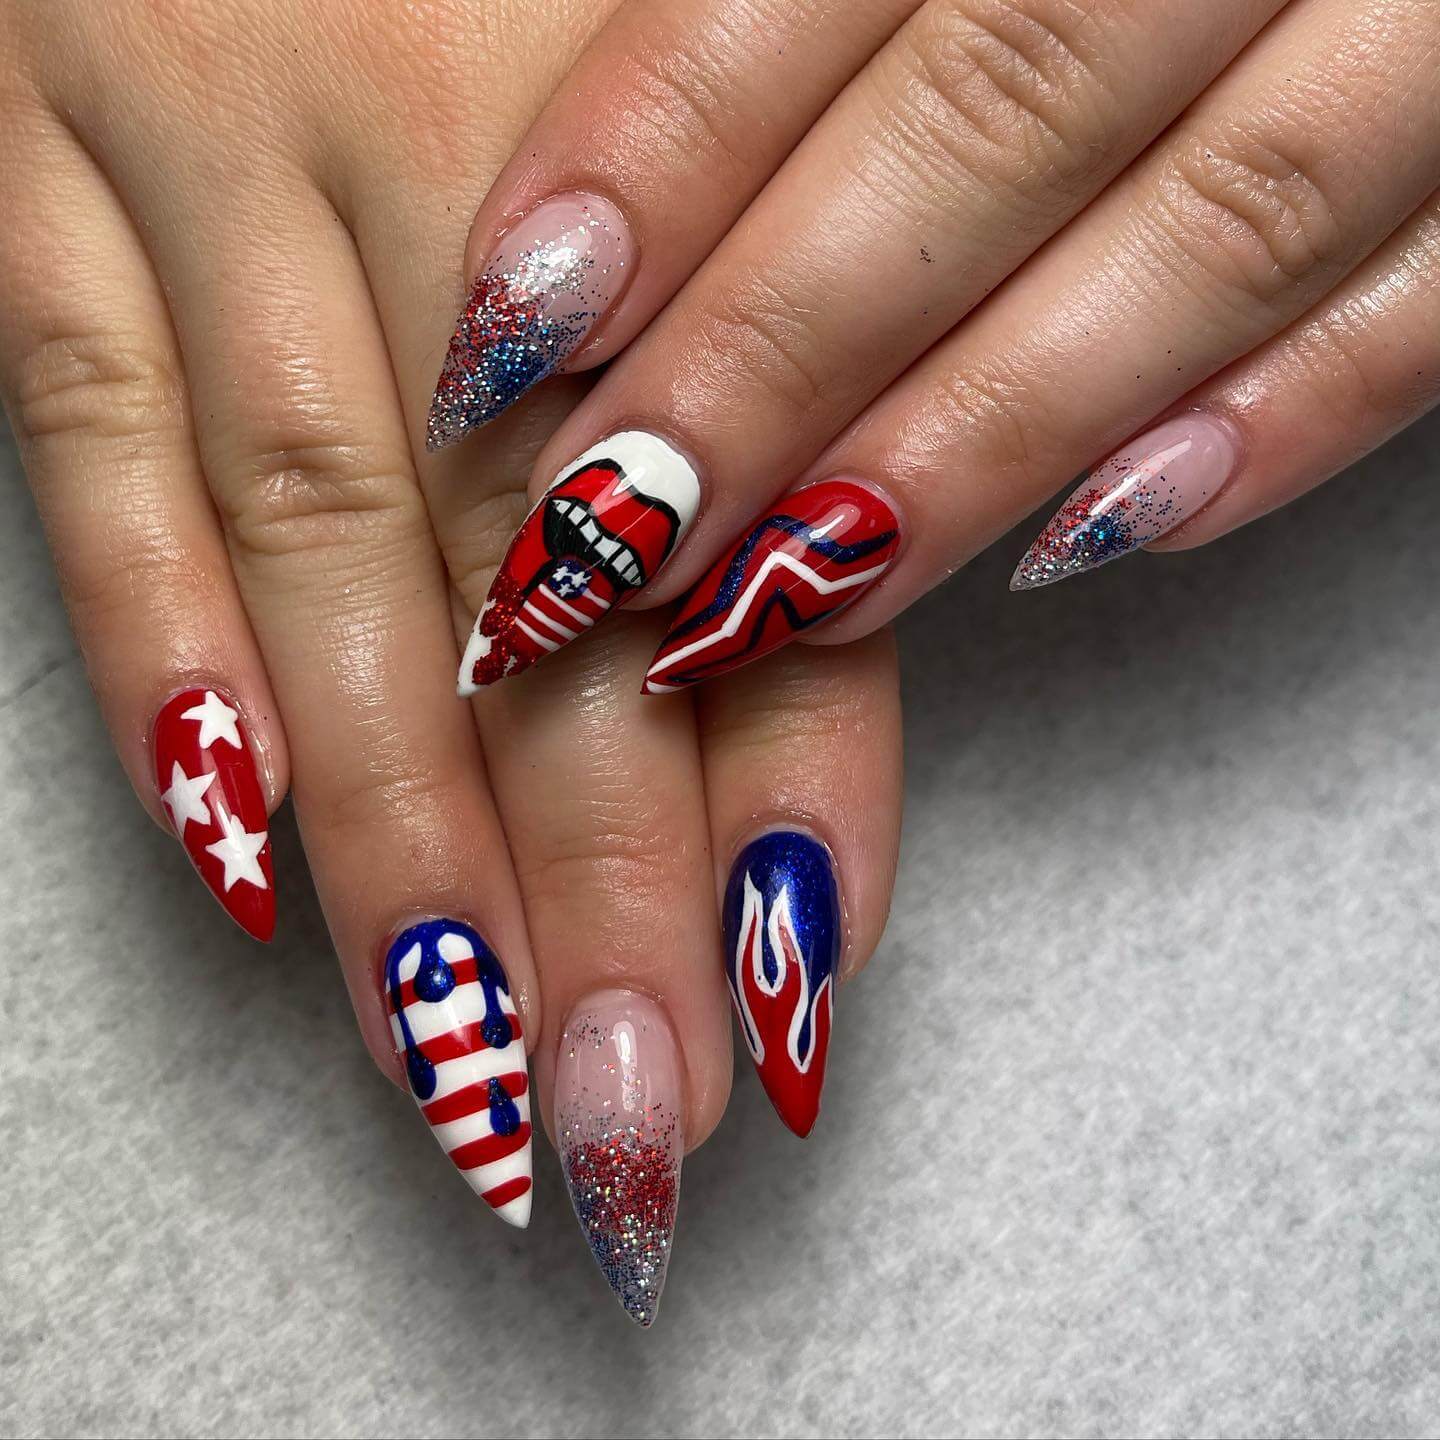
Stiletto Nails
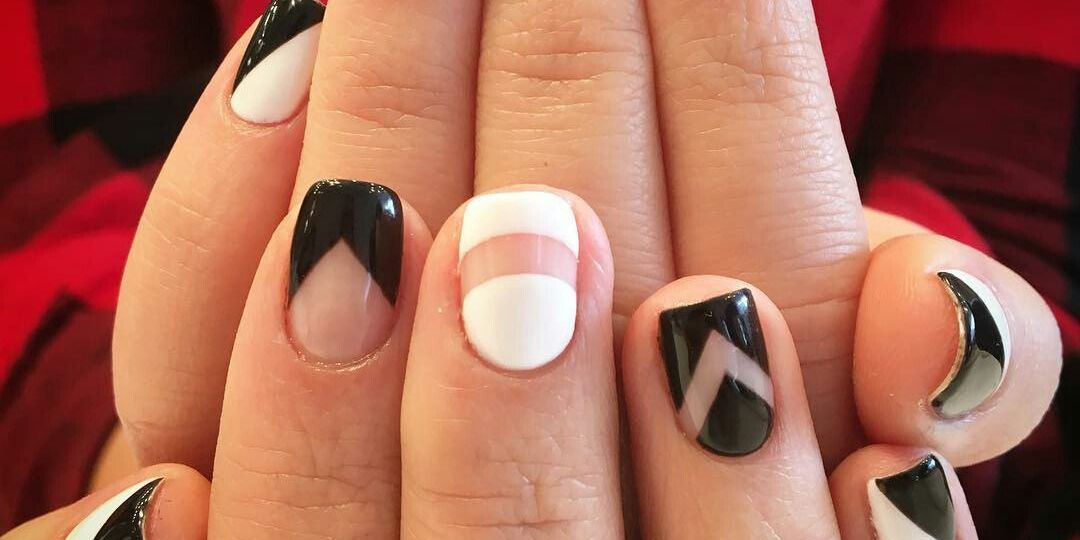
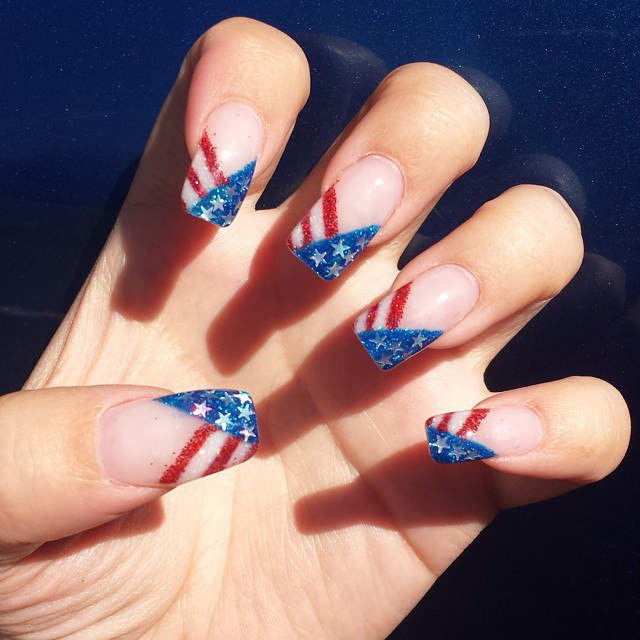
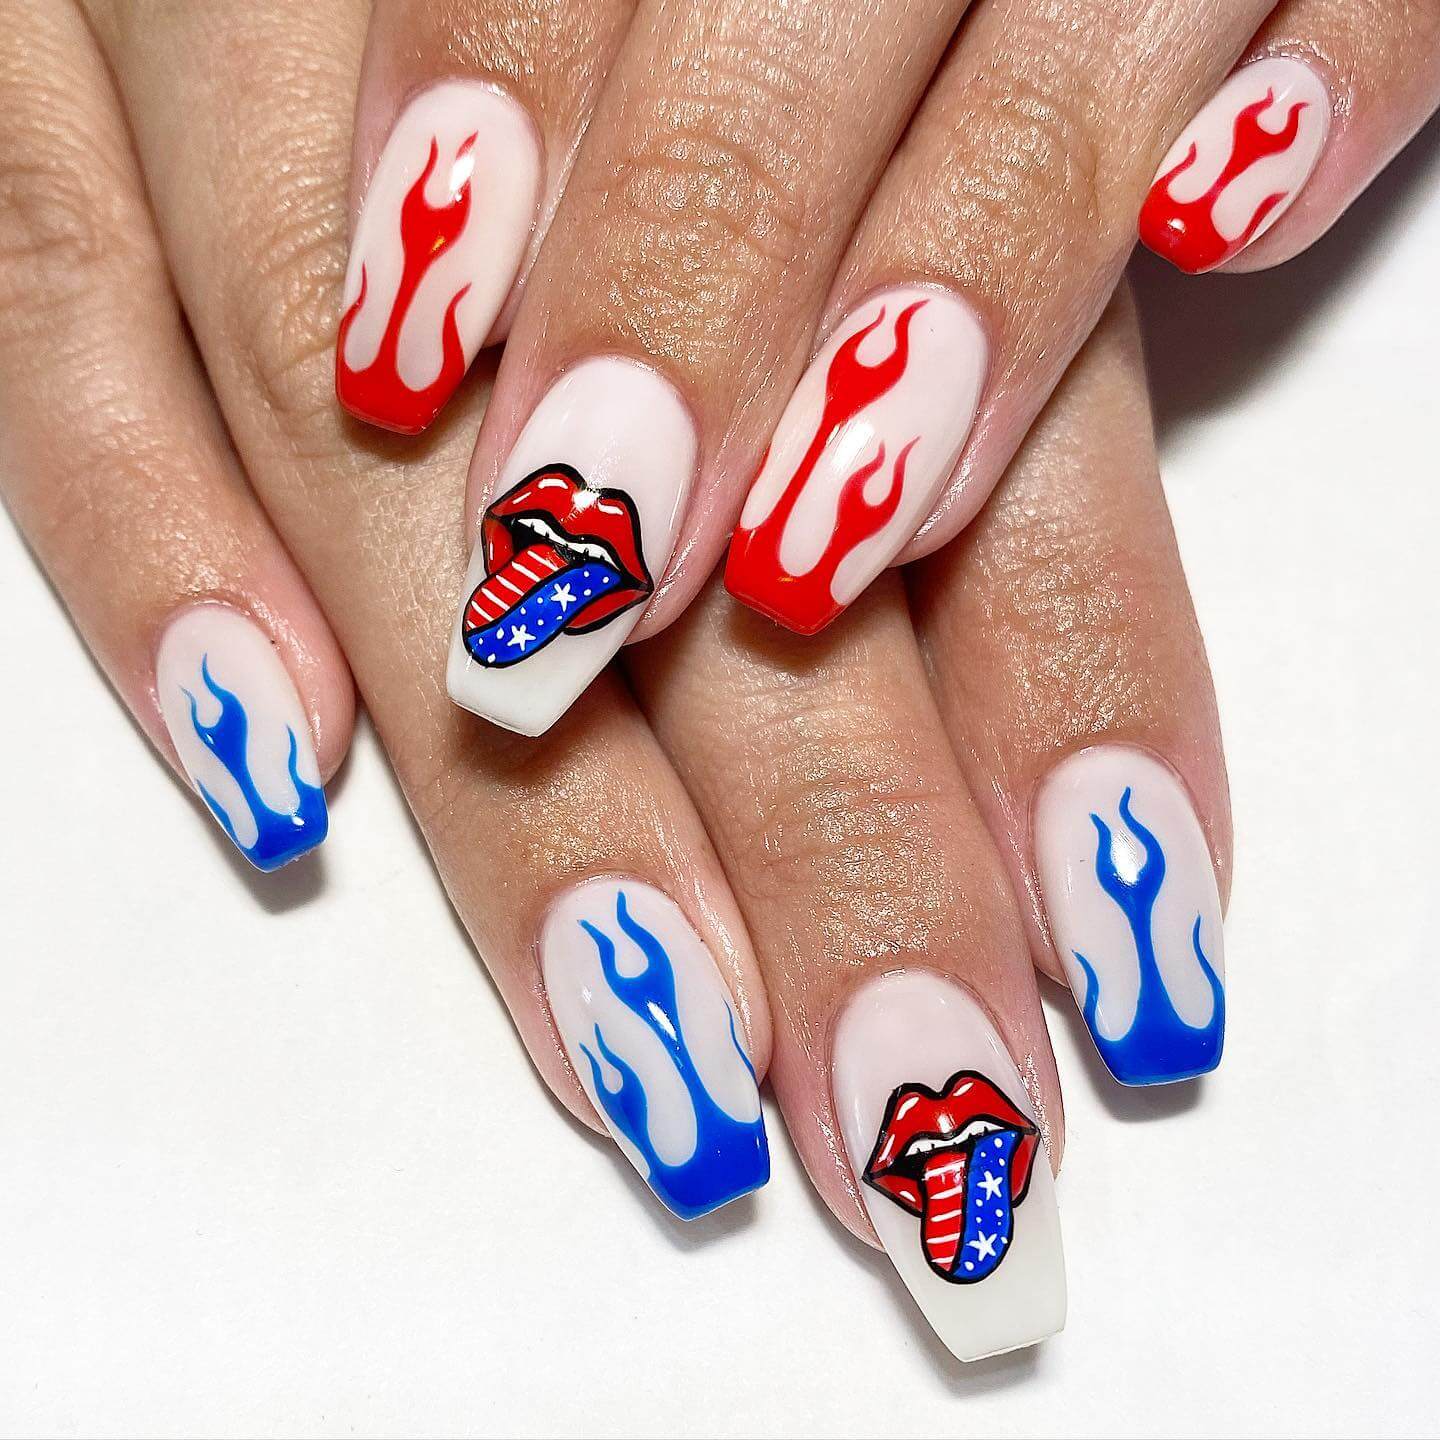
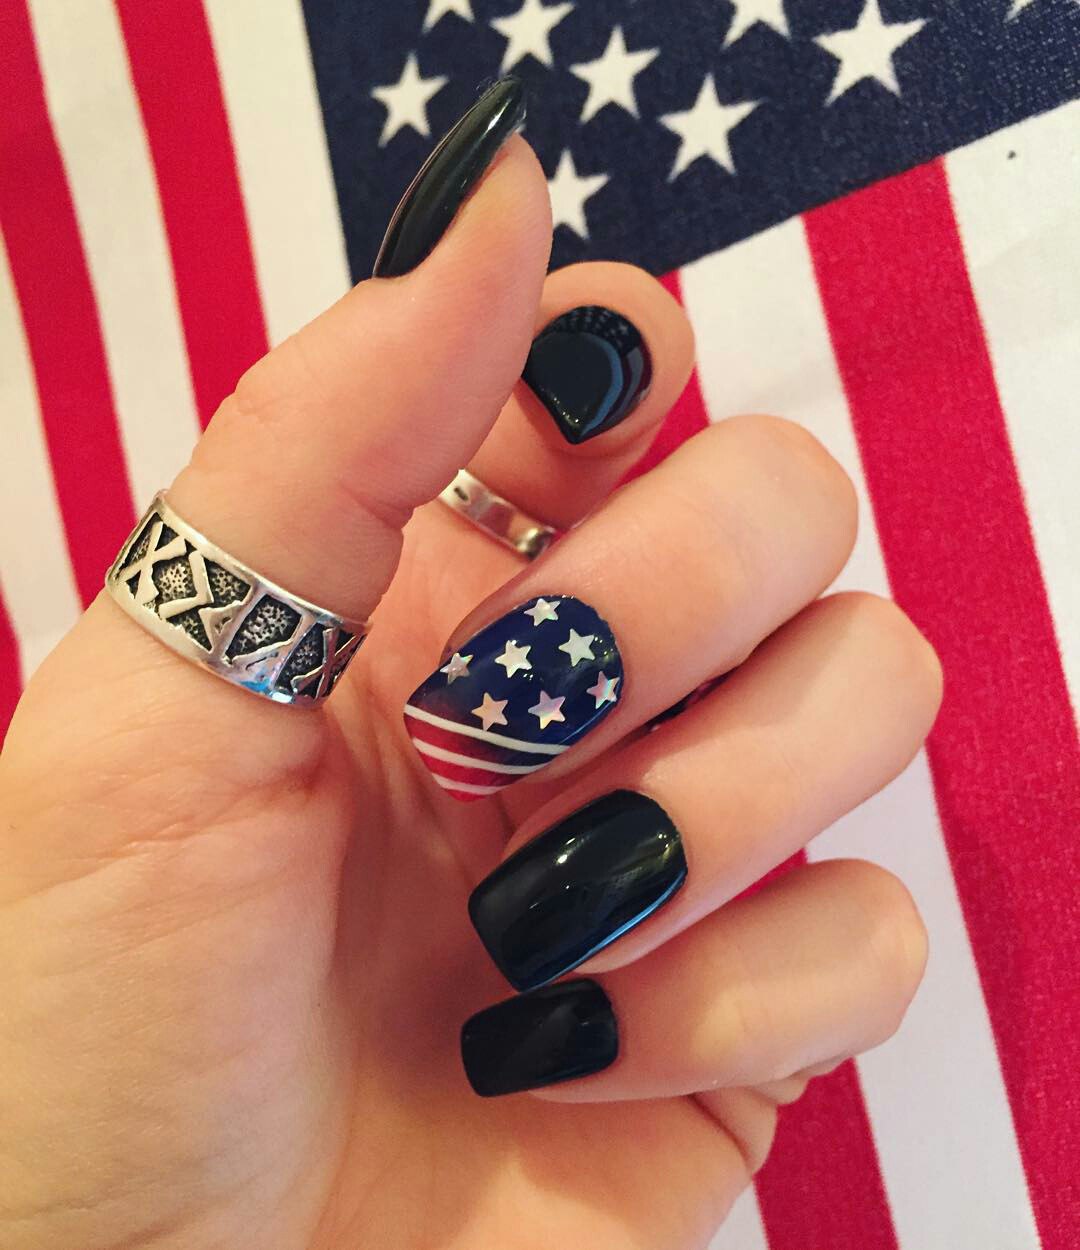
Stiletto nails are bold and edgy, perfect for making a statement. Paint your nails in a glossy blue shade and add a red and white diagonal stripe design for a unique take on the American flag. To add sparkle, incorporate silver glitter or rhinestones for added glamour.

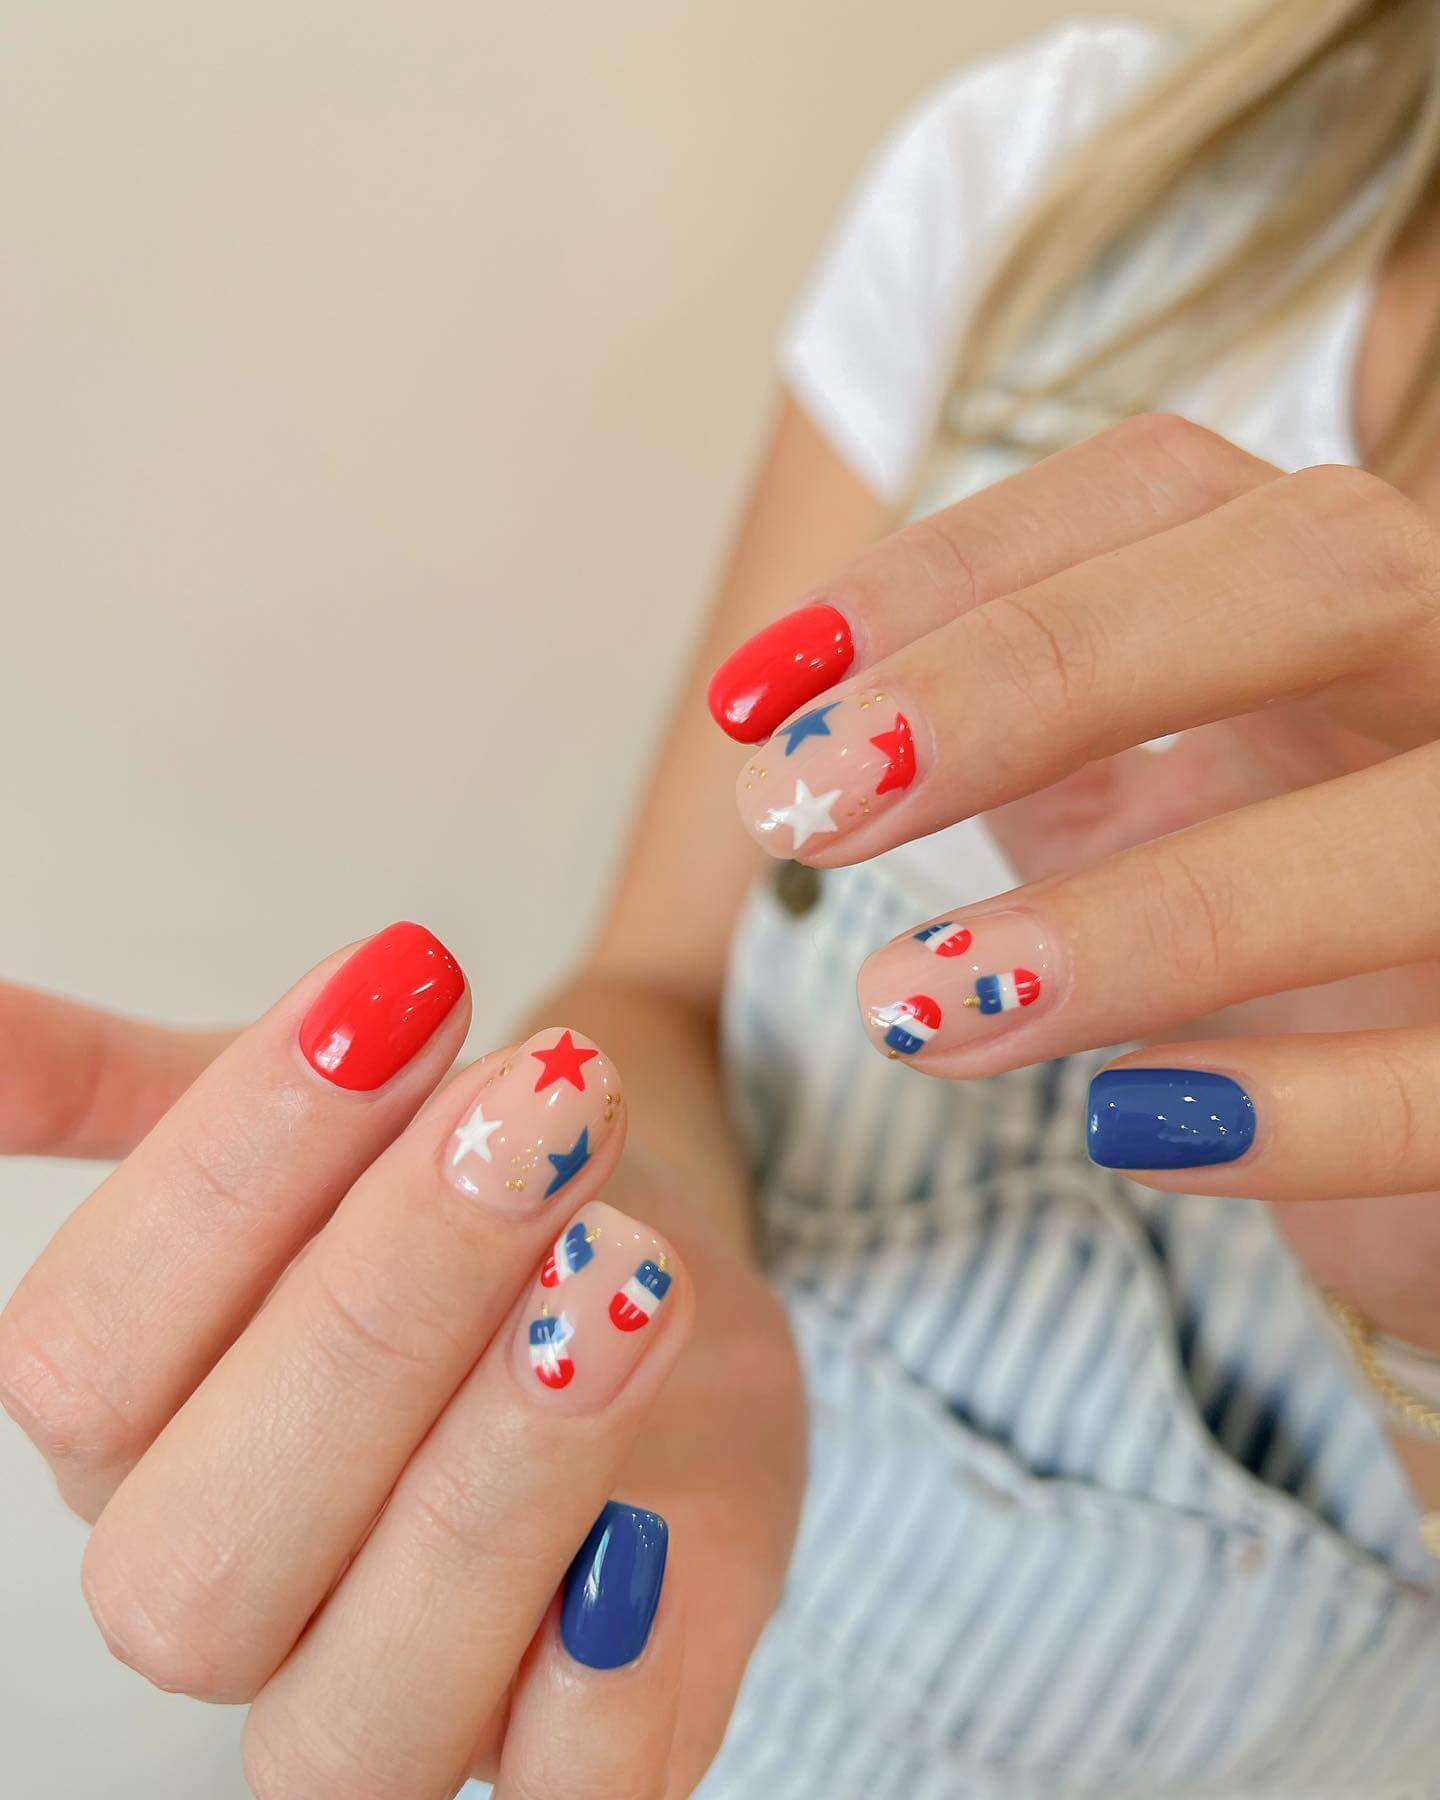
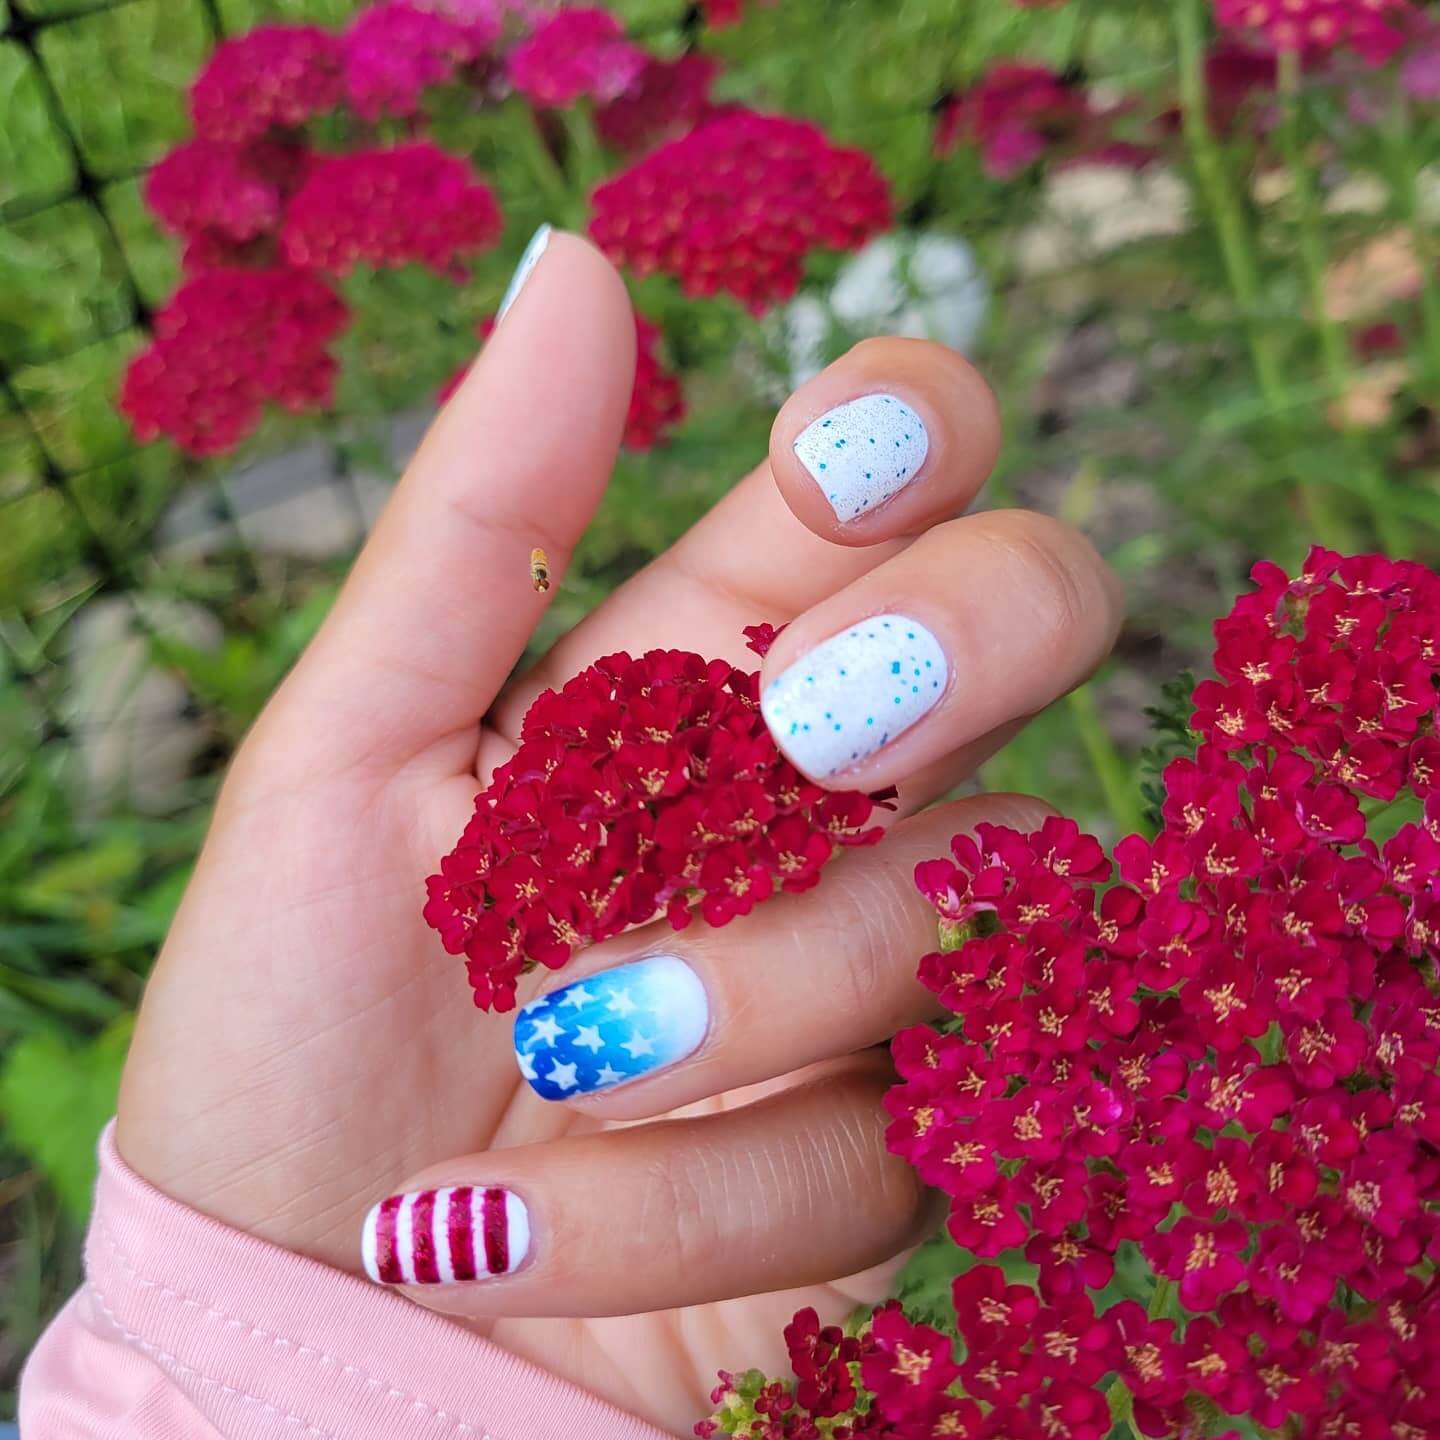
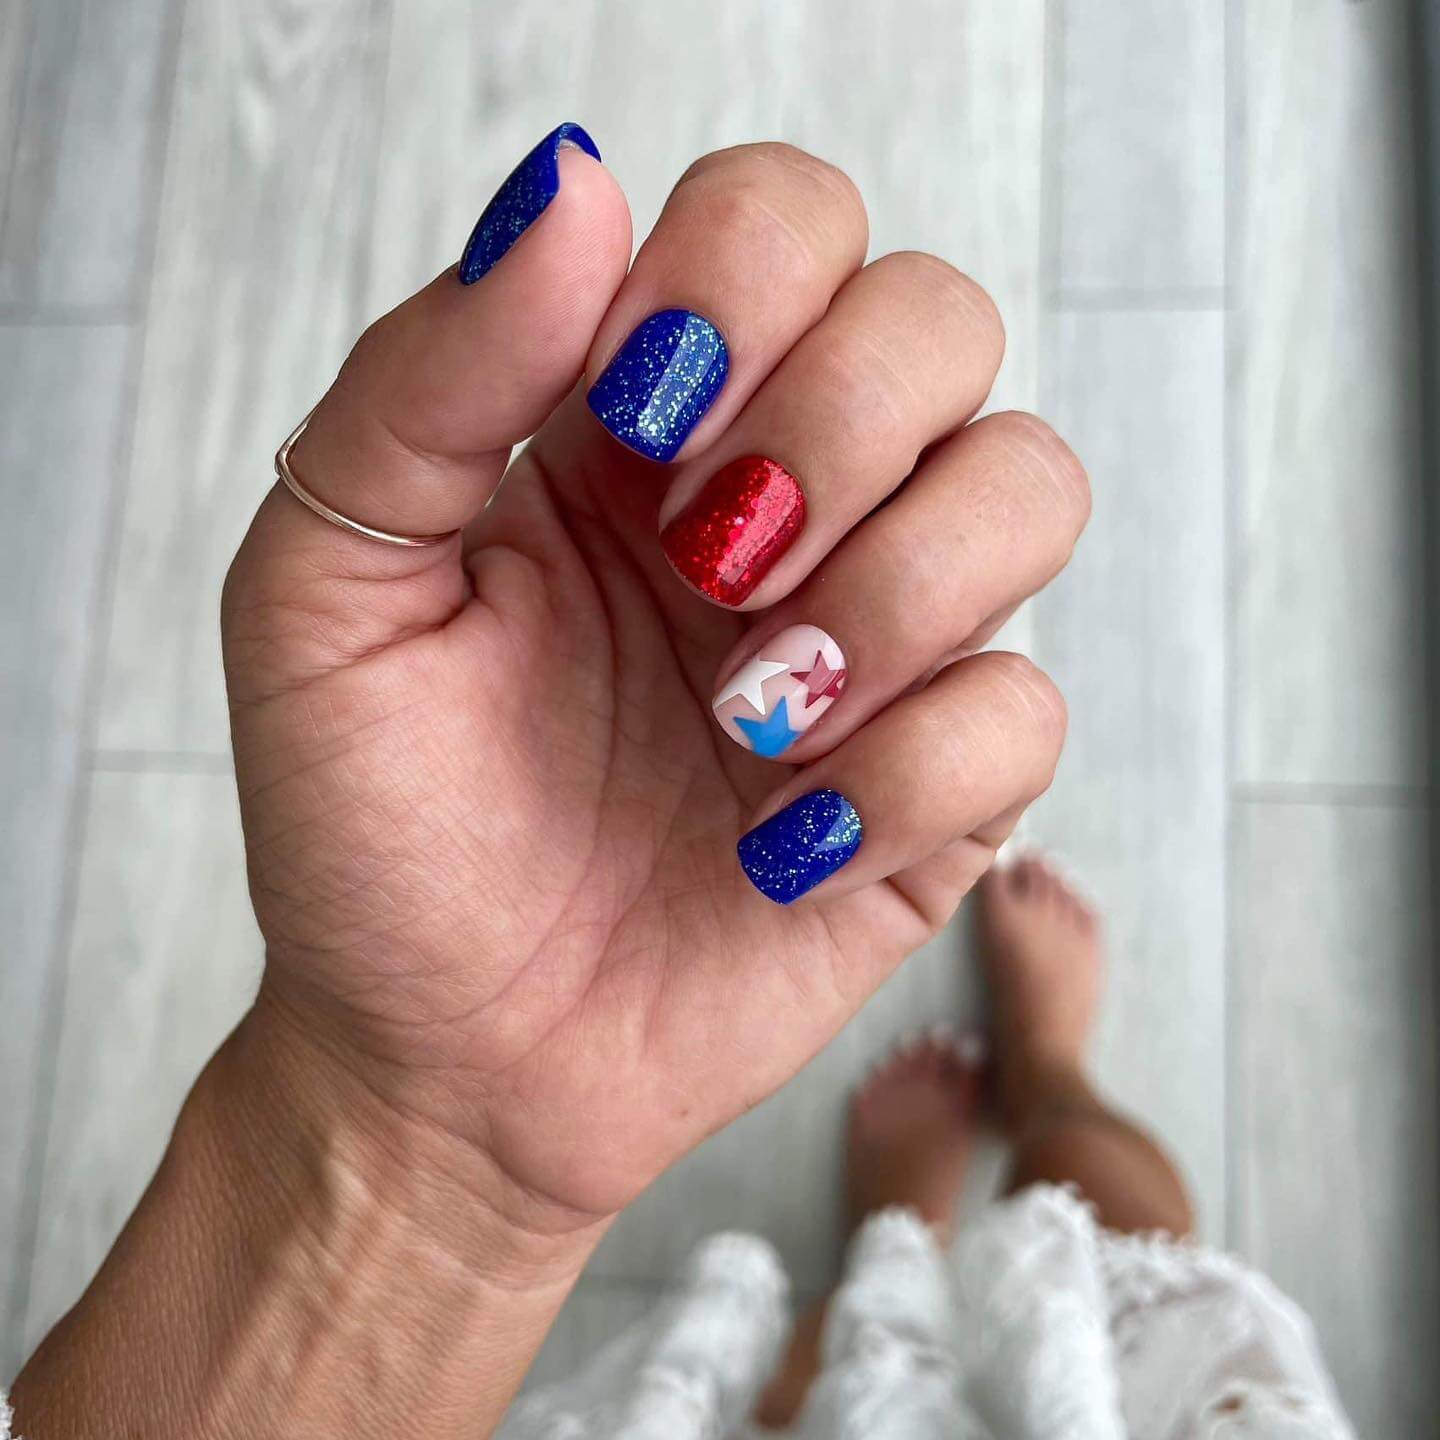
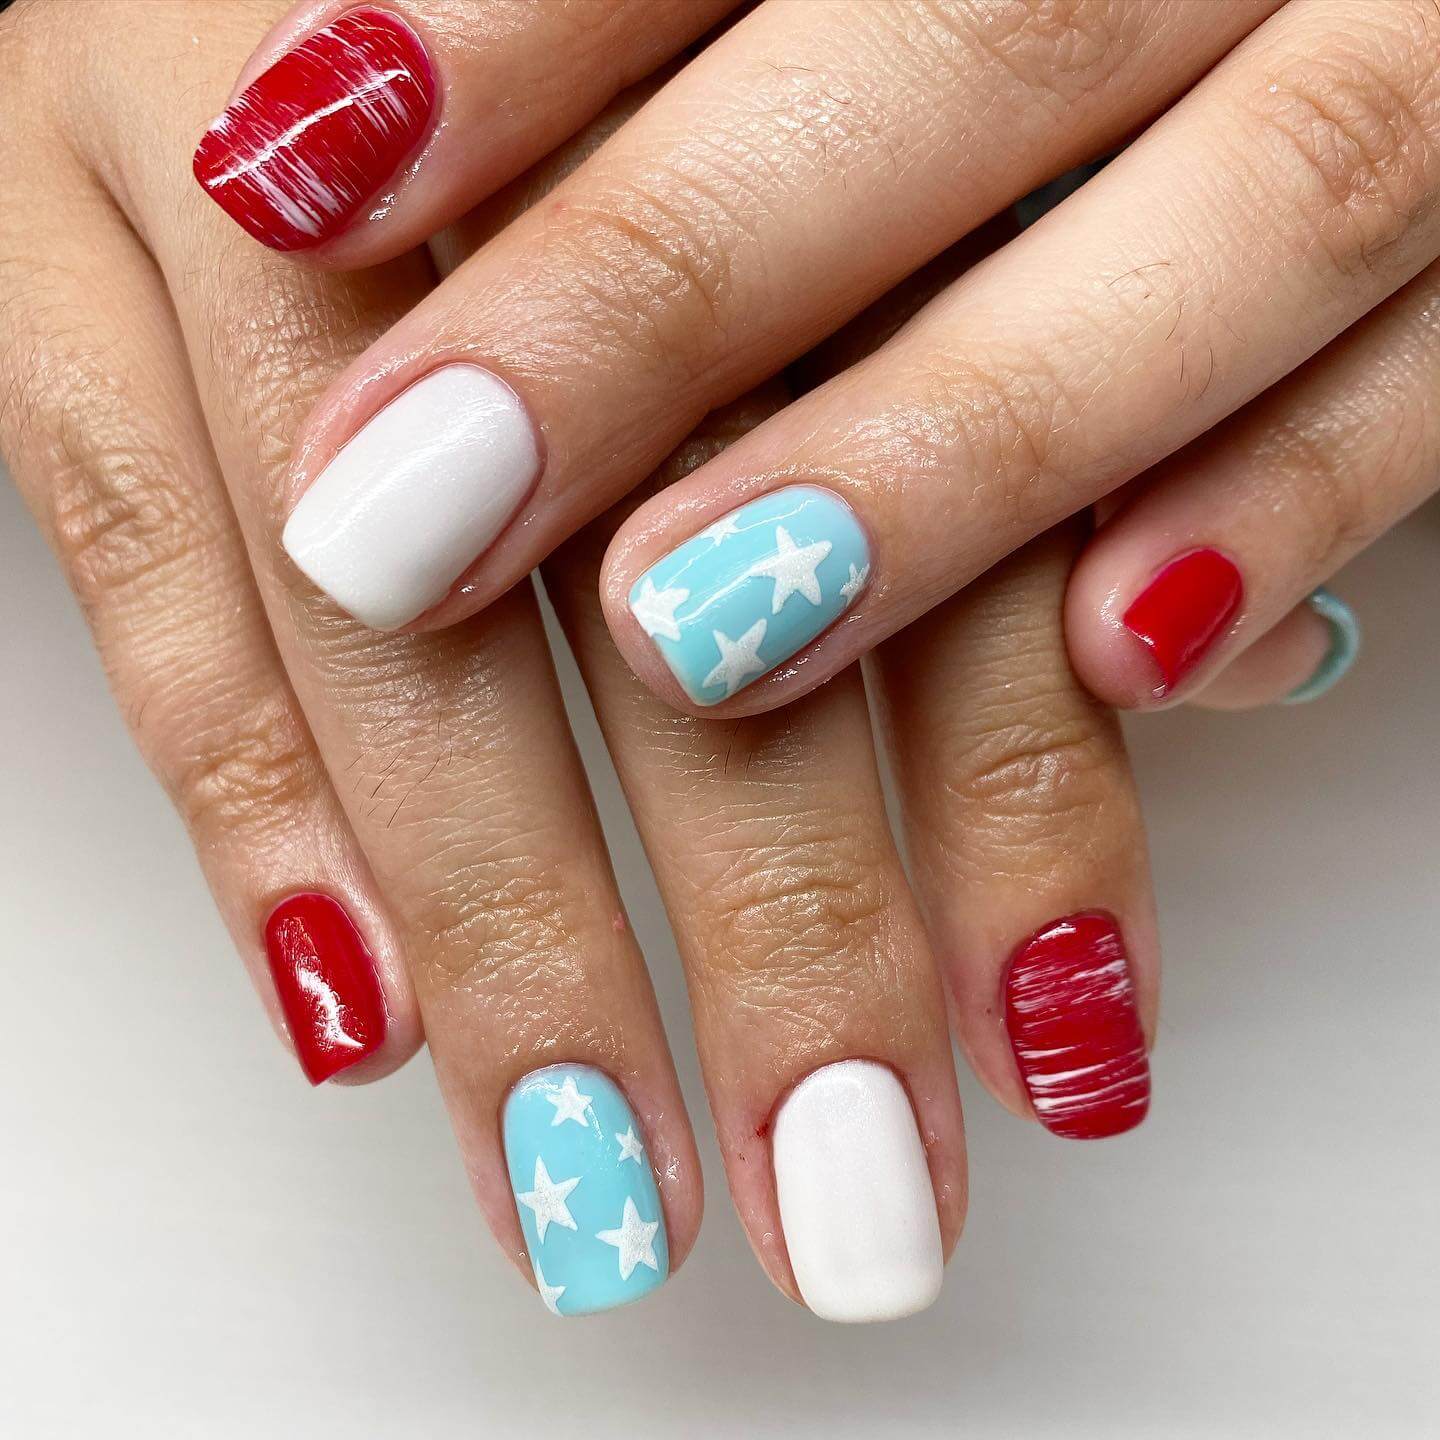
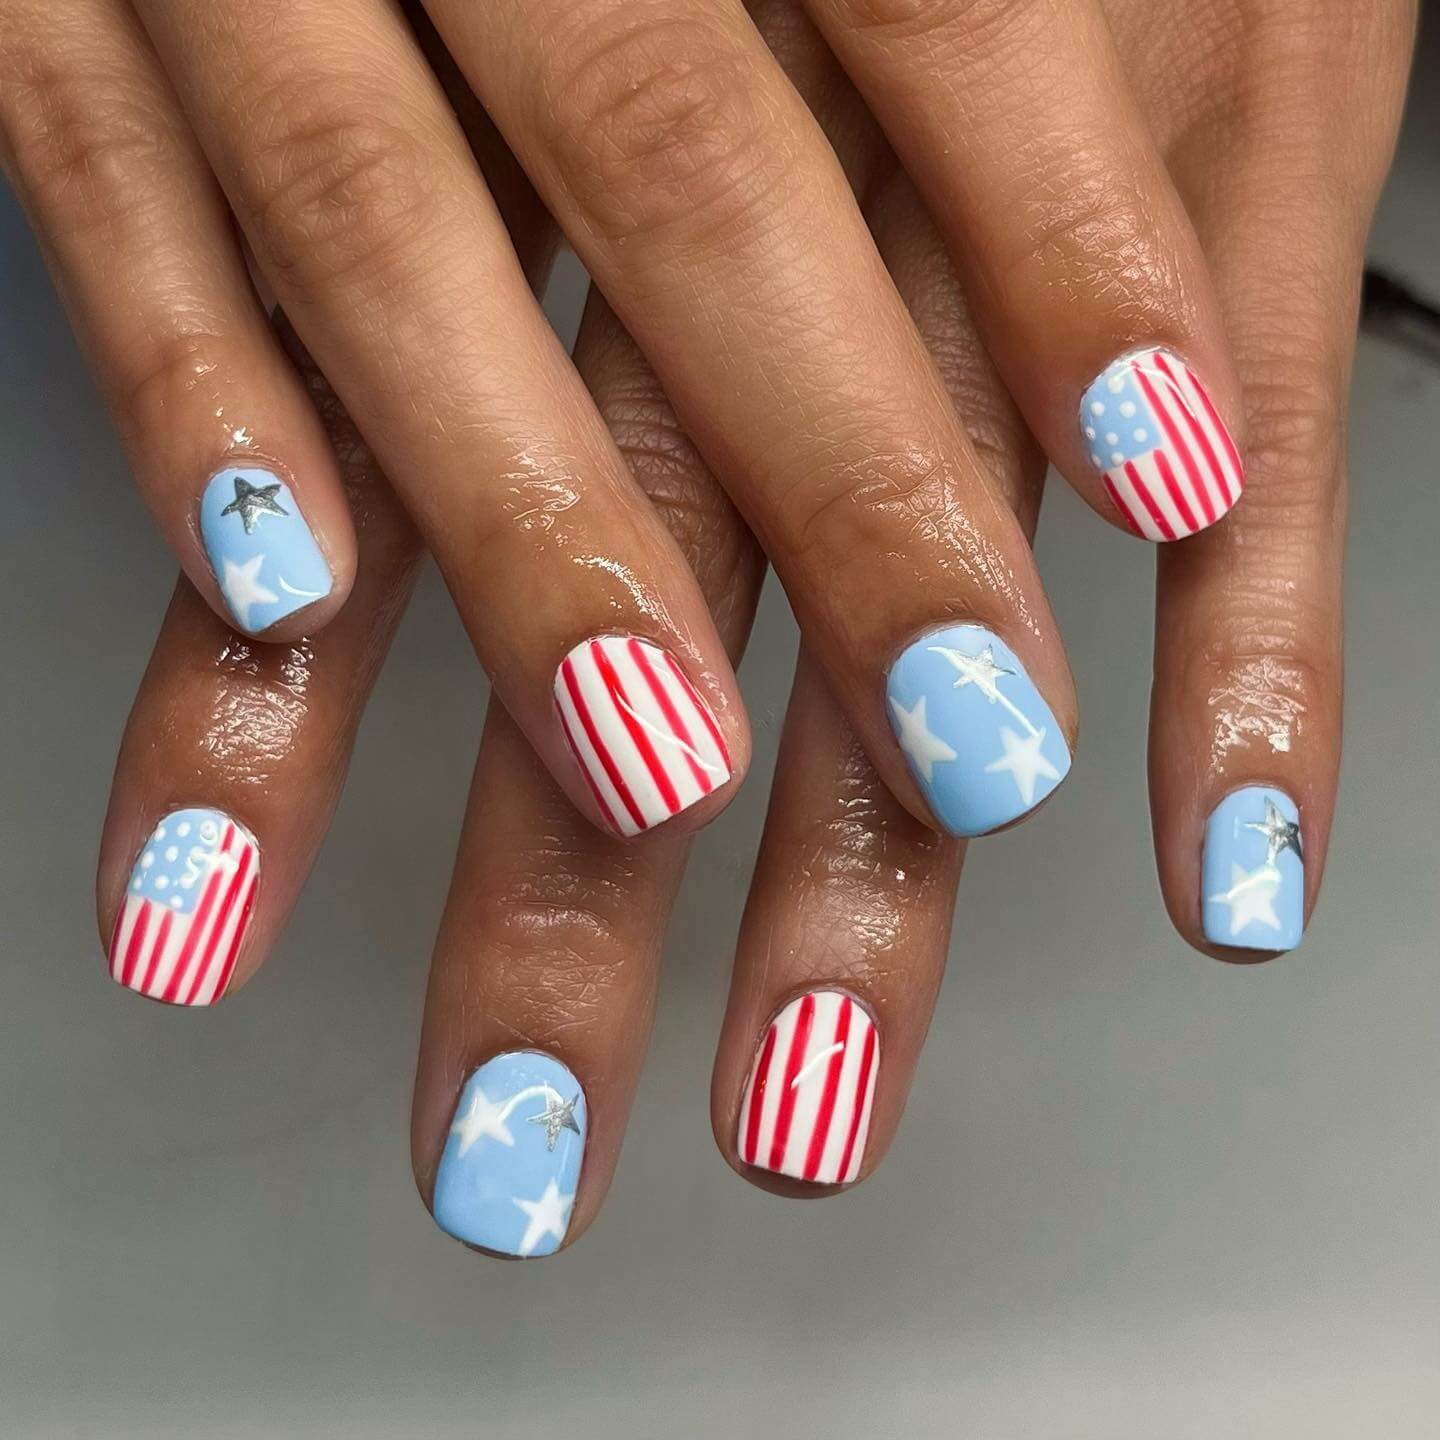
Short Nails
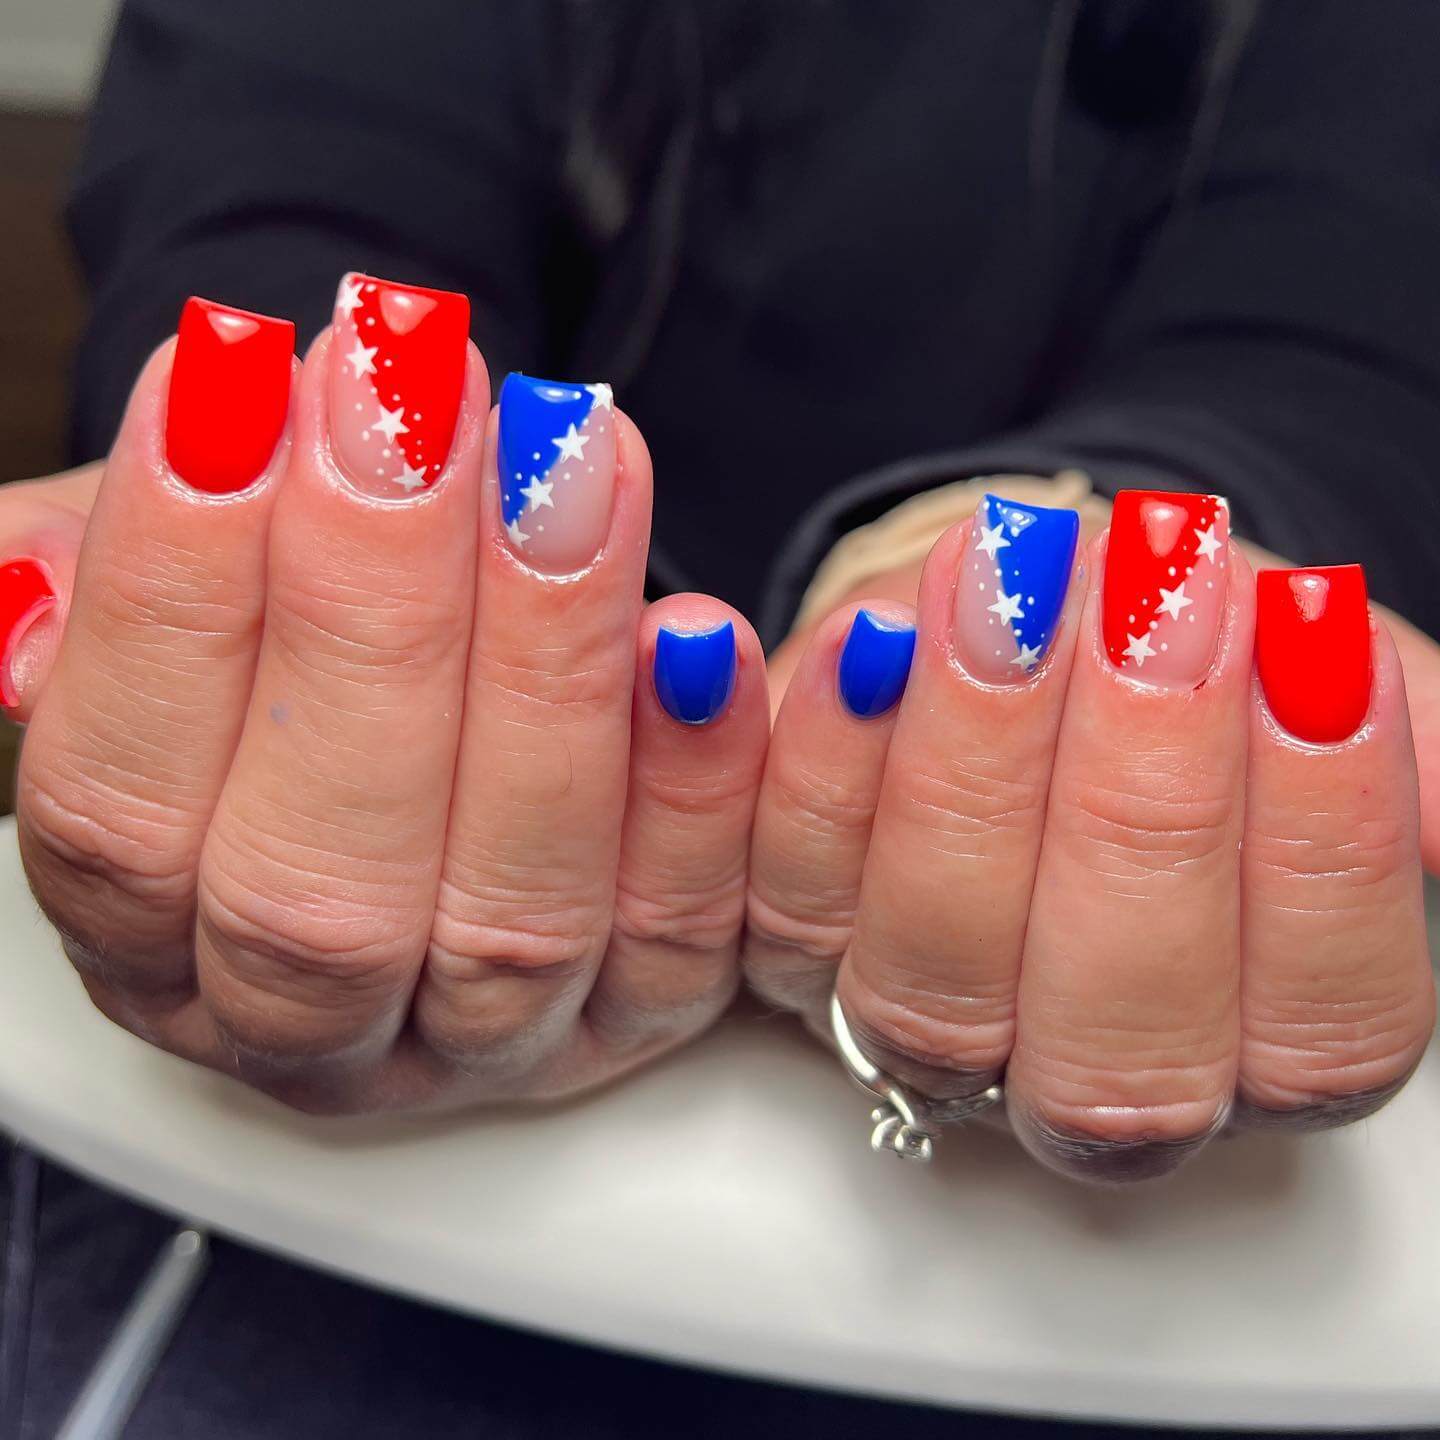
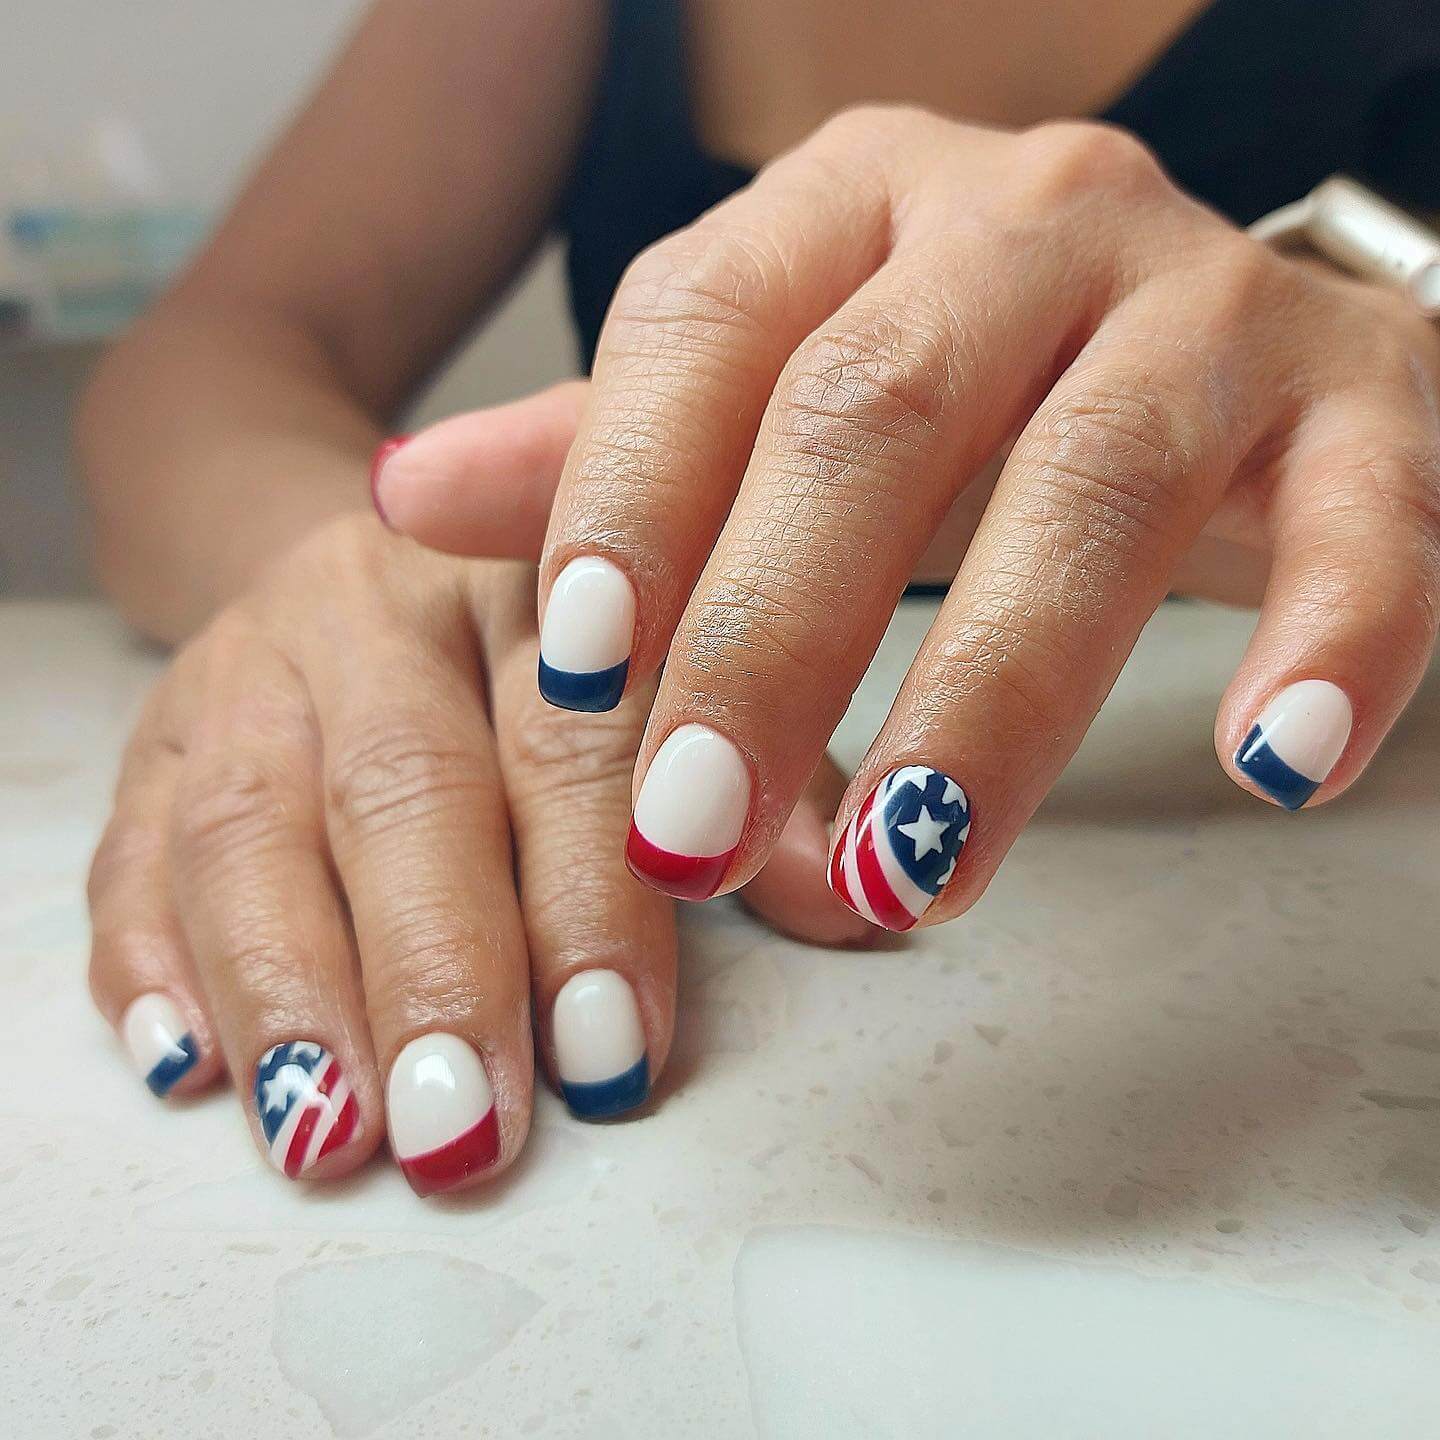
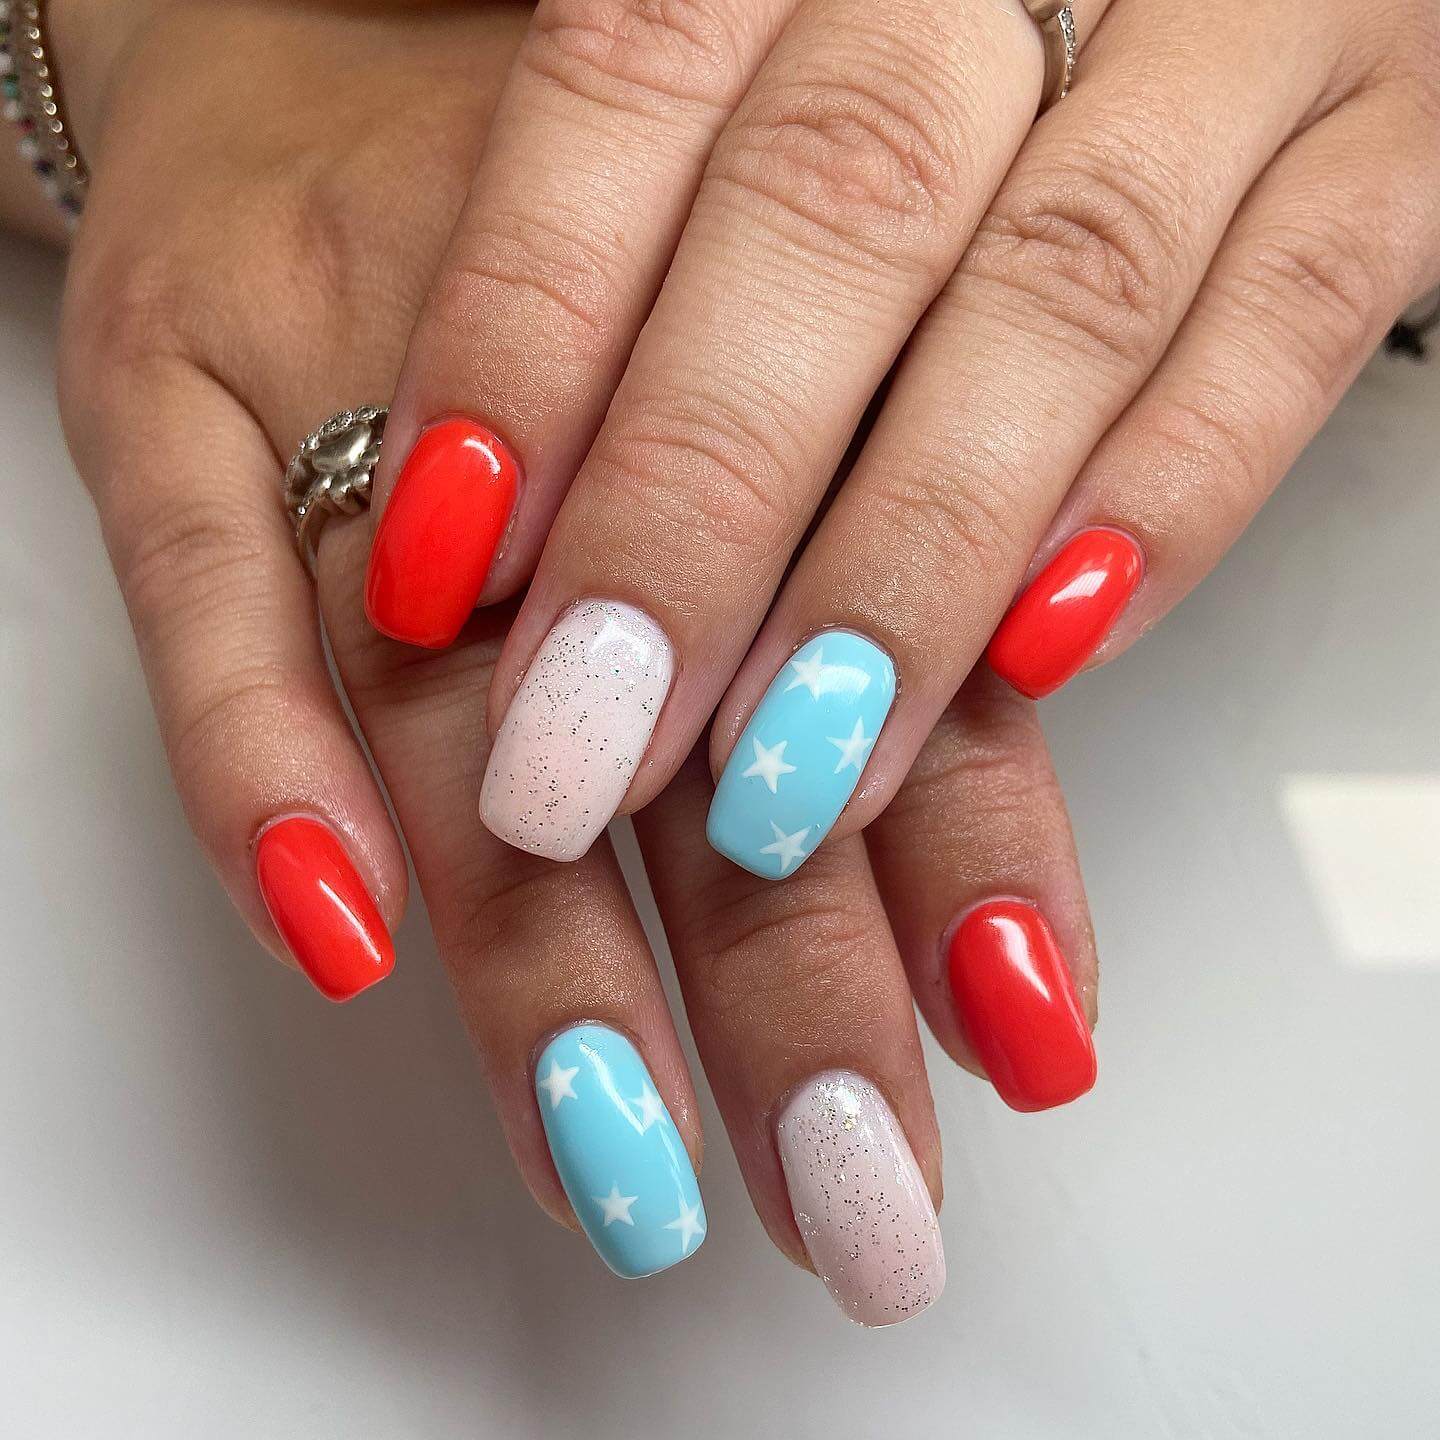
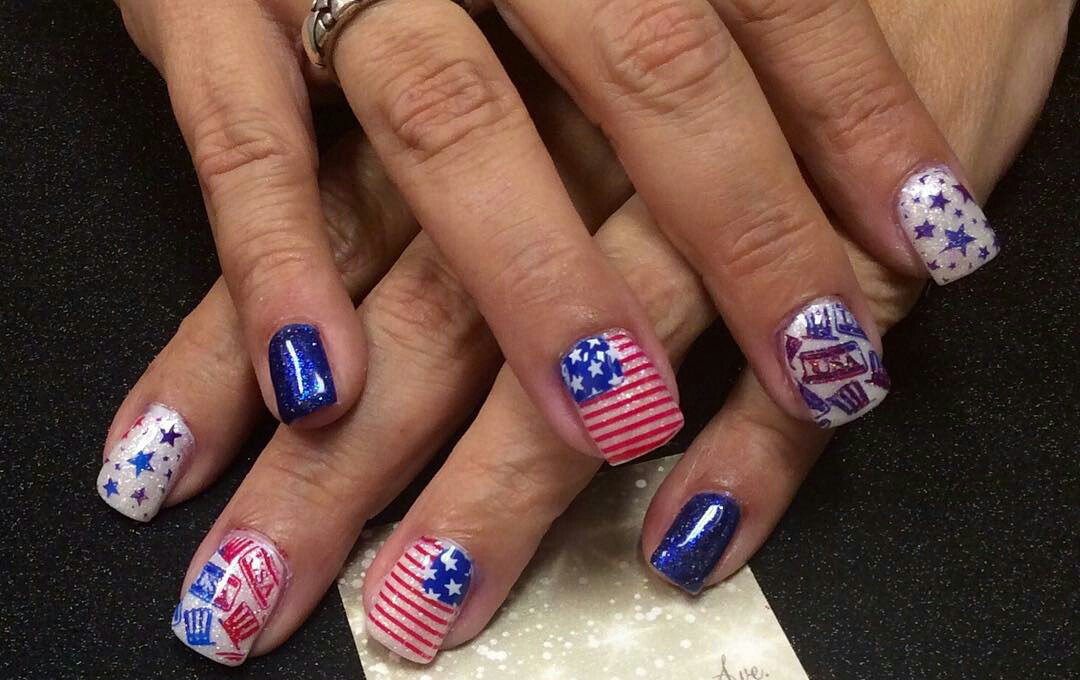
Short nails can still be stunningly patriotic. Consider painting your nails in a classic red shade and accentuating one with a white base and blue stars. Another option is to create a simple yet impactful design by painting your nails in alternating red and white shades, adding a thin blue line at the cuticle for a flag-inspired look.

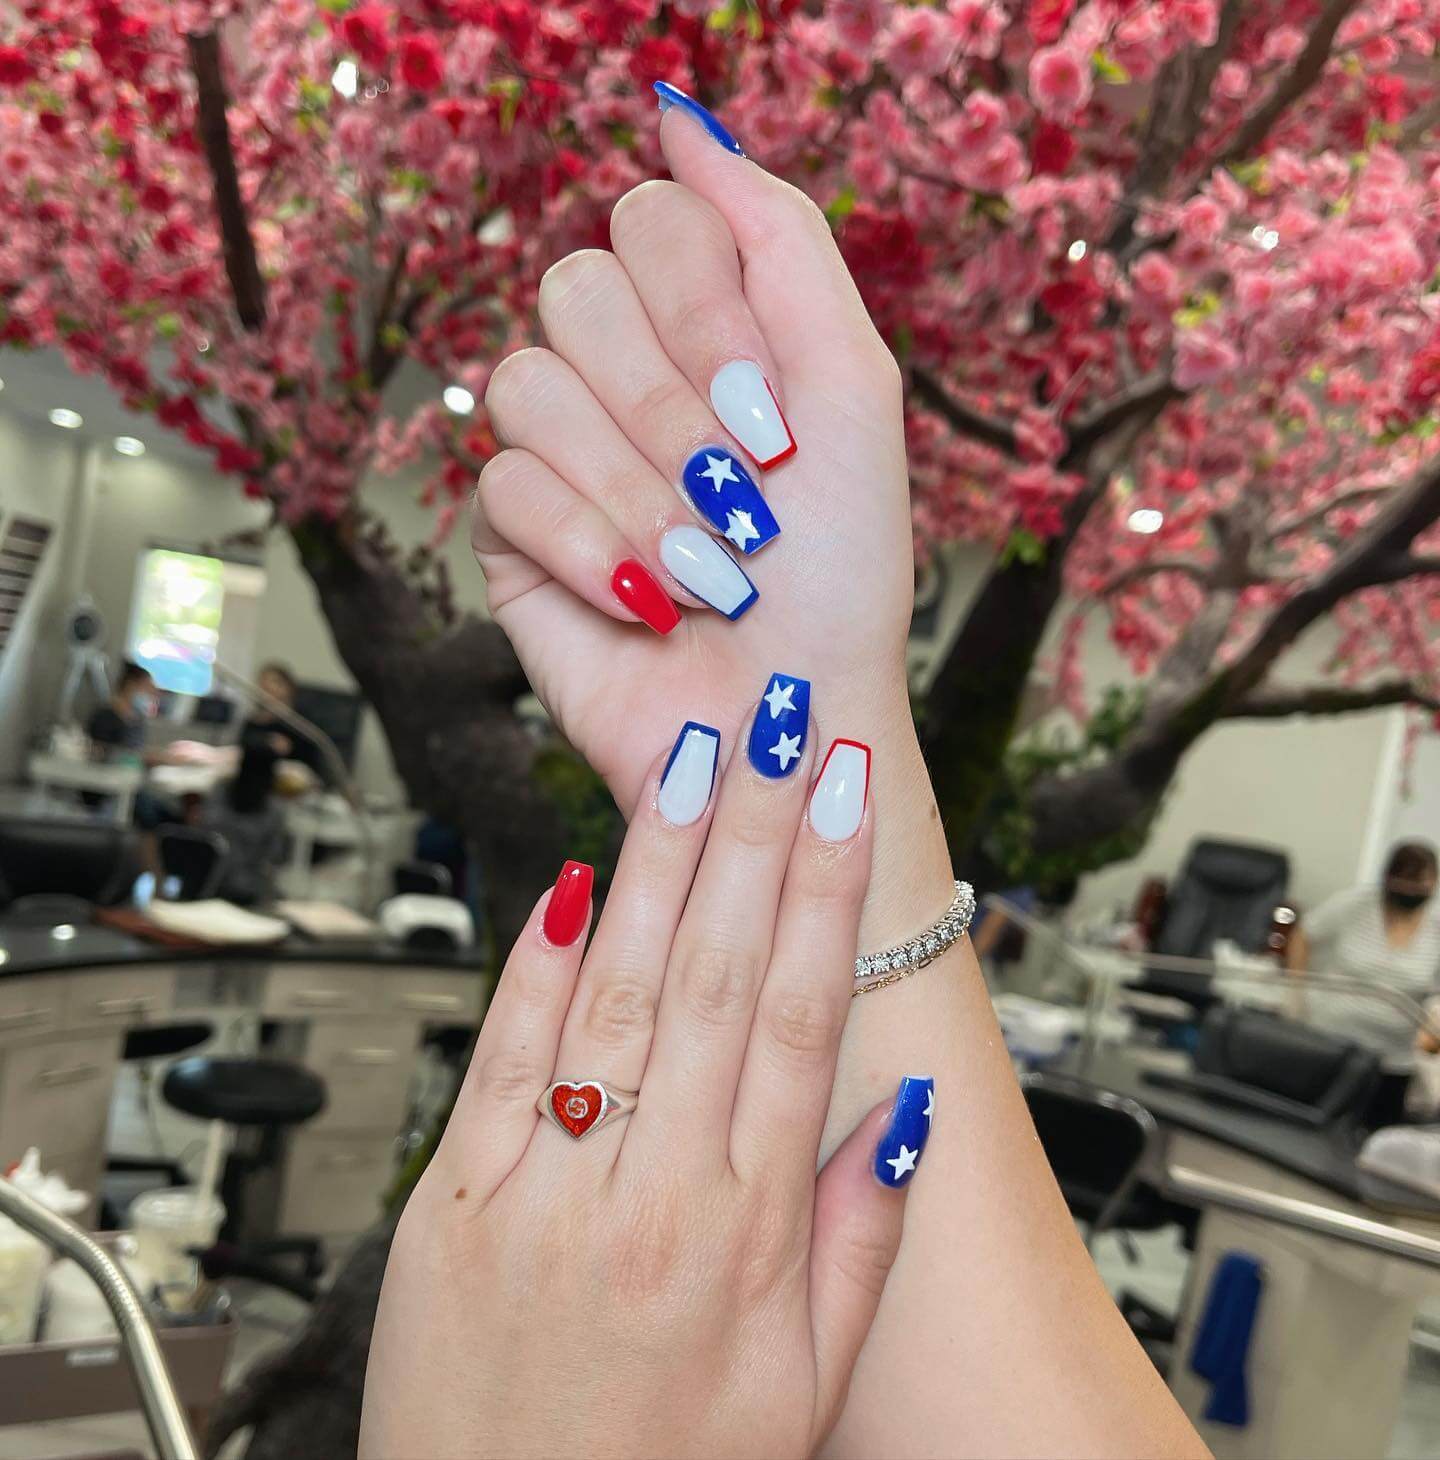
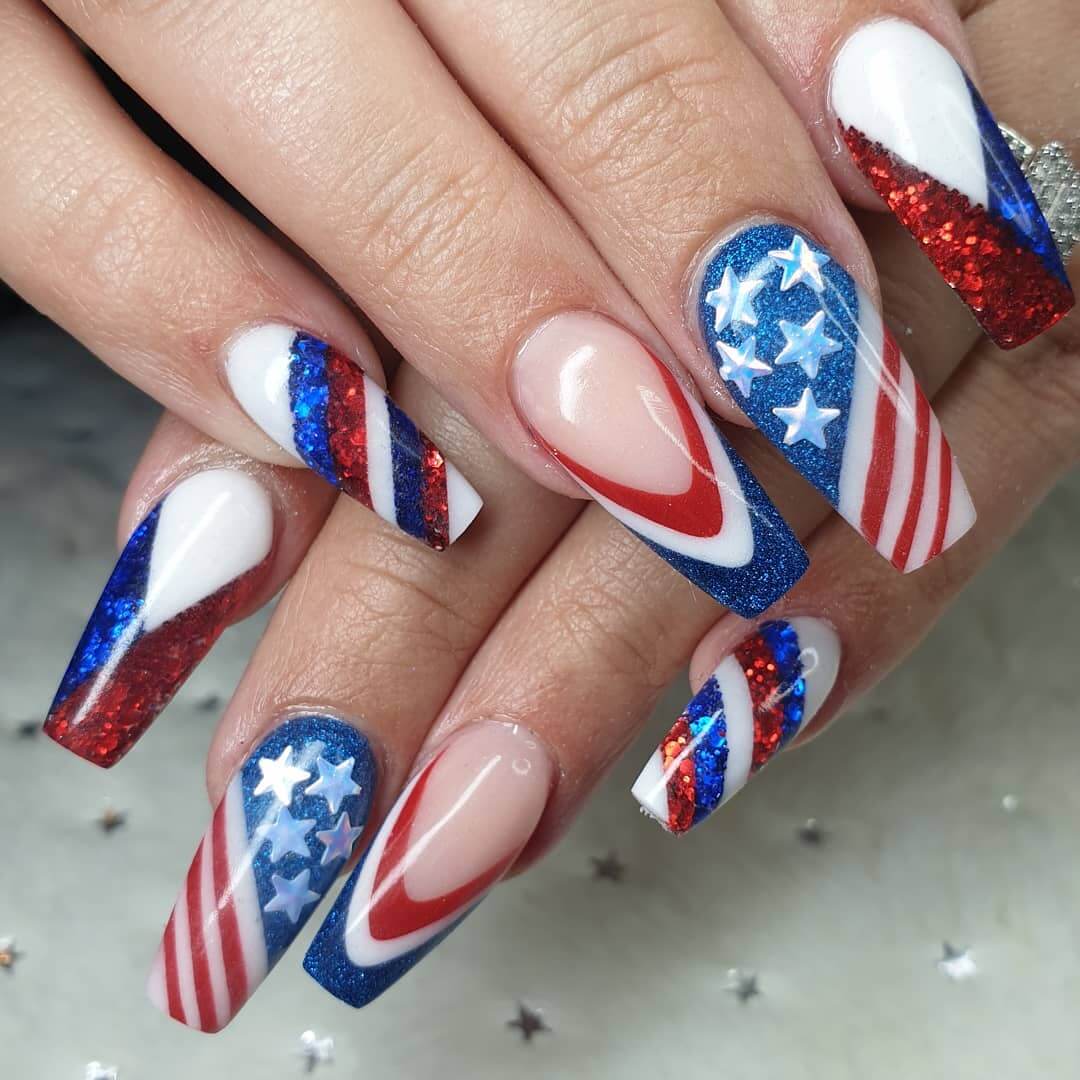
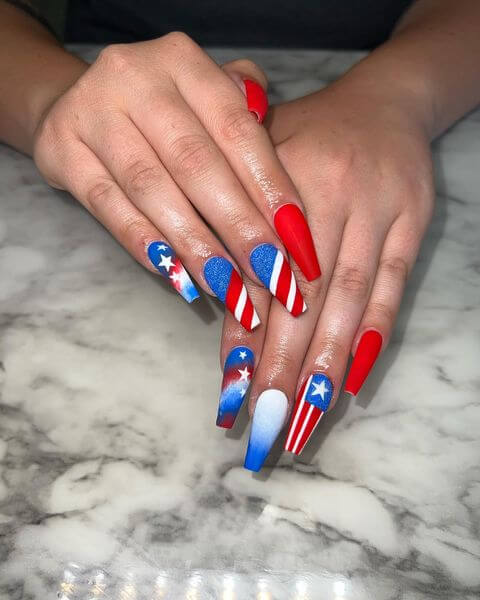
Coffin Nails
Coffin nails, or ballerinas, are long and tapered with a squared-off tip. For a patriotic twist, paint your nails in a glossy white shade and add a red and blue ombre effect starting from the cuticle and fading towards the tips. Finish the look by adding white stars or silver glitter for an eye-catching detail.
Remember, these are just a few ideas to get you started. Feel free to mix and match designs, add creative touches, and adapt them to your preferred nail shape and length. With these patriotic nail designs, you’ll be ready to celebrate the Fourth of July in style!
Easy and Classy Different 4th Of July Nail Ideas
Regarding the 4th of July nail ideas, you don’t have to be a professional nail artist to achieve a stylish and classy look. Plenty of easy and creative options can help you celebrate the patriotic spirit with minimal effort. Let’s explore some nail ideas that are perfect for the occasion:
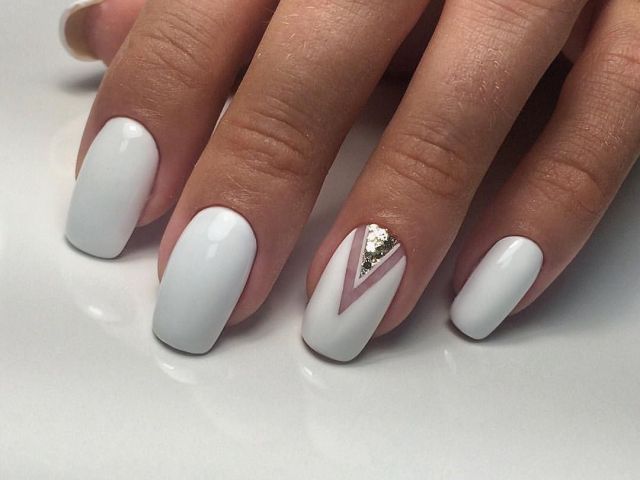
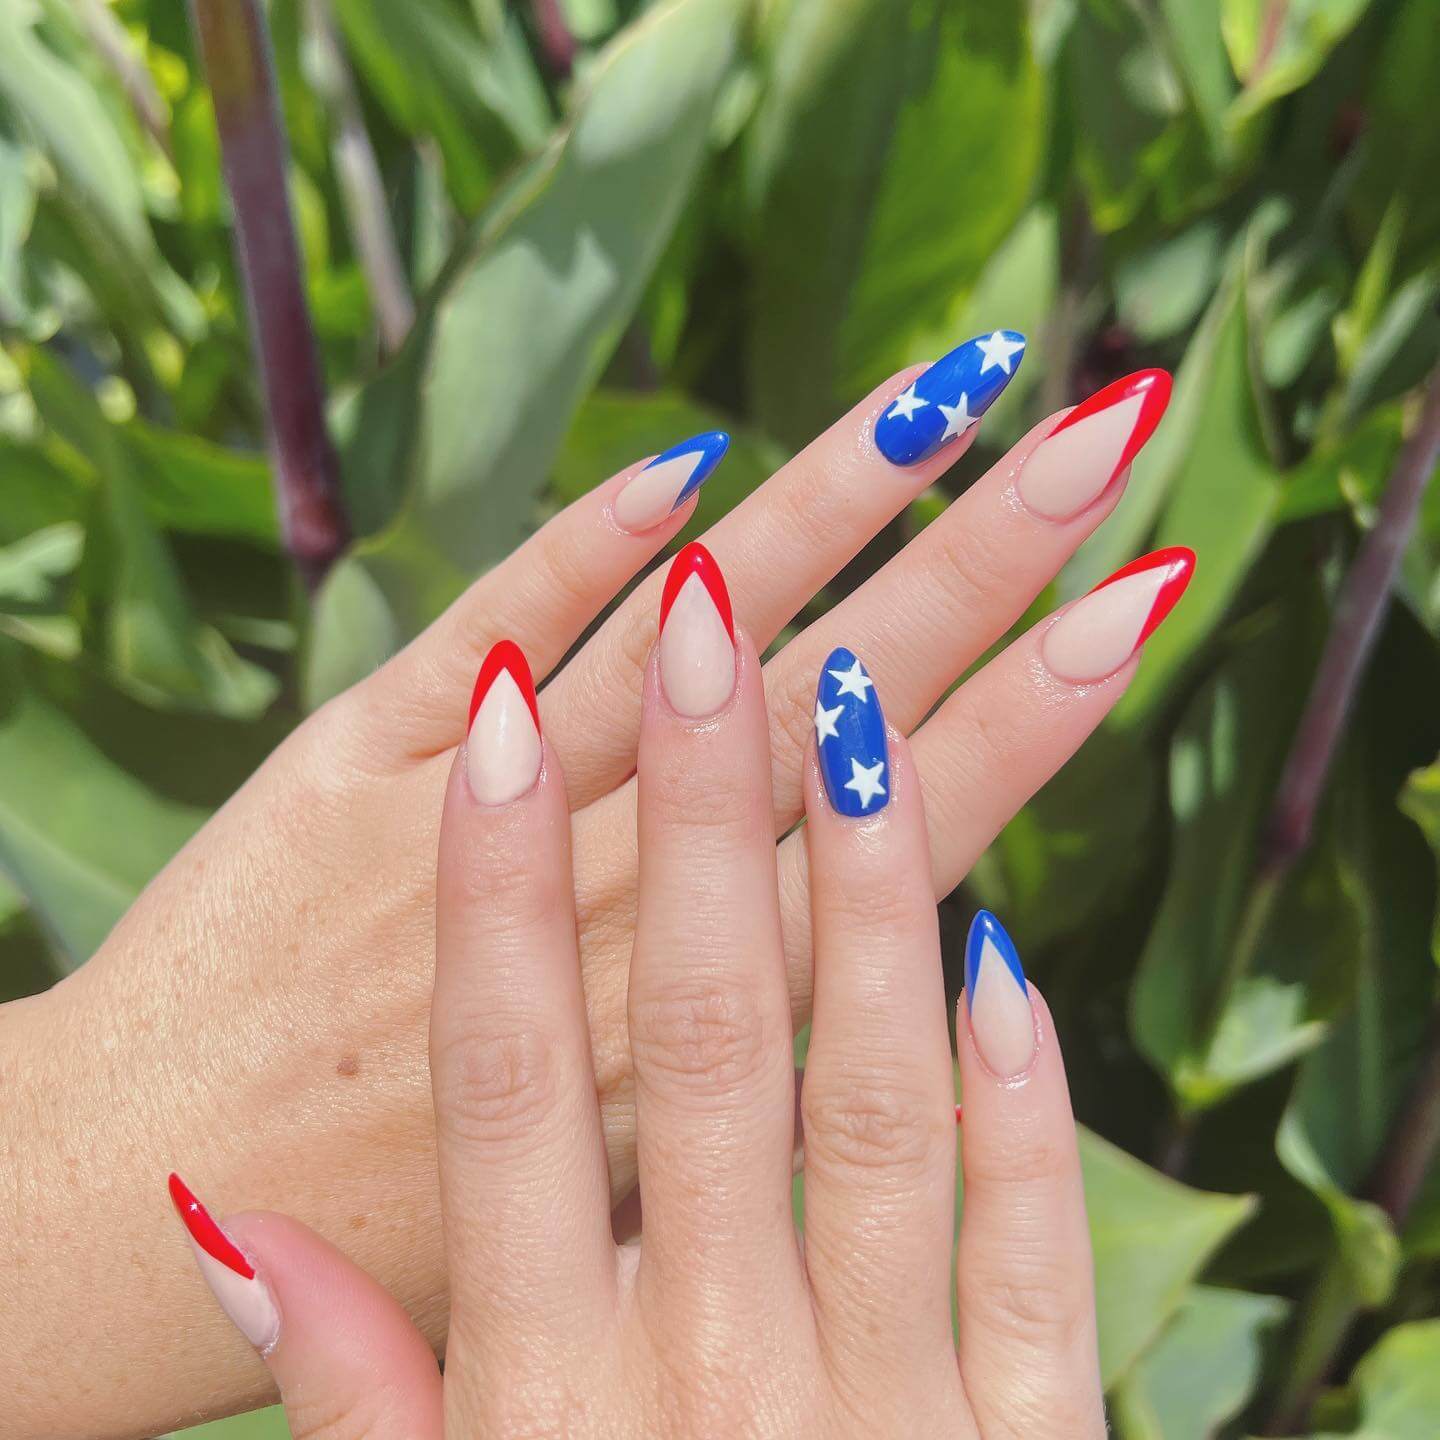
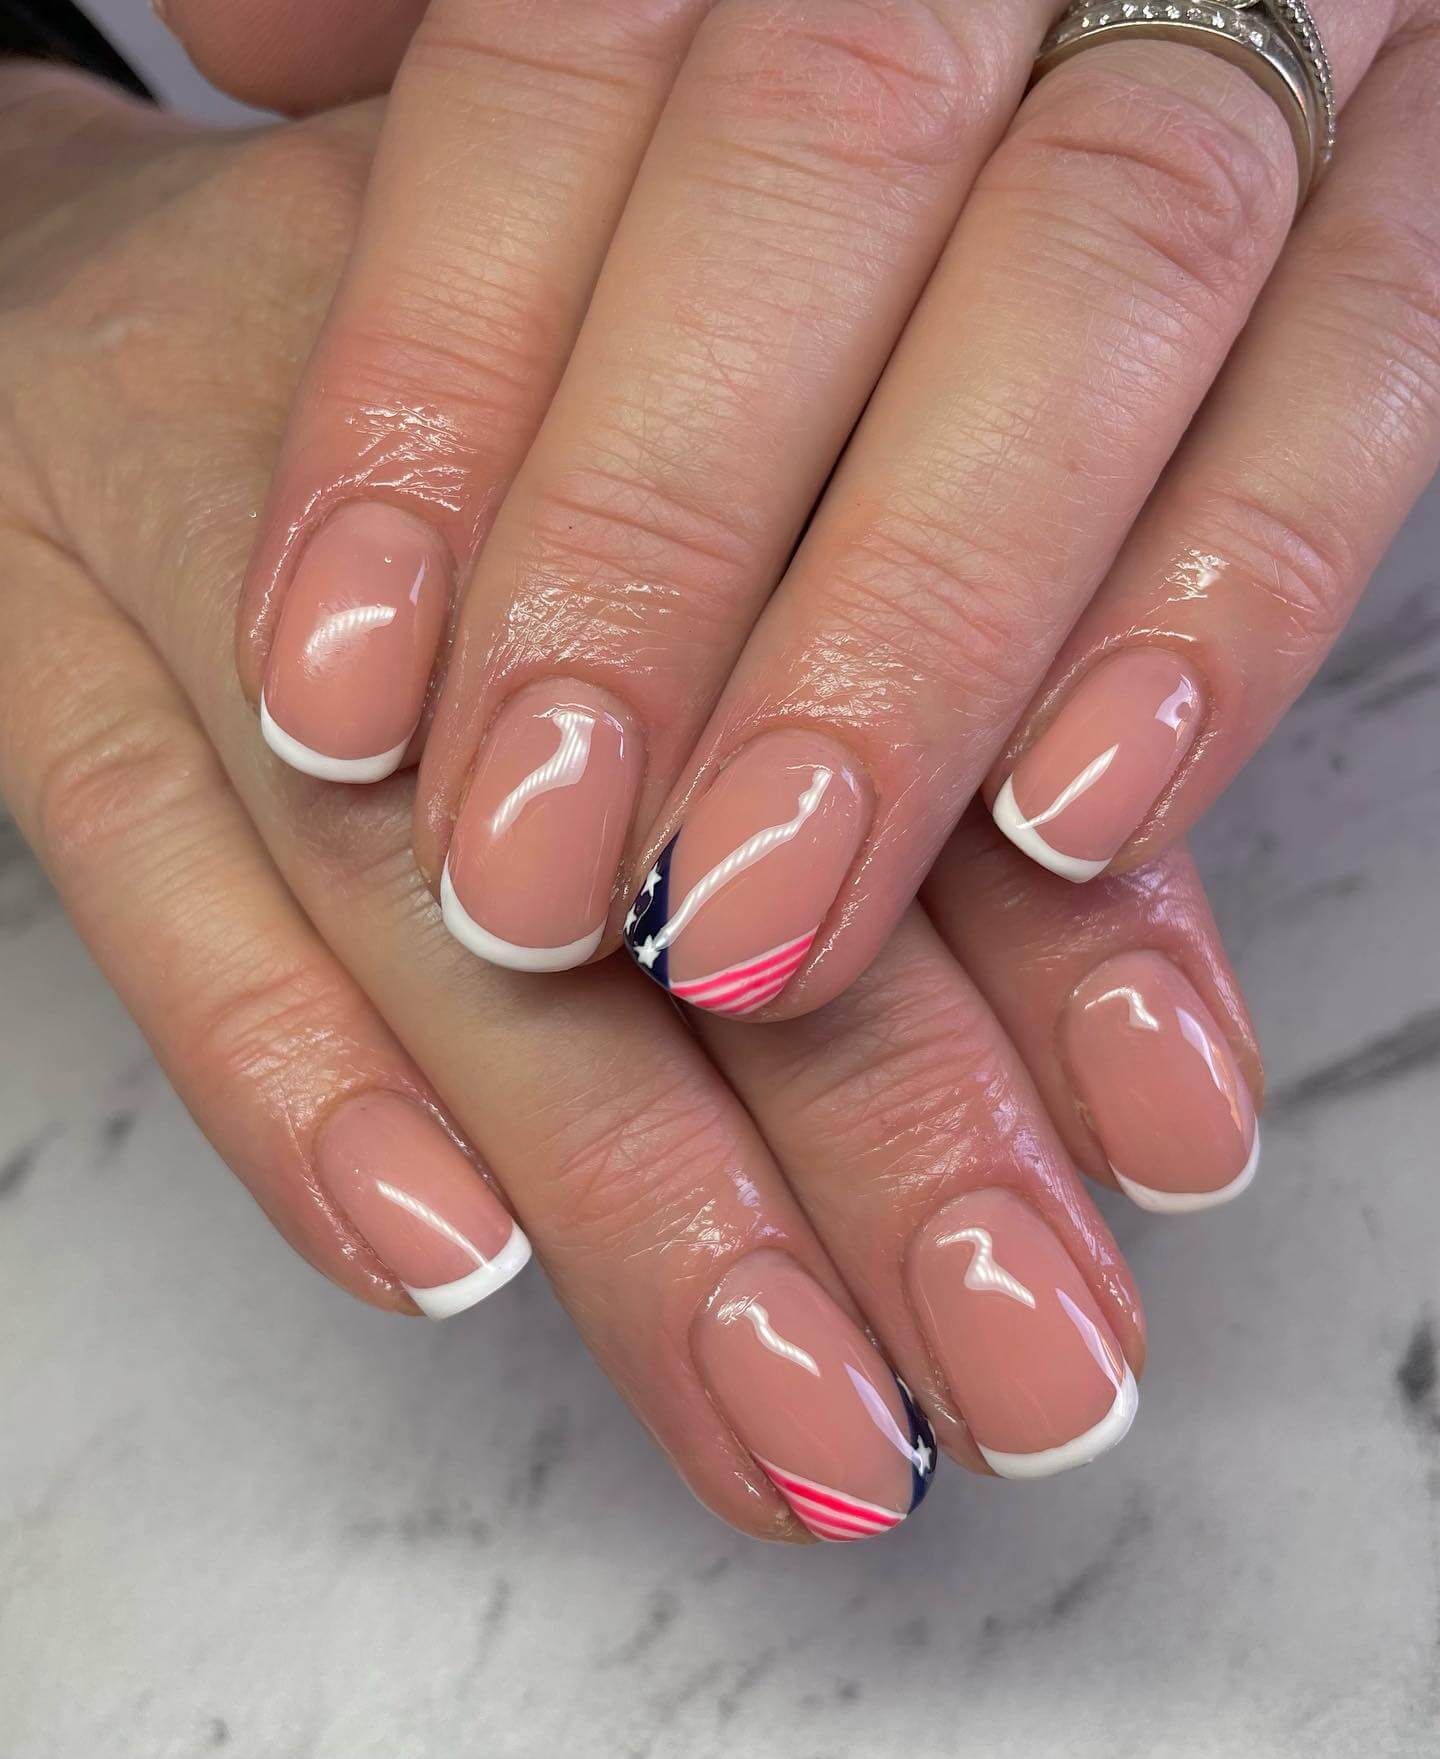
French Tip Nails
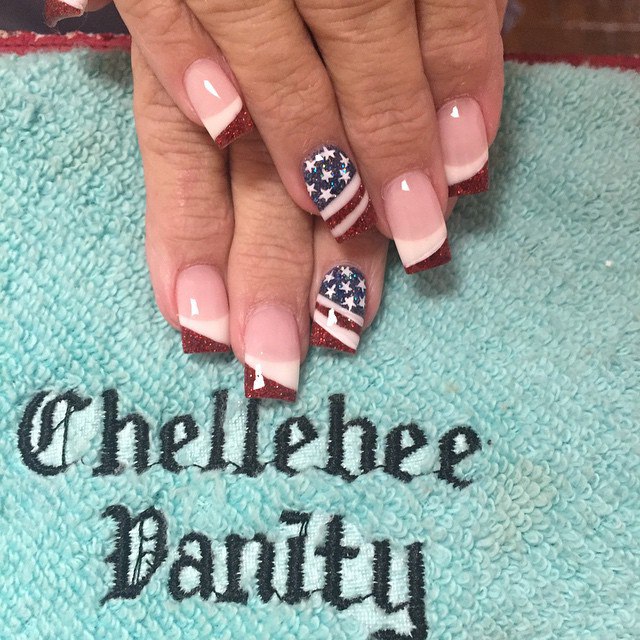
French tip nails are timeless and elegant. To give them a 4th of July twist, paint the tips in a vibrant red shade and leave the base of the nails in a clean white color. This simple design will add a touch of patriotism to your nails while maintaining a classic and classy look.
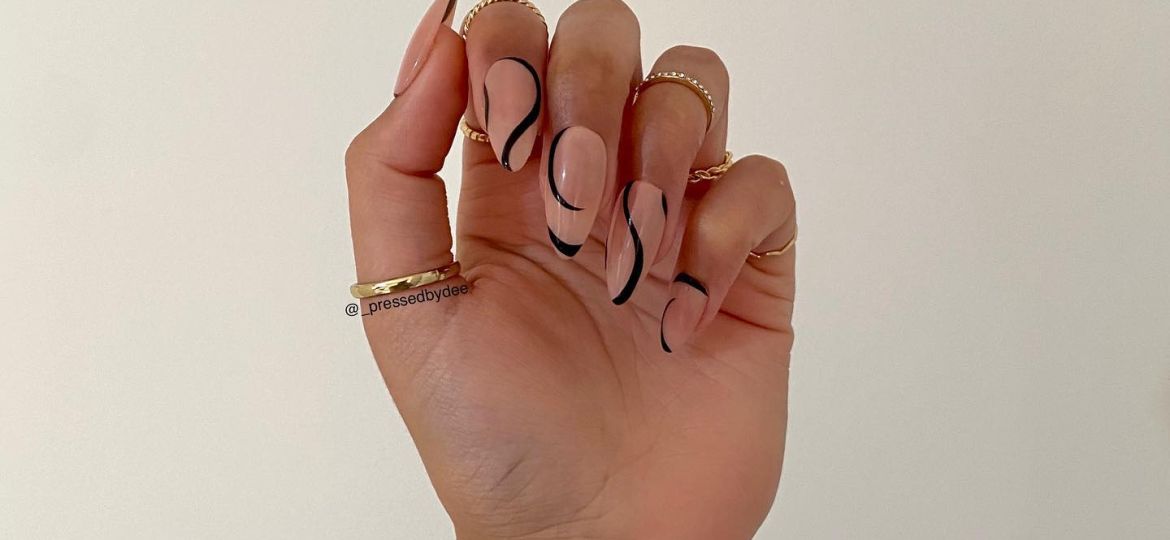
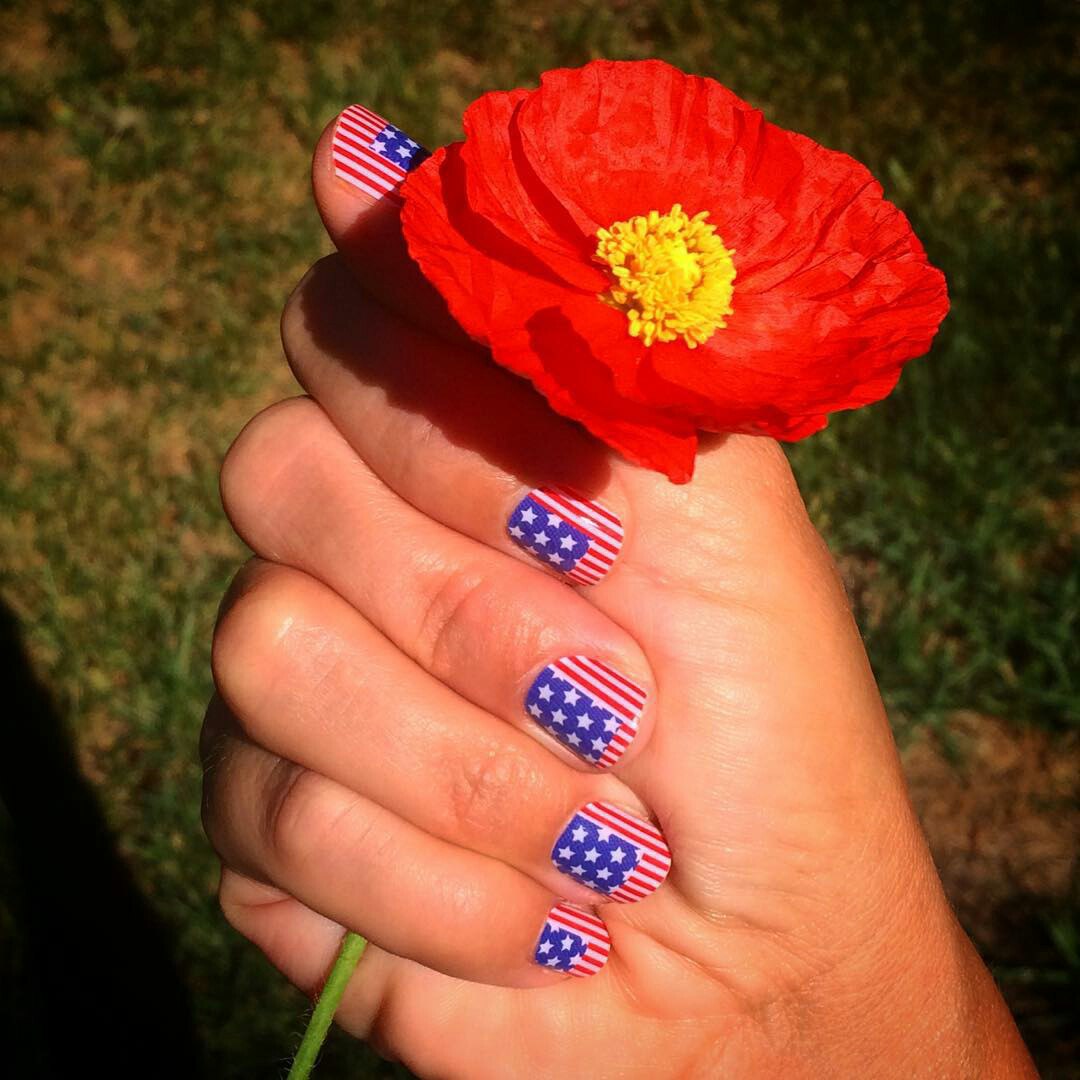
Press-on Nails
Press-on nails are a great choice if you’re looking for a quick and hassle-free option. They come in various designs, specifically designed for the 4th of July. Press-on nails with American flag patterns, stars, stripes, or even fireworks can be found. Apply them following the instructions, and you’ll soon have patriotic nails.
Ombre Nails
Ombre nails are trendy and easy to achieve. For a 4th of July-inspired ombre look, choose shades of red, white, and blue. Start with a red base near the cuticle, blend it into white in the middle, and finish with a vibrant blue at the tips. This gradient effect represents the colors of the American flag and adds a stylish touch to your nails.
Dip Powder Nails
Dip powder nails provide a long-lasting and durable manicure. Choose a red dip powder for the base of your nails and add a blue accent nail. You can apply a white star-shaped nail decal or a thin brush to paint white stars on the blue nail for a patriotic focal point. This design is easy to achieve and looks effortlessly classy.
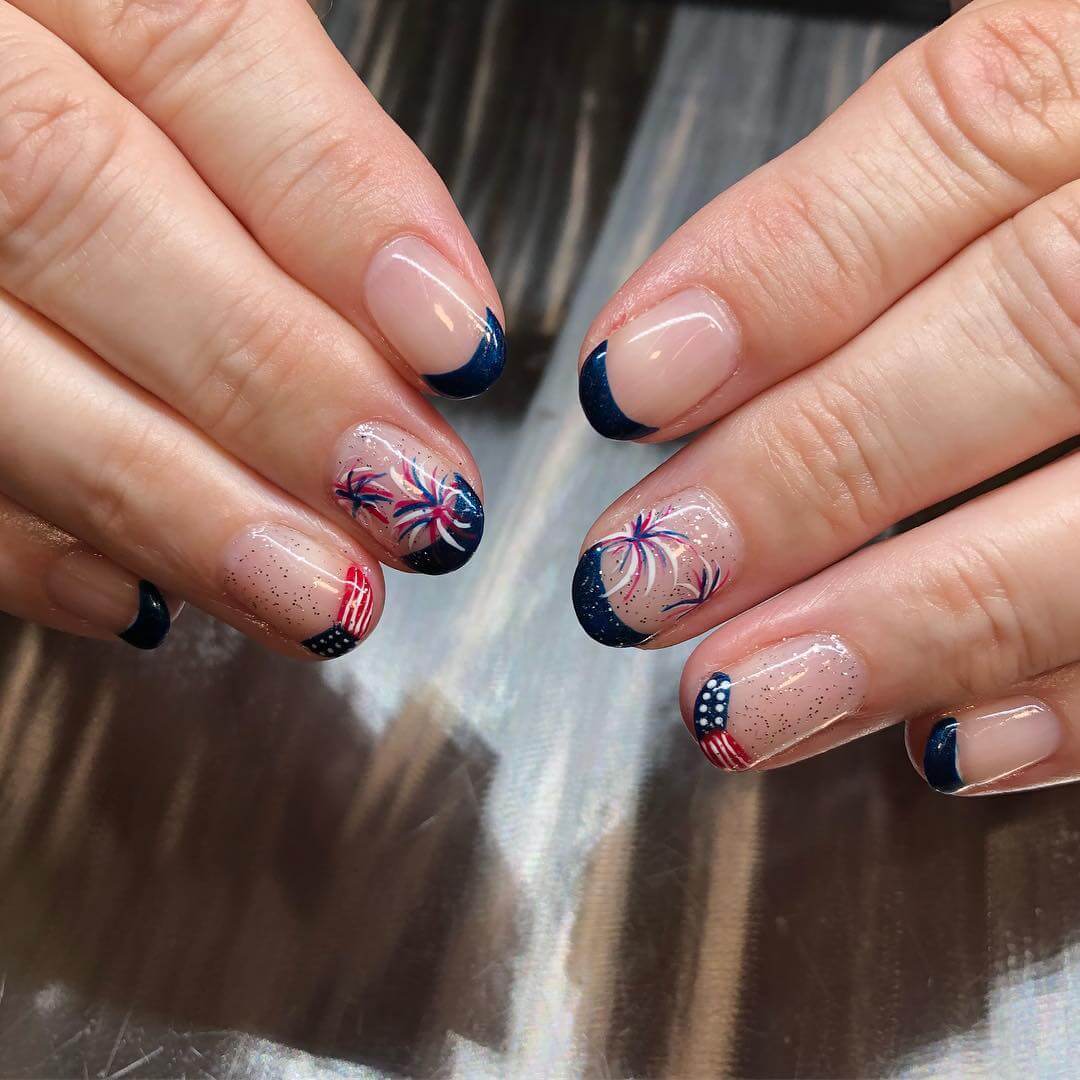
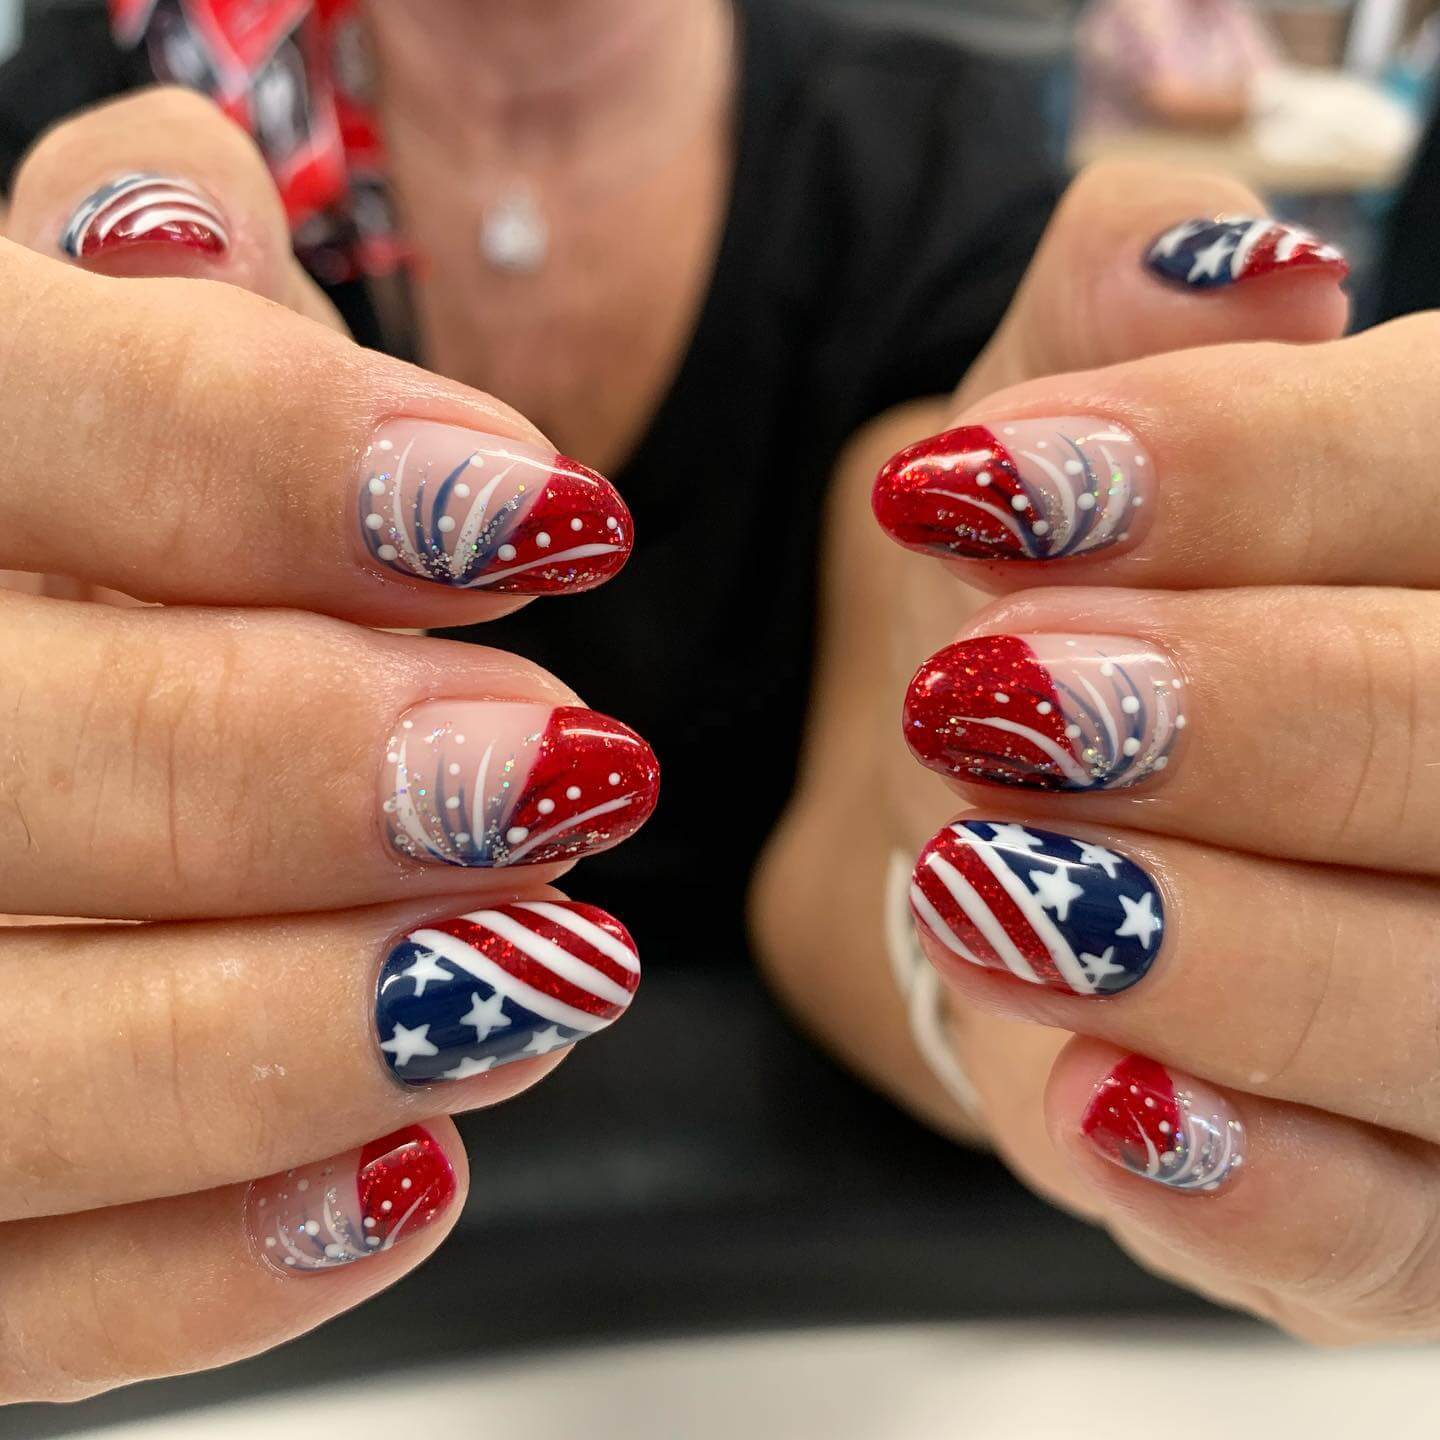
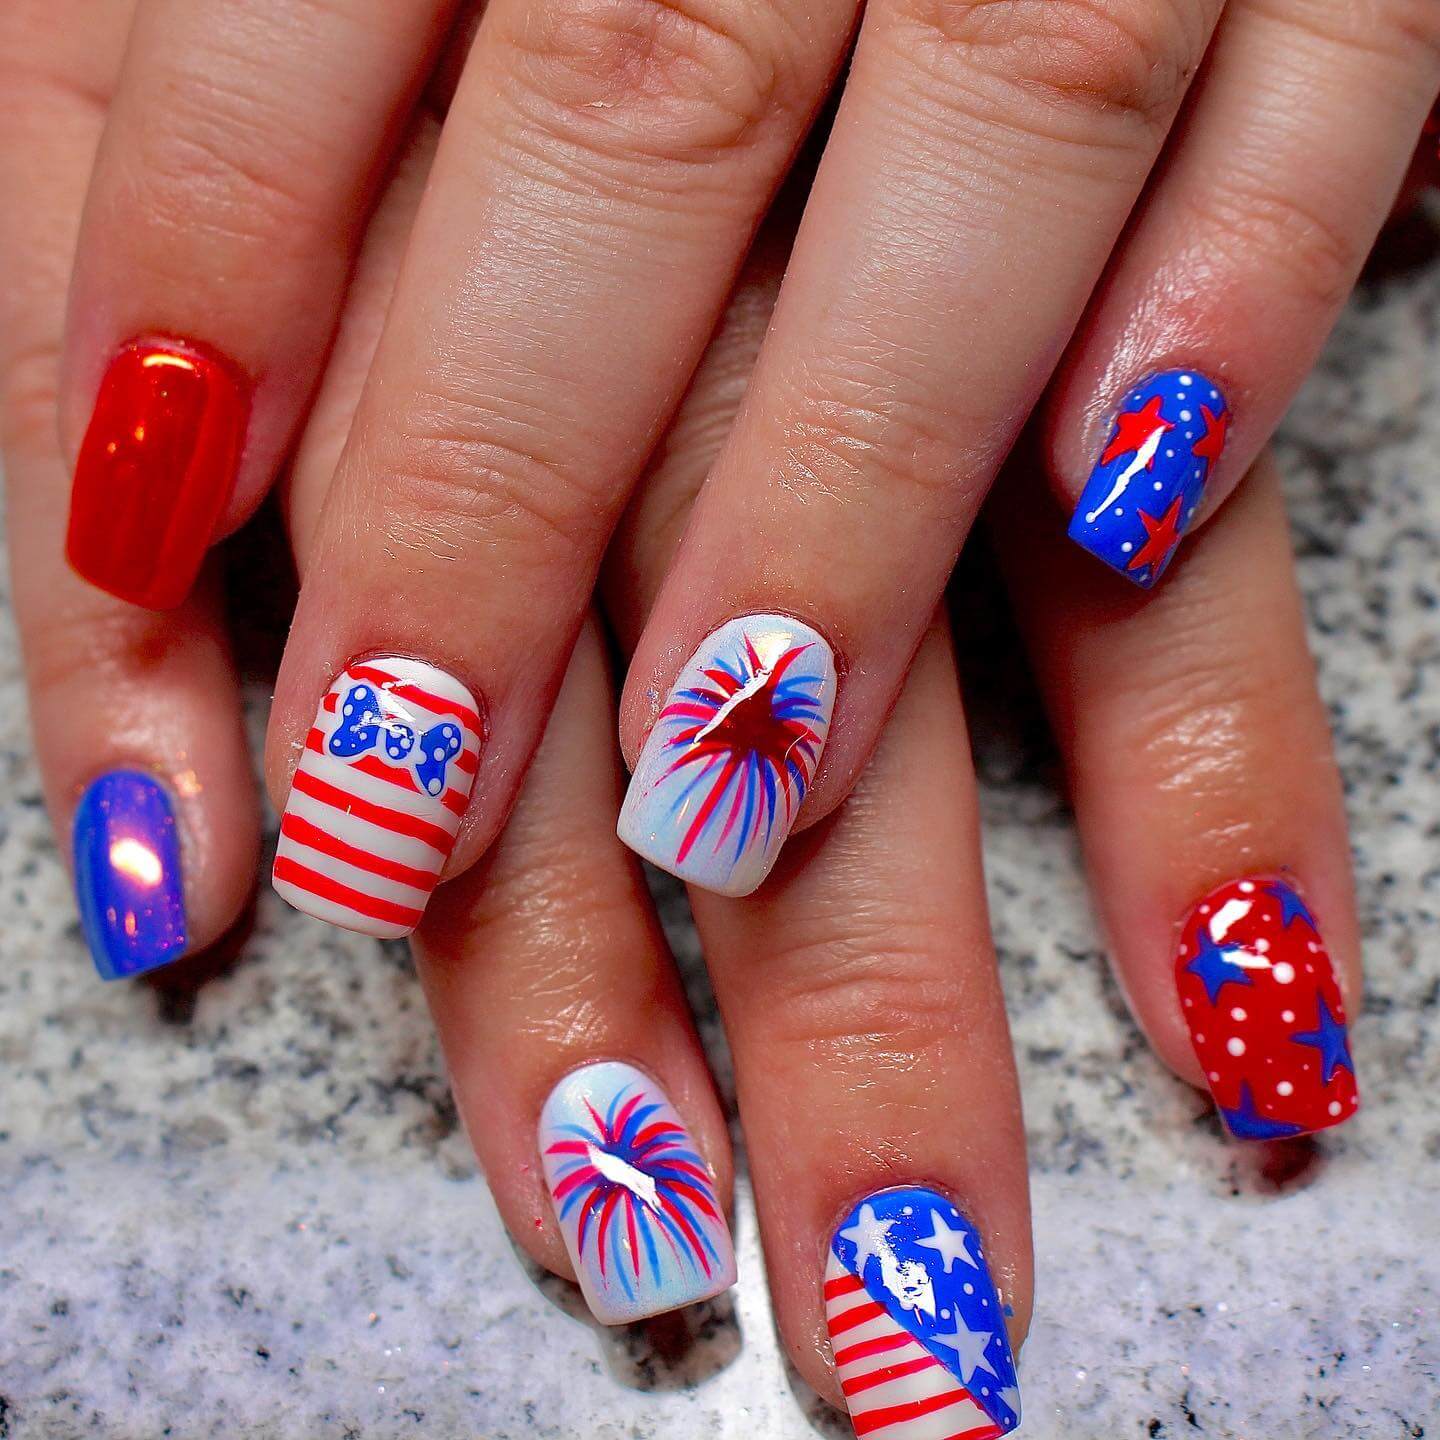
Firework Nails
To create firework-inspired nails, start with a dark blue or black base color. Then use a thin brush or a dotting tool to add bursts of red, white, and silver dots or lines resembling fireworks. Finish with a glossy top coat to enhance the design and give it a polished look.
Nails with Glitter
Add some sparkle to your 4th of July nails by incorporating glitter. You can choose red, silver, and blue glitter polish to create an accent nail or apply it strategically on the tips or cuticle area. Glitter nails instantly add glamour and festivity to your overall look.
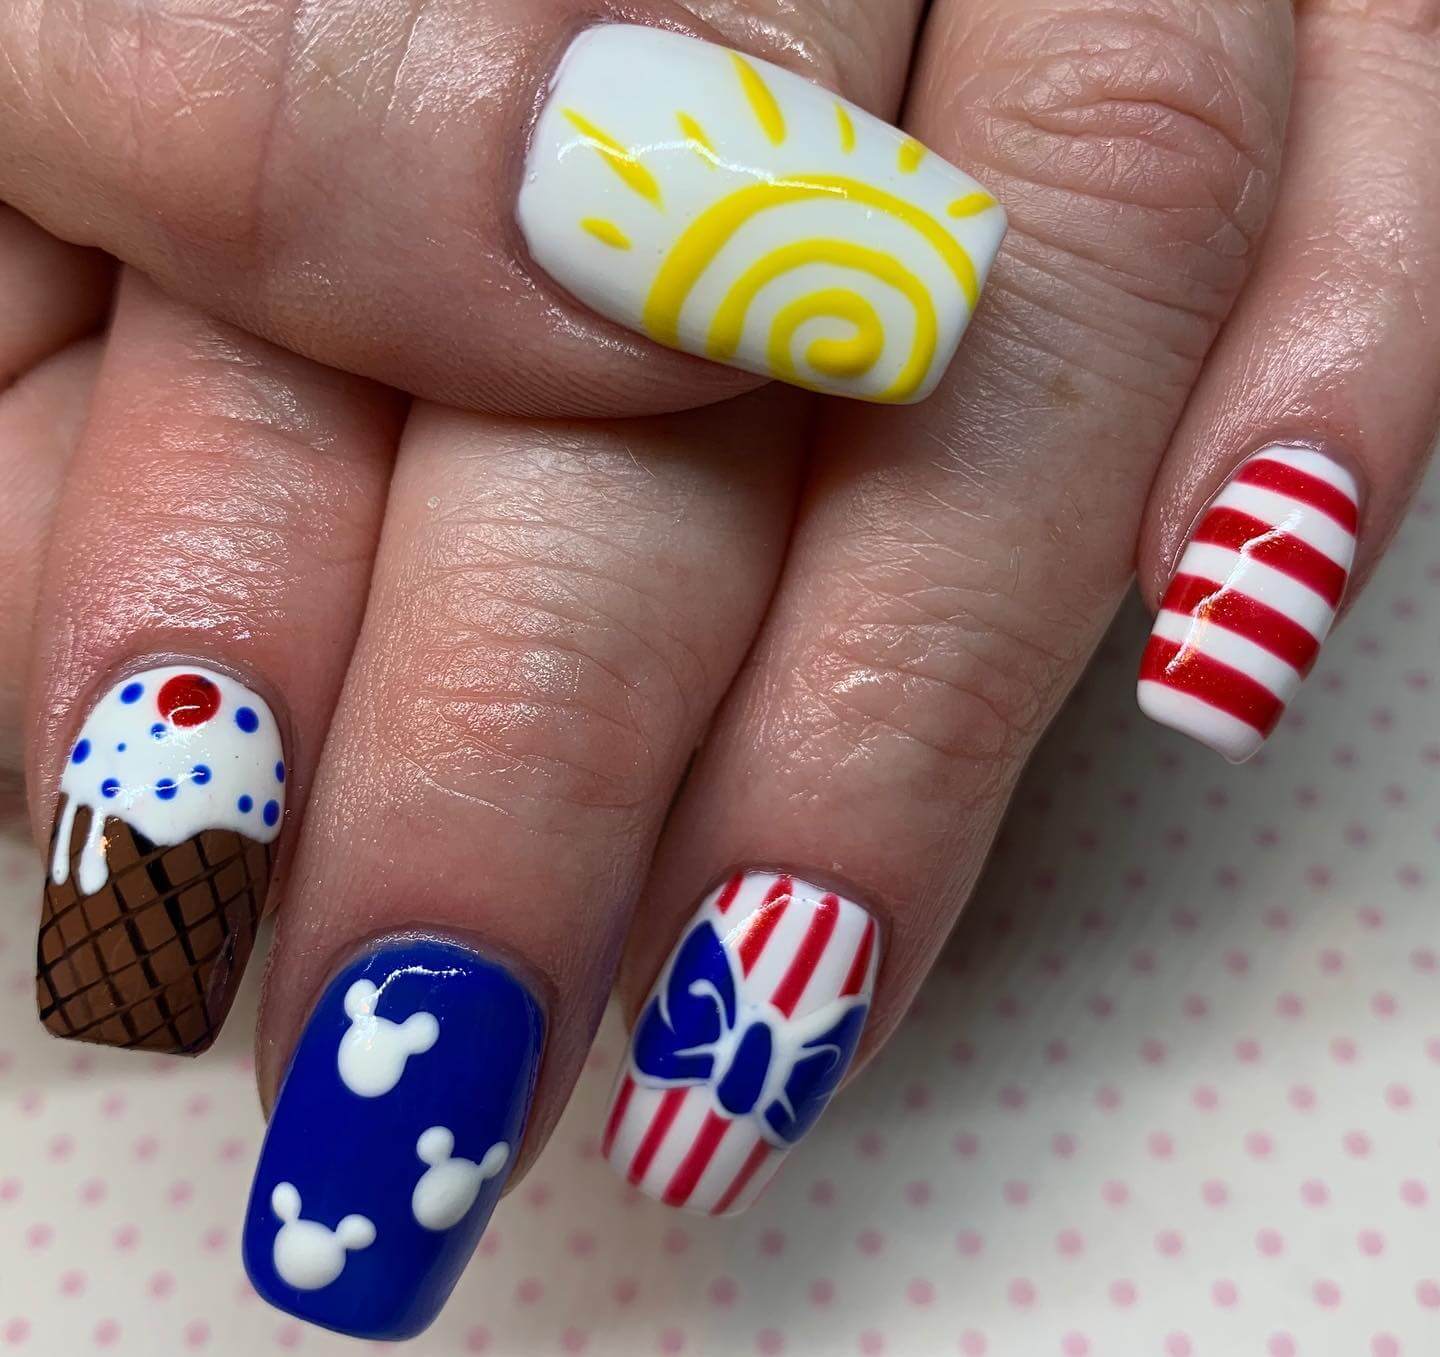
Disney Nails
If you’re a Disney enthusiast, you can combine your love for Disney characters with the patriotic theme. Choose nail decals or nail wraps featuring Disney characters dressed in red, white, and blue outfits. It’s a playful and unique way to show your love for Disney and the Fourth of July.
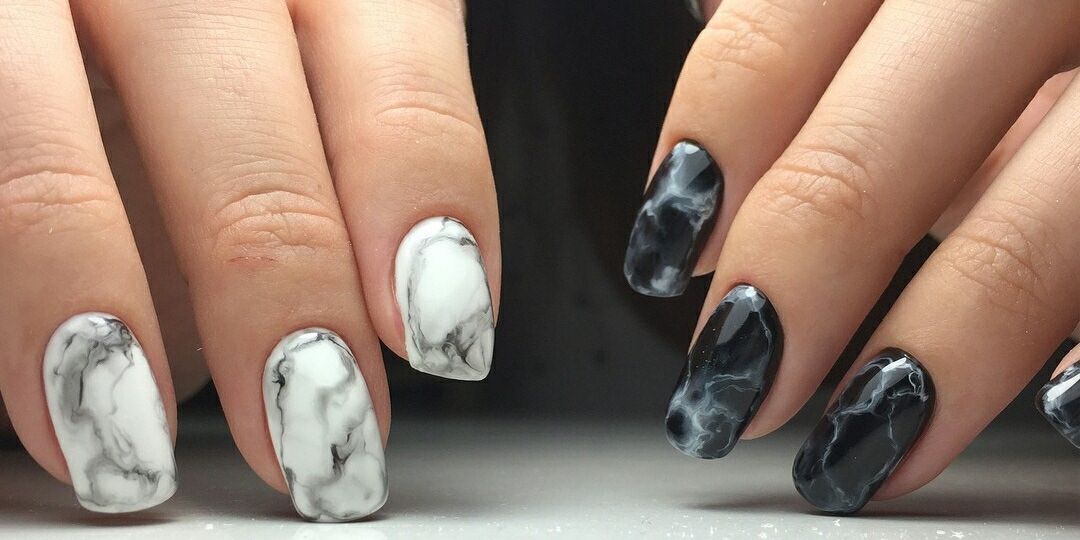
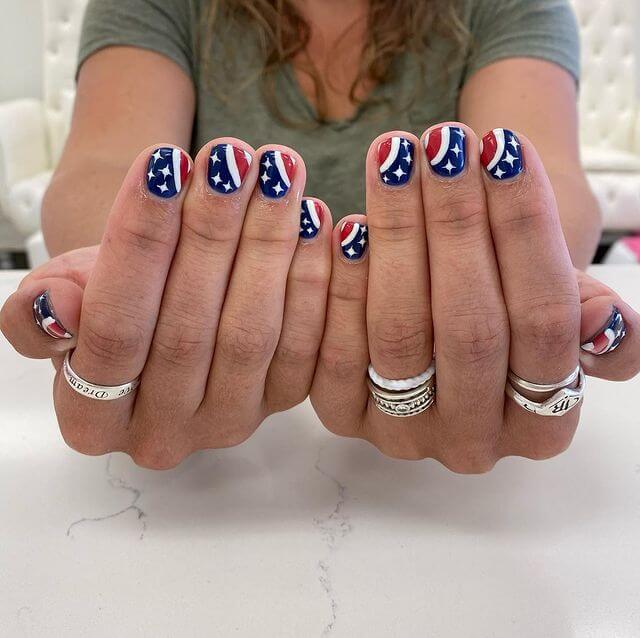
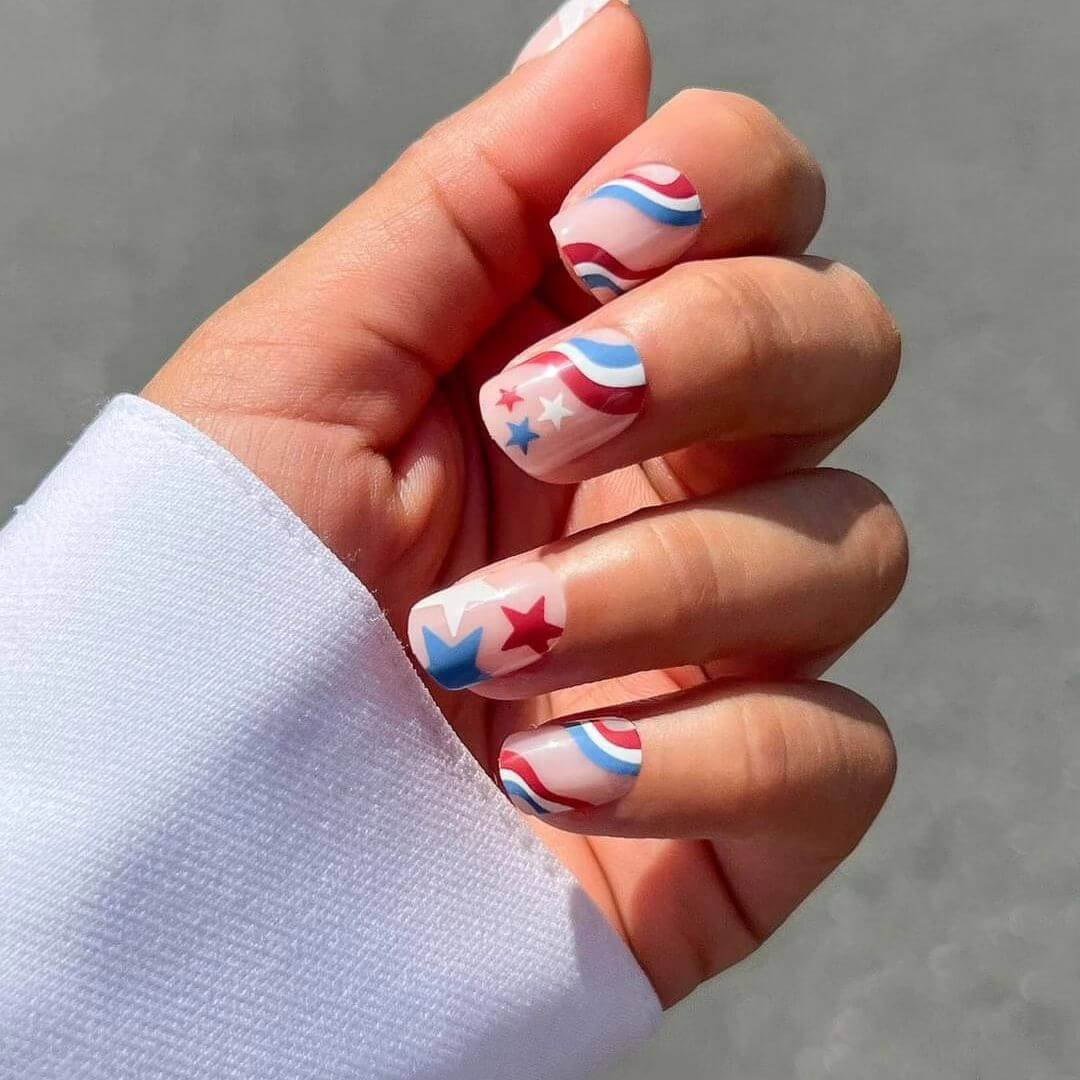
Water Marble Nails
Water marble nails create a stunning and abstract design. Start with a base color in either red or blue, and then use water marbling techniques to create white swirls on top. This unique and eye-catching design will make your nails stand out on Independence Day.
Nails using Sharpie
You can use a red, white, or blue Sharpie marker to draw simple designs on your nails for a quick and easy DIY option. Create stripes, stars, or abstract patterns for a personalized touch. Just seal the design with a top coat to prevent smudging.
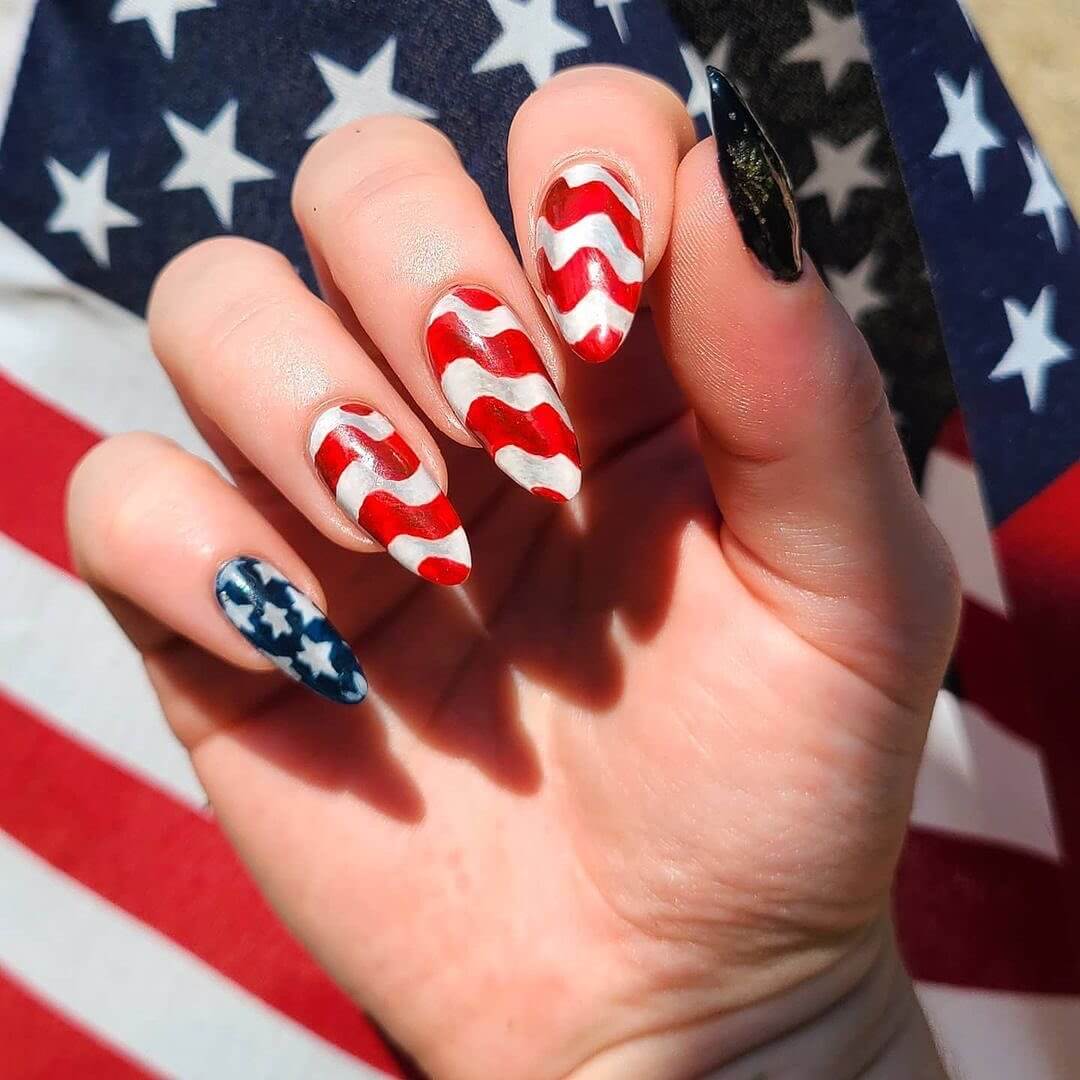
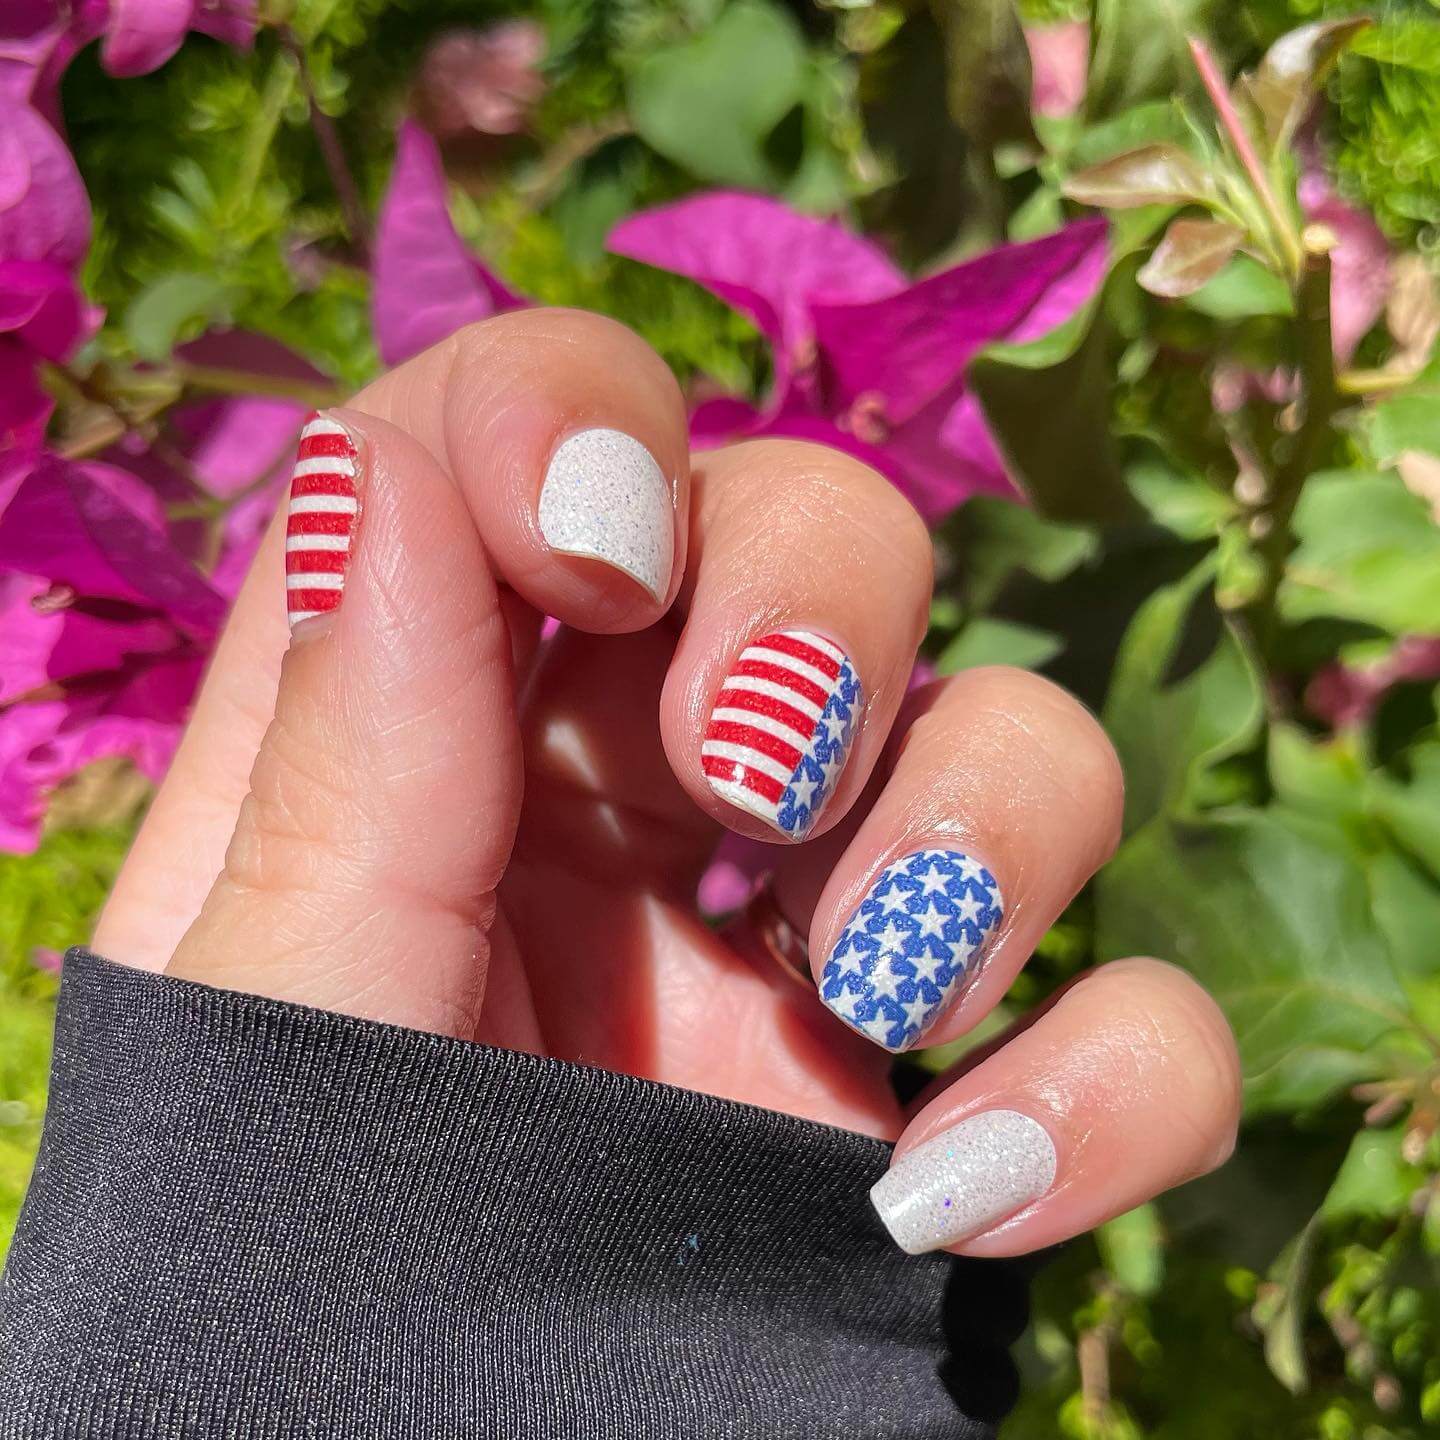
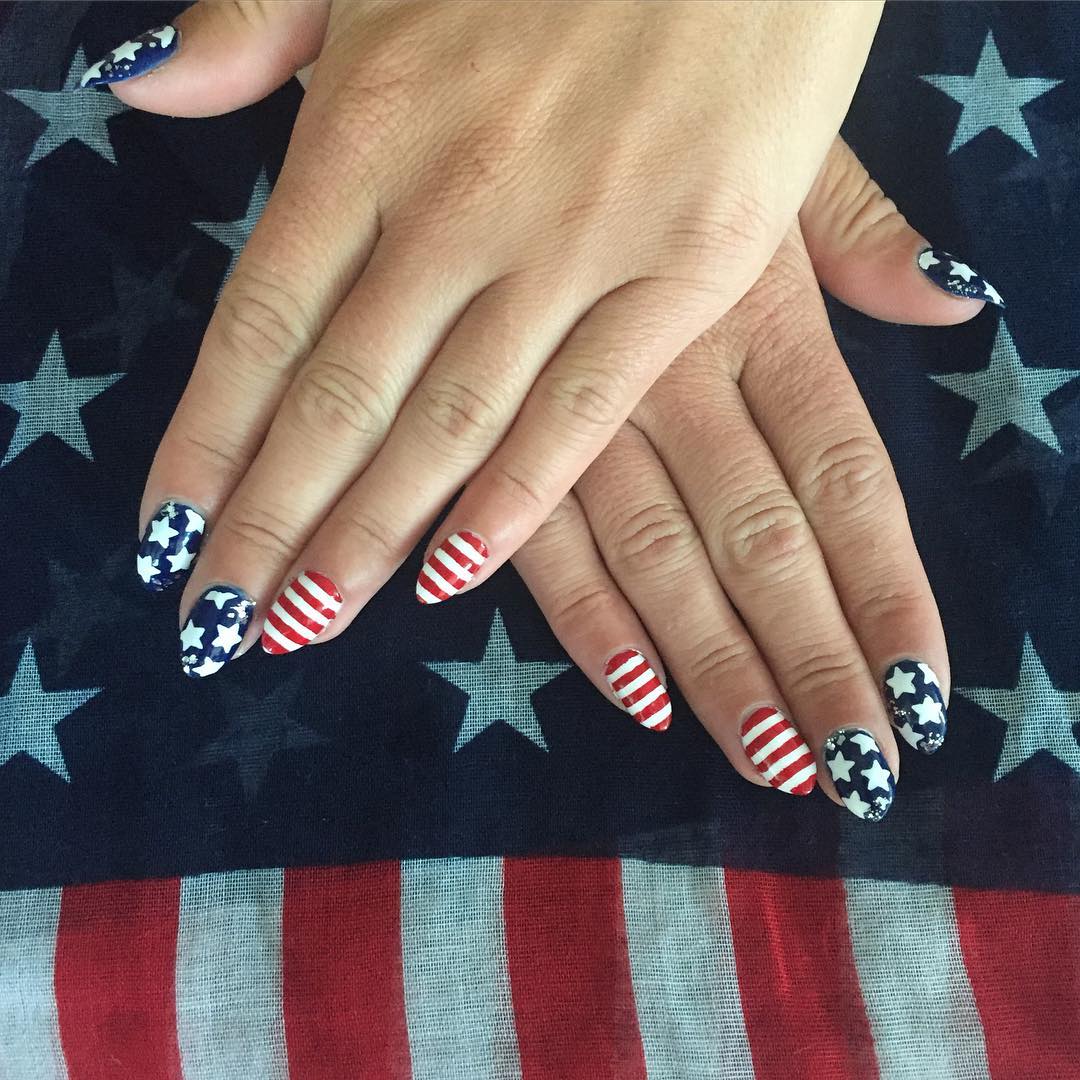
Nails with Stripes
Stripes are a classic American flag element and can be easily incorporated into your nail design. Paint your nails in alternating red and white shades to resemble the stripes. You can choose different thicknesses of stripes or opt for a more minimalistic look with a single bold stripe on each nail.
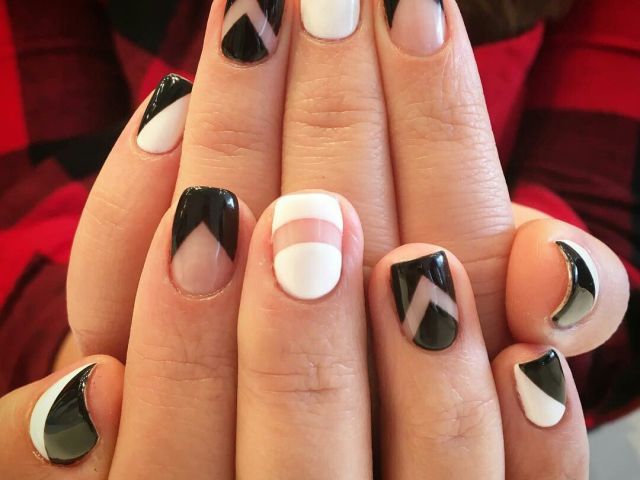
Matte Nails
Matte nails offer a chic and modern look. Paint your nails in a matte red or blue shade for a sophisticated touch. Add a matte top coat over a white base to create a monochromatic look with a patriotic twist.
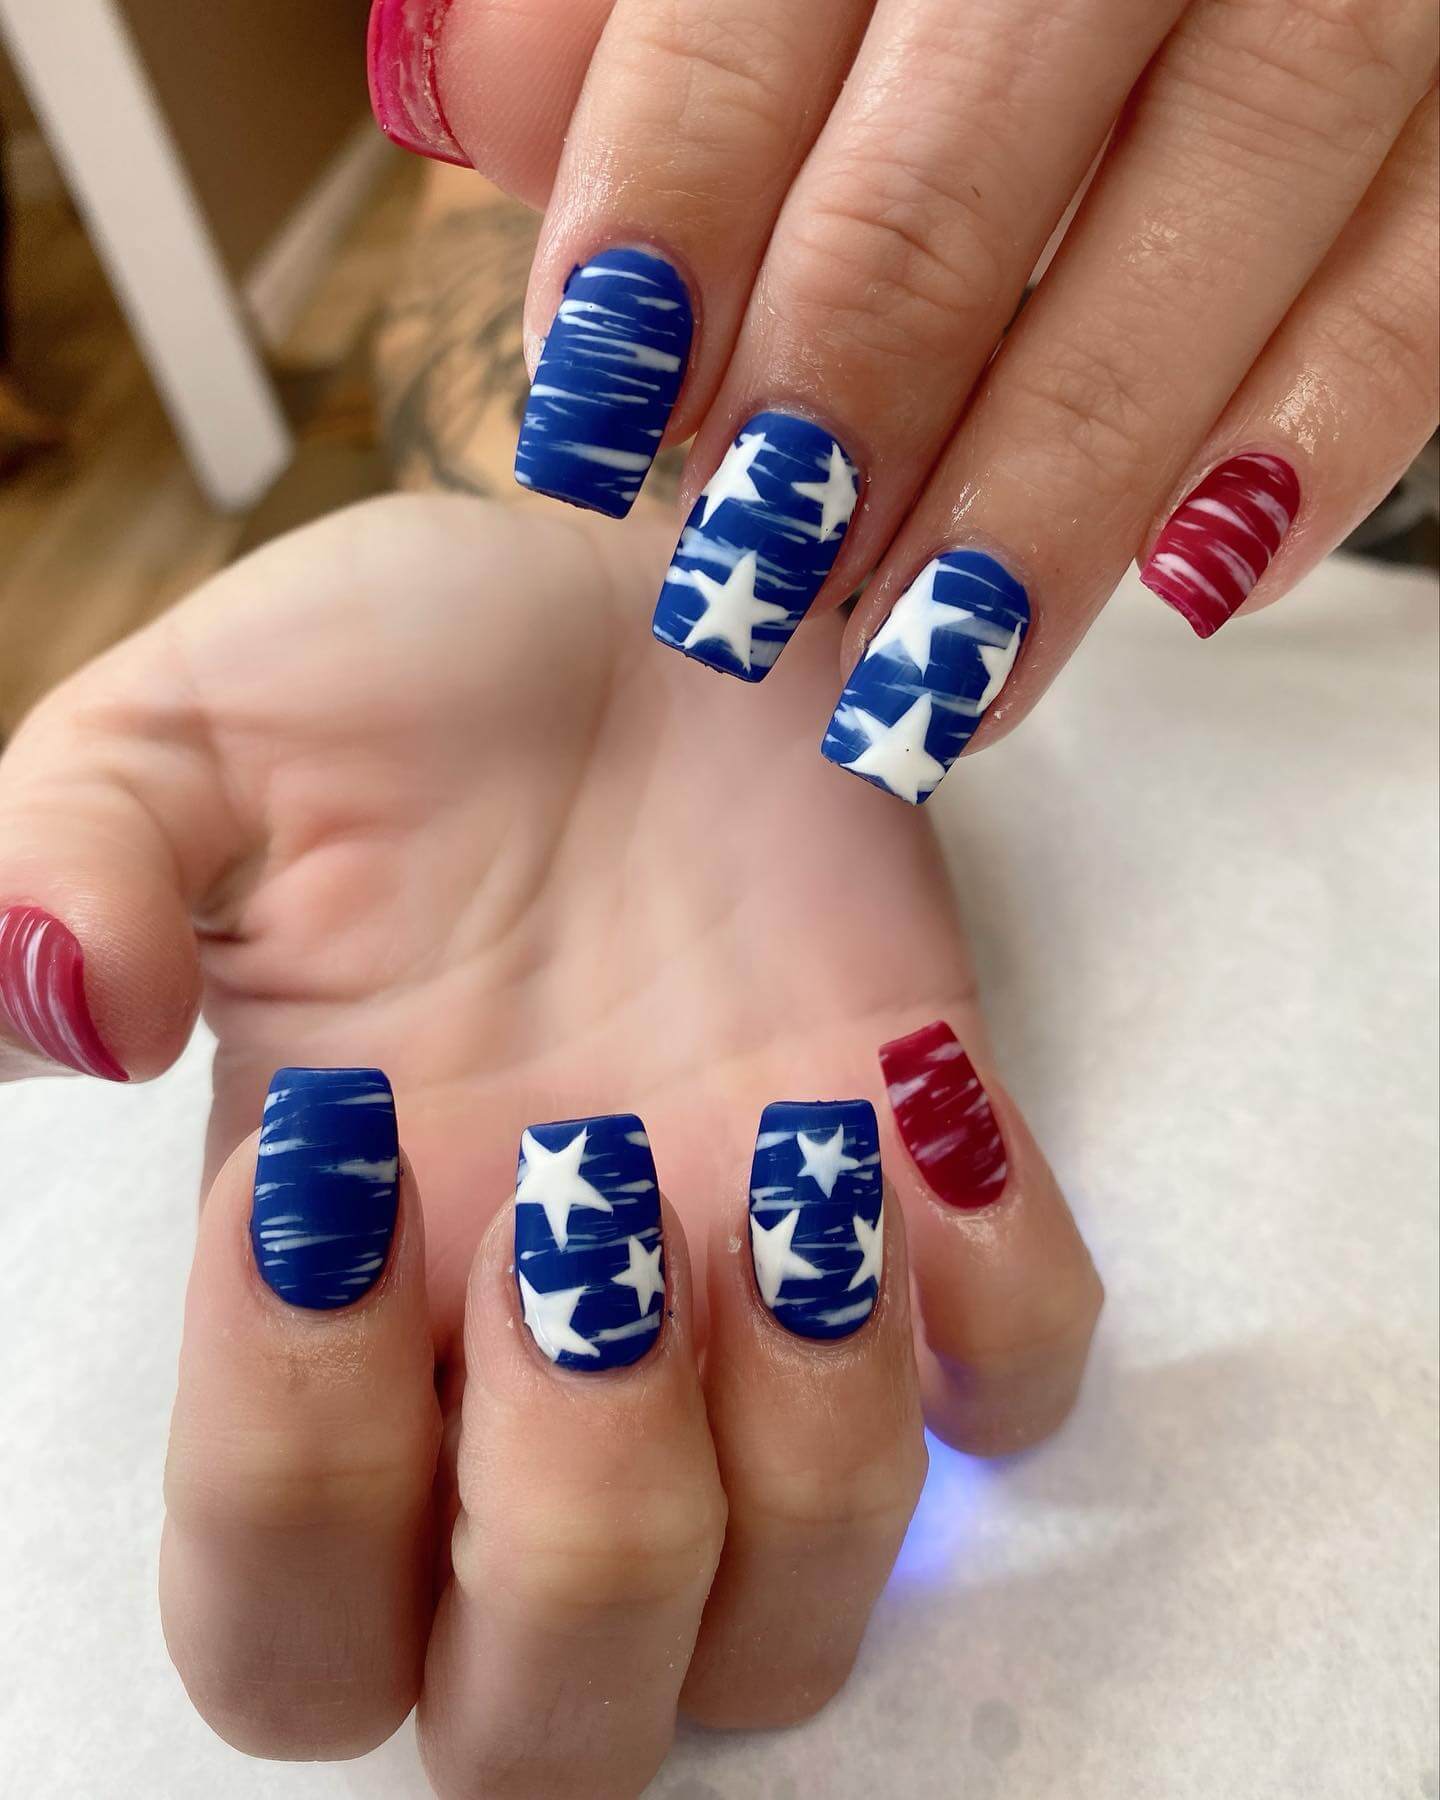
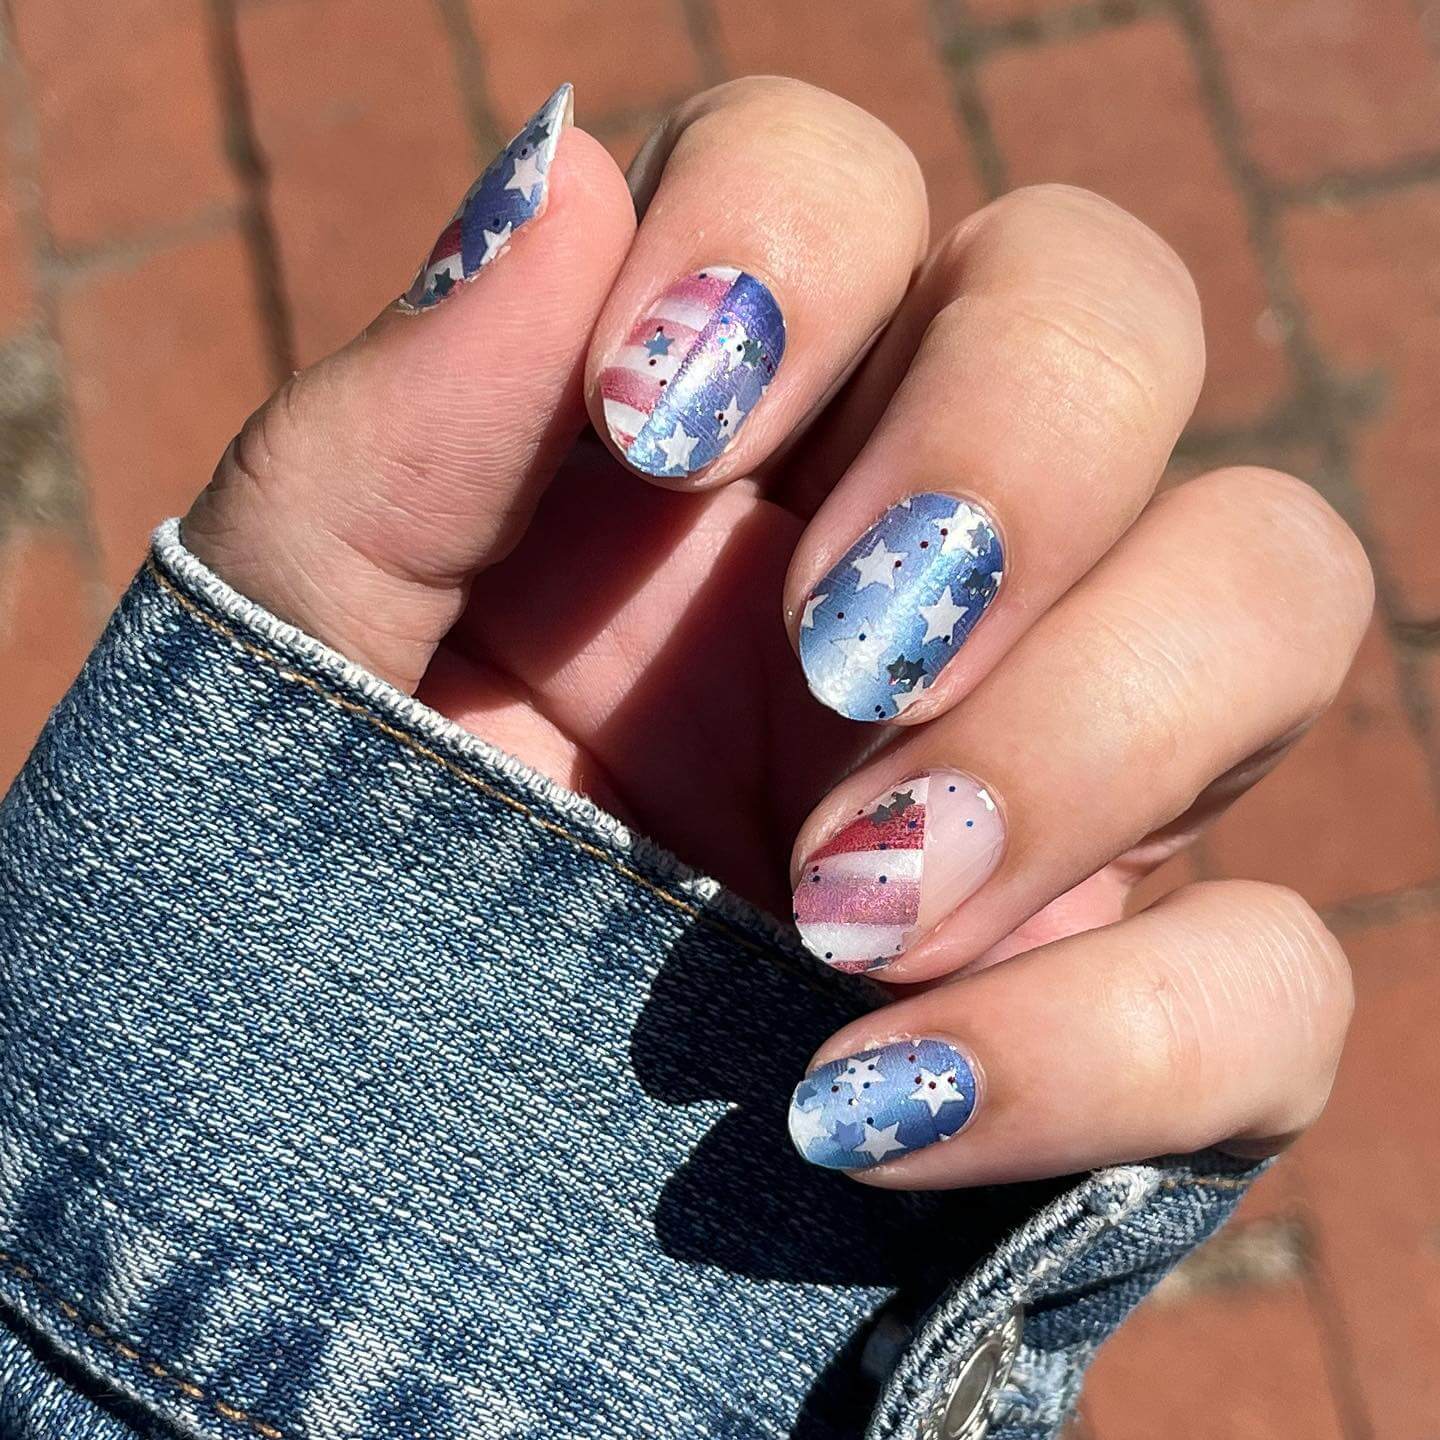
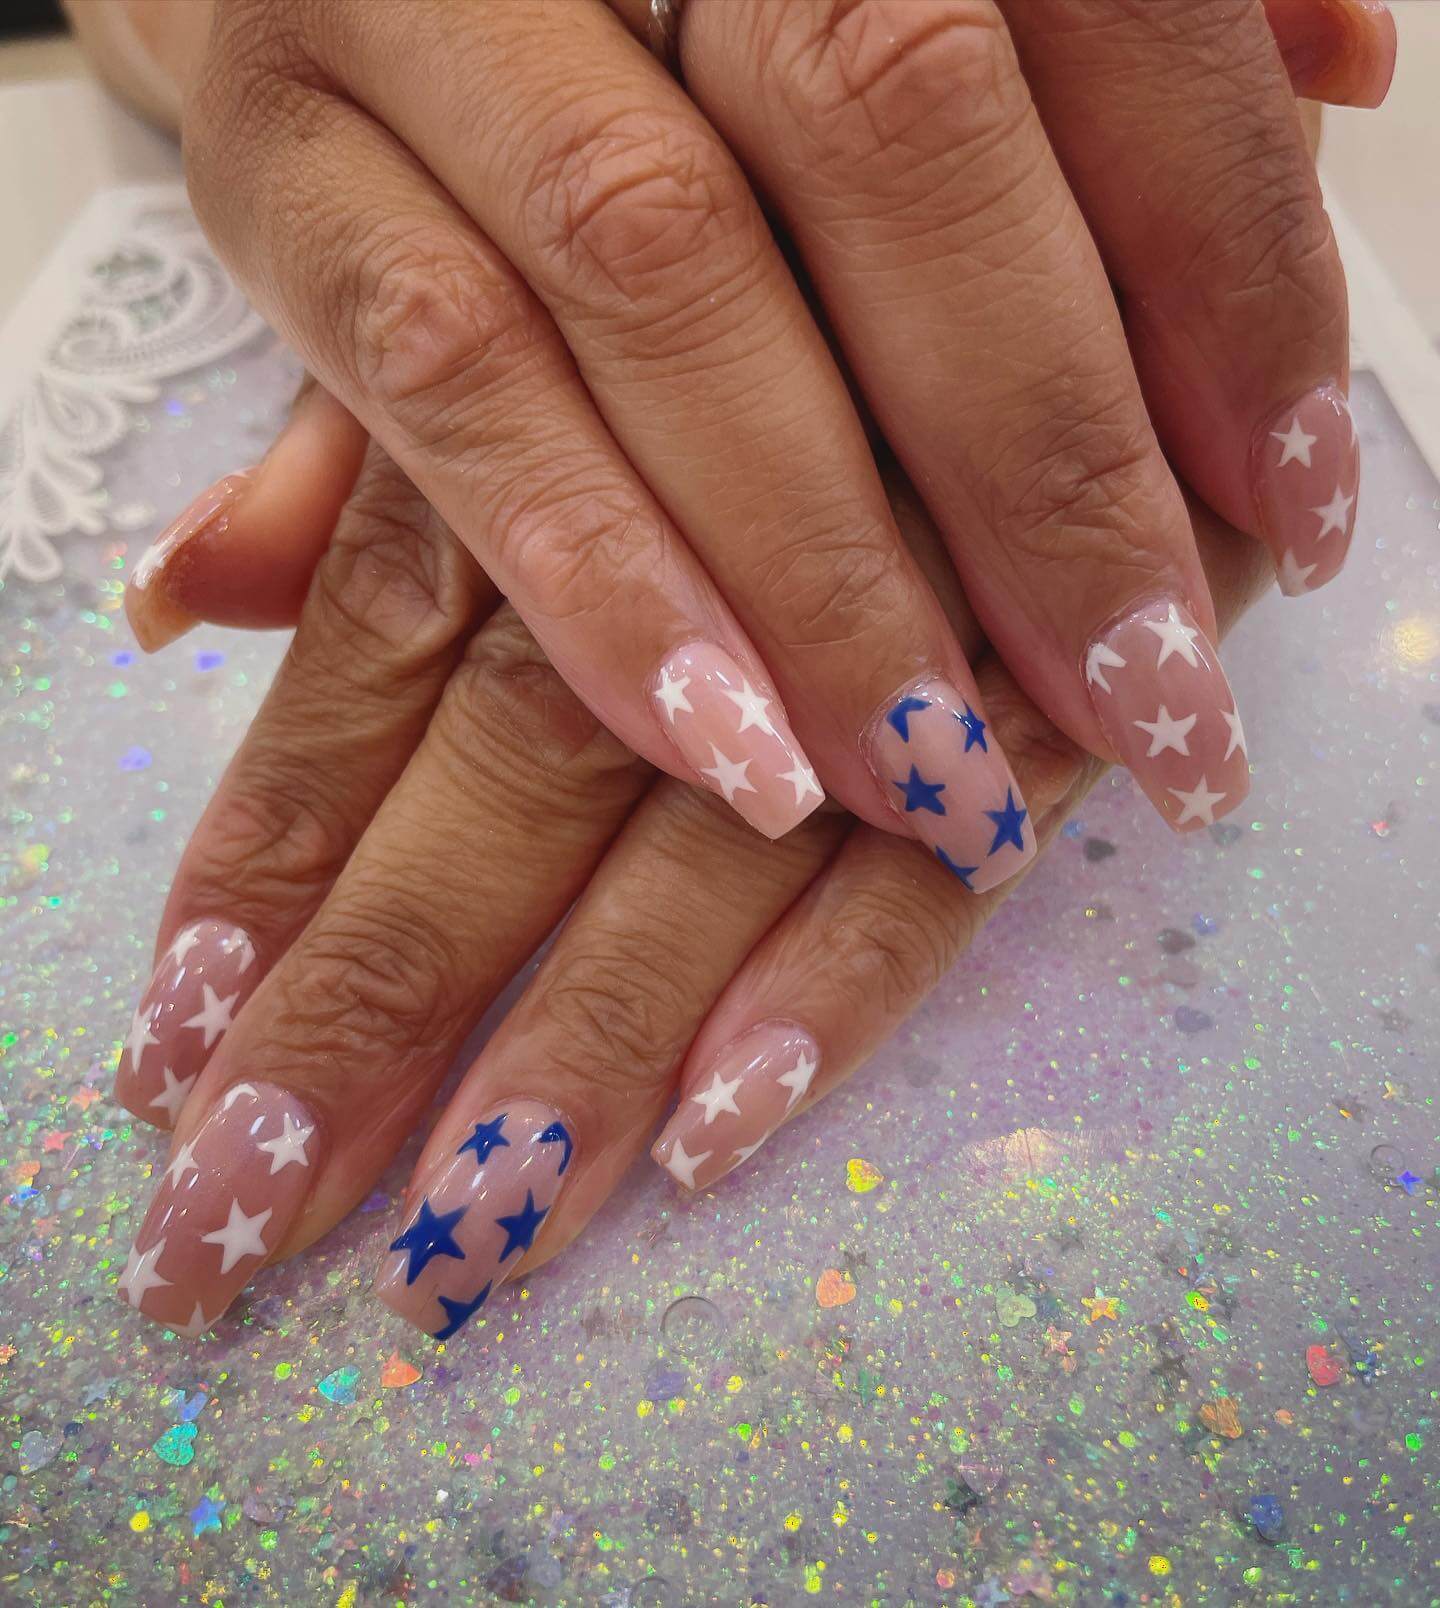
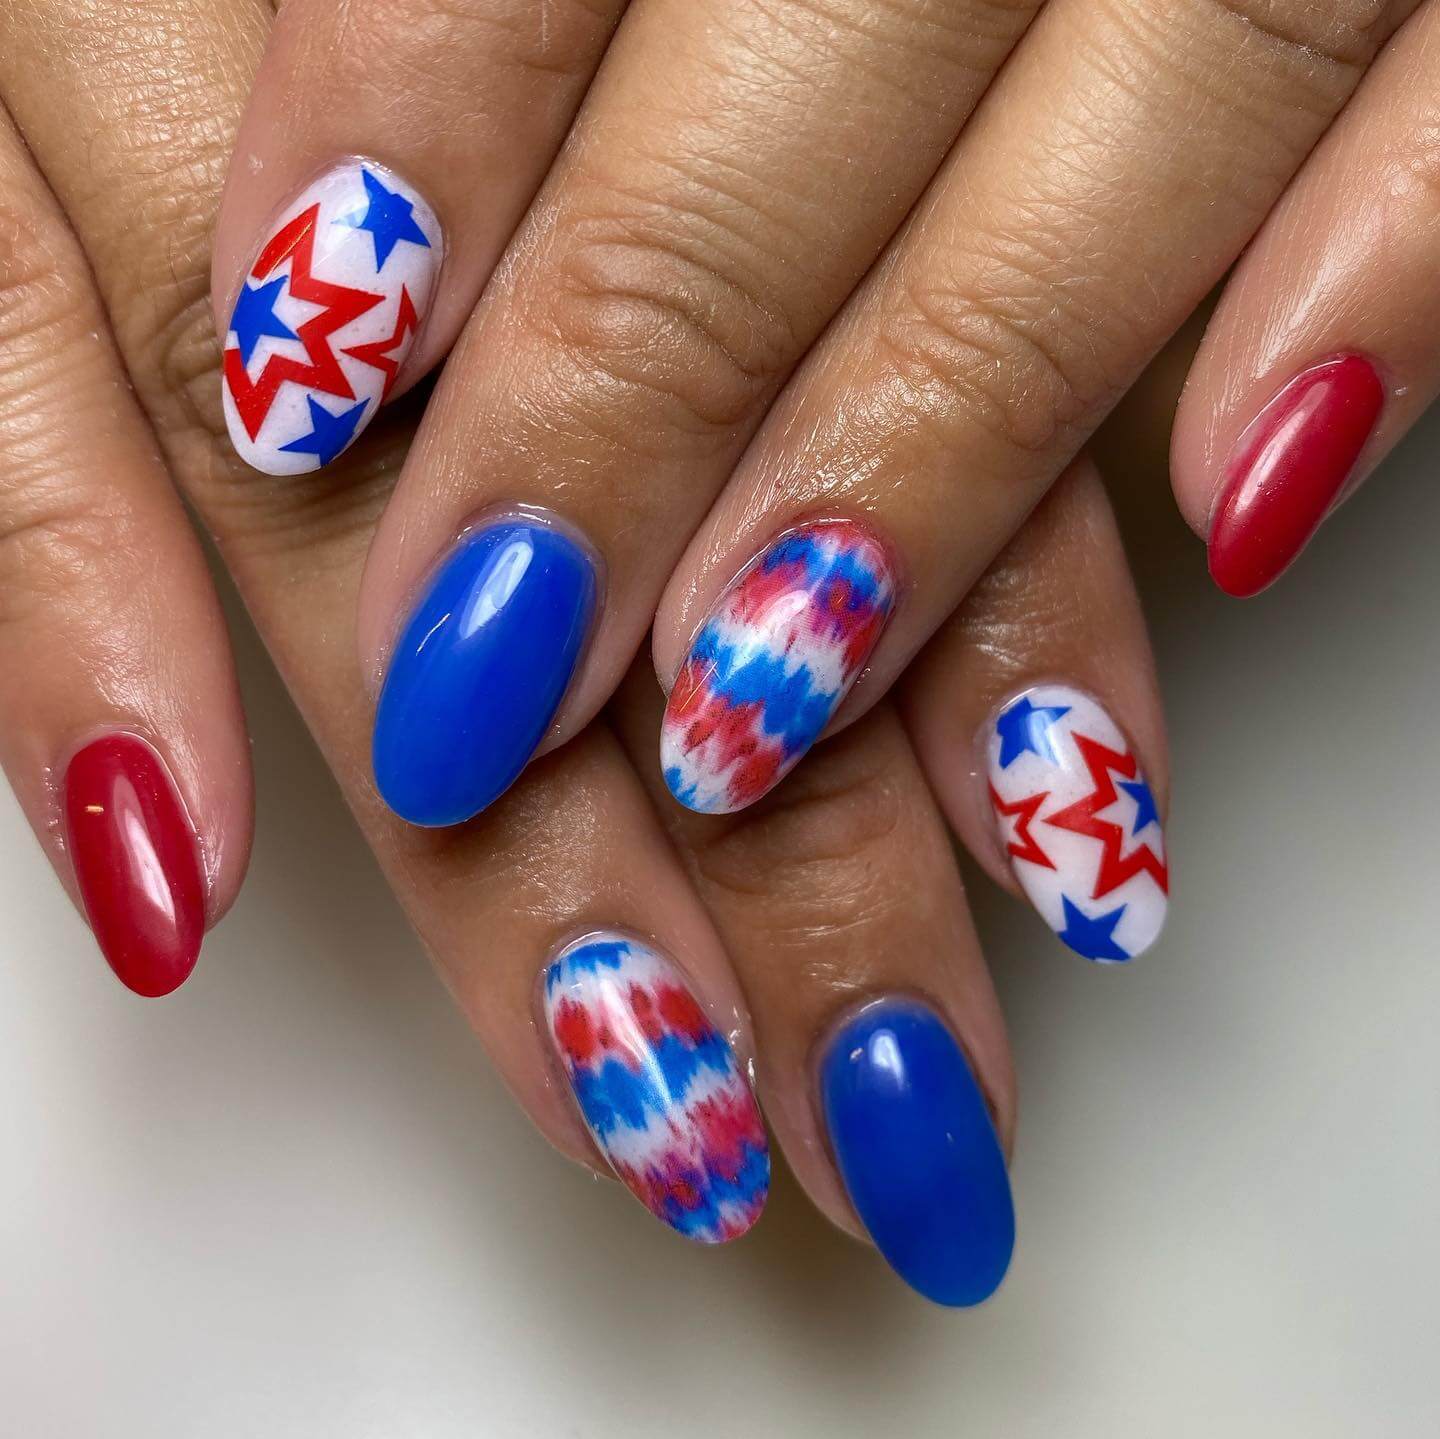
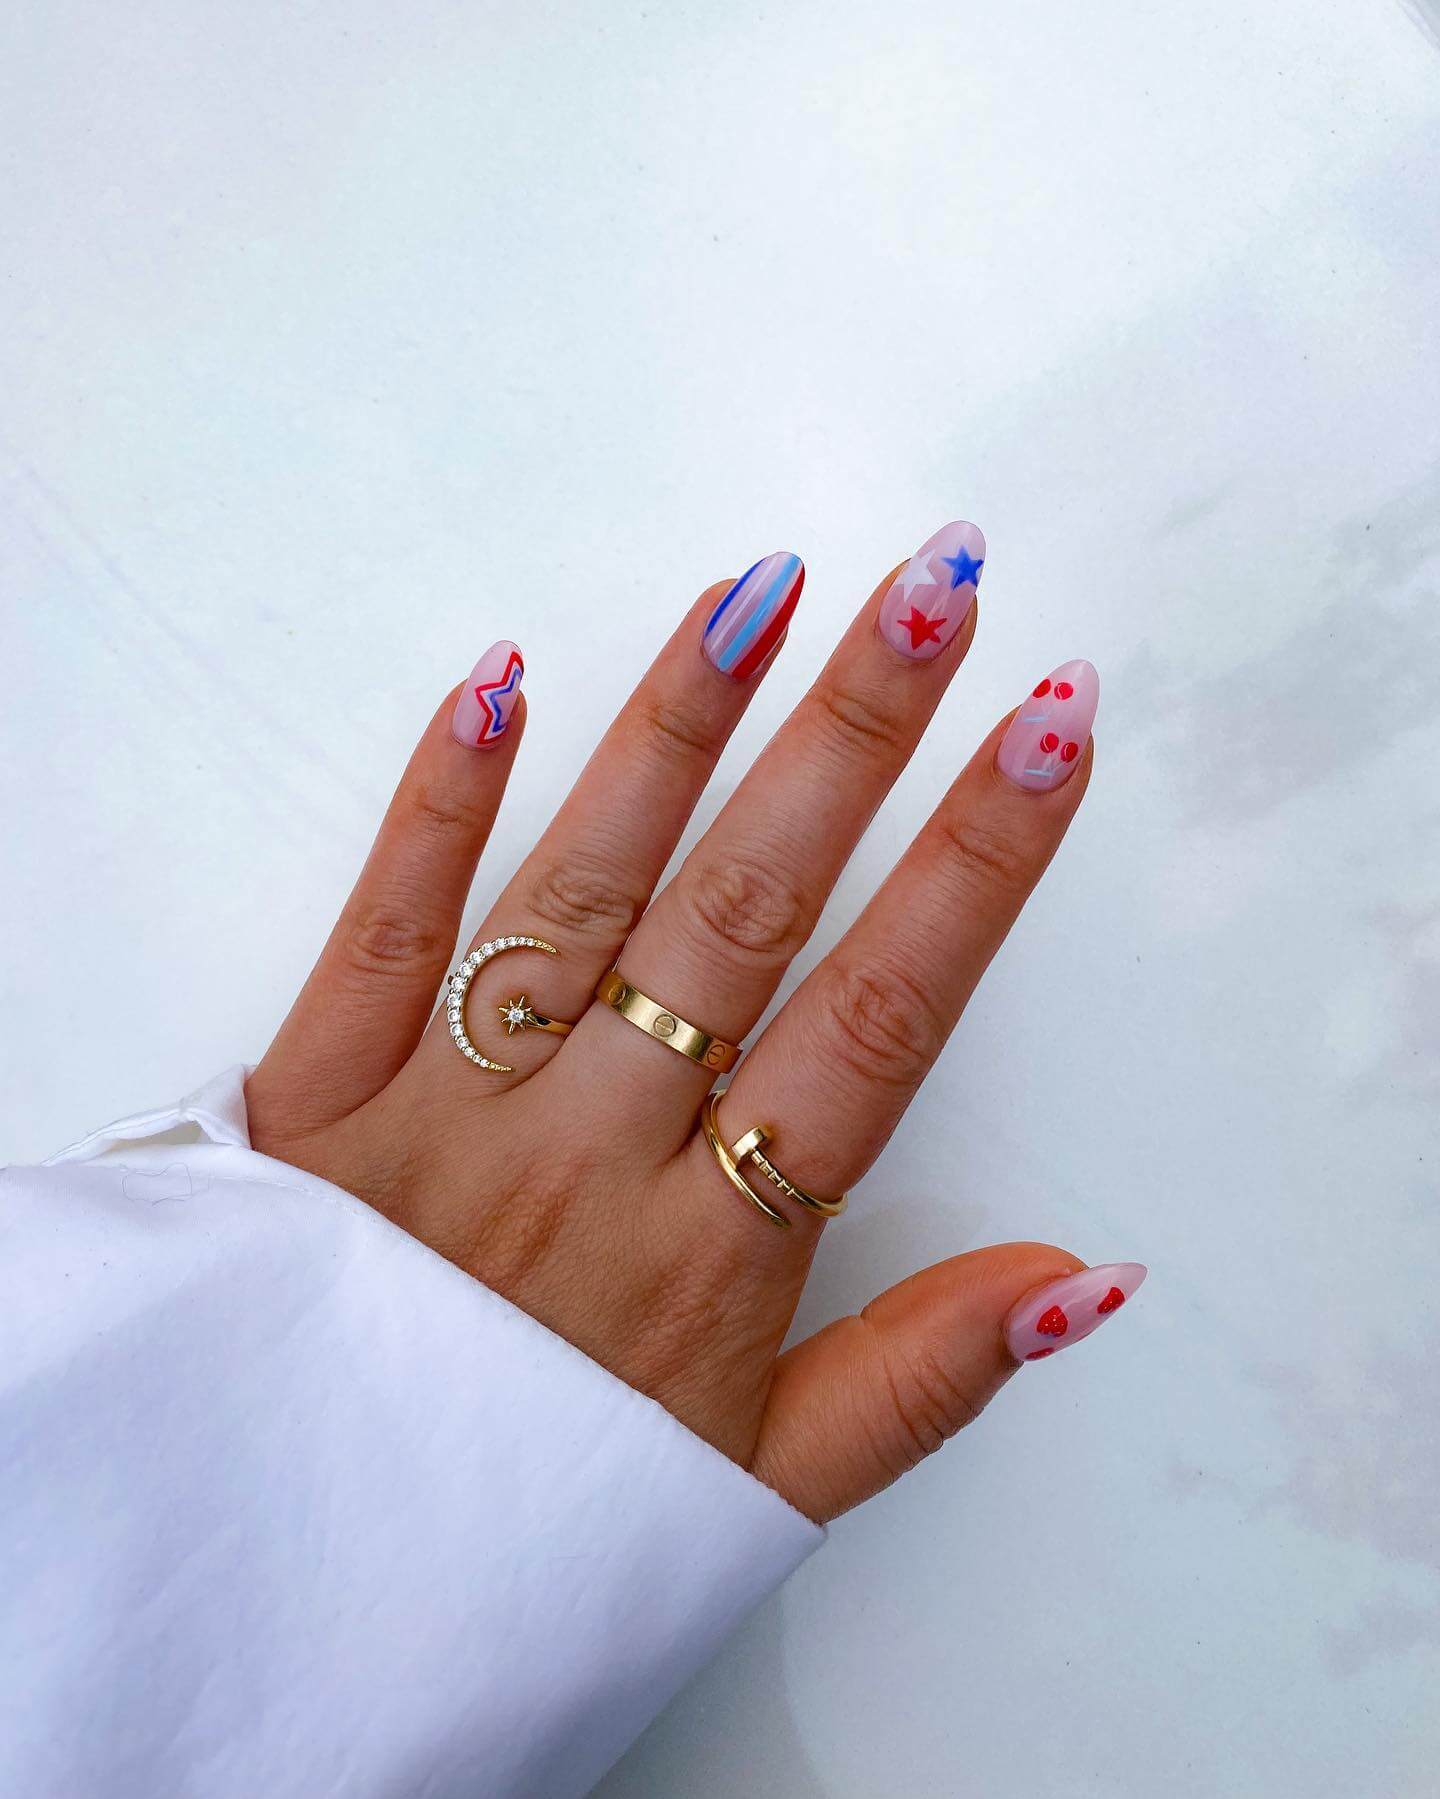
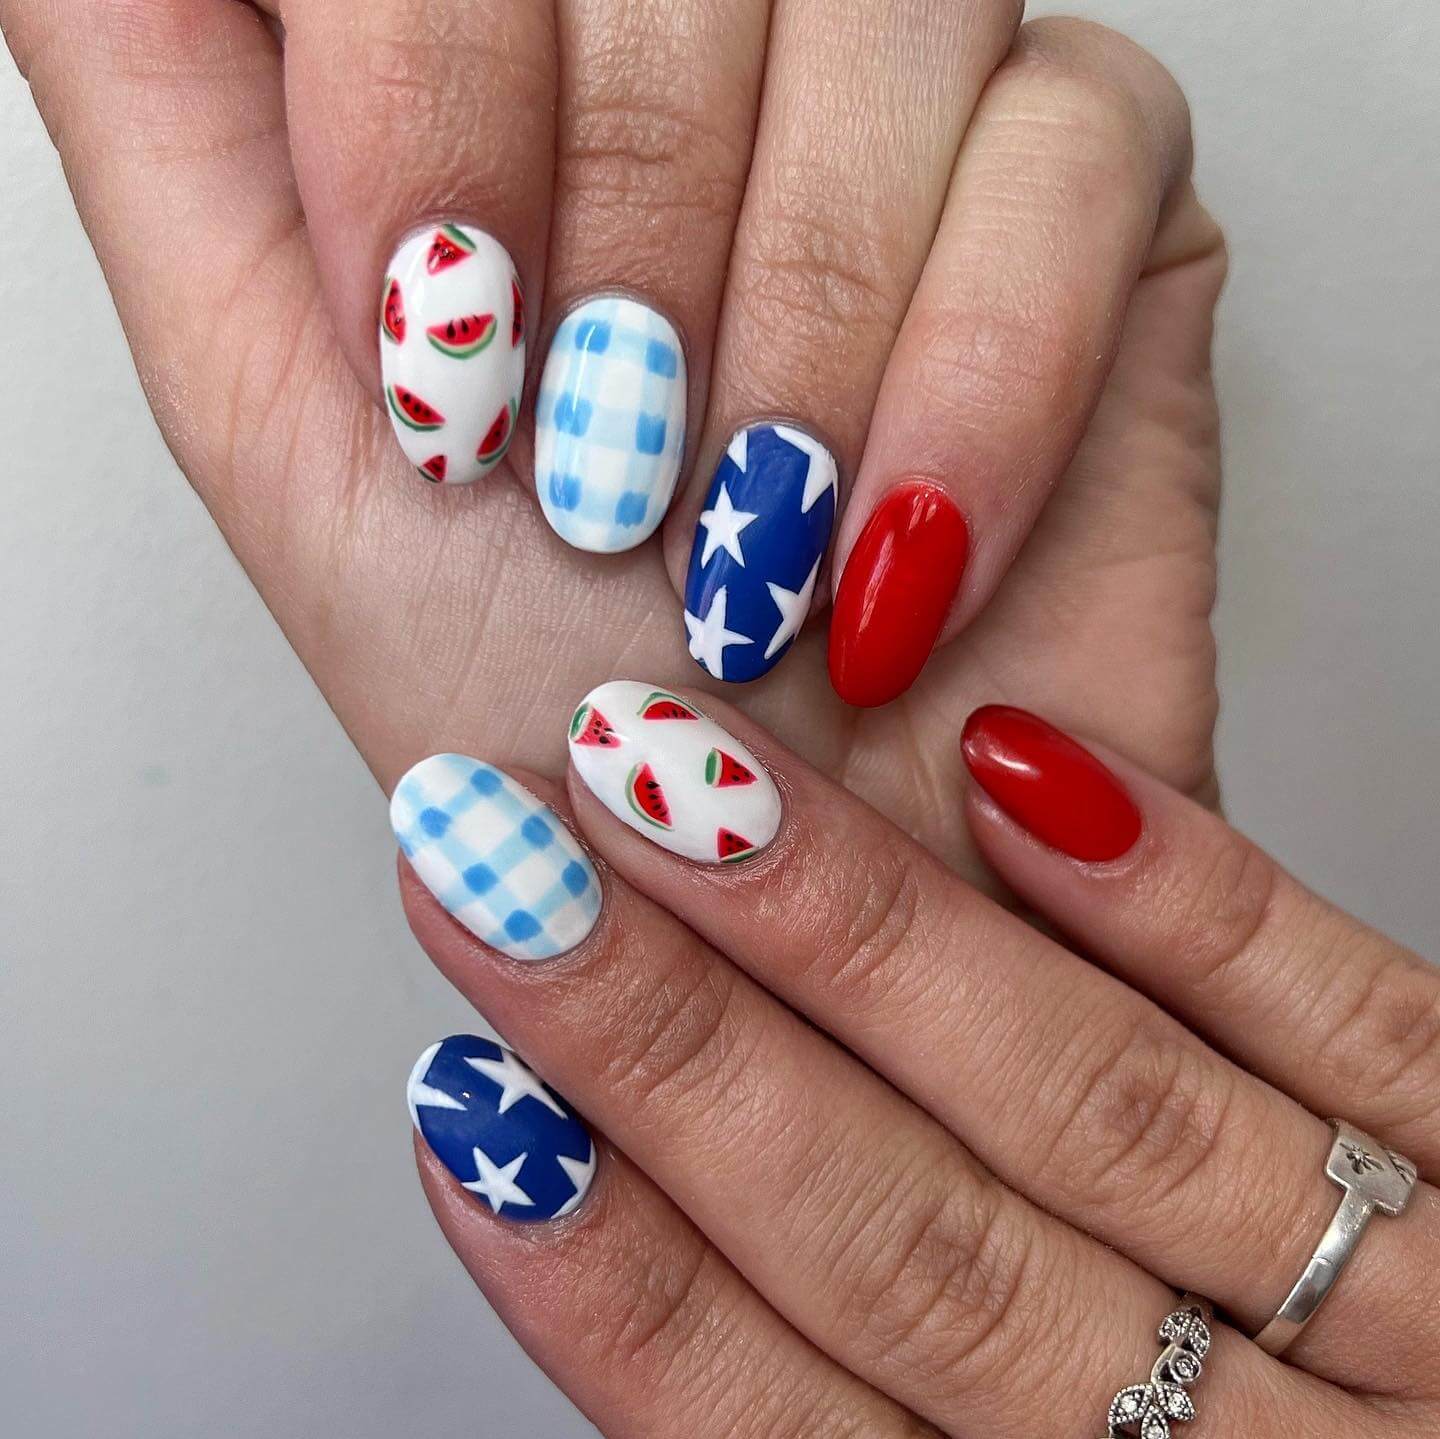
Nails with Stars
Stars are synonymous with the American flag and can be a prominent feature in your nail design. Paint your nails in a deep blue shade, add white star-shaped nail decals, or use a fine brush to paint stars on a red or white base. This design is simple yet impactful.
This easy and classy 4th of July nail ideas offer a range of options to suit different preferences and skill levels. Whether you choose French tip nails, press-on nails, ombre nails, or any other design, you can effortlessly celebrate the patriotic occasion with style and flair.

See More American Flag Nail Designs Ideas

4th of July Nails Art and Designs: Video Tutorial
Conclusion
One of the most important advantages of the “American flag” is that even a beginner in nail art can cope with the task. There are no complex elements, but, despite this, the manicure looks very stylish and original. All you need is an appropriate color of polish, a pair of brushes, and some patience.
Celebrate the Fourth of July in style with these easy and classy nail ideas. Whether you prefer French tip nails, ombre nails, or nails with stars and glitter, there’s a design for everyone. From classic and elegant to bold and festive, these patriotic nail ideas allow you to showcase your love for the United States.
But don’t stop here! Explore our other articles for inspiration and step-by-step guides to achieve stunning nail art. And for even more ideas, visit our Pinterest account, where you’ll find a treasure trove of creative nail designs to make this Independence Day truly unforgettable.
Let your nails shine with patriotism and style!
FAQ
The best nail colors for the 4th of July are red, white, and blue, representing the American flag’s colors. You can choose solid colors or get creative with various shades and finishes. Consider using vibrant reds, crisp whites, and deep blues to capture the patriotic spirit.
To paint your nails for the 4th of July, start by preparing your nails by cleaning, shaping, and applying a base coat. Then, choose your desired design or color scheme. You can go for classic American flag-inspired patterns, ombre effects, or any other patriotic design. Use a thin brush or nail art tools to create precise lines or details.
An American nail design typically refers to nail art incorporating patriotic elements inspired by the United States. It often includes symbols such as the American flag, stars, stripes, or colors representing the nation, such as red, white, and blue.
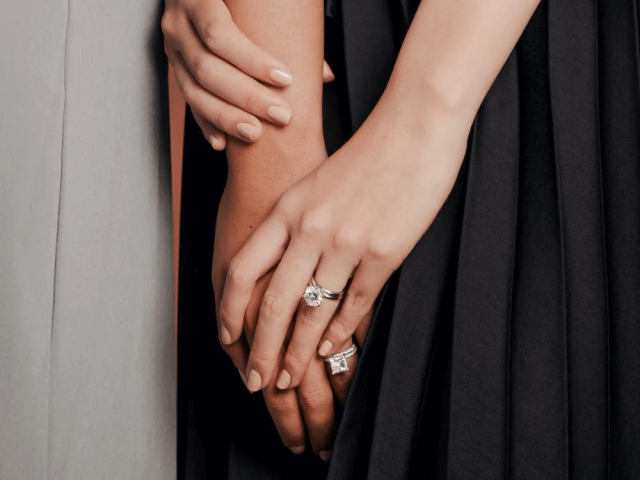
The five basic nail designs are 1. Applying a single nail polish color for a clean, minimalist look; 2. A classic design featuring a nude or light pink base with white tips; 3. Blending two or more colors; 4. Painting one or a few nails with a different color or design as a focal point; 5. Creating intricate designs using techniques like freehand painting, stamping, or applying decals.
The main principle of the manicure “easy American flag nails” is the development of creative thinking of the designer. Don’t limit yourself. Here, the quality of the original drawing is important. We recommend you watch the video on this simple Fourth of July nail design.